
Are you a photography enthusiast looking to improve your monopod setup? The 3 Legged Punk Corey Monopod is a versatile accessory that can take your photography to the next level. Whether you are a professional or amateur photographer, attaching the foot to your Corey Monopod is a crucial step in ensuring stability and ease of use. In this article, we will guide you through the process of attaching the foot to your 3 Legged Punk Corey Monopod. We will provide step-by-step instructions, helpful tips, and answer some frequently asked questions to help you get the most out of your monopod setup. So, let’s dive in and learn how to attach the foot to your 3 Legged Punk Corey Monopod!
Inside This Article
- Tools and Materials Needed
- Step 1: Preparing the Monopod
- Step 2: Attaching the Foot
- Step 3: Securing the Foot
- Additional Tips and Considerations
- Troubleshooting
- Conclusion
- FAQs
Tools and Materials Needed
When it comes to attaching the foot to your 3 Legged Punk Corey Monopod, you’ll need a few tools and materials to ensure a secure and proper installation. Here is a list of what you will need:
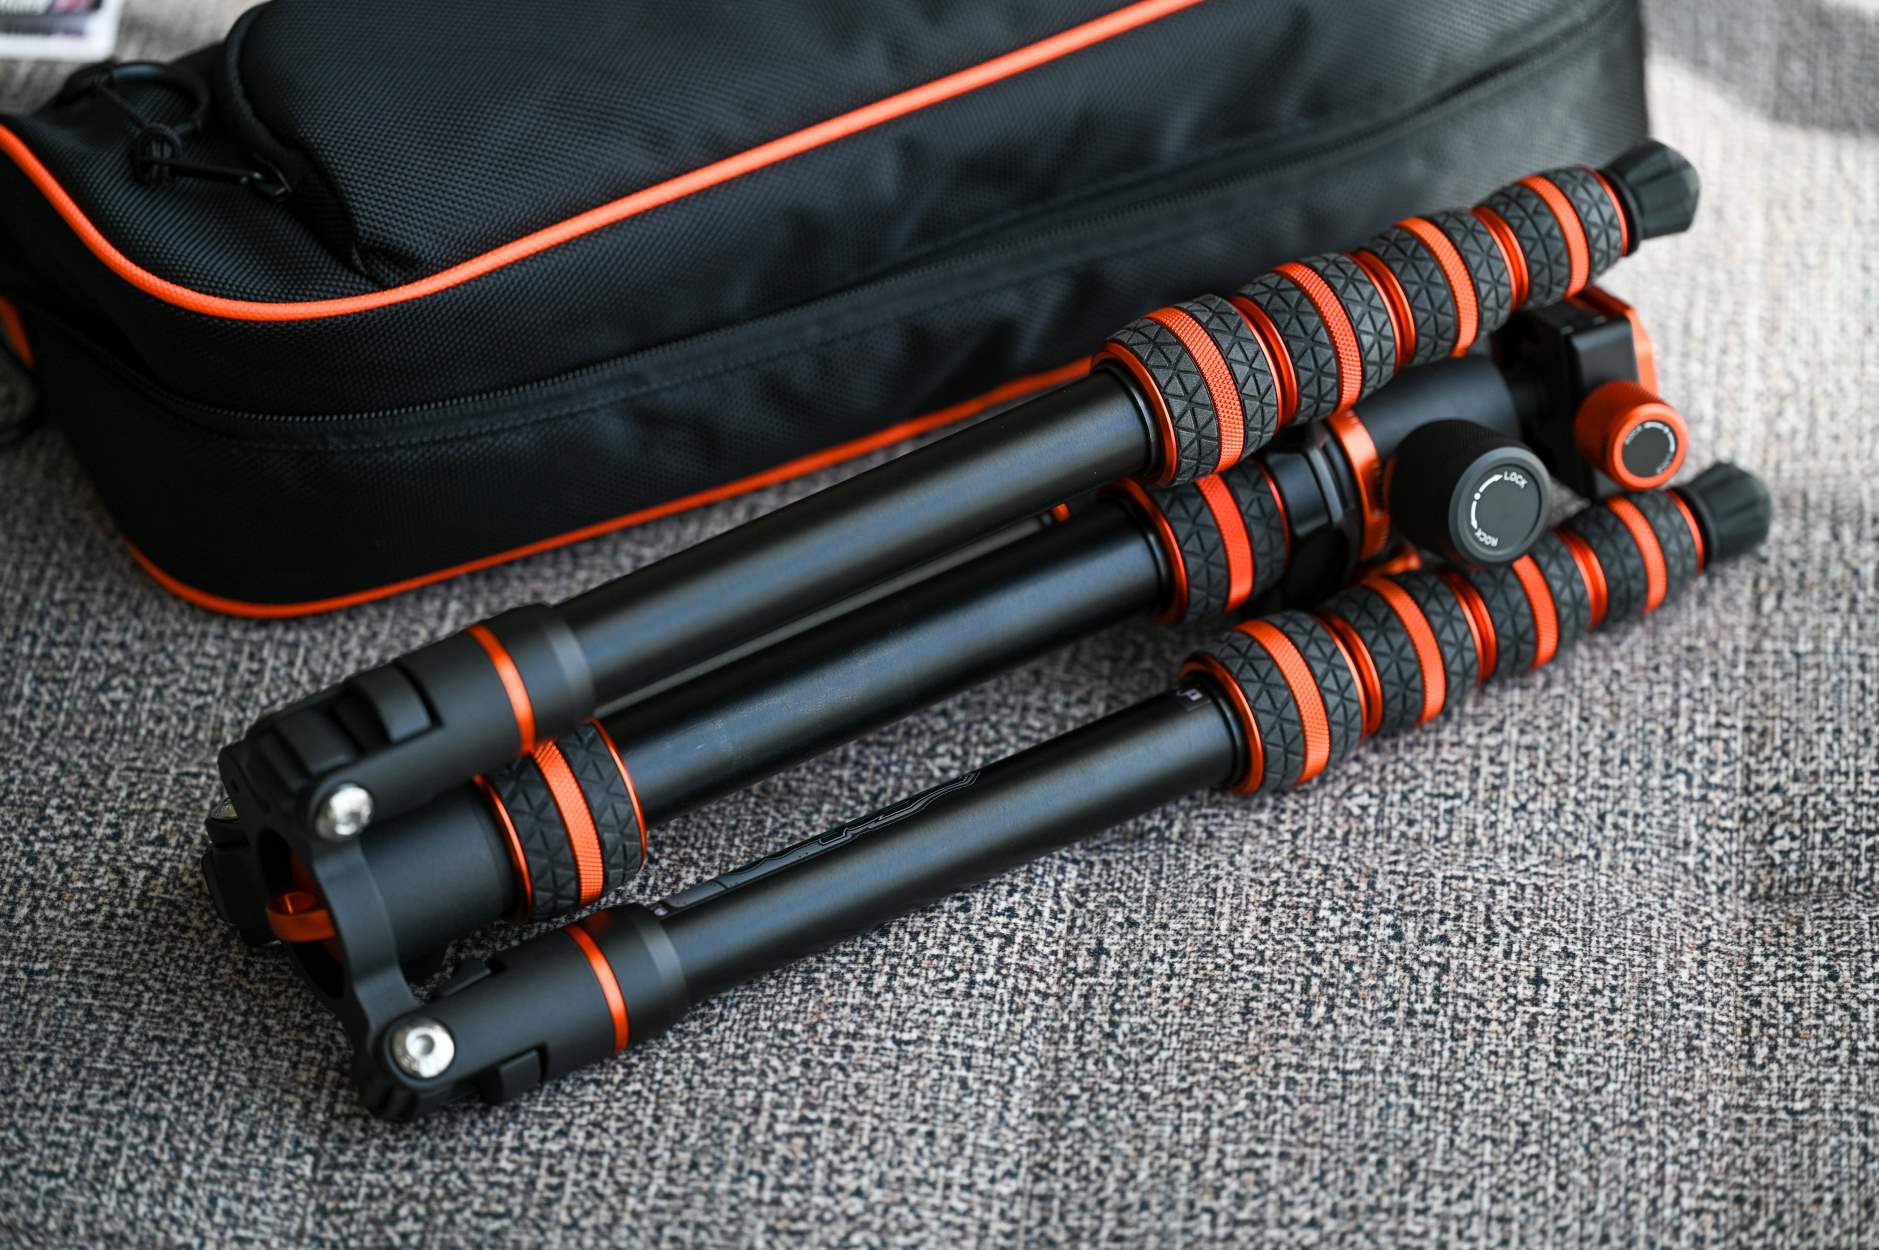
- 3 Legged Punk Corey Monopod: Of course, you’ll need the main component, which is the Corey Monopod itself. Make sure you have it ready and easily accessible.
- Monopod Foot: You will need a monopod foot specifically designed to fit the Corey Monopod. It’s important to have a compatible foot to ensure a snug and sturdy attachment.
- Allen Wrench: Most monopod feet come with screws that require an Allen wrench for tightening. Check the specifications of your foot and get the appropriate size of Allen wrench.
- Clean Cloth: Having a clean cloth or microfiber cloth is essential to wipe any dirt or debris off the monopod and foot before installation. This ensures a clean surface for a proper attachment.
It’s important to gather all the necessary tools and materials before starting the installation process. This way, you’ll have everything you need within reach and can complete the attachment smoothly and efficiently. So, check off the items from the list, set them aside, and let’s move on to the next step!
Step 1: Preparing the Monopod
Before attaching the foot to your 3-legged punk Corey monopod, it’s essential to make sure the monopod is properly prepared. This step is crucial to ensure a stable and secure base for attaching the foot.
Here’s what you need to do:
- Inspect the monopod: Take a close look at your monopod to check for any damages or loose components. Make sure the monopod is clean and free from any debris.
- Adjust the height: If needed, adjust the height of your monopod to your desired position. Most monopods come with adjustable sections, allowing you to find the perfect height for your shots.
- Tighten the locks: Ensure that all the locks on your monopod are securely tightened. This will prevent any accidental movements or collapses while you attach the foot.
- Attach any necessary accessories: If there are any additional accessories or attachments you plan to use, such as a smartphone holder or a tripod head, now is the time to attach them to the monopod.
- Test the stability: Give your monopod a gentle shake and observe if it wobbles or feels loose. If you notice any instability, double-check the locks and make any necessary adjustments.
By properly preparing the monopod, you lay the foundation for a secure and reliable base. Taking the time to inspect and adjust your monopod ensures that you’ll have a stable platform to attach the foot, allowing for steadier shots and greater peace of mind.
Step 2: Attaching the Foot
Attaching the foot to your 3 Legged Punk Corey Monopod is a crucial step to ensure stability and functionality. Follow these simple instructions to securely attach the foot:
- Start by locating the designated attachment point at the bottom of the monopod. This is usually a threaded socket or a slot that is specifically designed to accommodate a foot attachment.
- Take the foot attachment and align it with the designated attachment point. Make sure the threads or grooves match properly for a secure fit.
- Begin screwing the foot attachment onto the monopod. Rotate it in a clockwise direction until it is firmly in place. Use gentle yet firm pressure to ensure a tight connection, but be careful not to overtighten and risk damaging the threads.
- Once the foot is attached, give it a gentle twist to ensure that it is firmly secured to the monopod. It should not wobble or feel loose.
- Inspect the attachment to confirm that it is properly aligned and fully seated on the monopod. Check for any gaps or misalignments that may indicate an improper attachment.
- Double-check the stability of the foot by gently placing your monopod on a flat surface. Ensure that all three legs of the monopod and the foot make full contact with the surface, providing a solid and stable foundation.
- Once you have confirmed that the foot attachment is securely in place, you are ready to proceed with using your 3 Legged Punk Corey Monopod for your photography or videography needs.
Remember, proper attachment of the foot is essential for the stability and balance of your monopod. Take your time during this step to ensure a secure fit, allowing you to capture those perfect shots with confidence.
Continue to the next step – Step 3: Securing the Foot – to learn how to further enhance the stability of your monopod.
Step 3: Securing the Foot
After successfully attaching the foot to your 3 Legged Punk Corey Monopod, the next crucial step is to ensure that the foot is securely fastened. This will provide stability and prevent any accidental slips or wobbles when using the monopod.
To secure the foot, follow these simple yet essential steps:
- Tighten the Locking Mechanism: Check if your monopod has a locking mechanism near the foot attachment. This can typically be in the form of flip locks or twist locks. Ensure that these locks are tightened snuggly to prevent any movement.
- Apply Friction Tape or Rubber Grips: If you want to enhance the grip and stability of the foot, consider applying friction tape or rubber grips on the base. These materials will create additional friction between the foot and the ground, minimizing the chances of slipping.
- Test for Stability: Once you have secured the foot, gently test the monopod for stability. Apply slight pressure on the monopod in different directions to mimic real-world usage. If you notice any wobbling or movement, recheck the locking mechanism and the tightness of the foot attachment.
- Consider Using a Weighted Base: If you anticipate using the monopod in windy conditions or on uneven terrain, you may want to consider using a weighted base. These bases add extra stability by increasing the overall weight and balance of the monopod.
By following these steps, you can ensure that the foot of your 3 Legged Punk Corey Monopod is securely fastened, providing you with a stable and reliable monopod for your photography or videography needs. Remember, a secure foot attachment is essential for capturing crisp and steady shots, so pay attention to detail and make sure everything is properly tightened.
Additional Tips and Considerations
When attaching the foot to your 3 Legged Punk Corey Monopod, there are a few additional tips and considerations to keep in mind:
1. Double-check compatibility: Ensure that the foot you are using is specifically designed to fit your 3 Legged Punk Corey Monopod. Different monopods may have varying attachment systems, so it’s crucial to use the right foot to ensure a secure fit.
2. Consider the terrain: Think about the type of terrain you will be using your monopod on. If you often work on uneven surfaces or rough terrain, consider opting for a foot with a wider base or added grip. This will provide better stability and prevent your monopod from slipping or tipping over.
3. Experiment with different feet: Don’t be afraid to try out different types of feet to find the one that suits your shooting style and needs. Some monopod feet offer spiked ends for better grip on soft surfaces, while others have rubberized tips for added traction on hard floors. Explore the options and find the foot that enhances your shooting experience.
4. Maintain and clean your foot: Just like any other camera accessory, it’s important to take care of your monopod foot. Clean it regularly to remove dirt, dust, or debris that might impact its functionality. Additionally, check for any signs of wear and tear and replace the foot if necessary to ensure optimal performance.
5. Practice proper handling and storage: When not in use, it’s essential to store your monopod with the foot attached properly. Take care to prevent any unnecessary stress or pressure on the foot, which could lead to damage. Additionally, handle your monopod with care to avoid any accidental impacts that could affect the foot’s stability or integrity.
By keeping these additional tips and considerations in mind, you can ensure that attaching the foot to your 3 Legged Punk Corey Monopod is a seamless process. Enjoy the enhanced stability and versatility that the foot provides as you capture stunning photographs and videos.
Troubleshooting
While attaching the foot to your 3 Legged Punk Corey Monopod is generally a straightforward process, there may be some issues that you encounter along the way. Here are a few troubleshooting tips to help you overcome any challenges:
1. Foot not fitting properly: If you find that the foot is not fitting snugly onto the monopod, double-check that you have selected the correct size foot for your specific model. Sometimes, slight variations in manufacturing can affect the compatibility. If you have the correct foot size, try lightly sanding the edges of the foot to ensure a better fit.
2. Difficulty in tightening the foot: If you are having trouble securing the foot tightly onto the monopod, make sure that the locking mechanism is fully engaged. Sometimes, it may require a bit more force to tighten the foot properly. However, be cautious not to over-tighten as it may damage the threads or the foot itself.
3. Foot not providing sufficient stability: If you attach the foot but still experience instability when using your monopod, check to ensure that all the components are securely fastened. Make sure that the monopod itself is fully extended and not partially collapsed, as this can compromise stability. Additionally, make sure the ground surface is suitable for the foot, such as avoiding slippery or uneven terrain.
4. Uneven weight distribution: If you notice that the weight is not evenly distributed on the monopod, it may cause stability issues. Try repositioning the foot and adjusting the angle of the monopod to distribute the weight more evenly. Consider balancing the weight or using a stabilizing accessory, such as a counterweight or a tripod leg attachment.
5. Foot detachment during use: In rare cases, the foot may become loose or detach during use. If this happens, stop using the monopod immediately to prevent any accidents or damage. Check the foot and the locking mechanism for any signs of wear or damage. Replace the foot if necessary, and tighten it securely before resuming any photography or videography activities.
Remember, troubleshooting is a normal part of any DIY project. If you encounter any persistent issues or have specific concerns about attaching the foot to your 3 Legged Punk Corey Monopod, don’t hesitate to reach out to the manufacturer’s customer support for further assistance.
Conclusion
Attaching a foot to the 3 Legged Punk Corey monopod provides added stability and versatility for various photography and videography needs. Whether you’re capturing breathtaking landscapes or filming action-packed scenes, having a secure base for your monopod is essential.
By following the easy steps mentioned above, you can attach a foot to your 3 Legged Punk Corey monopod in no time. Remember to ensure a secure fit and tighten all connections to prevent any accidents or wobbling during use.
Having a stable monopod foot not only enhances stability but also provides you with more creative freedom to explore different angles and positions. It allows you to take clear and sharp images and videos, enhancing the overall quality of your work.
So, don’t hesitate to attach a foot to your 3 Legged Punk Corey monopod and unlock its full potential. Start enjoying a more stable and versatile shooting experience today!
FAQs
1. How do I attach the foot to the 3 Legged Punk Corey Monopod?
2. Can I use the monopod without attaching the foot?
3. Are there any specific tools or accessories needed to attach the foot?
4. How secure is the attachment of the foot to the monopod?
5. Can I detach the foot from the monopod when not in use?