
Gaming headsets are an essential accessory for any avid gamer looking to enhance their gaming experience. With the right gaming headset, you can immerse yourself in a world of crisp audio, clear communication, and exceptional comfort. But setting up a gaming headset on your PC may seem daunting, especially for those new to the gaming scene. Fear not! In this article, we will guide you through the step-by-step process of setting up your gaming headset on your PC, ensuring that you can jump into the action without any technical hiccups. Whether you are a casual gamer or a hardcore esports enthusiast, we’ve got you covered with all the information you need to get your gaming headset up and running smoothly on your PC.
Inside This Article
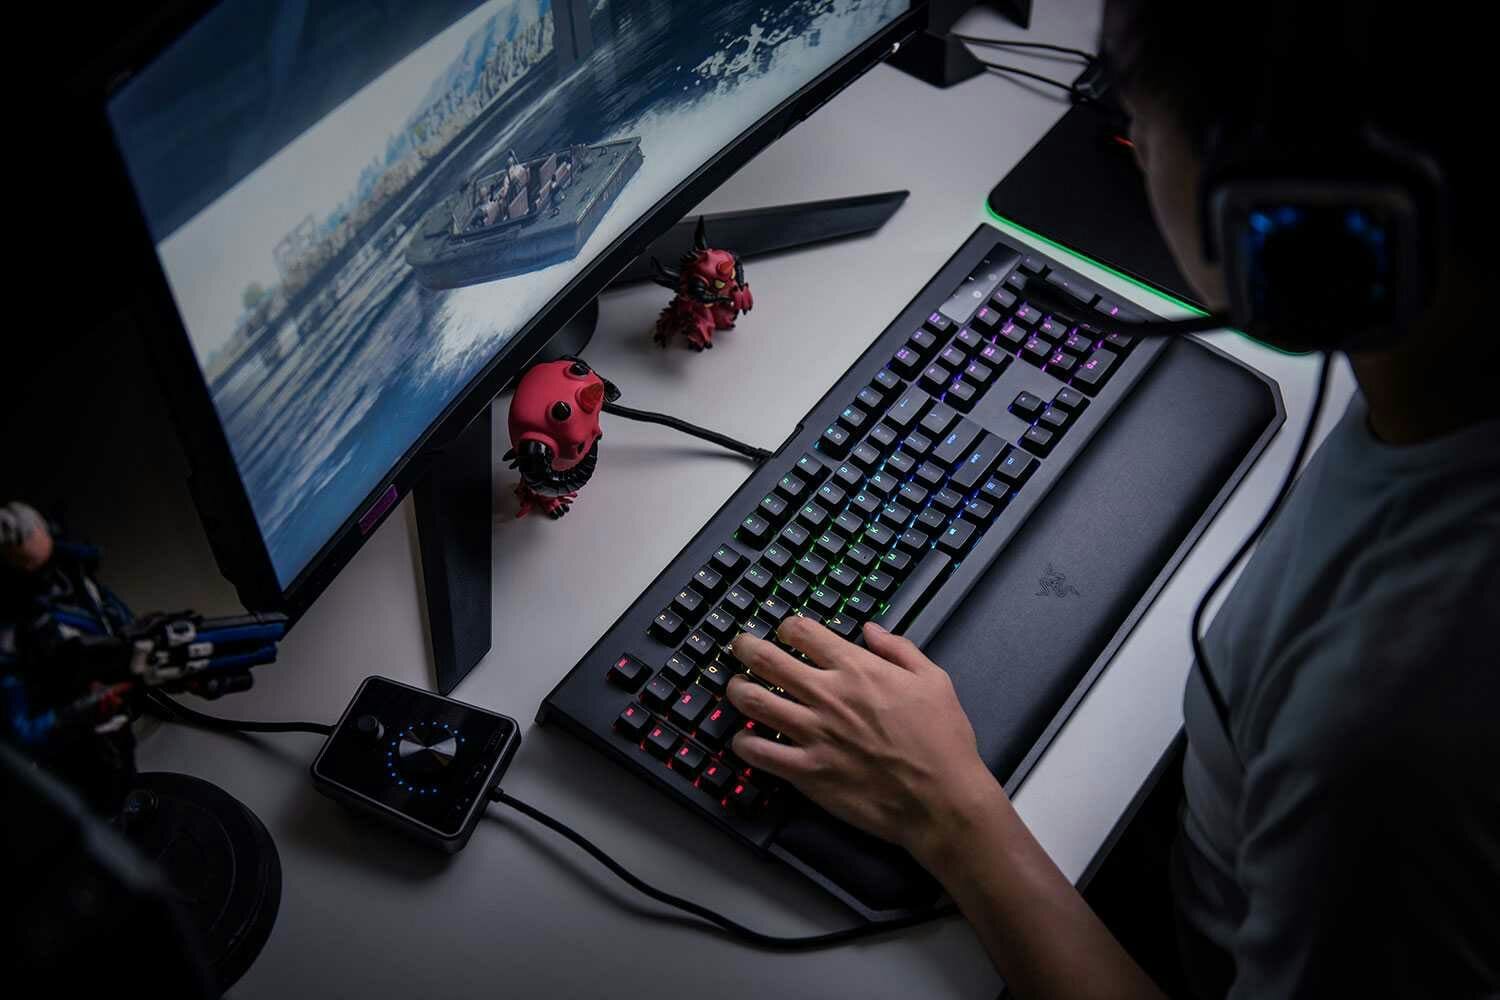
- Connecting the Gaming Headset to Your PC
- Adjusting Audio Settings on Your PC
- Configuring the Gaming Headset Software
- Troubleshooting Common Issues
- Conclusion
- FAQs
Connecting the Gaming Headset to Your PC
Setting up your gaming headset on a PC is a simple process that allows you to enjoy immersive gaming audio. Follow these steps to connect your gaming headset to your PC:
Step 1: Identify the audio connectors on your gaming headset. Most gaming headsets come with two connectors, one for audio and one for the microphone. The audio connector is usually colored green, while the microphone connector is colored pink.
Step 2: Locate the corresponding audio and microphone ports on your PC. These ports are typically found on the back or front panel of the PC tower. The audio port is labeled with a headphone icon, and the microphone port is labeled with a microphone icon.
Step 3: Plug the audio connector of your gaming headset into the audio port on your PC. Ensure that it is securely inserted to establish a proper connection.
Step 4: Plug the microphone connector of your gaming headset into the microphone port on your PC. Again, ensure that the connection is secure.
Step 5: Once the connections are made, your PC should automatically detect the gaming headset. However, if your headset has additional features such as surround sound or RGB lighting, you may need to download and install the corresponding software from the manufacturer’s website.
Step 6: Test the audio and microphone functionalities of your gaming headset. Open a media player or game and play some audio to check if the sound is coming through the headset. You can also use the voice recording feature on your PC to test the microphone.
Step 7: Adjust the volume settings on your PC to ensure optimal audio output. You can do this by right-clicking on the speaker icon in the taskbar and selecting “Open Volume Mixer.” From there, you can adjust the volume levels for various applications and devices.
By following these steps, you can easily connect your gaming headset to your PC and start enjoying an enhanced gaming experience with high-quality audio and crystal-clear communication.
Adjusting Audio Settings on Your PC
Once you have connected your gaming headset to your PC, the next step is to adjust the audio settings to ensure optimal sound quality and performance. Here are some steps you can take to adjust the audio settings on your PC:
1. Open the Sound Settings: Click on the Start menu and search for “Sound Settings.” Open the Sound Settings window.
2. Select the Playback Device: In the Sound Settings window, navigate to the “Playback” tab. Here, you will see a list of audio devices connected to your PC. Choose your gaming headset from the list and set it as the default playback device.
3. Adjust the Volume: Once your gaming headset is selected as the default playback device, you can adjust the volume level using the volume slider. Make sure to set the volume to a comfortable level that allows you to hear the audio clearly without causing any discomfort.
4. Enhance the Audio Quality: To enhance the audio quality, you can tweak the audio settings further. For example, you can open the “Enhancements” tab and enable audio enhancements like virtual surround sound or equalizer presets to customize the sound according to your preferences.
5. Test the Audio: After making the necessary adjustments, it’s a good idea to test the audio to ensure everything is working correctly. You can play some music, watch a video, or launch a game to check if the audio is clear and balanced.
6. Adjust Communication Settings (Optional): If you use your gaming headset for communication purposes, such as voice chat in games or video calls, you may want to adjust the communication settings. In the Sound Settings window, go to the “Communications” tab and choose the option that suits your needs, such as reducing the volume of other sounds during communication or muting other audio altogether.
7. Update Audio Drivers: It’s always a good idea to keep your audio drivers up to date to ensure compatibility and performance. You can visit the website of your headset manufacturer or your PC’s manufacturer to check for any available audio driver updates and install them if necessary.
By following these steps, you can easily adjust the audio settings on your PC and optimize the sound quality of your gaming headset. Enjoy a immersive gaming experience with crystal-clear audio!
Configuring the Gaming Headset Software
Once you have connected your gaming headset to your PC and adjusted the audio settings, it’s time to configure the headset software. The software provided with your gaming headset allows you to customize various audio settings, microphone settings, and even program specific profiles for different games.
To begin, locate and open the software that came with your gaming headset. This software may be available as a standalone application or as part of the manufacturer’s driver package. Once opened, you will usually be presented with a user-friendly interface that gives you access to the headset’s settings.
One of the first things you should do is check for any available firmware updates for your gaming headset. Just like any other piece of technology, manufacturers often release updates to improve performance and address any software bugs. Updating the firmware ensures that you are using the latest version of the software and can help optimize your headset’s performance.
Next, explore the different settings available in the software. You will typically have options to adjust the equalizer settings, surround sound settings, and microphone settings. This allows you to fine-tune the audio output to suit your preferences and enhance your gaming experience.
Many gaming headsets also offer the option to create custom profiles for different games. This feature allows you to save specific audio settings for each game, so that when you launch a game, the headset automatically switches to the optimized settings for that particular game. It’s a convenient way to ensure you always have the best audio experience for each game you play.
Additionally, some gaming headset software may have advanced features like voice modulation, noise cancellation, and sidetone. Voice modulation allows you to modify your voice in real-time, adding a fun element to your online gaming interactions. Noise cancellation helps to eliminate background noise, ensuring clear communication with your teammates. Sidetone enables you to hear your own voice through the headset, preventing you from unintentionally raising your voice while gaming.
When configuring the gaming headset software, don’t forget to save your settings once you have made the desired adjustments. This ensures that your customized settings are applied every time you use the headset. Don’t hesitate to experiment with different settings to find the perfect audio setup that suits your gaming preferences.
Lastly, make sure to regularly check for software updates from the manufacturer. These updates may introduce new features, fix any software issues, and provide overall improvements to your gaming headset’s performance.
By taking the time to configure the gaming headset software, you can enhance your gaming audio experience and customize the settings to suit your preferences. So dive into the software settings and start fine-tuning your gaming headset for an immersive and personalized gaming adventure.
Troubleshooting Common Issues
Gaming headsets are fantastic accessories that enhance your gaming experience by providing immersive sound and clear communication with other players. However, like any electronic device, they can sometimes encounter common issues that may affect their performance. In this section, we will discuss some of the most common problems you may face with your gaming headset and provide troubleshooting steps to resolve them.
1. No Sound
If you’re not getting any sound from your gaming headset, there are a few things you can check. First, ensure that the headset is properly connected to your PC via the designated audio ports. Try unplugging and plugging it back in to establish a secure connection. Additionally, make sure the volume on your headset is turned up and not muted. You can also check the audio settings on your PC to ensure that the headset is selected as the default playback device.
2. Poor Sound Quality
If you’re experiencing poor sound quality with your gaming headset, there are a few factors to consider. First, check the audio settings on your PC and make sure that the playback quality is set to the highest possible level. You can also try adjusting the equalizer settings within the gaming headset software to optimize the sound output. Additionally, ensure that the drivers for your headset are up to date, as outdated drivers can affect sound quality.
3. Microphone Issues
If your microphone is not working or experiencing low audio output, there are a few troubleshooting steps you can take. First, check if the microphone is properly connected to your PC and ensure that it’s not muted or set to a low volume. You can also try adjusting the microphone settings on your PC to boost the sensitivity or adjust the noise cancellation settings if available. If the issue persists, try using the headset on another device to determine if the problem is with the headset or your PC.
4. Surround Sound Not Working
If you’re not getting surround sound with your gaming headset, make sure that it’s compatible with your PC’s audio configuration. Check the headset’s software settings and ensure that the surround sound feature is enabled. You may also need to adjust the audio settings on your PC to enable surround sound output. If you’re still not getting surround sound, make sure that you’re using the appropriate game settings to enable it within the game itself.
5. Connectivity Issues
If your gaming headset is experiencing connectivity issues, such as frequent disconnections or static noise, there are a few things you can try. First, ensure that the headset’s cables are securely plugged in and not damaged. If you’re using a wireless headset, make sure that the transmitter is properly connected to your PC and not experiencing interference from other wireless devices. You can also try moving closer to the transmitter to improve the signal strength.
By following these troubleshooting steps, you can address common issues you may encounter with your gaming headset and get back to enjoying an immersive gaming experience with crystal-clear sound and communication.
Conclusion
In conclusion, setting up a gaming headset on your PC is a straightforward process that can greatly enhance your gaming experience. By following the step-by-step instructions provided in this guide, you can ensure proper connection, configuration, and optimization of your gaming audio device.
Remember to choose a gaming headset that suits your specific needs, whether it’s wireless or wired, with surround sound capabilities or specialized features like noise cancellation. Consider factors such as comfort, audio quality, and compatibility with your PC to make the best choice.
Once you have your gaming headset connected and set up, you can enjoy immersive sound while gaming, communicate seamlessly with teammates, and fully immerse yourself in the virtual world. So, go ahead and grab your gaming headset to take your gaming experience to a whole new level!
FAQs
1. How do I set up a gaming headset on my PC?
To set up a gaming headset on your PC, follow these steps:
1. Connect the headset to the appropriate audio jacks on your PC. Most headsets use either a 3.5mm audio jack or a USB port.
2. Go to the sound settings on your PC. On Windows, you can do this by right-clicking the volume icon in the system tray and selecting “Sounds”.
3. In the sound settings, make sure that the headset is selected as the default playback device. If it is not already selected, right-click on the headset and choose “Set as Default Device”.
4. Adjust the volume levels of your headset by using the controls on the headset itself or through the sound settings on your PC.
5. Test your headset by playing some audio or launching a game. Make sure you can hear the sound through the headset.
6. If you encounter any issues, check if your headset requires any specific drivers or software. You can usually find these on the manufacturer’s website.
2. Can I use a gaming headset with my console?
Yes, most gaming headsets are designed to be compatible with various gaming consoles. However, the method of connection may vary depending on the console. Some headsets use a 3.5mm audio cable that can be plugged directly into the controller, while others may require an adapter or special cables. It’s best to check the compatibility of the headset with your specific console and follow the manufacturer’s instructions for setup.
3. How can I ensure good audio quality with my gaming headset?
To ensure good audio quality with your gaming headset, consider the following:
– Use a headset that has good reviews and is known for its audio quality.
– Make sure the headset is properly connected to your device.
– Adjust the volume levels to a comfortable level without distortion.
– Keep the headset clean and free from dust or debris that could affect the audio.
– If your headset has any additional software or drivers, make sure they are up to date.
4. Can I use a gaming headset for non-gaming purposes?
Absolutely! Gaming headsets are not limited to gaming only. They can be used for a variety of purposes, such as listening to music, watching movies, making voice or video calls, and more. Their high-quality audio and built-in microphones make them suitable for a wide range of applications.
5. How do I take care of my gaming headset?
Taking care of your gaming headset will ensure its longevity and optimal performance. Here are some tips:
– Store the headset in a safe and dry place when not in use.
– Clean the headset regularly, especially the ear cushions and microphone, using a soft cloth or a damp cotton swab.
– Avoid pulling or yanking on the cables when disconnecting the headset from your device.
– Be gentle with the controls and buttons to prevent any damage.
– If your headset is wireless, make sure to charge it regularly and follow the manufacturer’s guidelines for battery maintenance.