
The Oculus Quest 2 has taken the world of virtual reality by storm, offering users an untethered and immersive gaming experience. With its powerful hardware and vast library of games, it’s no wonder that VR enthusiasts are flocking to this device. However, one limitation of the Quest 2 is that it doesn’t natively support Steam VR games, which can be a disappointment for those who want to access a wider range of gaming options.
The good news is that there are ways to play Steam VR games on your Oculus Quest 2 wirelessly, allowing you to enjoy the best of both worlds. In this article, we will guide you through the process of setting up and playing Steam VR games on your Quest 2 without the need for any extra cables or equipment. So, if you’re ready to dive into a whole new world of gaming possibilities, read on to find out how to make your Oculus Quest 2 a gateway to the vast Steam VR library.
Inside This Article
- How to Set Up Oculus Quest 2 for Steam VR Games
- How to Install Steam VR on Oculus Quest 2
- Connecting Oculus Quest 2 to Steam VR
- Playing Steam VR Games Wirelessly on Oculus Quest 2
- Troubleshooting Tips for Playing Steam VR Games on Oculus Quest 2
- Conclusion
- FAQs
How to Set Up Oculus Quest 2 for Steam VR Games
If you’re an avid gamer, you’ve probably heard about the Oculus Quest 2 – the highly popular virtual reality headset that allows you to immerse yourself in amazing gaming experiences. While the Oculus Quest 2 offers a wide range of games directly from its own library, did you know that you can also play Steam VR games on the Oculus Quest 2? In this article, we’ll walk you through the steps to set up your Oculus Quest 2 for Steam VR games.
Firstly, before diving into the world of Steam VR games, ensure that you have set up and configured your Oculus Quest 2 headset correctly. Follow the initial setup instructions provided by Oculus and make sure that your device is connected to a stable Wi-Fi network. Keep your headset charged and put on the included head strap for a comfortable gaming experience.
Next, make sure that you have a compatible gaming PC that meets the requirements for running Steam VR games. Your PC should have a capable graphics card and a strong processor to deliver smooth virtual reality gameplay. Additionally, ensure that you have the latest graphics drivers and Steam client installed on your PC.
Once your Oculus Quest 2 headset and gaming PC are both ready, you’ll need to enable developer mode on your Oculus Quest 2. Developer mode allows your headset to access and install content from outside the Oculus Store, including Steam VR games. To enable developer mode, you’ll need to access the Oculus companion app on your smartphone, go to the “Settings” tab, select your headset, and then enable developer mode.
Now that developer mode is enabled, you’ll need to set up SideQuest on your PC. SideQuest is a third-party application that allows you to easily install and manage content on your Oculus Quest 2. Download and install SideQuest on your PC by visiting the official SideQuest website. Connect your Oculus Quest 2 headset to your PC using a USB-C cable and open the SideQuest application.
With SideQuest open, you’ll need to enable developer mode within the application. To do this, go to the “Settings” tab in SideQuest and click on the “Enable Developer Mode” button. Once enabled, you’ll have access to additional features and settings within SideQuest.
Now that SideQuest is set up and your Oculus Quest 2 is connected, it’s time to install the necessary software to play Steam VR games. In SideQuest, click on the “Browse” tab and search for “Virtual Desktop.” Download and install the Virtual Desktop application, which will allow you to stream your PC’s display wirelessly to your Oculus Quest 2.
After installing Virtual Desktop, you’ll need to purchase and install the Virtual Desktop VR add-on from the Oculus Store on your headset. This add-on enables the streaming functionality between your PC and Oculus Quest 2, allowing you to play Steam VR games wirelessly.
Once the Virtual Desktop VR add-on is installed on your Oculus Quest 2, launch the Virtual Desktop application on your PC. Follow the on-screen instructions to connect your headset to your PC wirelessly. Make sure that your Oculus Quest 2 and PC are connected to the same Wi-Fi network for a seamless connection.
Once connected, open the Steam client on your PC and ensure that Steam VR is installed. Launch Steam VR and you’ll see your virtual reality environment displayed in your Oculus Quest 2 headset. From here, you can access and play your favorite Steam VR games wirelessly on the Oculus Quest 2!
That’s it! You’ve successfully set up your Oculus Quest 2 for Steam VR games. Now, you can enjoy the thrilling and immersive experiences that Steam VR has to offer on your Oculus Quest 2 headset, all without the need for any additional cables or wires.
Remember, always ensure that your PC meets the system requirements for running Steam VR games, as this will ensure optimal performance and a seamless gaming experience. So, put on your Oculus Quest 2 headset, grab your controllers, and get ready to step into a world of virtual reality gaming!
How to Install Steam VR on Oculus Quest 2
One of the great features of the Oculus Quest 2 is its ability to play Steam VR games. To get started, you’ll need to install Steam VR on your Oculus Quest 2. Here’s a step-by-step guide to help you through the installation process.
1. Begin by ensuring that your Oculus Quest 2 is connected to your computer. You can do this by using a USB-C cable or by enabling the Oculus Link feature.
2. Once your Quest 2 is connected and recognized by your computer, open the Oculus app on your PC.
3. In the Oculus app, navigate to the “Settings” tab, which is located in the bottom left corner of the window.
4. From the settings menu, select the “Beta” tab.
5. Scroll down until you see the “Public Test Channel” section. Toggle the switch to enable the Public Test Channel.
6. After enabling the Public Test Channel, the Oculus app will start updating. Wait for the update to complete, as this will enable you to install Steam VR.
7. Once the update is complete, navigate back to the “Library” tab in the Oculus app. You should now see a new category called “Unknown Sources.”
8. Click on “Unknown Sources” and select “More Settings” to open the Oculus Debug Tool.
9. In the Oculus Debug Tool, locate the “General” tab and select “Enable” under the “Unknown Sources” section.
10. Close the Oculus app on your PC and open a web browser.
11. Download and install Steam from the official Steam website (https://store.steampowered.com/).
12. Launch Steam and sign in with your Steam account credentials.
13. Once you’re logged in to Steam, navigate to the “Library” tab and click on the “+ Add a Game” button in the bottom left corner.
14. From the dropdown menu, select “Add a Non-Steam Game.”
15. A window will appear, displaying a list of available programs on your computer. Scroll down and select “Oculus VR Runtime.
16. Click on the “Add Selected Programs” button to add Oculus VR Runtime to your Steam library.
17. Once Oculus VR Runtime is added, locate it in your Steam library and right-click on it.
18. From the context menu, select “Properties.”
19. In the properties window, navigate to the “General” tab and click on the “Set Launch Options” button.
20. In the launch options, enter “-vrmode openvr” (without the quotes) and click “OK” to save the changes.
21. Close the properties window and launch Oculus VR Runtime through Steam.
22. You will now be able to access Steam VR games on your Oculus Quest 2.
That’s it! You have successfully installed Steam VR on your Oculus Quest 2. Now you can explore a vast library of VR games and experience them wirelessly on your Quest 2.
Connecting Oculus Quest 2 to Steam VR
Once you have set up your Oculus Quest 2 headset and installed Steam VR on your computer, it’s time to connect the two and start playing your favorite Steam VR games wirelessly. Follow the steps below to connect your Oculus Quest 2 to Steam VR:
1. Put on your Oculus Quest 2 headset and turn it on. Make sure it is fully charged to avoid any interruptions during gameplay.
2. Open the Oculus app on your mobile device or computer and ensure that it is connected to your Oculus Quest 2 headset.
3. On your computer, launch the Steam client and log in to your Steam account. If you don’t have a Steam account, you’ll need to create one in order to access and play Steam VR games.
4. Once you’re logged in to Steam, navigate to the SteamVR page in the Steam store. Here, you can find a wide selection of VR games specifically designed for Steam VR.
5. Click on the “Download” button to download and install the SteamVR software on your computer. This software acts as a bridge between your Oculus Quest 2 headset and the Steam platform.
6. After the installation is complete, open the SteamVR application. It should automatically detect your Oculus Quest 2 headset if it is properly connected.
7. Put on your Oculus Quest 2 headset and make sure it is turned on. You should see a prompt on the headset’s display asking you to grant permission for SteamVR to access your headset. Accept the prompt to enable the connection.
8. Once the connection is established, you will be able to access the Steam VR interface through your Oculus Quest 2 headset. You can use the Oculus Touch controllers to navigate, select games, and immerse yourself in the virtual worlds of Steam VR.
9. To launch a Steam VR game, simply select it from the Steam VR interface and follow any further instructions or prompts that may appear on the screen.
10. Enjoy playing your favorite Steam VR games wirelessly on your Oculus Quest 2 headset!
Connecting your Oculus Quest 2 to Steam VR opens up a world of possibilities for virtual reality gaming. With the freedom to play wirelessly and access a wide range of immersive games on the Steam platform, you can truly take your VR gaming experience to the next level.
Playing Steam VR Games Wirelessly on Oculus Quest 2
The Oculus Quest 2 is a versatile virtual reality headset that offers a variety of gaming experiences. One of its standout features is the ability to play Steam VR games wirelessly. This means you can enjoy your favorite VR titles from the Steam platform without the need for a physical connection to your PC.
Playing Steam VR games wirelessly on the Oculus Quest 2 requires the use of a feature called Oculus Link. This feature allows you to connect your Quest 2 headset to your PC wirelessly and stream the VR content directly to your headset. By following a few simple steps, you can experience the immersive world of Steam VR games without the hassle of wires.
The first step to playing Steam VR games wirelessly on your Oculus Quest 2 is to make sure your PC meets the minimum system requirements. This includes having a compatible graphics card, a reliable Wi-Fi connection, and enough processing power to handle the demands of VR gaming.
Next, you’ll need to set up your Oculus Quest 2 for wireless PC streaming. This involves enabling the Oculus Link feature in your headset’s settings menu. Once enabled, your Quest 2 will be able to connect to your PC wirelessly and stream the VR content directly to your headset.
After setting up your Quest 2 for wireless PC streaming, you’ll need to install the Steam VR app on your PC. This can be done by visiting the Steam website and downloading the Steam client. Once installed, launch the Steam VR app and ensure that it is running smoothly on your PC.
With the Oculus Link feature enabled and the Steam VR app installed on your PC, it’s time to connect your Oculus Quest 2 to Steam VR wirelessly. To do this, put on your Quest 2 headset and navigate to the Oculus Link menu. From there, select the option to connect to your PC wirelessly. Follow the on-screen instructions to establish a wireless connection between your Quest 2 and your PC.
Once the wireless connection between your Quest 2 and your PC is established, you can access the Steam VR game library directly from your Oculus Quest 2 headset. Simply launch the Steam VR app from within your headset, browse through the available games, and select the one you’d like to play. The game will then be streamed wirelessly to your Quest 2, allowing you to enjoy a seamless and immersive VR gaming experience.
While playing Steam VR games wirelessly on your Oculus Quest 2 is a fantastic experience, it’s important to note that there may be some potential issues or limitations. For instance, the quality and performance of the wireless streaming may depend on the strength of your Wi-Fi connection and the capabilities of your PC. Additionally, some games may require a more powerful PC setup to run smoothly.
Troubleshooting Tips for Playing Steam VR Games on Oculus Quest 2
Playing Steam VR games on the Oculus Quest 2 can provide an immersive and exciting gaming experience. However, like any technology, issues may arise that can hinder your gameplay. If you encounter any difficulties, don’t worry! We’ve compiled a list of troubleshooting tips to help you resolve common problems and get back to enjoying your virtual reality adventures.
1. Check Your Internet Connection: A stable internet connection is crucial for a smooth VR gaming experience. Ensure that your Wi-Fi network is stable and strong enough to support the demands of Steam VR games. Consider using a wired connection if possible, as it provides a more reliable and consistent internet connection.
2. Update Oculus Quest 2 and Steam VR: Keeping your Oculus Quest 2 and Steam VR software up to date is essential for optimal performance. Regularly check for updates and install them to benefit from bug fixes and new features. Updating both the Oculus Quest 2 firmware and Steam VR can help resolve compatibility issues and improve overall performance.
3. Check System Requirements: Steam VR games often have specific system requirements. Ensure that your Oculus Quest 2 meets the minimum specifications for the games you want to play. If your hardware falls short, you may experience performance issues or even be unable to run certain games. Upgrading your PC components, if necessary, can help ensure a smoother gaming experience.
4. Adjust Graphics Settings: If you notice performance issues while playing Steam VR games on your Oculus Quest 2, consider adjusting the graphics settings. Lowering the graphics options, such as reducing the resolution or decreasing the graphical effects, can help improve the overall performance of the game, especially if your hardware is struggling to keep up.
5. Clear Cache and Restart: If you’re experiencing glitches or performance problems, clearing the cache and restarting your Oculus Quest 2 headset and the Steam VR software can often resolve these issues. Clearing the cache helps eliminate any temporary files or corrupted data that might be impacting the performance of your VR games.
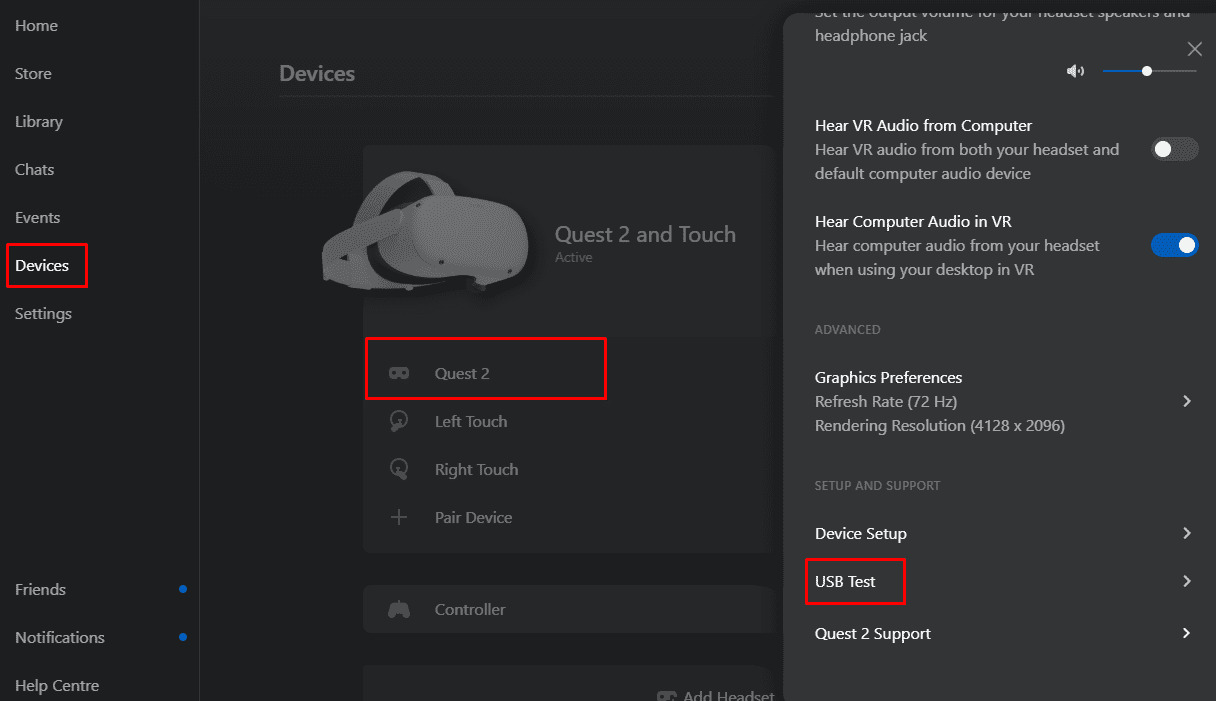
6. Check USB Connection: If you are using Oculus Link to connect your Oculus Quest 2 to your PC, ensure that the USB cable is properly connected. Sometimes, a loose or faulty connection can cause intermittent problems or prevent the Oculus Quest 2 from being recognized by your PC. Try using a different USB port or a different USB cable if necessary.
7. Disable Antivirus and Firewall: In some cases, antivirus or firewall software may interfere with the connection between Oculus Quest 2 and Steam VR. Temporarily disabling these security measures can help troubleshoot connectivity issues and allow your Oculus Quest 2 to communicate smoothly with Steam VR.
8. Reinstall Steam VR: If you’re still encountering issues after trying the previous troubleshooting steps, you may need to reinstall the Steam VR software altogether. Uninstall Steam VR from your PC, then download and install the latest version from the official Steam website. This process can help resolve any software-related conflicts or corrupted installations that may be causing problems.
9. Reach Out to Oculus Support: If you’ve exhausted all troubleshooting options and are still experiencing issues while playing Steam VR games on your Oculus Quest 2, don’t hesitate to contact Oculus Support. They have a team of experts who can provide further assistance and help resolve any persistent problems you may be facing.
By following these troubleshooting tips, you can overcome common obstacles and enjoy a seamless and immersive gaming experience while playing Steam VR games on your Oculus Quest 2. Remember, patience and persistence are key when dealing with technical issues, and don’t hesitate to reach out for support if you need it. Now, go ahead and dive into the incredible world of virtual reality gaming!
After exploring the various methods to play Steam VR games on the Oculus Quest 2 wirelessly, it is clear that the virtual gaming landscape is evolving rapidly. With the advancement of technology, gamers can now experience the immersive world of virtual reality without the limitations of wires and cables.
By using tools like Virtual Desktop and the Oculus Link cable, you can connect your Oculus Quest 2 to your PC and enjoy a wide range of Steam VR games. Alternatively, with the advent of Air Link, you can now play wirelessly, adding convenience and freedom to your gaming experience.
Whether you choose to go wireless or opt for a wired connection, the Oculus Quest 2 offers a versatile and immersive gaming platform for VR enthusiasts. With its powerful hardware and extensive library of games, the Quest 2 continues to push the boundaries of virtual reality gaming.
So, if you’re ready to take your gaming experience to the next level, grab your Oculus Quest 2, set up the necessary software and tools, and dive into the exciting world of Steam VR games. Get ready to immerse yourself in a virtual reality adventure like never before!
FAQs
1. Can I play Steam VR games on Oculus Quest 2 wirelessly?
Yes, it is possible to play Steam VR games on the Oculus Quest 2 wirelessly. By using a dedicated app called Virtual Desktop and some additional setup, you can stream your PC VR games from Steam onto your Oculus Quest 2 headset without the need for any cables. This allows for a more immersive and untethered gaming experience.
2. What do I need to play Steam VR games on Oculus Quest 2 wirelessly?
To play Steam VR games wirelessly on your Oculus Quest 2, you will need a few things:
– A compatible PC capable of running VR games
– An Oculus Quest 2 headset
– A stable Wi-Fi connection
– The Virtual Desktop app (purchased through the Oculus Store)
– SideQuest installed on your PC for additional setup
3. Are there any requirements for my PC to run Steam VR games on Oculus Quest 2 wirelessly?
Yes, your PC will need to meet certain requirements to run Steam VR games on the Oculus Quest 2 wirelessly. Your PC should have a capable graphics card, a strong processor, and enough RAM to handle the demanding nature of VR gaming. Refer to the recommended system requirements for Steam VR games and make sure your PC meets or exceeds them for optimal performance.
4. Does playing Steam VR games on Oculus Quest 2 wirelessly affect the gameplay or graphics quality?
While playing Steam VR games wirelessly on the Oculus Quest 2 is a convenient and immersive option, there may be some minor differences in gameplay and graphics quality compared to playing directly on a PC. Streaming games wirelessly can introduce a small amount of latency, which may slightly impact response times. Additionally, the visual fidelity may not be as high as playing directly on a powerful PC, but the overall experience is still enjoyable.
5. Can I use Oculus Link to play Steam VR games on Oculus Quest 2?
Yes, the Oculus Link feature allows you to connect your Oculus Quest 2 to a PC using a USB cable, enabling you to play Steam VR games directly on the headset. This method provides a more direct and stable connection, which can result in better performance and graphics compared to wireless streaming. You will need a compatible USB cable and a PC that meets the Oculus Link requirements.