
In today’s digital age, staying connected and enjoying immersive gaming experiences is a top priority for many PC gamers. One popular accessory that enhances gameplay is the Turtle Beach headset. With its superior audio quality and comfortable design, it is no wonder why so many gamers choose Turtle Beach as their go-to headset. However, connecting a Turtle Beach headset to a PC may seem like a daunting task for some. But fear not! In this article, we will guide you through the step-by-step process of connecting your Turtle Beach headset to a PC, so you can enjoy crystal clear audio and immersive adventures without any hassle. So, grab your headset and let’s dive in!
Inside This Article
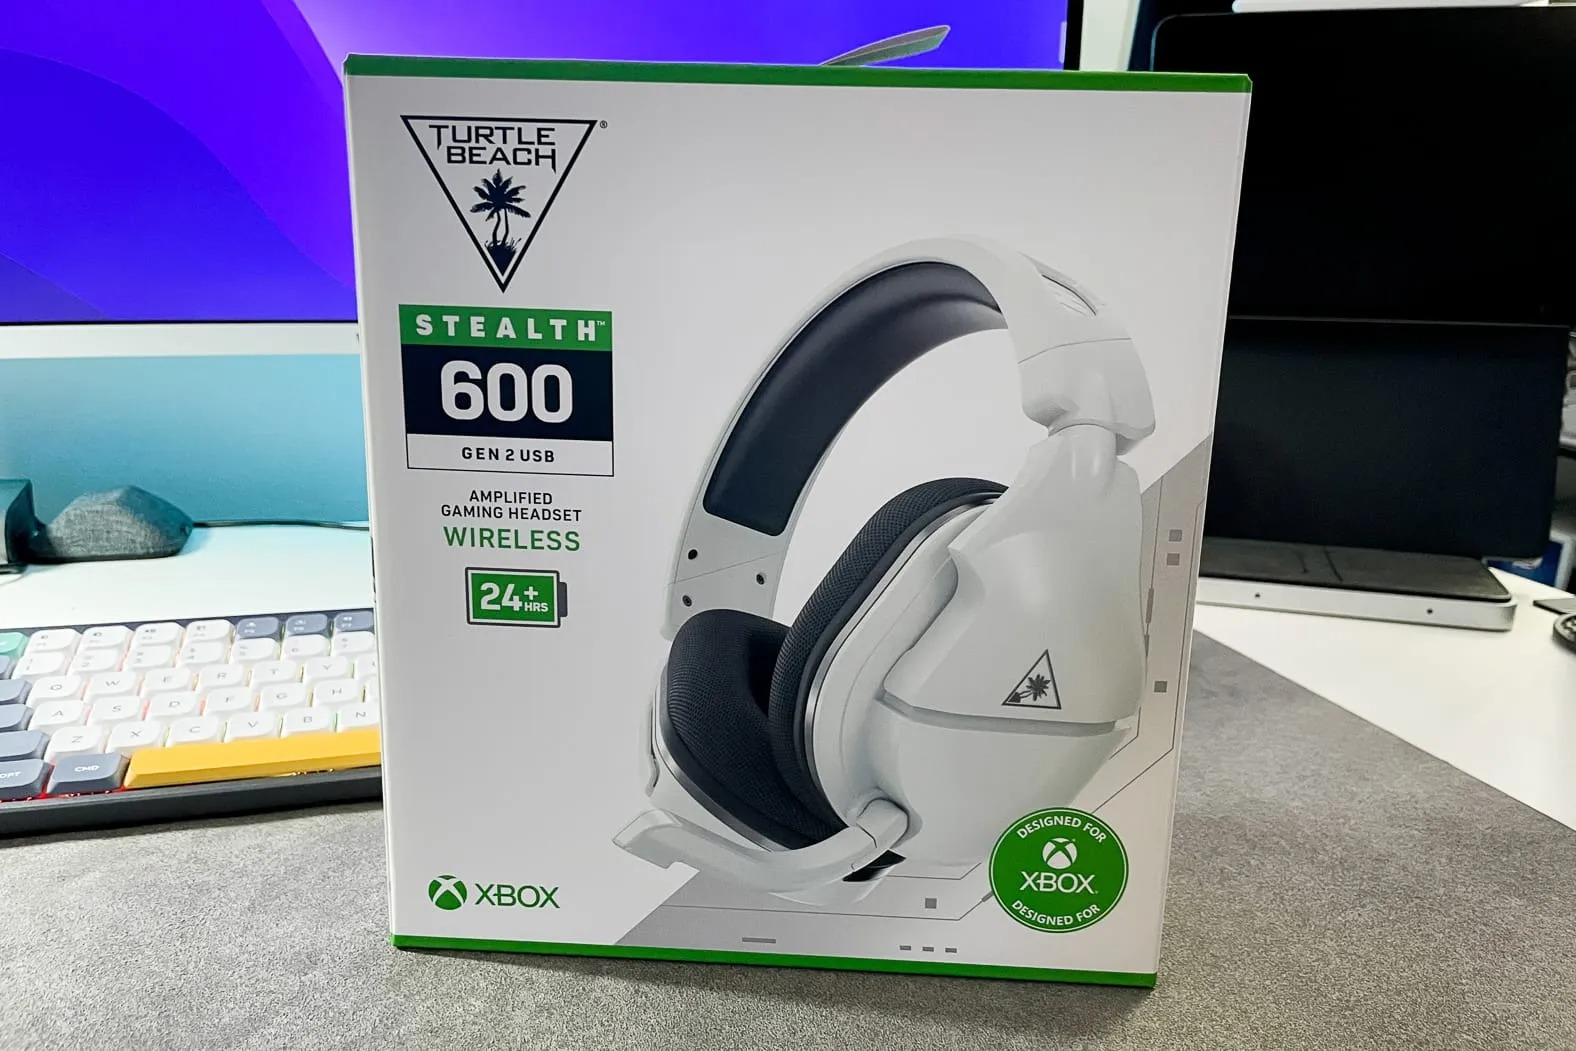
- Setting up the Turtle Beach Headset
- Connecting the Turtle Beach Headset to the PC via USB
- Connecting the Turtle Beach Headset to the PC via audio jacks
- Adjusting the PC settings for the Turtle Beach Headset
- Conclusion
- FAQs
Setting up the Turtle Beach Headset
Setting up your Turtle Beach headset is a simple and straightforward process that will have you up and running in no time. Whether you’re using a PC for gaming, streaming, or communication, the following steps will guide you through the setup process.
Before you start, make sure you have all the necessary components for the setup. This includes the Turtle Beach headset, the USB dongle (if applicable), and any cables or adapters that may be required.
Next, locate the audio ports on your PC. These are usually located on the front or back of the computer tower. You will typically find separate ports for headphones and microphones.
If your Turtle Beach headset comes with a USB dongle, insert it into an available USB port on your PC. This dongle acts as a wireless receiver and allows you to connect your headset to your computer wirelessly.
If your Turtle Beach headset does not have a USB dongle, you will need to use the audio jacks on your PC. Connect the headphone cable to the headphone port on your PC, usually indicated by a headphone icon. Similarly, connect the microphone cable to the microphone port, usually indicated by a microphone icon.
Once the cables are connected, make sure to plug in any additional power cables or adapters that may be required. Some Turtle Beach headsets require additional power for features like amplified audio or surround sound.
Once all the connections are made, you will need to adjust the PC settings to recognize and optimize the audio from your Turtle Beach headset. This can be done by accessing the Sound settings in the Control Panel (on Windows) or through the System Preferences (on Mac).
In the Sound settings, select the Turtle Beach headset as the default playback and recording device. This will ensure that audio from your PC is routed to the headset, and that your voice is picked up by the microphone.
Finally, test your Turtle Beach headset to make sure everything is working properly. Play some audio or join a voice call to confirm that you can hear sound through the headset and that the microphone is picking up your voice.
With the setup complete, you are now ready to enjoy the immersive audio experience provided by your Turtle Beach headset. Whether you’re gaming, listening to music, or engaging in video calls, the headset will elevate your audio experience to a whole new level.
Connecting the Turtle Beach Headset to the PC via USB
Connecting your Turtle Beach headset to your PC via USB is a straightforward and convenient method. By utilizing the USB connection, you can enjoy high-quality audio and easily control various headset features.
To connect your Turtle Beach headset to your PC via USB, follow these steps:
- Locate the USB port on your PC. This is typically found on the front or back of your computer case.
- Take the USB cable that came with your Turtle Beach headset and plug one end into the USB port on your PC.
- Plug the other end of the USB cable into the USB port on your Turtle Beach headset.
- Once both ends are securely connected, your PC should automatically recognize the headset.
- You may need to wait for a few moments as your PC installs any necessary drivers for the headset.
- After the installation process, your Turtle Beach headset will be ready to use on your PC.
When connected via USB, you can take advantage of the additional features that Turtle Beach headsets offer. These include microphone monitoring, virtual surround sound, and customizable audio presets.
Remember to check the user manual or the Turtle Beach website for specific instructions and troubleshooting tips for your headset model.
Overall, connecting your Turtle Beach headset to your PC via USB is a quick and hassle-free method that allows you to enjoy immersive audio and a seamless gaming experience.
Connecting the Turtle Beach Headset to the PC via audio jacks
If your Turtle Beach headset has an audio jack connection, you can easily connect it to your PC to enjoy high-quality sound during gaming or multimedia activities. Here’s a step-by-step guide on how to connect your Turtle Beach headset to your PC via audio jacks:
- Identify the audio jacks on your PC. Most PCs have separate audio jacks, usually color-coded as green and pink. The green jack is for audio output (headphones/speakers), and the pink jack is for audio input (microphone).
- Locate the corresponding audio jacks on your Turtle Beach headset. The audio jacks on the headset will also be color-coded, matching the colors of the PC audio jacks.
- Connect the green jack on your Turtle Beach headset to the green audio jack on your PC. This will route the audio output from your PC to the headset, allowing you to hear the sound directly in your headphones.
- If your Turtle Beach headset has a separate microphone, connect the pink jack on the headset to the pink audio jack on your PC. This will enable you to use the headset’s microphone for voice chat or recordings on your PC.
- Ensure that both audio jacks are securely plugged into their respective ports. Loose connections can result in poor audio quality or no sound at all.
- Once the headset is connected, check your PC’s audio settings. Right-click on the speaker icon in the system tray and select “Sounds.” In the “Playback” tab, make sure your Turtle Beach headset is set as the default audio playback device. Similarly, in the “Recording” tab, ensure that the headset’s microphone is set as the default recording device.
- Test the headset by playing audio or engaging in a voice chat. Make sure the sound is coming through the headset and that the microphone is picking up your voice accurately. Adjust the volume levels if necessary.
By following these steps, you can successfully connect your Turtle Beach headset to your PC via audio jacks. Enjoy an immersive audio experience and crisp communication during your gaming sessions or other PC activities!
Adjusting the PC settings for the Turtle Beach Headset
Once you have connected your Turtle Beach headset to your PC, you may need to make some adjustments to the PC settings to ensure optimal audio performance. Here are a few steps you can follow to customize your PC settings for your Turtle Beach headset:
1. Open the Sound settings: Click on the Start menu and search for “Sound” or navigate to Control Panel > Hardware and Sound > Sound.
2. Select the Turtle Beach headset: In the Sound settings window, click on the “Playback” tab. Look for your Turtle Beach headset in the list of available playback devices. It may be labeled as “USB headset” or named after the specific model of your Turtle Beach headset.
3. Set the Turtle Beach headset as the default device: Right-click on the Turtle Beach headset and select “Set as Default Device.” This will ensure that all audio output is directed to the headset.
4. Configure the sound settings: Click on the “Properties” button to access the properties window for your Turtle Beach headset. Here, you can adjust various settings such as volume levels, equalizer presets, and surround sound options. Take some time to explore these settings and fine-tune them according to your preferences.
5. Test the audio: To ensure that the Turtle Beach headset is working correctly, click on the “Configure” button in the properties window. Follow the on-screen instructions to test the audio output and make adjustments if necessary.
6. Adjust communication settings: If you plan on using the Turtle Beach headset for communication purposes, such as voice chat or online gaming, it is important to configure the communication settings. In the Sound settings window, click on the “Recording” tab and select the Turtle Beach headset as the default recording device.
7. Update drivers: To ensure compatibility and access to the latest features, it is recommended to keep your PC’s audio drivers up to date. Visit the Turtle Beach website or the manufacturer’s website of your PC’s sound card to download and install any available driver updates.
By following these steps and adjusting the PC settings, you can optimize the audio experience with your Turtle Beach headset and enjoy enhanced sound quality for your favorite games, movies, and music.
Conclusion
Connecting a Turtle Beach headset to a PC is a simple process that allows you to elevate your gaming or audio experience. Whether you’re an avid gamer or someone who enjoys high-quality audio, these headsets offer impressive features and performance.
By following the steps outlined in this guide, you’ll be able to connect your Turtle Beach headset to your PC effortlessly. Remember to check the compatibility of your headset with your PC and ensure that you have the necessary cables and drivers installed.
Once connected, you’ll be able to enjoy immersive sound, crystal-clear communication, and a comfortable gaming experience. Whether you’re gaming, watching movies, or listening to music, a Turtle Beach headset enhances the audio quality and provides an immersive experience.
So, go ahead and connect your Turtle Beach headset to your PC and take your audio experience to the next level!
FAQs
1. Can I use a Turtle Beach headset with my PC?
Yes, Turtle Beach headsets can be used with a PC. Most Turtle Beach headsets are compatible with PCs through either a USB connection or the audio jack. You may need to download and install the appropriate drivers or software for the headset to work properly with your PC.
2. How do I connect a Turtle Beach headset to my PC?
To connect a Turtle Beach headset to your PC, follow these steps:
- For USB connection: Plug the USB cable into an available USB port on your PC. The PC should automatically detect the headset and install any necessary drivers. You may also need to go into your PC’s audio settings to select the headset as the default playback device.
- For audio jack connection: Locate the audio jack on your PC (usually color-coded green) and plug the headset’s audio cable into it. You may need to go into your PC’s audio settings to select the headset as the default playback device.
3. Why is my Turtle Beach headset not working with my PC?
There could be several reasons why your Turtle Beach headset is not working with your PC. Here are a few troubleshooting steps you can try:
- Make sure the headset is properly connected to the PC via USB or audio jack.
- Check if the headset requires any specific drivers or software to be installed on your PC. Visit Turtle Beach’s official website to download the necessary drivers or software.
- Ensure that the headset is selected as the default playback device in your PC’s audio settings.
- Try connecting the headset to a different USB port or audio jack on your PC.
- If none of the above steps work, try using the headset with a different PC or device to determine if the issue is with the headset or your PC.
4. Can I use a Turtle Beach headset for gaming on my PC?
Yes, Turtle Beach headsets are designed for gaming and can be used with PCs for an enhanced gaming experience. Whether you’re playing games, watching movies, or listening to music, Turtle Beach headsets provide high-quality audio and comfortable gaming sessions on your PC.
5. How do I adjust the audio settings for my Turtle Beach headset on PC?
To adjust the audio settings for your Turtle Beach headset on PC, follow these steps:
- Right-click on the speaker icon in the system tray of your PC and select “Sounds.”
- In the “Playback” tab, look for your Turtle Beach headset and select it as the default playback device.
- Click on the “Properties” button and navigate to the “Levels” tab.
- Adjust the volume and other audio settings according to your preference.
- Click “OK” to save the changes.