
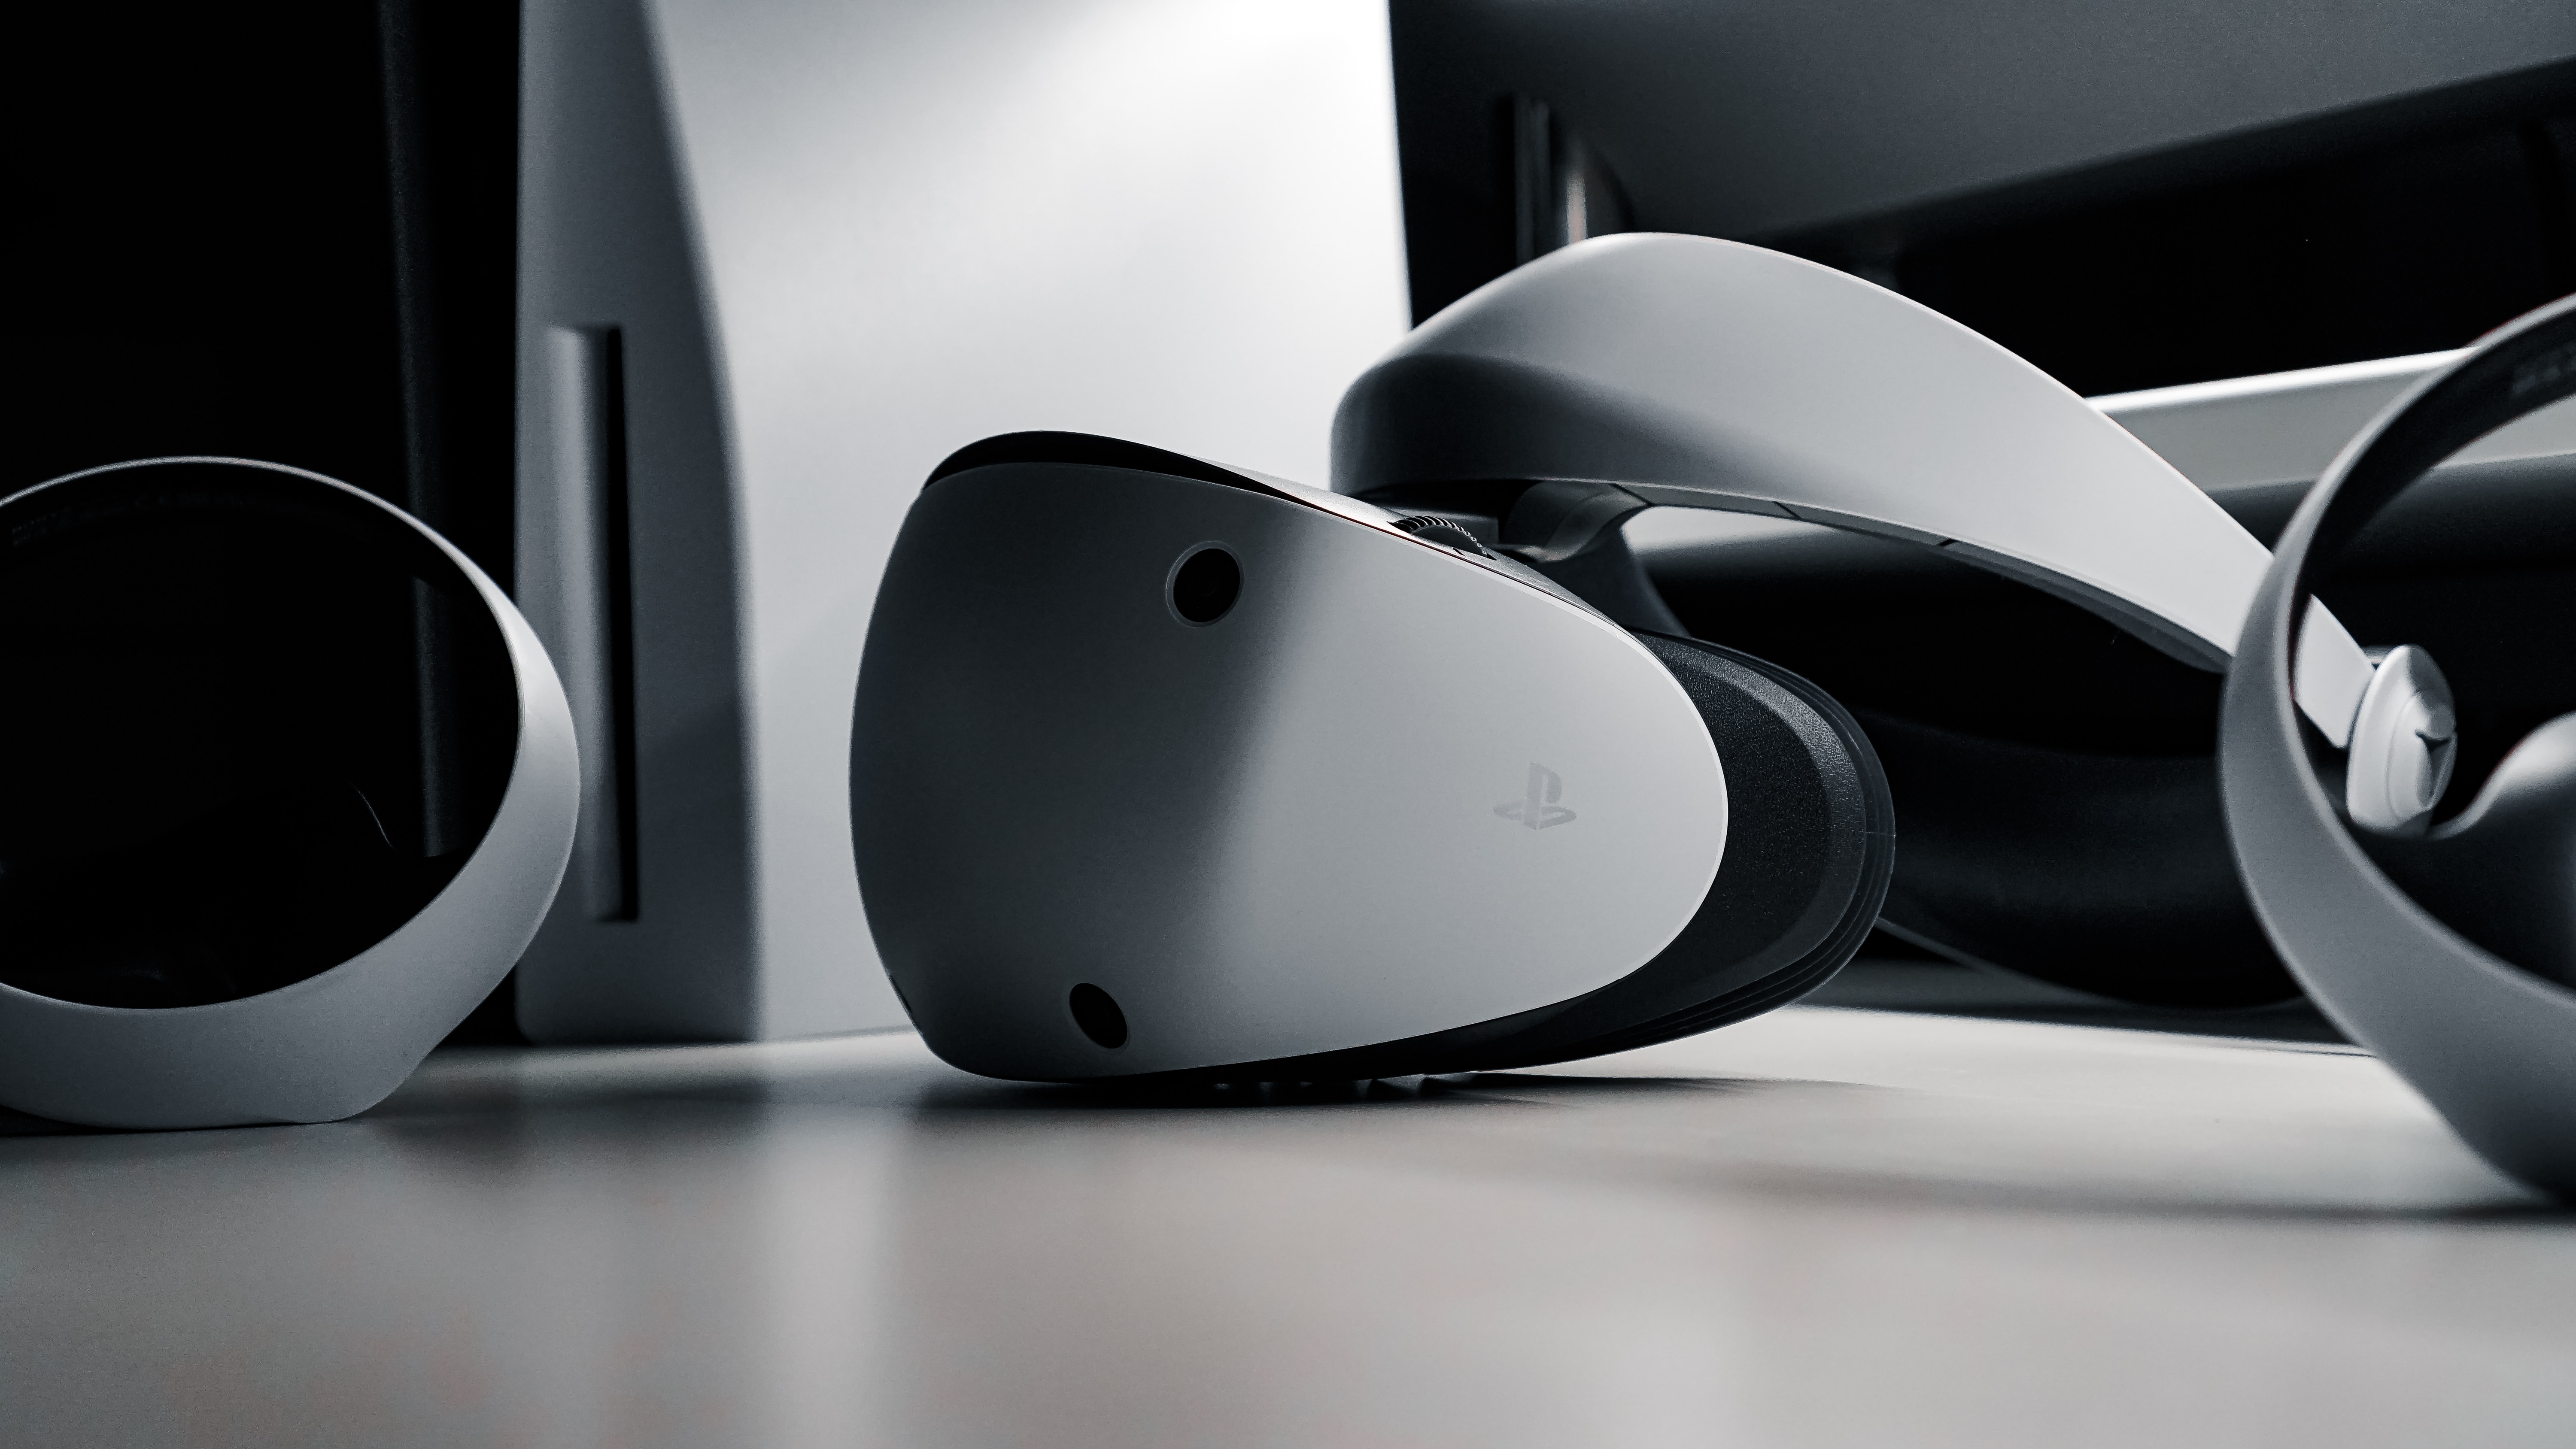
Virtual reality (VR) has revolutionized the gaming world, allowing players to dive headfirst into immersive and captivating experiences. One of the most popular VR platforms is the PlayStation 4 VR (PS4 VR) system, which provides a gateway to a whole new level of gaming adventures.
Setting up your PS4 VR may seem like a daunting task at first, but fear not! In this article, we will guide you through the process step by step, ensuring that you can start enjoying the wonders of virtual reality in no time. Whether you are a seasoned gamer or new to the world of VR, this guide will equip you with the knowledge needed to set up your PS4 VR and embark on unforgettable gaming journeys.
Inside This Article
- Setting Up the PlayStation VR Headset
- Connecting the PlayStation Camera
- Positioning the PlayStation Move Controllers
- Adjusting the VR Headset for Comfort
- Conclusion
- FAQs
Setting Up the PlayStation VR Headset
The PlayStation VR headset is a fantastic piece of technology that allows you to immerse yourself in the virtual world of gaming. Setting up the headset is relatively simple, and in this guide, we will walk you through the process step by step.
Step 1: Unboxing the PlayStation VR
When you first receive your PlayStation VR headset, it’s important to carefully unbox it and ensure that you have all the necessary components. The box should contain the VR headset, a processor unit, a set of stereo headphones, a PlayStation Camera, and all the required cables.
Step 2: Connecting the Processor Unit
Next, you’ll need to connect the processor unit to your PlayStation 4 console. Use the provided HDMI and USB cables to connect the processor unit to the PS4. The processor unit is responsible for handling the VR processing and sending the image to the headset.
Step 3: Plugging in the Headset
Now it’s time to connect the headset itself. Plug one end of the VR headset cable into the back of the headset and the other end into the port labeled “HD” on the processor unit. Ensure that the cables are securely plugged in to avoid any connection issues.
Step 4: Adjusting the Headset
Before you start using the PlayStation VR, it’s crucial to adjust the headset to ensure a comfortable fit. Use the headband adjustment strap to fit the headset on your head snugly. Adjust the eye-to-eye distance by sliding the screen closer or farther away from your eyes.
Step 5: Setting Up the PlayStation Camera
The PlayStation Camera is an essential component of the PlayStation VR system. Position the camera on top of your TV or another stable surface, pointed towards the area where you’ll be playing. The camera tracks the position of the VR headset and the PlayStation Move controllers.
Step 6: Calibrating the Headset
Once the headset is on and the camera setup is complete, turn on your PlayStation 4 console and follow the on-screen instructions to calibrate the VR headset. This calibration process ensures that the tracking is accurate and provides the best virtual reality experience.
Congratulations! You have successfully set up your PlayStation VR headset. Now you can dive into a whole new world of immersive gaming and virtual reality experiences. Remember to follow the instructions provided by game developers for the specific games you play to optimize your VR experience.
Connecting the PlayStation Camera
Connecting the PlayStation Camera is an essential step in setting up your PS4 VR experience. The camera tracks your movements and enables you to fully immerse yourself in virtual reality. Follow these steps to connect the PlayStation Camera:
- Locate the PlayStation Camera. It is a small rectangular device that sits on top or near your TV.
- Ensure that your PS4 console is turned off. It’s important to connect the camera while the console is powered down to avoid any potential issues.
- Plug the USB cable from the PlayStation Camera into one of the available USB ports on the front of the PS4 console.
- Position the camera. Place it securely on top of your TV or in a location where it has a clear line of sight to the play area. Make sure it is positioned correctly to capture your movements accurately.
- Turn on your PS4 console. Once your console is powered on, it will automatically detect the connected PlayStation Camera.
- Follow the on-screen prompts. The system will guide you through the calibration process, ensuring that the camera is aligned properly.
- Test the camera. Open the PlayStation VR menu, go to Settings, then Devices, and select PlayStation Camera. From here, you can check if the camera is functioning correctly and adjust the camera settings if necessary.
With your PlayStation Camera successfully connected, you’re one step closer to unlocking the full potential of your PS4 VR headset. The camera will accurately track your movements and provide a seamless virtual reality experience.
Positioning the PlayStation Move Controllers
Once you have set up your PlayStation VR headset and connected the PlayStation Camera, it’s time to position the PlayStation Move controllers. These motion controllers are essential for a fully immersive virtual reality experience on the PlayStation 4. Properly positioning them will ensure accurate tracking and enhance your gameplay.
Here are some steps to help you position the PlayStation Move controllers:
- First, make sure the PlayStation Move controllers are charged. Use the provided USB cable to connect them to the PlayStation 4 or a power source, and let them charge fully before starting.
- Make sure the PlayStation VR headset is turned on and properly calibrated. This will ensure that the tracking system is ready to detect the PlayStation Move controllers.
- Hold the PlayStation Move controllers in your hands and stand in the middle of the play area. It’s important to have enough space to move around comfortably without obstacles.
- Extend your arms forward, parallel to the ground, with the PlayStation Move controllers in your hands. Keep your arms relaxed and avoid any unnecessary strain.
- Check the position of the virtual hands in the VR world. They should match the position of your real-life hands holding the PlayStation Move controllers. If there is any misalignment, you may need to adjust the camera position or recalibrate the PlayStation VR system.
- Ensure that the PlayStation Move controllers are within the field of view of the PlayStation Camera. Avoid obstructing the controllers with your body or any other objects.
- If you experience any tracking issues or inaccuracies, try adjusting the lighting conditions in the room. Excessive brightness or darkness can affect the performance of the PlayStation Move controllers.
- During gameplay, be mindful of your movements. Avoid sudden jerky motions or blocking the PlayStation Move controllers with other objects. Smooth and deliberate movements will result in more accurate tracking.
- When you finish using the PlayStation Move controllers, make sure to turn them off to conserve battery life. Simply press and hold the PlayStation button until the controller powers down.
By following these steps, you will be able to position the PlayStation Move controllers accurately and enjoy a seamless virtual reality gaming experience on your PlayStation 4.
Adjusting the VR Headset for Comfort
One of the most important aspects of enjoying your PlayStation VR experience is ensuring that the headset fits comfortably on your head. Here are some tips for adjusting the VR headset for optimal comfort:
1. Start by loosening the headband: The VR headset has an adjustable headband that allows you to customize the fit. Loosen the headband so that it rests comfortably on your head without feeling too tight or restrictive.
2. Position the forehead rest: The forehead rest on the VR headset helps distribute the weight evenly and reduces pressure on your forehead. Make sure to position it so that it comfortably rests on your forehead without causing any discomfort.
3. Adjust the tightness of the side straps: The side straps of the VR headset help keep it in place. Adjust the tightness of the straps so that the headset stays secure on your head without feeling overly tight. You want a snug fit, but not to the point where it causes any discomfort or pain.
4. Check the position of the display box: The display box of the VR headset can be tilted slightly up or down to ensure that the image appears clear and in focus. Adjust the position of the display box until you get a clear and sharp visual experience.
5. Take breaks when needed: While the VR headset is designed for extended play sessions, it’s important to take breaks when you start feeling any discomfort or fatigue. Listen to your body and give yourself short breaks to rest your eyes and relax.
6. Use the lens adjustment dial: The VR headset comes with a lens adjustment dial that allows you to fine-tune the focus of the display. If you wear glasses or have slightly different vision in each eye, use the lens adjustment dial to get a clear and comfortable view.
By following these tips and taking the time to adjust the VR headset for your comfort, you’ll be able to fully immerse yourself in the virtual reality world without any distractions or discomfort.
Conclusion
In conclusion, setting up your PS4 VR system can open up a whole new world of immersive gaming experiences. By following the steps outlined in this guide, you can ensure that your virtual reality headset is properly connected, calibrated, and ready to use. Remember to keep your PS4 and PlayStation Camera up to date with the latest software updates for the best performance.
As with any new technology, it may take some time to familiarize yourself with the setup process and the various features of the PS4 VR system. Be patient and don’t hesitate to explore the wide range of VR games and experiences available.
Whether you’re a seasoned gamer or new to the world of virtual reality, the PS4 VR system offers an exciting and interactive way to play games. So why wait? Dive into the immersive world of PS4 VR and embark on unforgettable gaming adventures like never before.
FAQs
Question 1: Can the PS4 VR be used with other gaming consoles?
Answer: No, the PS4 VR is specifically designed to be used with the PlayStation 4 console. It is not compatible with other gaming consoles.
Question 2: Do I need any additional equipment to set up the PS4 VR?
Answer: Yes, besides the PS4 VR headset, you will need the PlayStation 4 console, the PlayStation Camera, and the PlayStation Move controllers. These peripherals are essential for a complete PS4 VR setup.
Question 3: Can I play regular PS4 games with the PS4 VR?
Answer: Yes, you can play regular PS4 games using the PS4 VR headset. However, not all games are compatible with VR, so make sure to check the game’s compatibility before purchasing or playing.
Question 4: How do I set up the PS4 VR?
Answer: To set up the PS4 VR, you need to connect the PS4 VR headset to the PlayStation 4 console using the provided cables. You also need to connect the PlayStation Camera and pair the PlayStation Move controllers to your console. Additionally, follow the on-screen instructions to calibrate and adjust the VR settings for an optimal experience.
Question 5: Can I use the PS4 VR without a TV?
Answer: Yes, you can use the PS4 VR without a TV. The VR headset acts as a display, allowing you to fully immerse yourself in the virtual reality experience. However, for initial setup and adjusting settings, it may be necessary to use the TV as well.