
Welcome to our guide on how to set up the X Arcade Joystick for Retro Pie! If you’re a fan of retro gaming, then you’re in for a treat. The X Arcade Joystick is a fantastic accessory that allows you to enjoy all the classic games from your favorite consoles on your Retro Pie setup. Whether you’re looking to relive the nostalgia of old-school arcade titles or dive into the world of retro gaming for the first time, this guide will walk you through the process of setting up your X Arcade Joystick with Retro Pie. So, grab your controller and get ready to embark on a gaming journey that takes you back to the golden age of gaming!
Inside This Article
- Getting Started: Compatibility with RetroPie, Required materials, Connecting the X Arcade Joystick to RetroPie, Configuring the controller inputs
- Setting up RetroPie – Installing RetroPie on your Raspberry Pi – Configuring the basics (system language, Wi-Fi, etc.)
- Configuring X Arcade Joystick in RetroPie
- Conclusion
- FAQs
Getting Started: Compatibility with RetroPie, Required materials, Connecting the X Arcade Joystick to RetroPie, Configuring the controller inputs
Welcome to the world of retro gaming! If you’re a fan of classic video games and want to relive the nostalgia, setting up an X Arcade Joystick with RetroPie is a fantastic choice. RetroPie is a software package that allows you to turn your Raspberry Pi into a retro gaming console, capable of running a wide variety of classic game emulators and platforms.
Before diving into the setup process, it’s important to ensure that your X Arcade Joystick is compatible with RetroPie. The X Arcade Joystick is a popular choice among retro gamers, thanks to its sturdy build and arcade-like feel. Luckily, RetroPie supports the X Arcade Joystick out of the box, making the setup process straightforward.
Now, let’s gather the required materials for the setup. Firstly, you’ll need a Raspberry Pi single-board computer. Any model from the Raspberry Pi family will work, but it’s recommended to use one with sufficient processing power, such as the Raspberry Pi 4. Additionally, you’ll need an HDMI cable to connect the Raspberry Pi to a display, a microSD card for the RetroPie installation, a power supply, and a USB keyboard to navigate the setup process.
Once you have all the necessary materials, it’s time to connect your X Arcade Joystick to RetroPie. Begin by connecting the HDMI cable from your Raspberry Pi to a TV or monitor. Insert the microSD card with the RetroPie image into the Raspberry Pi’s microSD card slot. Connect your X Arcade Joystick to one of the USB ports on the Raspberry Pi. Finally, plug in the power supply to turn on the Raspberry Pi.
With the physical connections established, it’s now time to configure the controller inputs. RetroPie makes this process hassle-free. Once the Raspberry Pi boots up, you’ll be greeted with the RetroPie interface. Using your USB keyboard, navigate to the RetroPie main menu and select “Configure Input.” Follow the on-screen instructions to set up your X Arcade Joystick’s buttons and directions for various emulator systems.
That’s it! You have successfully completed the initial setup of your X Arcade Joystick with RetroPie. Now you can enjoy playing your favorite retro games using the authentic feel of the X Arcade Joystick. Experiment with different emulators and games to relive the golden era of gaming.
Remember, if you encounter any issues during the setup process or need assistance with configuring the controller inputs, consult the RetroPie documentation or seek support from the RetroPie community. They are always willing to help fellow retro gaming enthusiasts get the most out of their gaming experience.
Setting up RetroPie – Installing RetroPie on your Raspberry Pi – Configuring the basics (system language, Wi-Fi, etc.)
Setting up RetroPie on your Raspberry Pi is a fun and rewarding experience that allows you to enjoy classic video games with a touch of nostalgia. In this section, we will guide you through the process of installing RetroPie on your Raspberry Pi and configuring the essential settings.
To begin, you will need a Raspberry Pi microcomputer and a compatible SD card. Make sure you have a computer with an SD card reader or an SD card adapter to transfer the RetroPie image to the SD card.
The first step is to download the RetroPie image from the official RetroPie website. Choose the version that is compatible with your Raspberry Pi model. Once downloaded, extract the image file from the compressed folder.
Next, insert the SD card into your computer’s SD card reader or adapter. Use a disk imaging software like Etcher to write the RetroPie image file onto the SD card. This process will erase all existing data on the card, so make sure to back up any important files.
After the RetroPie image is successfully written to the SD card, safely remove it from your computer and insert it into your Raspberry Pi. Connect your Raspberry Pi to a power source, a TV or monitor, and a USB keyboard.
When you power on the Raspberry Pi, RetroPie will boot up and guide you through the initial setup process. You will be prompted to configure the basic settings such as system language, timezone, and Wi-Fi connection. Follow the on-screen instructions to complete these configurations.
For the system language, choose your preferred language from the provided options. This will ensure that the RetroPie interface and menu are displayed in your desired language.
Next, configure the Wi-Fi connection by selecting your network from the available options. Enter your Wi-Fi password if necessary. This step is crucial for accessing online features, downloading game ROMs and updates, and accessing RetroPie’s extensive community and resources.
Once the basic configurations are completed, RetroPie will finalize the setup process and present you with the main menu. From here, you can start exploring the world of classic gaming and customize your RetroPie experience.
It is worth noting that RetroPie supports a wide range of controllers, allowing you to use various gamepads for an authentic gaming experience. You can connect your preferred controller through USB or Bluetooth and configure it within the RetroPie menu.
With RetroPie successfully set up on your Raspberry Pi and the basic configurations complete, you are now ready to dive into the world of retro gaming. Enjoy the classic games from your childhood or explore new titles as you relish the nostalgia and excitement brought by RetroPie!
Configuring X Arcade Joystick in RetroPie
Once you have successfully installed RetroPie on your Raspberry Pi, it’s time to configure your X Arcade Joystick to fully enjoy your retro gaming experience. This section will guide you on how to access RetroPie’s main menu, enter the RetroPie configuration settings, and map the joystick inputs for different emulators.
Accessing RetroPie’s Main Menu
The first step is to access RetroPie’s main menu. To do this, make sure your Raspberry Pi is powered on and connected to a monitor or TV. Once it’s up and running, you should see the RetroPie interface on your screen. If not, check your connections and make sure everything is properly connected.
Entering the RetroPie Configuration Settings
To configure the X Arcade Joystick, you’ll need to access the RetroPie configuration settings. From the main menu, use the joystick to navigate and highlight the “RetroPie” option. Press the button on your joystick to enter the RetroPie settings menu.
Within the RetroPie settings menu, you’ll find various options and sub-menus. To configure the joystick, select the “Configure Input” option. This will allow you to map the joystick’s buttons and directions for use in the emulators.
Mapping Joystick Inputs for Various Emulators
Once you’re in the input configuration menu, RetroPie will prompt you to press the corresponding buttons on your X Arcade Joystick. Follow the on-screen instructions and press the buttons in the sequential order indicated.
RetroPie will automatically detect and map the inputs for various emulators. It’s important to go through this process for each emulator you plan to use. This ensures that the joystick’s inputs are correctly recognized within the specific emulator, allowing for seamless gameplay.
Take your time to carefully map all the necessary buttons and directions to ensure optimal performance. Once you’ve completed the mapping for one emulator, repeat the process for any additional emulators you intend to use.
Remember to save your input configuration changes before exiting the RetroPie settings menu. This ensures that your joystick configurations are saved and applied every time you start RetroPie.
With your X Arcade Joystick successfully configured in RetroPie, you’re now ready to dive into your favorite retro games with authentic and responsive controls. Enjoy the nostalgia and have fun!
Conclusion
Setting up the X Arcade Joystick for Retro Pie is a simple process that allows users to enjoy classic gaming experiences on their Raspberry Pi-based gaming consoles. By following the steps outlined in this guide, users can connect their X Arcade Joystick to the Retro Pie platform and start playing their favorite retro games with ease.
The X Arcade Joystick offers a sturdy and reliable controller option for retro gaming enthusiasts. Its customizable button layout, compatibility with various platforms, and durable build make it a popular choice among gamers. With the right setup and configuration, users can enjoy an authentic arcade gaming experience right from the comfort of their own home.
Whether you are a seasoned retro gaming enthusiast or new to the world of classic gaming, the X Arcade Joystick is a fantastic accessory that brings nostalgia to life. So grab your joystick, set up Retro Pie, and start reliving those arcade memories today!
FAQs
1. What is an X Arcade Joystick?
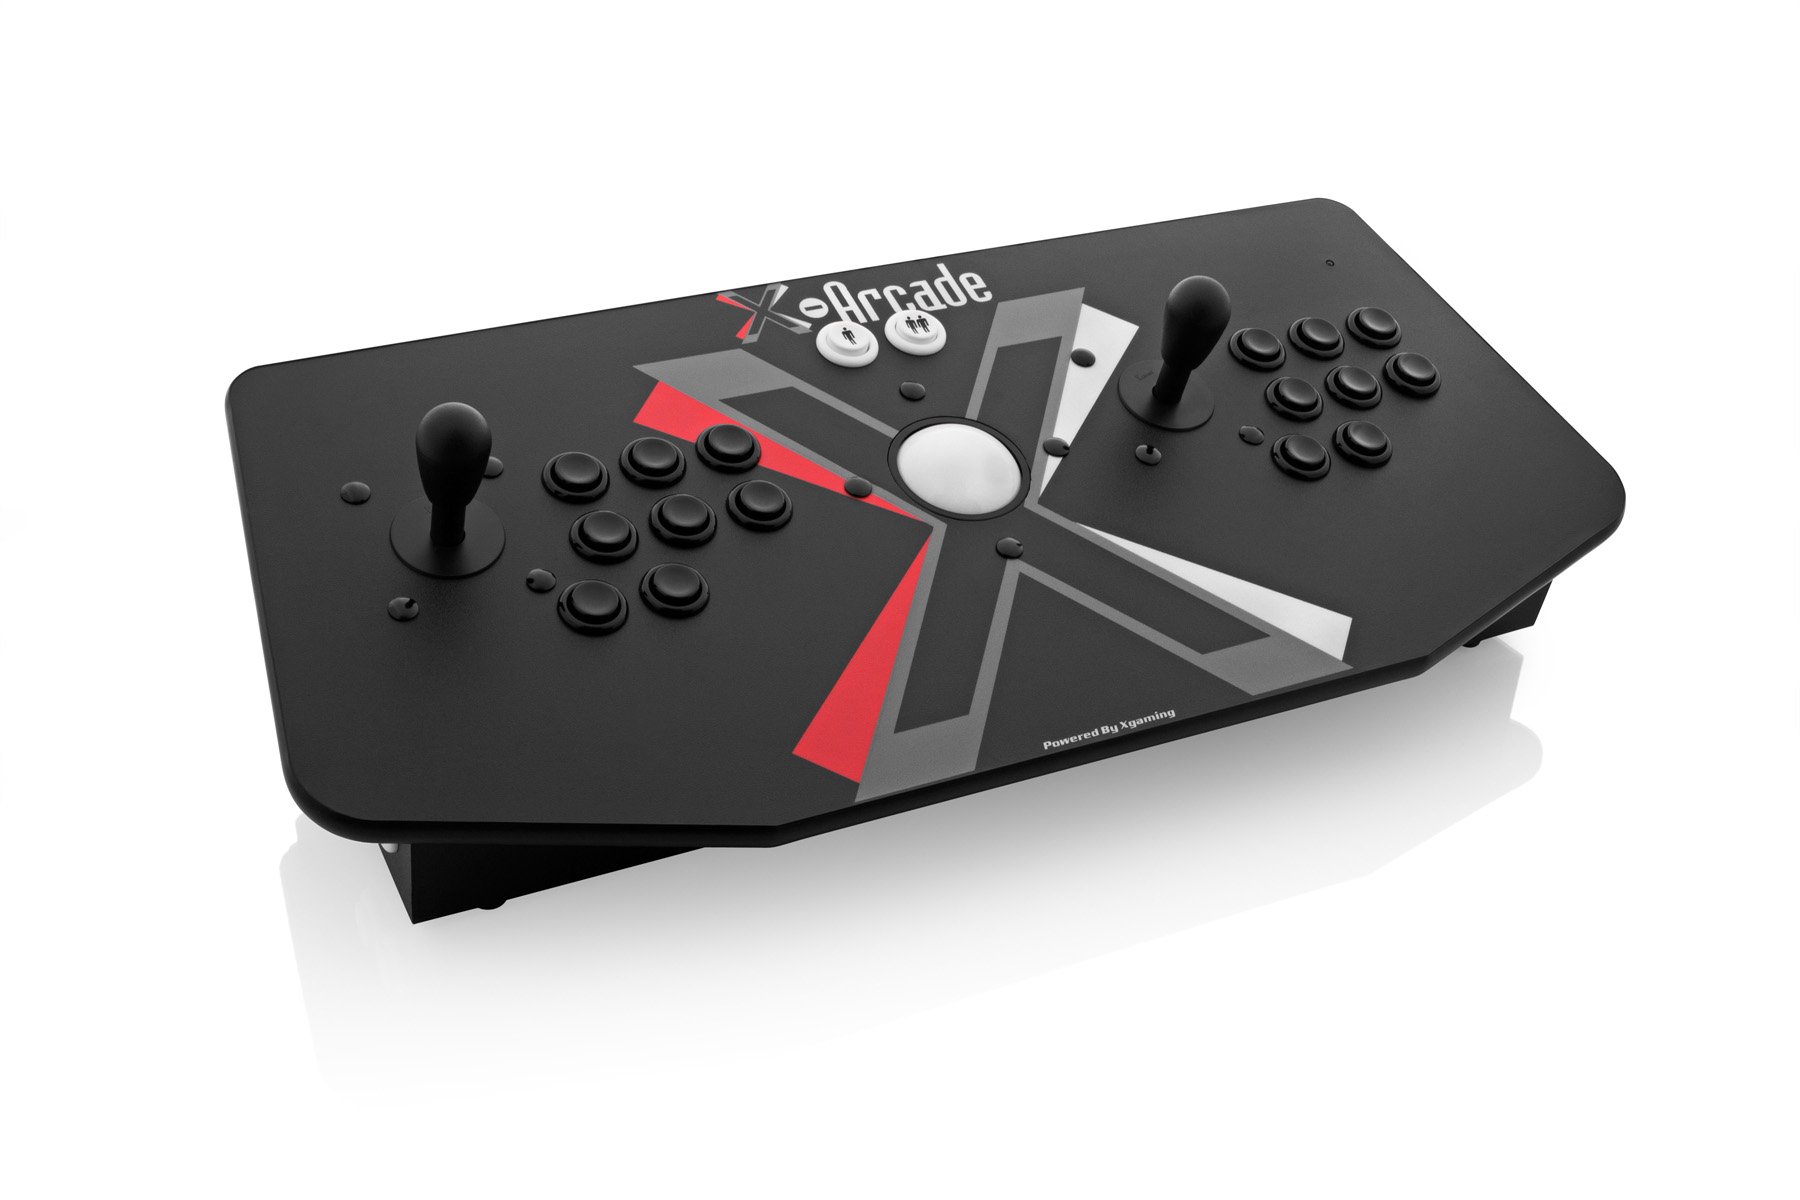
The X Arcade Joystick is a high-quality arcade-style controller designed for use with gaming consoles and computer systems. It provides a more authentic and immersive gaming experience, especially for retro gaming enthusiasts.
2. Can I use the X Arcade Joystick with Retro Pie?
Yes, absolutely! The X Arcade Joystick is fully compatible with Retro Pie, an open-source software package that allows you to turn your Raspberry Pi into a retro gaming powerhouse. By setting up the X Arcade Joystick properly, you can enjoy playing all your favorite classic games on Retro Pie.
3. How do I connect the X Arcade Joystick to Retro Pie?
To connect the X Arcade Joystick to Retro Pie, you will need to use a USB connection. Simply plug one end of the USB cable into the X Arcade Joystick and the other end into your Raspberry Pi or computer running Retro Pie. Once connected, Retro Pie should automatically recognize the X Arcade Joystick as an input device.
4. Do I need to configure the X Arcade Joystick in Retro Pie?
Yes, in order to use the X Arcade Joystick effectively with Retro Pie, you will need to configure it properly. This involves mapping the buttons and joysticks of the X Arcade Joystick to the corresponding controls in Retro Pie. The configuration process can usually be done through the Retro Pie menu or by editing the retroarch.cfg file manually.
5. Are there any specific instructions for setting up the X Arcade Joystick with Retro Pie?
While the exact steps may vary depending on the version of Retro Pie you are using, there are some general guidelines you can follow. First, make sure your X Arcade Joystick is connected and recognized by Retro Pie. Then, access the Retro Pie menu, navigate to the Input menu, and select the options to configure the X Arcade Joystick. Follow the on-screen instructions to assign the correct controls to each button and joystick on the X Arcade Joystick. Save your configuration and exit the menu, and you should be ready to enjoy retro gaming with the X Arcade Joystick on Retro Pie!