
Welcome to our guide on how to turn on your Vive headset! The Vive headset is a popular virtual reality device that offers immersive and exciting experiences. Whether you’re a first-time user or a seasoned VR enthusiast, knowing how to turn on your headset is essential to begin your virtual adventures. In this article, we will walk you through the step-by-step process of turning on your Vive headset, from unpacking to powering up. We’ll also provide some troubleshooting tips to help you overcome any potential hurdles along the way. So, let’s get ready to enter the world of virtual reality and start enjoying the incredible possibilities with your Vive headset!
Inside This Article
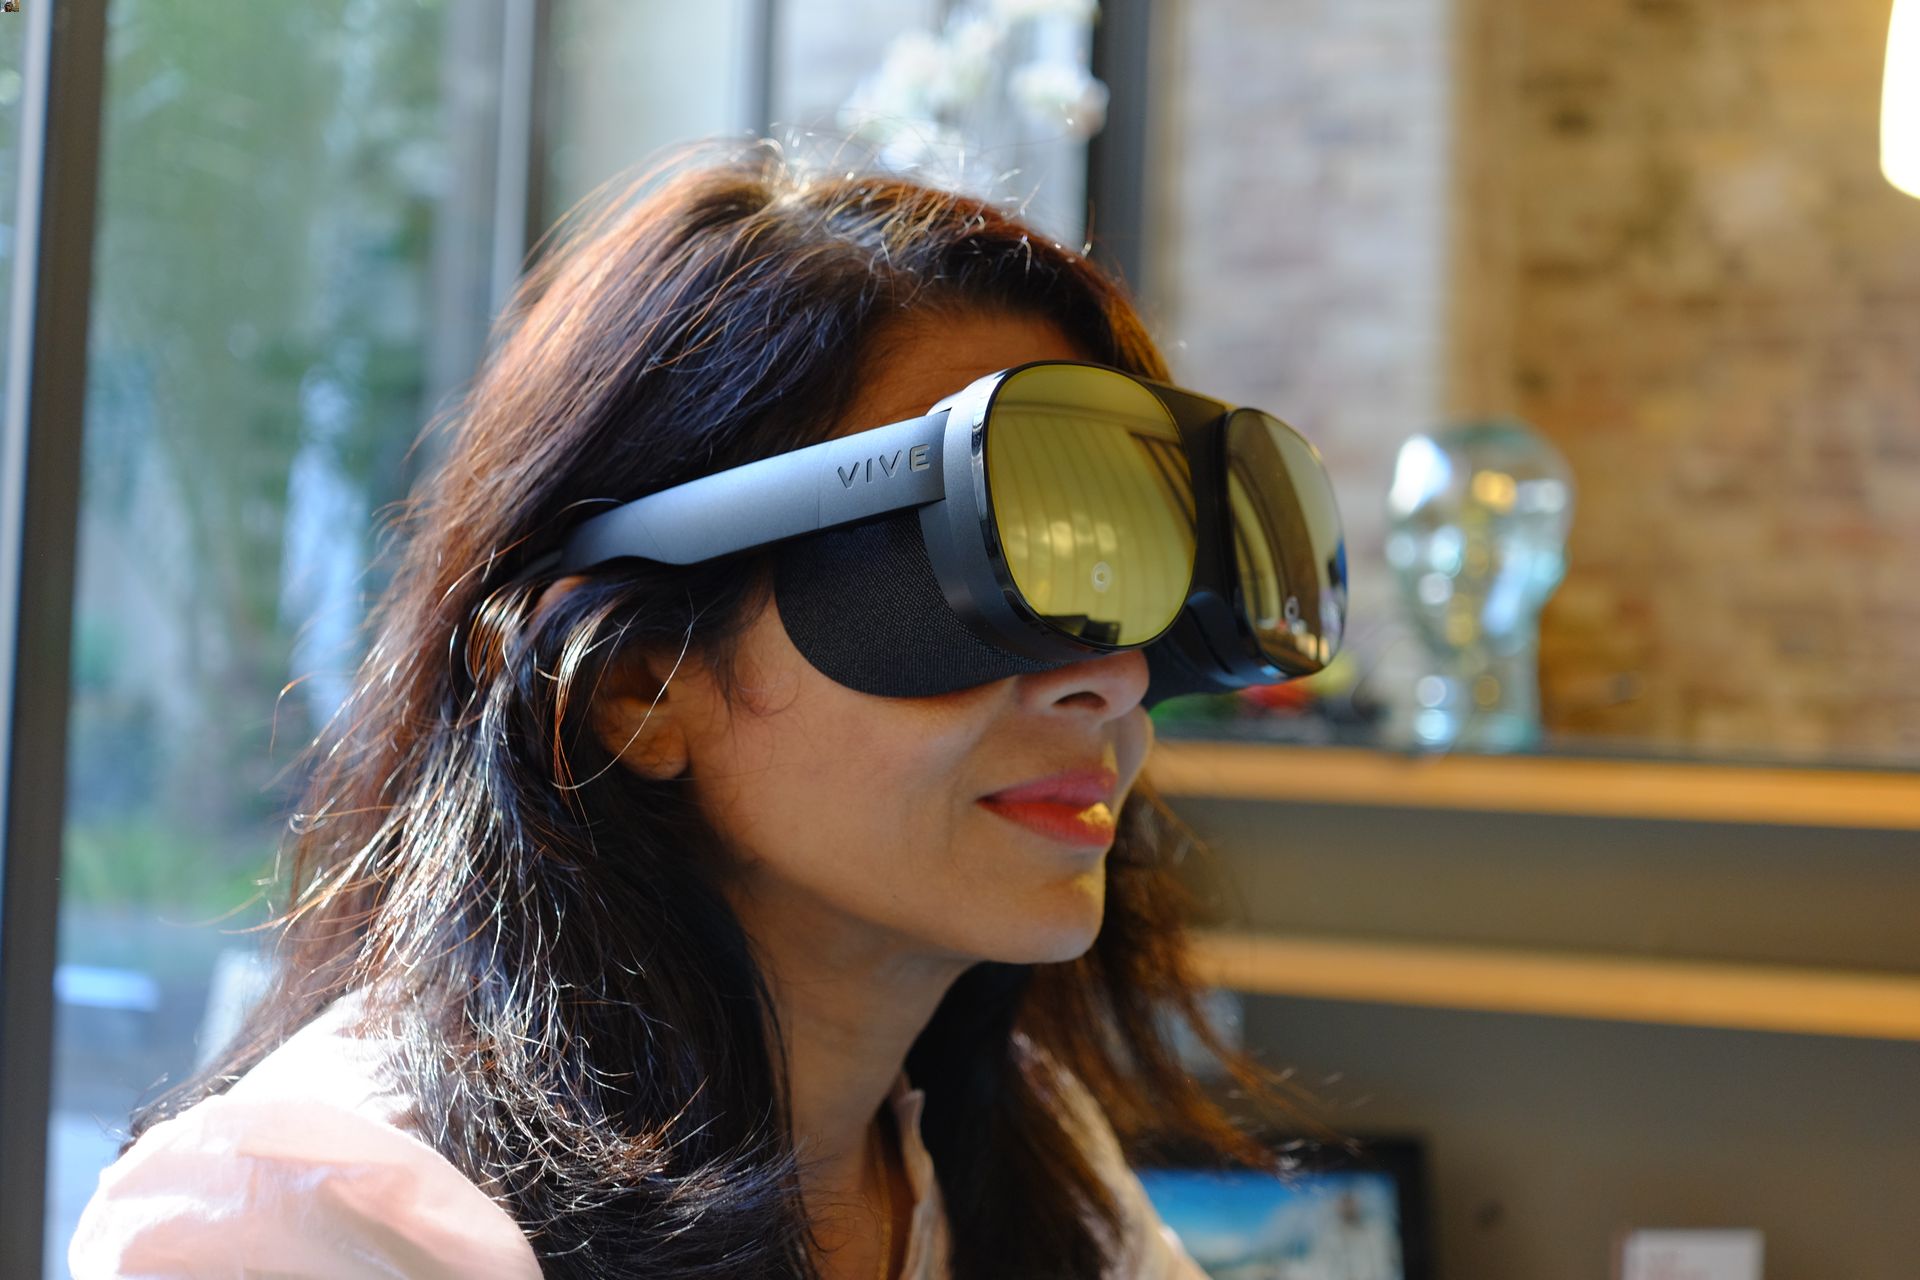
- Turning On the Vive Headset
- Checking the Power Connection
- Pairing the Controllers
- Adjusting the Headset Settings
- Conclusion
- FAQs
Turning On the Vive Headset
The Vive headset is a cutting-edge virtual reality (VR) device that immerses you in a virtual world like no other. To start your VR experience, you’ll need to know how to turn on the Vive headset. Follow these simple steps to power up your headset and dive into the incredible world of VR.
1. Begin by locating the power button on the Vive headset. It is typically located on the side or on the top of the headset. Take a moment to familiarize yourself with the button’s location.
2. Before turning on the headset, ensure that it is properly connected to its power source. Double-check the power cable and make sure it is securely plugged into both the headset and a power outlet.
3. Once you’ve confirmed that the power connection is secure, press and hold the power button on the headset. A LED indicator light will illuminate, indicating that the headset is powering on.
4. Be patient as the headset boots up. It may take a few moments for the device to fully power on and initialize. During this time, you may see the Vive logo or other startup screens on the display inside the headset.
5. Once the headset has finished powering on, put it on your head and adjust the straps for a comfortable fit. Make sure the display is aligned properly with your eyes, and tighten the headset to ensure a secure fit.
6. After putting on the headset, you will be prompted to pair the controllers. Refer to the instructions provided with the controllers to properly pair them with the headset. This step is necessary to fully utilize the VR capabilities of the Vive headset.
And there you have it! Your Vive headset is powered on and ready to take you on an amazing VR adventure. Whether you’re exploring virtual worlds, playing immersive games, or watching 360-degree videos, the Vive headset will transport you to new and exciting experiences.
Remember, always follow the manufacturer’s instructions and guidelines when using the Vive headset. Enjoy your virtual reality journey!
Checking the Power Connection
Before you dive into the virtual world with your Vive headset, it’s important to ensure that the power connection is properly set up. Here are a few steps to help you check the power connection:
1. Begin by inspecting the power cables connected to both the headset and the link box. The link box is the small box that connects your headset to your computer. Make sure that the cables are securely plugged in and there are no loose connections. It is recommended to use the original cables provided with your Vive headset for optimal performance.
2. Next, check the power connection to the link box. The link box should be connected to a power outlet using the provided power adapter. Ensure that the power adapter is plugged in properly and the link box is receiving power.
3. Once you have confirmed the power connection to the link box, check if the link box is properly connected to your computer. The link box should be connected to your computer’s USB port using the provided USB cable. Make sure that the USB cable is securely plugged into both the link box and your computer.
4. After verifying the power connection, it’s time to check if the headset is receiving power. The power button for the Vive headset is located on the side. Press and hold the power button for a few seconds to turn on the headset. Look for an indicator light on the headset to confirm that it is powered on.
5. Lastly, check if the base stations are properly connected and receiving power. The base stations are responsible for tracking your movements in the virtual environment. Ensure that they are plugged into a power outlet and positioned correctly for optimal tracking.
By following these steps and double-checking the power connection, you can ensure that your Vive headset is ready for an immersive virtual reality experience without any power-related issues.
Pairing the Controllers
Before you can fully immerse yourself in the virtual reality experience with your Vive headset, you’ll need to pair the controllers. This process allows the controllers to communicate with the headset and provide you with a seamless gaming or interactive experience.
To pair the controllers, follow these simple steps:
- Ensure that your Vive headset and PC are powered on and properly connected.
- Hold the controllers in your hands and press the system button located below the trackpad. This will turn on the controllers.
- Once the controllers are turned on, they should automatically start searching for the headset to pair with. You will see a blue LED light on the controllers indicating that they are in pairing mode.
- Bring the controllers close to the headset, making sure they are within the headset’s tracking range. This will allow the controllers to establish a Bluetooth connection with the headset.
- As soon as the controllers are successfully paired, the LED light will turn green, indicating a successful connection. You should also see the controllers’ status displayed in the Vive headset’s interface.
- Test the controllers’ functionality by moving them around and interacting with the virtual environment. If everything is working properly, you’re ready to start your VR adventure!
Keep in mind that if you’re using multiple Vive headsets or have other Bluetooth devices nearby, there might be interference that can affect the controller pairing process. In such cases, try turning off any other Bluetooth devices and ensure that you are pairing the controllers with the correct headset.
Pairing the controllers is an essential step to fully enjoy the immersive experience that the Vive headset offers. Once you’ve successfully paired the controllers, you’re one step closer to diving into the exciting world of virtual reality.
Adjusting the Headset Settings
Once you have successfully turned on your Vive headset and paired the controllers, it’s time to fine-tune the headset settings to ensure an optimal virtual reality experience. Here are some important adjustments you may need to make:
1. IPD (Interpupillary Distance) Adjustment: The IPD adjustment allows you to customize the distance between the lenses to match the distance between your eyes. This ensures proper alignment and reduces eye strain. Look for the IPD adjustment knob on the underside or the sides of the headset and rotate it to achieve the best fit.
2. Strap Adjustment: The strap plays a crucial role in ensuring a comfortable and secure fit. Properly adjust the straps by loosening or tightening them to find the perfect balance between support and comfort. Make sure the headset rests snugly on your head, with the weight distributed evenly.
3. Display Settings: Every individual has different visual preferences, so adjusting the display settings can enhance the overall VR experience. The Vive software allows you to adjust parameters such as brightness, contrast, and color saturation to suit your personal preference. Experiment with these settings to find the ideal combination for a more immersive experience.
4. Audio Settings: The Vive headset comes with built-in speakers and a headphone jack, giving you the flexibility to choose your preferred audio option. If you prefer a more immersive audio experience, connect your headphones to the jack. For a quick audio adjustment, use the volume controls located on the side of the headset.
5. Comfort Settings: Virtual reality experiences can be intense and physically engaging. To avoid discomfort or strain, take advantage of the comfort settings offered by the Vive headset. These may include options to reduce motion sickness, activate a virtual floor, or enable a front-facing camera that allows you to see the real world without removing the headset.
6. Controller Settings: The Vive controllers play a vital role in your VR interaction. Take some time to explore and adjust the controller settings to match your preferences. You can customize button mappings, sensitivity, and haptic feedback to enhance your virtual reality gaming or interaction experience.
By taking the time to adjust the various settings on your Vive headset, you can ensure a more comfortable, immersive, and personalized virtual reality experience. Don’t be afraid to experiment and find the settings that work best for you!
Conclusion
In conclusion, turning on your Vive headset is a simple process that allows you to immerse yourself in the world of virtual reality. By following the steps outlined in this guide, you can easily power up your Vive and start enjoying an array of captivating experiences and games. Remember to make sure your base stations and controllers are properly connected and ready for use.
Once you have successfully turned on your Vive headset, you will be amazed at the incredible sights and sounds that await you. Whether you’re exploring new worlds, engaging in thrilling adventures, or simply relaxing in a virtual environment, the Vive headset offers endless possibilities.
So, don’t hesitate any longer. Take the first step into virtual reality by powering on your Vive headset and prepare to be transported to a whole new dimension of gaming and entertainment!
FAQs
1. How do I turn on the Vive headset?
To turn on the Vive headset, simply locate the power button located on the side or top of the device. Press and hold the power button until the indicator light turns on, indicating that the headset is powering up.
2. Can I turn on the Vive headset without the controllers?
Yes, you can turn on the Vive headset without the controllers. The power button is located on the headset itself, so you can easily turn it on or off even if you do not have the controllers nearby.
3. How long does it take for the Vive headset to turn on?
The Vive headset usually takes a few seconds to turn on. Once you press the power button, you will typically see the indicator light illuminate, indicating that the headset is booting up. The exact time may vary depending on the specific model and any firmware updates.
4. What should I do if my Vive headset doesn’t turn on?
If your Vive headset fails to turn on, there are a few troubleshooting steps you can try. First, ensure that the device is properly charged by connecting it to a power source. If it is already connected and still not turning on, try a different power cable or charger. If the issue persists, try performing a soft reset by holding the power button for 30 seconds, then releasing it and attempting to power on the device again.
5. Can I turn on the Vive headset while it is connected to a computer?
Yes, you can turn on the Vive headset while it is connected to a computer. Whether you have the headset connected for display purposes or to access VR content, you can power it on without any issues. Just make sure to follow the regular procedure of pressing and holding the power button until the headset powers on.