
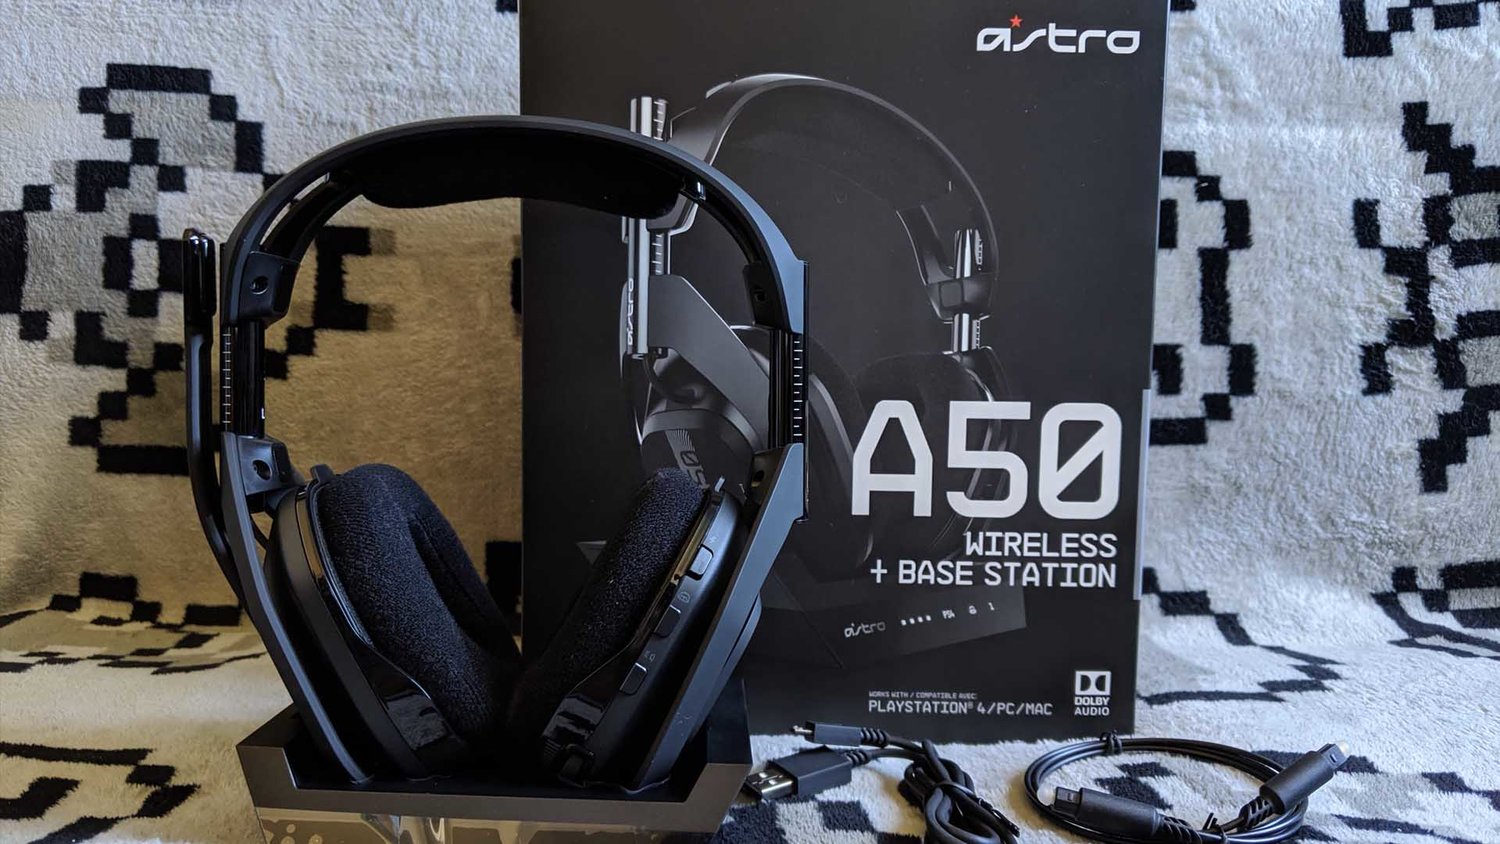
Are you looking to update your Astro A50 headset? With the rapid advancements in technology, it’s important to keep your devices up to date in order to enjoy the latest features and improvements. Whether it’s for gaming, music, or communication, a well-functioning headset can greatly enhance your overall experience.
In this article, we will guide you on how to update your Astro A50 headset, ensuring that you have access to all the latest firmware and software updates. We will walk you through the step-by-step process, providing clear instructions and tips along the way. So, grab your Astro A50 headset, and let’s get started on unleashing its full potential!
Inside This Article
- Connecting the Astro A50 headset to a PC
- Updating the Astro A50 firmware via the ASTRO Command Center
- Troubleshooting common issues during the update process
- Testing the updated Astro A50 headset for improved sound quality and performance
- Conclusion
- FAQs
Connecting the Astro A50 headset to a PC
Connecting your Astro A50 headset to your PC is a straightforward process that allows you to enjoy high-quality audio while gaming or streaming. Here’s a step-by-step guide on how to connect your Astro A50 headset to your PC:
- Check the wireless base station: Start by ensuring that the wireless base station is properly connected to your PC. Connect one end of the USB cable to the base station and the other end to an available USB port on your PC.
- Power on the headset: Press and hold the power button on your Astro A50 headset until the LED indicator lights up. This indicates that the headset is turning on.
- Pair the headset with the base station: On the base station, press and hold the power button until the LED indicator flashes. This puts the base station into pairing mode. On the headset, press and hold the Dolby button and the game/chat audio button simultaneously for a few seconds until the LED indicator on the headset starts flashing. This indicates that the headset is ready to pair with the base station.
- Complete the pairing process: Once both the base station and the headset are in pairing mode, they will automatically connect to each other. The LED indicators on both the base station and the headset will stop flashing, indicating a successful pairing.
- Adjust audio settings: Once the headset is successfully connected to your PC, you may need to adjust the audio settings in your system preferences or the Astro Command Center software to ensure that the audio output is directed to the headset.
With these simple steps, you can easily connect your Astro A50 headset to your PC and enjoy immersive audio while gaming or streaming. Now that your headset is connected, you can proceed to update the firmware for optimal performance.
Updating the Astro A50 firmware via the ASTRO Command Center
Keeping your Astro A50 headset up to date with the latest firmware is crucial to ensure optimal performance and compatibility with your gaming system. Fortunately, Astro has made the firmware update process quick and easy through their ASTRO Command Center software.
To begin updating the Astro A50 firmware, you will need to download and install the ASTRO Command Center software on your computer. This software is available for both Windows and Mac systems and can be obtained from the official Astro website.
Once you have the ASTRO Command Center software installed, connect your Astro A50 headset to your computer using the USB cable that came with the headset. Make sure the headset is on and in pairing mode.
Launch the ASTRO Command Center software and wait for it to detect your headset. Once your headset is recognized, you will see a list of available firmware updates. Click on the latest firmware version to begin the update process.
The update process may take a few minutes to complete, during which time your headset will restart. It is important to keep your headset connected to your computer and avoid disconnecting or turning off the headset while the update is in progress.
Once the firmware update is finished, you will receive a notification in the ASTRO Command Center software indicating that the update was successful. You can then disconnect your Astro A50 headset from your computer and start using it again.
If you encounter any issues during the update process, such as errors or a failed update, try the following troubleshooting steps:
- Make sure you have a stable internet connection to download the firmware update.
- Restart your computer and relaunch the ASTRO Command Center software.
- Try using a different USB cable or USB port on your computer.
- Temporarily disable any antivirus or firewall software that may be blocking the firmware update.
- If none of these steps resolve the issue, contact Astro customer support for further assistance.
Updating the firmware of your Astro A50 headset is essential for unlocking new features, improving compatibility, and ensuring the best audio quality possible. By following the steps outlined above and troubleshooting any issues that arise, you can easily keep your Astro A50 headset up to date and enjoy a seamless gaming experience.
Troubleshooting common issues during the update process
Updating the firmware on your Astro A50 headset is essential for ensuring optimal performance and compatibility with your device. However, like any software update, it is not uncommon to encounter certain issues along the way. Here are some common problems that users may face during the update process and their corresponding troubleshooting steps:
- Connection issues: If the Astro A50 headset is not being recognized by the computer or the ASTRO Command Center, check the USB cable for any damages or try using a different USB port. Additionally, make sure that the headset is in firmware update mode by following the instructions provided by Astro.
- Interference problems: Wireless headsets like the Astro A50 might experience interference from nearby devices. If you are encountering connectivity issues or a slow update process, ensure that there are no wireless devices such as routers or cordless phones near your headset. Moving to a different location away from potential interference sources can help resolve this problem.
- Power-related issues: Sometimes, the update process may fail due to insufficient battery capacity in the Astro A50 headset. Ensure that the headset is sufficiently charged before attempting the firmware update. If the battery is low, connect the headset to a power source and wait until it has enough power to complete the update successfully.
- Software conflicts: Conflicts with other software on your computer can hinder the update process. Make sure to close any unnecessary applications running in the background and temporarily disable antivirus or firewall programs that could be blocking the update. It is also recommended to update the ASTRO Command Center software to the latest version before proceeding with the headset update.
- Incomplete or interrupted updates: In some cases, the update process may get interrupted, leading to incomplete firmware installation. If this happens, restart the update process from the beginning by disconnecting and reconnecting the Astro A50 headset, making sure to follow the update instructions provided by Astro carefully. If the problem persists, try using a different USB cable or contact Astro’s customer support for further assistance.
By following these troubleshooting steps, you can overcome common issues that may arise during the firmware update process for your Astro A50 headset. Remember to always refer to the official documentation and support resources provided by Astro for detailed instructions specific to your model and firmware version.
Testing the updated Astro A50 headset for improved sound quality and performance
After successfully updating the firmware of your Astro A50 headset, it’s time to put it to the test and experience the improved sound quality and performance it promises. Here are some key steps to ensure you’re getting the most out of your updated headset.
1. Sound Check: Begin by playing a variety of audio content, including music, movies, and games. Take note of any noticeable improvements in clarity, depth, and overall audio quality. Pay attention to subtle details like instrument separation, dialogue clarity, and immersive surround sound effects.
2. Mic Test: The Astro A50 headset is equipped with a high-quality microphone that enables clear communication with other players. Test the microphone by talking to friends or joining voice chats. Ensure that your voice is loud and clear without any distortion or background noise. If necessary, adjust the microphone volume levels in the ASTRO Command Center.
3. Wireless Range: Move around your gaming or listening space to test the wireless range of the Astro A50 headset. Take note of any dropouts or loss of signal strength. With the updated firmware, you should have a stable and reliable wireless connection, allowing you to move freely without any audio interruptions.
4. Battery Life: Use your Astro A50 headset for an extended period to test the battery life. Check if the battery lasts as long as expected or if there are any unexpected drains. The updated firmware may optimize power consumption, resulting in longer battery life for uninterrupted gaming or listening sessions.
5. Custom EQ Profiles: Experiment with the custom EQ profiles in the ASTRO Command Center. Create different profiles for various genres of music, game genres, or personal preferences. Test each profile to determine if the audio is enhanced and tailored to your liking. The updated firmware may have introduced new EQ settings that improve the overall audio experience.
6. Comfort and Fit: Pay attention to the comfort and fit of the Astro A50 headset during your testing phase. Ensure that the headset sits securely on your head without causing discomfort or fatigue, even during extended gaming sessions. The comfort and fit of the headset play a crucial role in the overall gaming or listening experience.
7. Feedback and Reviews: Share your experience with the updated Astro A50 headset by leaving feedback or reviews on relevant platforms. This information can be helpful to other users who are considering updating their firmware or purchasing the Astro A50 headset. Your insights and opinions can contribute to a more informed buying decision for potential users.
By following these steps, you can thoroughly test the updated Astro A50 headset and enjoy the improved sound quality and performance it offers. Remember, firmware updates are designed to enhance your gaming or listening experience, so make the most out of the features and optimizations provided by the updated firmware.
Conclusion
Updating your Astro A50 headset is a simple process that can significantly enhance your gaming experience. By keeping your headset’s firmware up to date, you can take advantage of the latest features, improvements, and bug fixes provided by the manufacturer. Whether you want to improve audio performance, compatibility, or wireless functionality, updating the Astro A50 headset firmware is a must.
With the step-by-step guide provided in this article, you now have all the information you need to successfully update your Astro A50 headset. Remember to ensure that your headset is fully charged and properly connected to your PC or console before proceeding with the update. Following the instructions carefully will help you avoid any potential issues and ensure a smooth and successful update process.
So, don’t delay any longer – update your Astro A50 headset today and enjoy crisp, immersive sound and seamless gaming sessions. Stay ahead of the game by keeping your headset up to date and get ready to experience gaming like never before!
FAQs
1. How do I update my Astro A50 headset?
Updating your Astro A50 headset is a simple process. First, make sure your headset is connected to your computer via the USB cable. Then, visit the official Astro Gaming website and download the latest firmware update for your specific headset model. Open the downloaded file, follow the on-screen instructions, and wait for the update to complete. Once the update is finished, your Astro A50 headset will be up to date and ready to use.
2. Why should I update my Astro A50 headset?
Updating your Astro A50 headset is important as it ensures you have access to the latest features, performance improvements, and bug fixes. Firmware updates can introduce new audio profiles, enhance wireless connectivity, and optimize audio quality for a better gaming experience. By keeping your headset updated, you can make the most out of its capabilities and ensure compatibility with the latest gaming systems and technologies.
3. Can I update my Astro A50 headset using a mobile device?
No, firmware updates for the Astro A50 headset must be done using a computer. These updates usually require the headset to be connected via USB to the computer, and the firmware files are specifically designed for computer systems. While you can adjust various settings and customize your headset using the Astro Command Center mobile app, firmware updates are only available through the official Astro Gaming website for computer platforms.
4. What happens if the firmware update fails?
In rare cases, a firmware update for the Astro A50 headset may fail. If this happens, disconnect the headset from your computer, restart both your computer and the headset, and attempt the update again. Make sure you have a stable internet connection and that your computer meets the necessary system requirements for the update. If the update continues to fail, contact Astro Gaming support for further assistance.
5. How often should I update my Astro A50 headset?
Astro Gaming releases firmware updates periodically to improve the performance and functionality of their headsets. It is recommended to check for updates every few months or whenever a new update is announced. Keeping your headset updated ensures you have access to the latest features and enhancements, providing a better gaming experience. Additionally, updating your headset may also address any known issues or compatibility problems that have been identified since the previous update.