
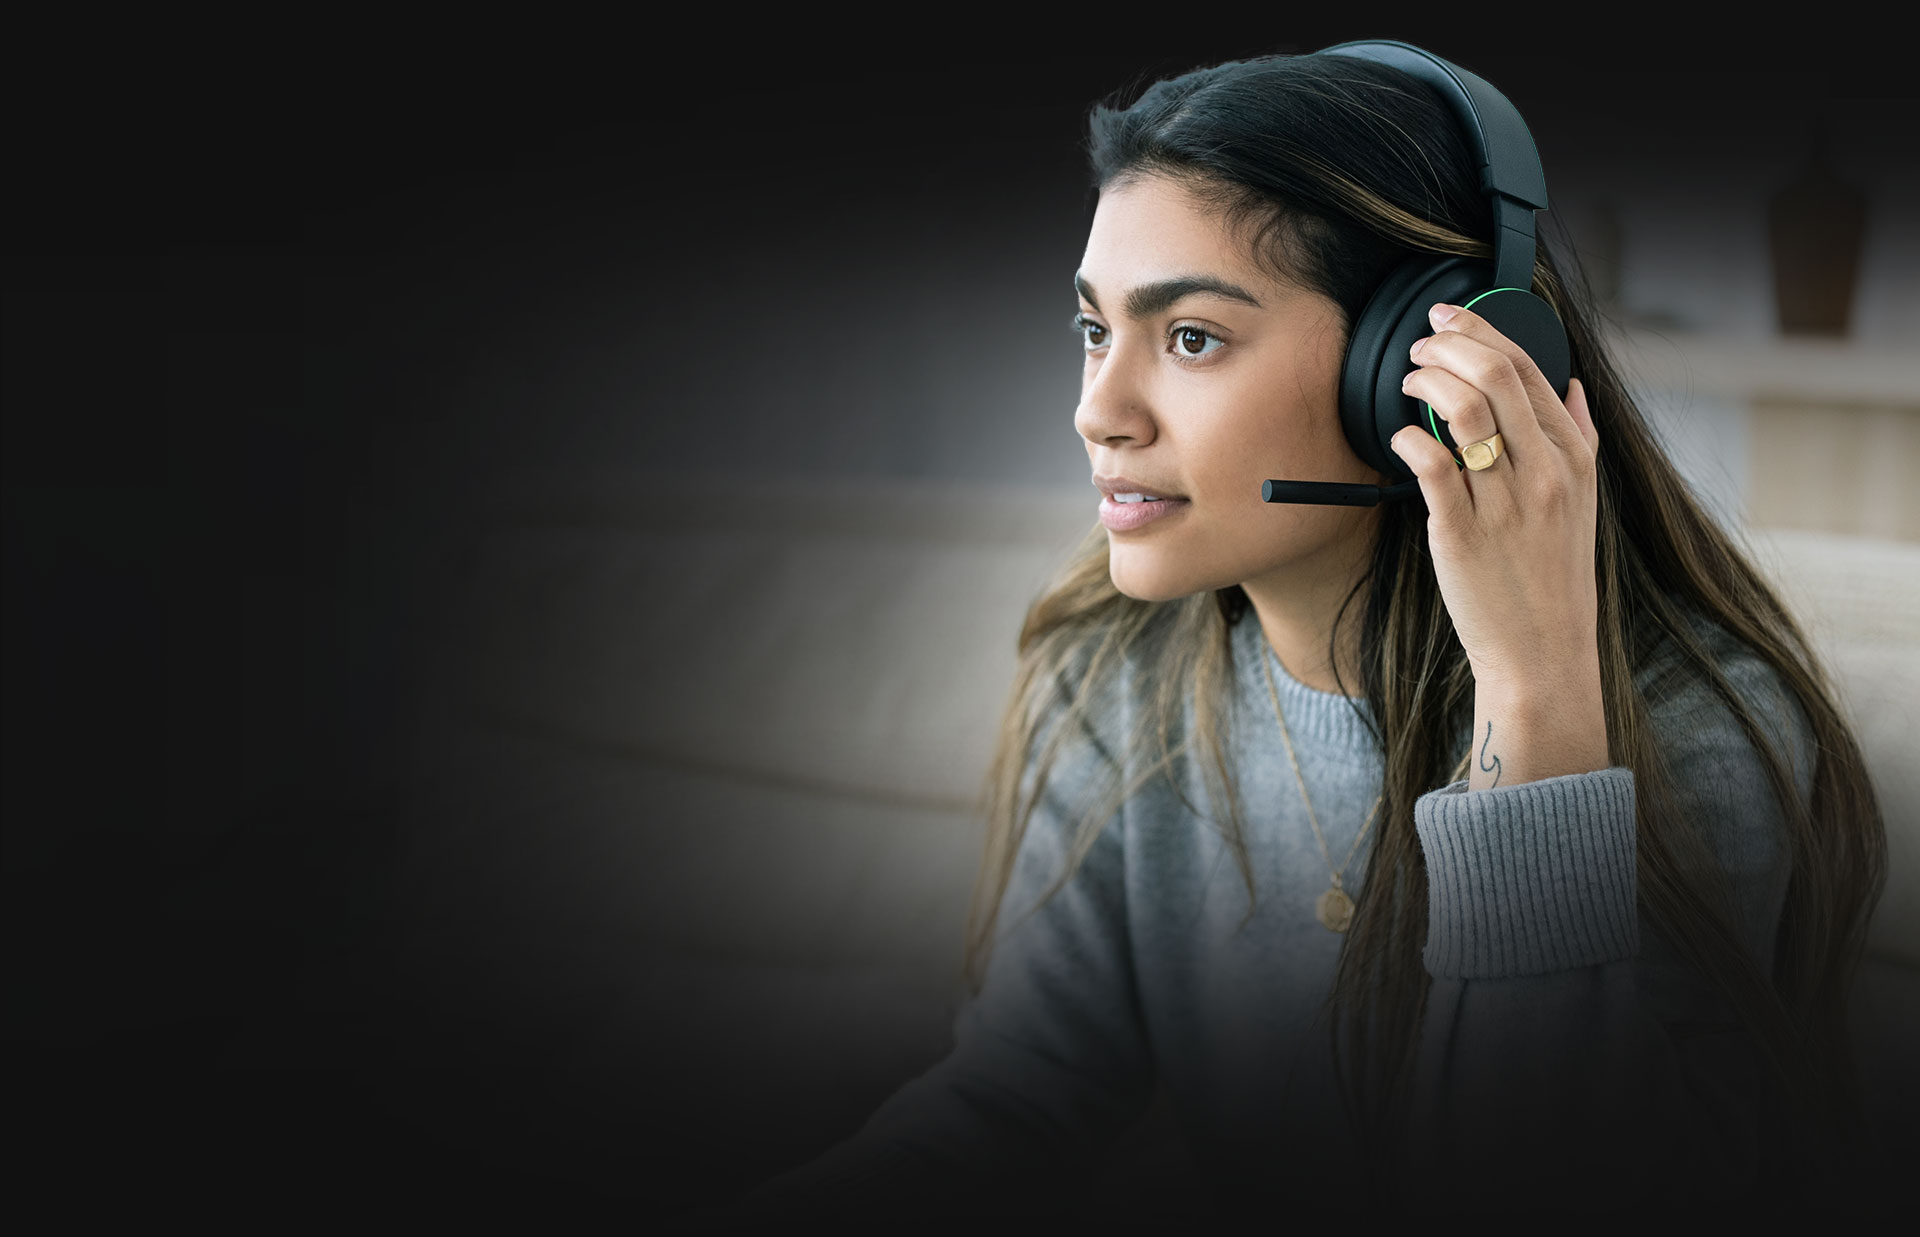
Are you tired of playing Xbox games without fully immersing yourself in the audio experience? One of the best ways to enhance your gaming experience is to hear game audio through your Xbox One headset. This allows you to hear every footstep, explosion, and dialogue with crystal-clear quality, providing a deeper level of immersion.
Hearing game audio through your headset not only improves your overall gaming experience but also provides a competitive advantage. Imagine being able to hear the faint sounds of enemy footsteps approaching, giving you a split second to react and gain the upper hand in a multiplayer game.
In this article, we will guide you through the process of setting up your Xbox One headset to hear game audio. Whether you’re using a wired or wireless headset, we’ll cover the necessary steps and provide helpful tips to ensure you can fully enjoy the audio experience while gaming on your Xbox One.
Inside This Article
- Setting Up the Xbox One Headset
- Adjusting Audio Settings on Xbox One
- Troubleshooting Audio Issues
- Using a Stereo Headset Adapter with Xbox One
- Conclusion
- FAQs
Setting Up the Xbox One Headset
Setting up your Xbox One headset is a simple process that allows you to enjoy immersive game audio and easily communicate with your friends while gaming. Follow these steps to set up your Xbox One headset:
-
Start by plugging your headset into the 3.5mm audio jack on the bottom of your Xbox One controller. Make sure the headset is securely connected.
-
Once connected, turn on your Xbox One console and sign in to your Xbox Live account. Ensure that your controller is paired with the console.
-
Access the Xbox guide by pressing the Xbox button on your controller. Navigate to the System tab, and select the Audio option.
-
In the Audio settings, you can adjust the volume, chat mixer, and headset audio options to your preference. You can test the headset audio by selecting the “Test headset mic” option. Adjust the settings until you are satisfied with the audio quality.
-
If you encounter any issues with the headset, make sure that the firmware on your controller is up to date. You can do this by connecting your controller to the Xbox One console using a USB cable and updating it through the Settings menu.
-
Once you have completed the setup process, you can start gaming with your Xbox One headset. Enjoy the immersive audio experience and the ability to communicate with your fellow gamers.
Setting up your Xbox One headset is a quick and straightforward process. By following these steps, you can start enjoying high-quality game audio and seamless communication with your friends while gaming on your Xbox One console.
Adjusting Audio Settings on Xbox One
When it comes to gaming, having the right audio settings can significantly enhance your experience. Whether you’re using a gaming headset or headphones, adjusting the audio settings on your Xbox One is crucial to ensure optimal sound quality. Here are some steps you can follow to adjust the audio settings on your Xbox One:
1. Accessing the audio settings: To start, turn on your Xbox One and navigate to the “Settings” menu. From there, select “Display & sound” and then “Audio output.”
2. Selecting the audio output option: In the audio output menu, you’ll find various options such as “Stereo uncompressed,” “Windows Sonic for Headphones,” and “Dolby Atmos for Headphones.” Choose the option that best suits your audio setup and preferences.
3. Adjusting the headset audio: If you’re using a gaming headset, make sure it’s properly connected to the Xbox One controller. Once connected, go to “Settings,” then “Devices & streaming,” and select “Audio.” Here, you can adjust the volume, mic monitoring, and chat mixer settings to your liking.
4. Fine-tuning audio settings: For additional audio customization, you can go back to the “Audio output” menu and explore the “Headset audio” and “Dolby Atmos for headphones” options. These options allow you to tweak the equalizer settings, enable virtual surround sound, and personalize your audio experience.
5. Testing the audio: After making the necessary adjustments, it’s essential to test the audio to ensure it’s working correctly. Launch a game or play a video with sound to check if the audio settings provide the desired output. If needed, you can always go back and fine-tune the settings further.
Remember, everyone’s audio preferences may vary, so don’t be afraid to experiment with different settings until you find the perfect balance for your gaming sessions. Whether you enjoy immersive surround sound or prefer crisp stereo audio, the ability to adjust the audio settings on your Xbox One gives you the freedom to tailor your gaming experience to your liking.
Troubleshooting Audio Issues
Experiencing audio issues with your Xbox One headset can be frustrating, but don’t worry – there are solutions to common problems. Here are a few troubleshooting tips to help you get your game audio back on track.
1. Check the physical connections: Ensure that the headset is properly connected to your Xbox One controller or console. Disconnect and reconnect the headset to make sure it’s securely in place. Also, check for any damaged cables or connectors that may be causing the audio problem.
2. Verify the volume settings: Double-check the volume settings on both your headset and Xbox One. Use the volume controls on the headset to ensure it’s not set to mute or a very low volume. On your Xbox One, navigate to the Settings menu, select Audio, and make sure the volume is turned up.
3. Update the controller: Ensure that your Xbox One controller is running the latest firmware. Connect your controller to the console using a USB cable and go to the Settings menu. Select Kinect & devices, then Devices & accessories, and check for updates. Updating the controller can resolve compatibility issues that may cause audio problems.
4. Try a different controller or headset: If possible, test your headset with a different controller or try a different headset with your Xbox One. This will help determine if the issue is with the headset or the controller. If the problem persists with multiple headsets or controllers, there may be a hardware issue with your Xbox One.
5. Reset the audio settings: Sometimes, audio settings can get corrupted, causing issues with the headset. To reset the audio settings, go to the Settings menu on your Xbox One, select Display & sound, and then Audio output. Choose Reset audio settings and follow the on-screen instructions. This will restore the default audio settings and may fix the problem.
6. Contact customer support: If none of the above solutions work, it’s recommended to contact Xbox customer support for further assistance. They have the expertise to help troubleshoot specific audio issues and provide guidance for resolving the problem.
Remember, patience is key when troubleshooting audio issues. By following these steps, you’ll be able to identify and resolve the problem, getting back to enjoying immersive game audio through your Xbox One headset.
Using a Stereo Headset Adapter with Xbox One
If you want to enhance your gaming experience on the Xbox One, using a stereo headset adapter can be a game-changer. This adapter allows you to connect your favorite headphones or headset directly to your Xbox One controller, giving you better audio quality and more control over your gaming experience.
The stereo headset adapter is designed to work with any headset that has a 3.5mm audio jack. This means that whether you prefer over-ear headphones, in-ear monitors, or gaming headsets, you can easily connect them to your Xbox One controller and start gaming in an immersive audio environment.
Setting up the stereo headset adapter is a breeze. Simply plug the adapter into the bottom of your Xbox One controller, where the headset jack is located. Once connected, you can then plug your headset or headphones into the adapter’s 3.5mm audio jack. It’s as simple as that!
Once your headset is connected, you gain access to a range of audio controls right at your fingertips. The stereo headset adapter features volume up and down buttons, allowing you to adjust the game audio and chat audio levels to your liking. You can also mute the microphone or adjust the chat balance between game and chat audio using the dedicated buttons on the adapter.
Not only does the stereo headset adapter provide you with convenient audio controls, but it also enables compatibility with stereo audio and chat capabilities. This means that you can hear game audio and chat audio simultaneously, providing a more integrated and immersive gaming experience. You’ll be able to hear every detail of the game while chatting with your friends, giving you a competitive edge and deeper involvement in the virtual world.
It’s worth noting that while the stereo headset adapter is compatible with most headsets, there are a few that may require additional setup or firmware updates to work properly. It’s always a good idea to check the compatibility list provided by the headset manufacturer or consult the Xbox support website for any specific instructions.
Conclusion
In conclusion, being able to hear game audio through your Xbox One headset adds a new level of immersion and enjoyment to your gaming experience. Not only does it allow you to fully appreciate the soundscape of your favorite games, but it also enables you to communicate with your friends and teammates while maintaining a clear and focused audio channel.
By following the steps outlined in this article, you can easily set up your Xbox One headset to deliver game audio directly to your ears. Whether you’re playing intense multiplayer games or exploring captivating single-player adventures, having game audio piped through your headset enhances the overall gameplay experience.
So, grab your Xbox One headset, connect it to your controller or console, adjust the necessary settings, and start enjoying your games with immersive, crystal-clear audio. Get ready to be fully engaged and immersed in your gaming world like never before!
FAQs
**Q: Can I hear the game audio through my Xbox One headset?**
Yes, you can! Xbox One offers the ability to stream game audio directly to your headset, providing an immersive and private gaming experience.
**Q: How can I set up my Xbox One headset to hear game audio?**
To set up your Xbox One headset for game audio, follow these steps:
- Connect your headset to the Xbox One controller using the audio cable or adapter provided with the headset.
- Press the Xbox button on your controller to open the guide menu.
- Go to the “System” tab and open “Settings.”
- Select “Audio.”
- Under the “Headset Audio” section, adjust the “Headset Format” to the desired setting (e.g., Windows Sonic for Headphones or Dolby Atmos for Headphones).
- Ensure that the “Headset Volume” and “Headset Chat Mixer” settings are adjusted to your preference.
- Once you have made the desired adjustments, go back to the guide menu and return to your game. You should now be able to hear game audio through your headset.
**Q: Are there any specific Xbox One headsets that are recommended for hearing game audio?**
While there are many great headsets available for Xbox One, some popular options that deliver high-quality game audio include the Astro A50, Turtle Beach Stealth 700, and HyperX Cloud Alpha S. These headsets often offer customizable audio settings and excellent sound isolation, allowing you to immerse yourself in the gaming experience.
**Q: Can I use wireless headsets to hear game audio on Xbox One?**
Yes, you can use wireless headsets to hear game audio on Xbox One. However, to ensure compatibility, make sure that the wireless headset you choose is designed specifically for Xbox One and has the necessary wireless connectivity options.
**Q: What should I do if I can’t hear game audio through my Xbox One headset?**
If you’re unable to hear game audio through your Xbox One headset, try the following troubleshooting steps:
- Make sure that your headset is properly connected to the Xbox One controller.
- Check the audio settings on your Xbox One and adjust the volume levels.
- If you’re using a wireless headset, ensure that it’s properly paired with your Xbox One.
- Restart your Xbox One console.
- If the issue persists, try using a different headset or contact Xbox support for further assistance.
**Q: Can I use third-party headphones or earbuds to hear game audio on Xbox One?**
Yes, you can use third-party headphones or earbuds to hear game audio on Xbox One. However, depending on the type of headphones or earbuds you use, you may need an audio adapter to connect them to your Xbox One controller.