
Welcome to our comprehensive guide on how to update your Razer headset! Keeping your headset up to date is essential to ensure optimal performance and compatibility with the latest software and features. Razer is known for producing cutting-edge gaming accessories, and their headsets are no exception. Whether you have a Razer Kraken, Razer Nari, or any other model, regularly updating the firmware and software will help enhance your gaming experience. In this article, we will walk you through the step-by-step process of updating your Razer headset, including connecting it to your computer, checking for updates, and installing the latest software. Let’s dive in and ensure that your Razer headset is always up to date and ready to deliver immersive audio and crystal-clear communication during your gaming sessions.
Inside This Article
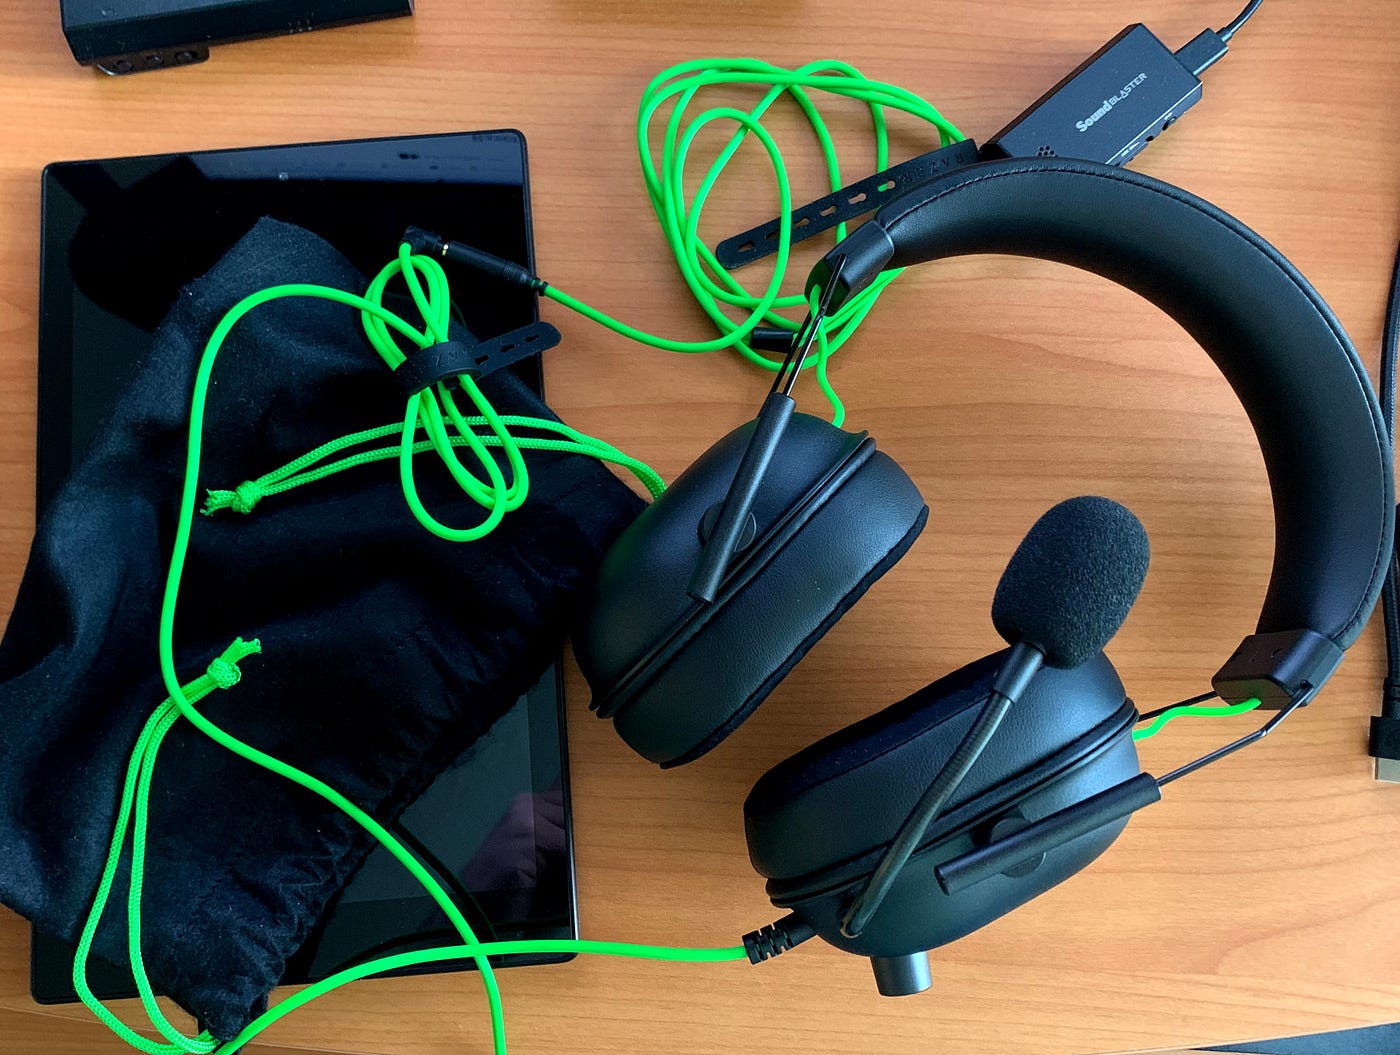
How To Update Razer Headset
Keeping your Razer headset up to date is essential for maintaining optimal performance and unlocking new features. Updating the firmware of your Razer headset is a straightforward process that ensures you’re getting the most out of your device. In this guide, we’ll walk you through the steps to update your Razer headset.
1. Checking for Updates
The first step is to check if there are any available updates for your Razer headset. To do this, open the Razer Synapse software on your computer. If you don’t have it installed, you can download it from the official Razer website. Once the software is open, navigate to the “Devices” section and select your headset from the list.
Within the headset settings, look for the “Firmware” tab or option. Click on it to see if there are any firmware updates available. If there is an update available, proceed to the next step. If not, your headset is already up to date.
2. Downloading the Firmware
Now that you’ve confirmed there is a firmware update available, click on the “Download” button to start downloading the update file. Make sure you have a stable internet connection to ensure a smooth and uninterrupted downloading process. The file size may vary depending on the update, so it might take some time to complete.
While the firmware update is downloading, it’s crucial not to disconnect your headset or interrupt the process. Doing so could result in a failed update, which can cause issues with your device. Stay patient and let the download finish.
3. Connecting the Headset to the PC
Once the firmware update is downloaded, the next step is to connect your Razer headset to your computer. Depending on the model, your headset may connect via USB or a wireless connection. Make sure the headset is properly connected and recognized by your computer.
If your headset uses a USB connection, plug it into an available USB port on your computer. For wireless headsets, ensure the Bluetooth connection is established and stable. Refer to the user manual for specific instructions on connecting your headset.
4. Updating the Razer Headset Firmware
With your headset connected to the computer, go back to the Razer Synapse software. In the firmware section, you should now see an option to “Update” or “Install” the downloaded firmware. Click on it to begin the update process.
During the update process, it’s essential to keep your headset connected and not interrupt the process. Your headset may restart multiple times during the update, which is normal. Be patient and let the software complete the firmware update.
Once the update is finished, you’ll usually see a notification indicating the successful update. At this point, you can disconnect your headset from your computer and start enjoying the latest firmware version with all the new features and improvements it brings.
Remember, it’s a good practice to periodically check for firmware updates for your Razer headset to ensure you’re always using the latest software version. Updated firmware can enhance the performance, stability, and compatibility of your headset, so don’t forget to keep it up to date.
Make sure to follow these steps carefully and not to interrupt the update process to avoid any potential issues with your Razer headset. Now you’re ready to update your Razer headset and enjoy a better overall gaming or listening experience!
Conclusion
In conclusion, updating your Razer headset is a simple and important task to enhance your audio experience and keep your headset functioning at its best. By following the steps outlined in this article, you can ensure that your Razer headset is running on the latest firmware version, benefiting from bug fixes, feature upgrades, and improved performance.
Remember to regularly check for updates on the Razer website or through the Razer Synapse software to stay up-to-date with the latest improvements. Additionally, make sure you have a stable internet connection and sufficient battery life on your device before initiating the update process.
Updating your Razer headset not only improves audio quality but also enhances compatibility with new games and software. By taking a few minutes to update your headset, you can unlock its full potential and enjoy a more immersive and enjoyable gaming or media experience.
FAQs
1. How do I update my Razer headset?
To update your Razer headset, follow these steps:
1. Connect your Razer headset to your computer using the provided USB cable.
2. Visit the official Razer website and navigate to the support section.
3. Look for the latest firmware update for your specific Razer headset model.
4. Download the firmware update file and save it to your computer.
5. Launch the Razer Synapse software on your computer.
6. Select your Razer headset from the list of connected devices.
7. Locate the “Firmware Update” option and click on it.
8. Click on the “Browse” button and select the firmware update file you downloaded.
9. Follow the on-screen instructions to complete the firmware update process.
10. Once the update is finished, disconnect and reconnect your Razer headset to ensure the changes take effect.
2. What are the benefits of updating my Razer headset?
Updating your Razer headset can bring several benefits, including:
– Improved audio performance and quality
– Enhanced compatibility with new software and games
– Bug fixes and stability improvements
– Access to new features and functionalities
Keeping your Razer headset updated ensures that you are getting the best possible experience and taking advantage of any improvements or optimizations made by Razer’s developers.
3. Can I update my Razer headset on a Mac computer?
Yes, you can update your Razer headset on a Mac computer. Razer provides firmware update tools that are compatible with both Windows and macOS. Simply follow the steps provided by Razer for updating your specific headset model, and you should be able to update it successfully on your Mac.
4. What should I do if the firmware update fails?
If the firmware update for your Razer headset fails, try the following steps:
– Make sure your Razer headset is properly connected to your computer and the USB cable is secure.
– Restart your computer and try the firmware update process again.
– Check if there are any antivirus or firewall settings that might be interfering with the update process and temporarily disable them.
– If none of the above steps work, try updating your Razer headset on a different computer to rule out any possible compatibility issues.
If the problem persists, reach out to Razer’s customer support for further assistance.
5. How often should I update my Razer headset?
The frequency of updates for your Razer headset depends on several factors, including the specific model and any firmware updates released by Razer. It is generally recommended to check for firmware updates periodically, especially when you encounter any issues or want to take advantage of new features or improvements. You can visit the Razer website or use the Razer Synapse software to check for updates and determine if a firmware update is available for your headset.