
Welcome to our comprehensive guide on how to connect your Razer headset to Razer Synapse. Razer headsets are known for their exceptional audio quality and innovative features, but to fully take advantage of their capabilities, you’ll want to connect them to Razer Synapse.
Razer Synapse is a powerful software that allows you to customize and control various settings of your Razer peripherals, including your headset. By connecting your Razer headset to Razer Synapse, you can access options to fine-tune your audio experience, adjust equalizer settings, create custom sound profiles, and even enable advanced features like surround sound.
In this article, we’ll walk you through the step-by-step process of connecting your Razer headset to Razer Synapse. Whether you’re a gaming enthusiast or simply looking to enhance your audio experience, we’ve got you covered. So let’s dive in and unlock the full potential of your Razer headset!
Inside This Article
- Compatibility of Razer Headsets with Razer Synapse
- Steps to Connect a Razer Headset to Razer Synapse
- Troubleshooting Common Connection Issues
- Conclusion
- FAQs
Compatibility of Razer Headsets with Razer Synapse
Razer Synapse is a powerful software that allows you to customize and optimize your Razer peripherals, including your Razer headset. When it comes to compatibility, Razer Synapse is designed to work seamlessly with a wide range of Razer headsets, providing you with enhanced control and functionality.
One of the key benefits of Razer Synapse is its universal compatibility with Razer headsets. Whether you own a Razer Kraken, Razer Nari, Razer BlackShark, or any other Razer headset model, you can rest assured that it will be compatible with Razer Synapse. This means that regardless of the headset model you have, you can take advantage of the features and customization options offered by Razer Synapse.
Razer Synapse allows you to personalize your Razer headset to suit your preferences. With this software, you can adjust various headset settings, such as equalizer settings, microphone sensitivity, and even lighting effects. This level of customization ensures that you can create a personalized audio experience that best suits your needs.
Furthermore, Razer Synapse provides you with the ability to create and save different audio profiles for different situations. Whether you are gaming, listening to music, or working, you can easily switch between these profiles with a few clicks. This flexibility allows you to adapt your audio settings to different activities and environments effortlessly.
Additionally, Razer Synapse offers advanced features such as 7.1 surround sound, which enhances the immersion and spatial awareness in games. This feature can greatly enhance your gaming experience, allowing you to hear every detail and accurately pinpoint the source of sound in virtual environments.
It’s worth noting that in order to fully utilize the features provided by Razer Synapse, you need to ensure that you have the latest firmware and software updates installed for both your headset and the Razer Synapse application. Regularly checking for updates will ensure that you have access to any new features, bug fixes, and optimizations that may have been released.
Steps to Connect a Razer Headset to Razer Synapse
If you own a Razer headset, you’ll be delighted to know that connecting it to Razer Synapse is a quick and easy process. Razer Synapse is a powerful software that allows you to customize and optimize your gaming experience. With Razer Synapse, you can access advanced audio settings, create personalized equalizer presets, and even program RGB lighting effects on your headset.
Follow these simple steps to connect your Razer headset to Razer Synapse:
- First, ensure that your Razer headset is connected to your computer using the appropriate cables. Whether you have a wired or wireless headset, make sure it is properly connected or paired.
- Next, open the Razer Synapse software on your computer. If you don’t have the software installed, you can download it from the official Razer website.
- Once Razer Synapse is open, navigate to the “Devices” tab. This tab allows you to manage and configure all your Razer devices.
- In the “Devices” tab, locate and select your Razer headset from the list of connected devices. The headset should appear with its specific model name.
- After selecting your headset, you may be prompted to install any necessary drivers or firmware updates. Follow the on-screen instructions to complete these installations.
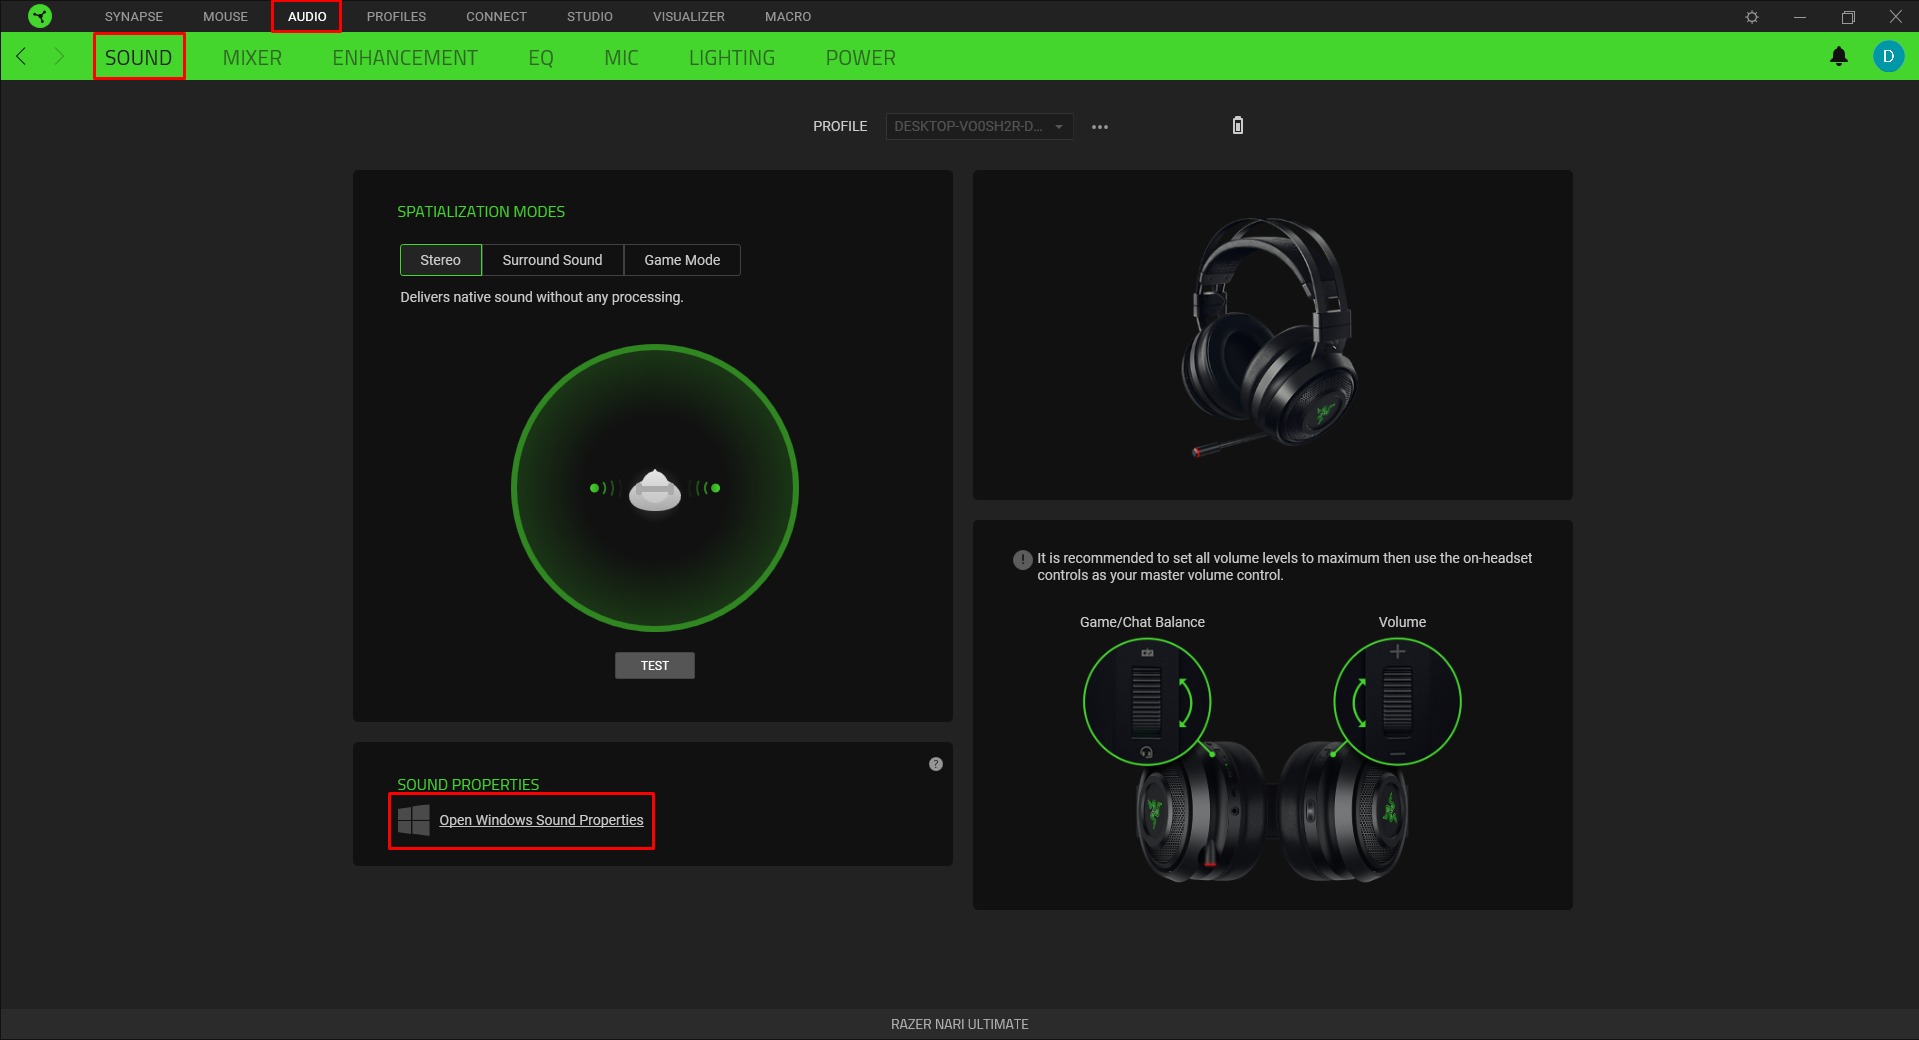
- Once the drivers or updates are installed, you can now access the settings and customization options for your Razer headset. Here, you can adjust various audio settings, create custom equalizer presets, and sync your headset’s lighting effects with other Razer devices.
- Take some time to explore the different tabs and options within Razer Synapse to fully optimize your gaming audio experience. Personalize your headset’s settings to suit your preferences and enhance your gameplay.
And there you have it! By following these steps, you can easily connect your Razer headset to Razer Synapse and unlock a whole new level of customization and control for your gaming audio.
Troubleshooting Common Connection Issues
If you’re experiencing issues while attempting to connect your Razer headset to Razer Synapse, don’t worry. We’ve got you covered with some troubleshooting tips to help you resolve common connection issues quickly and easily.
1. Check the USB Connection: Ensure that the USB cable is securely plugged into both your headset and your computer. Sometimes, a loose connection can prevent the headset from being detected by Razer Synapse. Try plugging the USB cable into a different USB port to see if that resolves the issue.
2. Update Razer Synapse: It’s crucial to keep your Razer Synapse software up to date to ensure compatibility with your Razer headset. Check for any available updates by opening the Razer Synapse software and navigating to the “Settings” section. If an update is available, follow the prompts to install it.
3. Restart Your Computer: Restarting your computer can often solve minor software glitches and refresh the USB connections. Close all applications, including Razer Synapse, and perform a complete system restart. Once your computer has restarted, open Razer Synapse and check if the headset is now being detected.
4. Disable and Re-enable the Headset: If your headset is still not being detected by Razer Synapse, try disabling and re-enabling the headset from the Device Manager. Open Device Manager by right-clicking on the Windows icon in the taskbar, selecting “Device Manager” from the menu, and locating your headset under the “Audio inputs and outputs” or “Sound, video, and game controllers” section. Right-click on the headset, select “Disable device,” wait for a few seconds, and then right-click again and select “Enable device.” Check if the headset is now recognized by Razer Synapse.
5. Check for Driver Updates: Outdated or incompatible drivers can sometimes cause connection issues between your headset and Razer Synapse. Visit the Razer Support website and search for the drivers specific to your headset model. Download and install any available driver updates, then restart your computer and check if the connection issue is resolved.
6. Try a Different USB Cable: If all else fails, it’s worth trying a different USB cable. Sometimes, a faulty or damaged cable can prevent a stable connection. Replace the USB cable with a new one and see if the headset is now detected by Razer Synapse.
If you’ve followed these troubleshooting steps and are still experiencing connection issues with your Razer headset and Razer Synapse, it’s recommended to reach out to Razer Support for further assistance. They have the expertise and resources to help you diagnose and resolve more complex issues.
Conclusion
In conclusion, connecting your Razer headset to Razer Synapse is a simple process that allows you to optimize your gaming experience. By following the steps outlined in this article, you can easily establish a seamless connection between your headset and the Razer Synapse software. This will enable you to customize and control various audio settings, such as EQ, surround sound, and microphone options, to suit your preferences.
Razer Synapse also offers the convenience of creating personalized profiles for different games or applications, ensuring that you always have the perfect audio settings for each specific scenario. Additionally, with Razer Synapse’s cloud storage feature, you can easily synchronize your audio settings across multiple devices, eliminating the need for manual adjustments every time you switch devices.
With the ability to connect your Razer headset to Razer Synapse, you can unlock the full potential of your gaming audio and enjoy an immersive experience like never before. So don’t wait, follow the steps mentioned above and start optimizing your gaming audio today!
FAQs
1. How do I connect my Razer headset to Razer Synapse?
To connect your Razer headset to Razer Synapse, follow these steps:
- Ensure that your Razer headset is properly connected to your computer or gaming console.
- Open Razer Synapse software on your computer.
- Navigate to the “Headset” tab in Razer Synapse.
- Click on “Add/Connect Device” and select your Razer headset from the list of available devices.
- Follow the on-screen prompts to complete the connection process.
2. Do I need to install any additional drivers to connect my Razer headset to Razer Synapse?
In most cases, you do not need to install any additional drivers to connect your Razer headset to Razer Synapse. Razer Synapse is designed to automatically detect and connect compatible Razer devices. However, it’s always a good idea to keep your Razer Synapse software and headset drivers up to date to ensure compatibility and optimal performance.
3. Can I customize the sound settings of my Razer headset using Razer Synapse?
Yes, Razer Synapse allows you to customize various sound settings of your Razer headset. You can adjust the equalizer settings, surround sound, bass boost, and more to personalize your audio experience. Additionally, you can create and save different sound profiles for different situations or games.
4. Can I sync the lighting effects of my Razer headset with other Razer devices using Razer Synapse?
Yes, if your Razer headset supports RGB lighting, you can sync its lighting effects with other compatible Razer devices using Razer Synapse. This allows you to create a unified lighting setup across all your Razer peripherals, enhancing the overall aesthetic of your gaming setup.
5. Is Razer Synapse available for both Windows and macOS?
Yes, Razer Synapse is available for both Windows and macOS operating systems. Whether you’re using a PC or a Mac, you can download and install the appropriate version of Razer Synapse from the official Razer website. Make sure to check the system requirements and compatibility before downloading.