
Are you an avid photographer looking to elevate your skills and capture breathtaking shots? If so, then a camera monopod might just be the accessory you need. A camera monopod is a versatile tool that offers stability and support for your camera while allowing you the flexibility to shoot from various angles and heights. Whether you’re a professional photographer or just starting out, using a camera monopod can greatly enhance the quality of your photos and reduce the risk of blurry or shaky images. In this article, we will guide you on how to use a camera monopod effectively, making the most of this essential gadget to take your photography game to the next level.
Inside This Article
- Choosing the Right Camera Monopod
- Attaching Your Camera to the Monopod
- Adjusting the Height and Angle of the Monopod
- Using Stability Techniques with a Camera Monopod
- Conclusion
- FAQs
Choosing the Right Camera Monopod
When it comes to capturing steady and shake-free shots with your camera, a monopod can be a game-changer. But with so many options available in the market, it can be overwhelming to choose the right one for your specific needs. Here are some factors to consider when selecting a camera monopod.
Weight Capacity: The first thing to consider is the weight capacity of the monopod. Make sure to choose a monopod that can support the weight of your camera and any additional accessories you might use, such as a telephoto lens or external flash. It’s better to choose a monopod with a higher weight capacity to ensure stability.
Height Range: Consider the height range of the monopod. You’ll want to choose a monopod that allows you to comfortably shoot at your desired eye level without having to stoop or stretch. Look for a monopod with adjustable sections or an extendable feature to customize the height according to your preference.
Material: The material of the monopod plays a significant role in its durability and stability. Common materials used for camera monopods include aluminum and carbon fiber. Aluminum monopods are more affordable, but carbon fiber monopods are lighter and offer better vibration reduction. Consider your budget and weight preferences when selecting the material.
Portability: If you often shoot on the go or travel frequently, the portability of the monopod is an important factor to consider. Look for a monopod that is lightweight and compact when folded down. Some monopods come with a carrying bag or strap, making them easier to transport.
Additional Features: Consider any additional features that might be beneficial for your photography needs. This can include a quick-release plate for easy camera attachment and detachment, a foam grip for comfortable handling, or a built-in tripod base for added stability when needed.
By considering these factors, you can choose the right camera monopod that suits your shooting style, equipment, and budget. A reliable monopod will provide stability and support, allowing you to capture crisp and clear images, even in challenging shooting conditions.
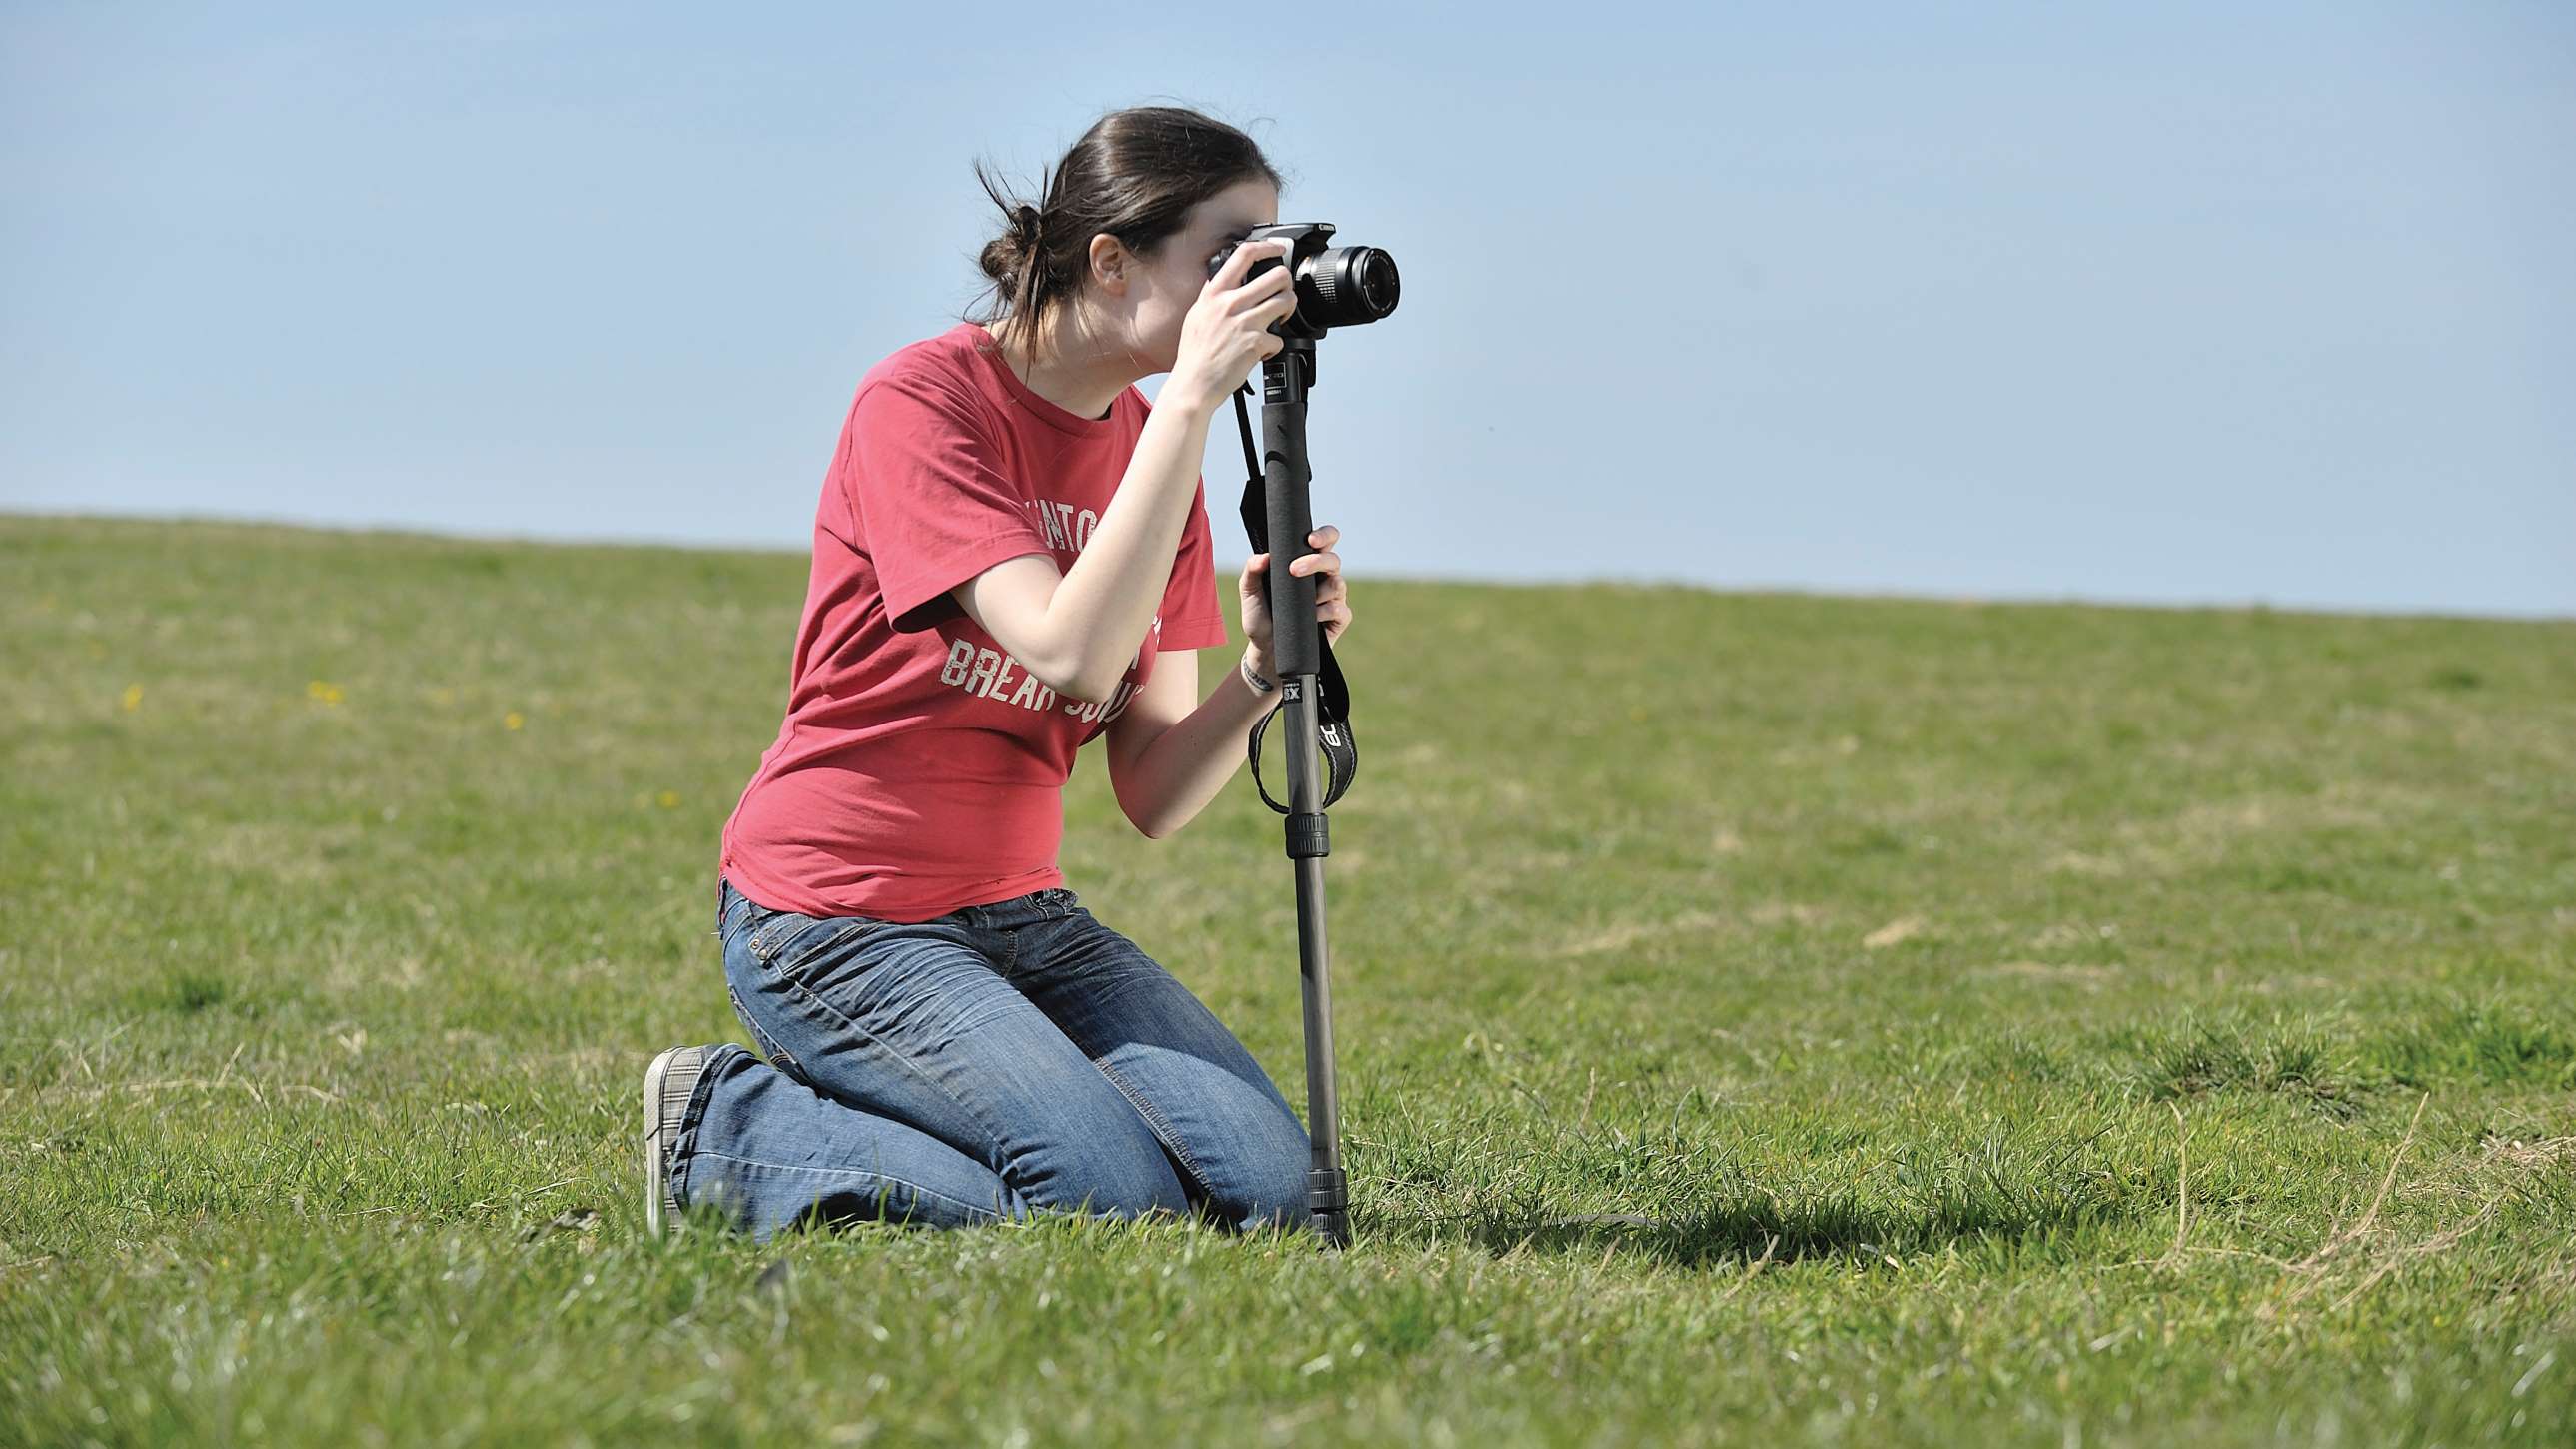
Attaching Your Camera to the Monopod
Attaching your camera securely to the monopod is crucial for capturing stable and shake-free shots. Follow these steps to ensure a proper attachment:
1. Make sure the monopod is fully extended and locked into place. This will provide a stable base for your camera.
2. Locate the mounting plate on the top of the monopod. Most monopods come with a standard 1/4″-20 screw, which is compatible with most cameras.
3. Remove the mounting plate from your camera, if it is attached. It is usually located at the bottom of your camera and secured with a small screw or latch.
4. Align the mounting plate on the monopod with the mounting hole on the bottom of your camera. Ensure that the screw thread matches and rests securely in place.
5. Once aligned, tighten the screw on the mounting plate to secure the camera firmly to the monopod. Use a coin or a screwdriver to ensure a tight fit, but be cautious not to overtighten.
6. After attaching the camera, give it a gentle shake and ensure that it is securely fastened. This will prevent any accidental detachment during use.
Now that your camera is securely attached to the monopod, you are ready to start capturing stunning photos and videos with increased stability.
Adjusting the Height and Angle of the Monopod
Once you have chosen the right camera monopod and attached your camera to it, the next step is to adjust the height and angle of the monopod to ensure stability and capture the perfect shot. Here are some steps to follow:
1. Extend or retract the monopod: Most camera monopods come with adjustable sections that allow you to extend or retract the height according to your preference. To adjust the height, loosen the locking mechanism, extend the sections to the desired height, and then tighten the lock to secure it in place.
2. Consider the shooting angle: Adjusting the angle of the monopod is important to ensure you capture your subject from the right perspective. Tilt the monopod forward, backward, or sideways, depending on the desired angle. Some monopods have a rotating base that allows you to easily change the shooting angle.
3. Use a ball head or tilt head: If your camera monopod is compatible with a ball head or tilt head, consider using one for even more flexibility in adjusting the height and angle. Ball heads and tilt heads allow you to smoothly tilt, pan, and rotate your camera, giving you greater control over the framing and composition of your shots.
4. Test and fine-tune: Once you have adjusted the height and angle of the monopod, take a few test shots to gauge the stability and framing. Check the LCD screen or viewfinder to see if the composition and angle are as desired. If necessary, make further adjustments until you achieve the desired results.
Remember to secure the locks and tightening mechanisms after adjusting the monopod to ensure it stays in place while shooting. Additionally, be mindful of the weight distribution and balance to avoid any potential accidents.
By properly adjusting the height and angle of your camera monopod, you can capture steady and well-composed shots, whether you’re shooting sports, wildlife, or any other type of photography. Experiment with different heights and angles to find the optimal settings that suit your shooting style and subject.
Using Stability Techniques with a Camera Monopod
A camera monopod is a valuable accessory that provides stability and support, especially when shooting in challenging conditions or capturing fast-moving subjects. To fully maximize the benefits of using a monopod, it’s essential to utilize stability techniques that enhance the quality of your photographs. Here are four key stability techniques to consider:
1. Stabilizing Your Footing: When using a camera monopod, it’s crucial to keep your footing stable. Look for a solid surface to plant your feet firmly on the ground. If you’re on uneven terrain, try to find a secure spot or use your body as a counterbalance to steady the monopod.
2. Maintaining Proper Grip: Grip the monopod firmly but avoid gripping too tightly, as it can introduce camera shake. Keep your hands relaxed and use your senses to assess any vibration or movement that may affect the stability of your shots. Experiment with different hand positions to find the most comfortable grip.
3. Using Image Stabilization: If your camera has built-in image stabilization, make sure to activate this feature. Image stabilization helps compensate for minor camera movements and reduces blur caused by slight vibrations. It works in conjunction with the stability provided by the monopod, resulting in sharper, clearer images.
4. Adding Additional Support: For even greater stability, you can consider adding extra support to your camera monopod setup. One option is to attach a weighted bag or a tripod base to the bottom of the monopod. This provides additional stability and helps minimize any potential movement or wobbling.
By implementing these stability techniques, you can ensure that your camera monopod becomes an indispensable tool for capturing sharp, steady, and professional-looking photographs. Experiment with different techniques, practice regularly, and you’ll be amazed at the improvement in the quality of your images.
Conclusion
In conclusion, using a camera monopod can greatly improve your photography experience by providing stability and allowing you to capture sharp, clear images. Whether you are a professional photographer or a hobbyist, a camera monopod is a versatile accessory that can enhance your creativity and expand your shooting possibilities.
Remember to choose a monopod that is suitable for your camera and photography needs. Consider factors such as weight, height, and portability to ensure that you have a monopod that fits your shooting style. Additionally, practice using your monopod and experiment with different angles and positions to maximize its benefits.
Investing in a quality camera monopod can be a worthwhile decision, and it is a must-have accessory for any photography enthusiast. So, grab your monopod, head out into the field, and take your photography to new heights!
FAQs
1. What is a camera monopod?
A camera monopod is a single-legged support device used by photographers and videographers to stabilize their camera while shooting. Resembling a walking stick, a monopod provides additional stability and allows for smoother movement when capturing images or videos.
2. How do I choose the right camera monopod?
When choosing a monopod, there are a few factors to consider:
- Weight Capacity: Ensure that the monopod can support the weight of your camera and lens.
- Height: Look for a monopod that provides comfortable eye-level shooting without the need to bend over or extend your arms too much.
- Build Quality: Opt for a sturdy and durable monopod made from high-quality materials.
- Features: Some monopods come with additional features such as a ball head, adjustable grips, or built-in spikes for better stability on different terrains.
3. How do I use a camera monopod?
To use a camera monopod, follow these steps:
- Extend the monopod to your desired height, making sure it is stable and secure.
- Attach your camera to the monopod using the mounting plate or screw.
- Hold the monopod with one hand while using your other hand to control your camera.
- Keep the monopod steady and adjust its position and angle as needed to capture your desired shots.
- Use the monopod to stabilize your camera while shooting, but don’t rely solely on it – proper technique is still important.
- When you’re done, safely dismount your camera from the monopod and collapse it for easy transportation.
4. Can a monopod replace a tripod?
A monopod can provide additional stability compared to shooting handheld, but it does not offer the same level of stability as a tripod. While a monopod can be helpful in situations where tripods are not allowed or impractical, it is not a direct replacement for a tripod when it comes to shooting in low light or using slow shutter speeds.
5. Which types of photography benefit from using a monopod?
A monopod can be beneficial for various types of photography, including:
- Sports and action photography: It helps to stabilize the camera while capturing fast-moving subjects.
- Wildlife photography: Allows for easy maneuverability and stability when shooting wildlife from a distance or in challenging environments.
- Travel photography: Provides a lightweight and portable option for stabilizing your camera during outdoor adventures.
- Street photography: Enables quick and stable shots in dynamic urban environments.