
Welcome to our guide on how to use the magnifier on the iPhone 13. The magnifier feature on the iPhone is an incredibly useful tool that allows you to zoom in and enhance small text, images, or objects for better visibility. Whether you have trouble reading fine print, need to examine intricate details, or want to capture a clear image, the magnifier function can make your life easier. In this article, we will take you through the steps to activate and utilize the magnifier on your iPhone 13. Whether you’re a first-time iPhone user or looking to explore new features, this guide will help you make the most of your device’s magnification capabilities.
Inside This Article
- Enabling the Magnifier on iPhone 13
- Adjusting Magnifier Settings
- Using Magnifier for Text and Objects
- Utilizing Magnifier’s Advanced Features
- Conclusion
- FAQs
Enabling the Magnifier on iPhone 13
The Magnifier feature on the iPhone 13 is a useful tool that allows you to zoom in and enhance the visibility of objects and text in real-time. Enabling this feature is easy, and once activated, you can access it quickly whenever you need it. Here’s how to enable the Magnifier on your iPhone 13:
- Open the Settings app on your iPhone 13.
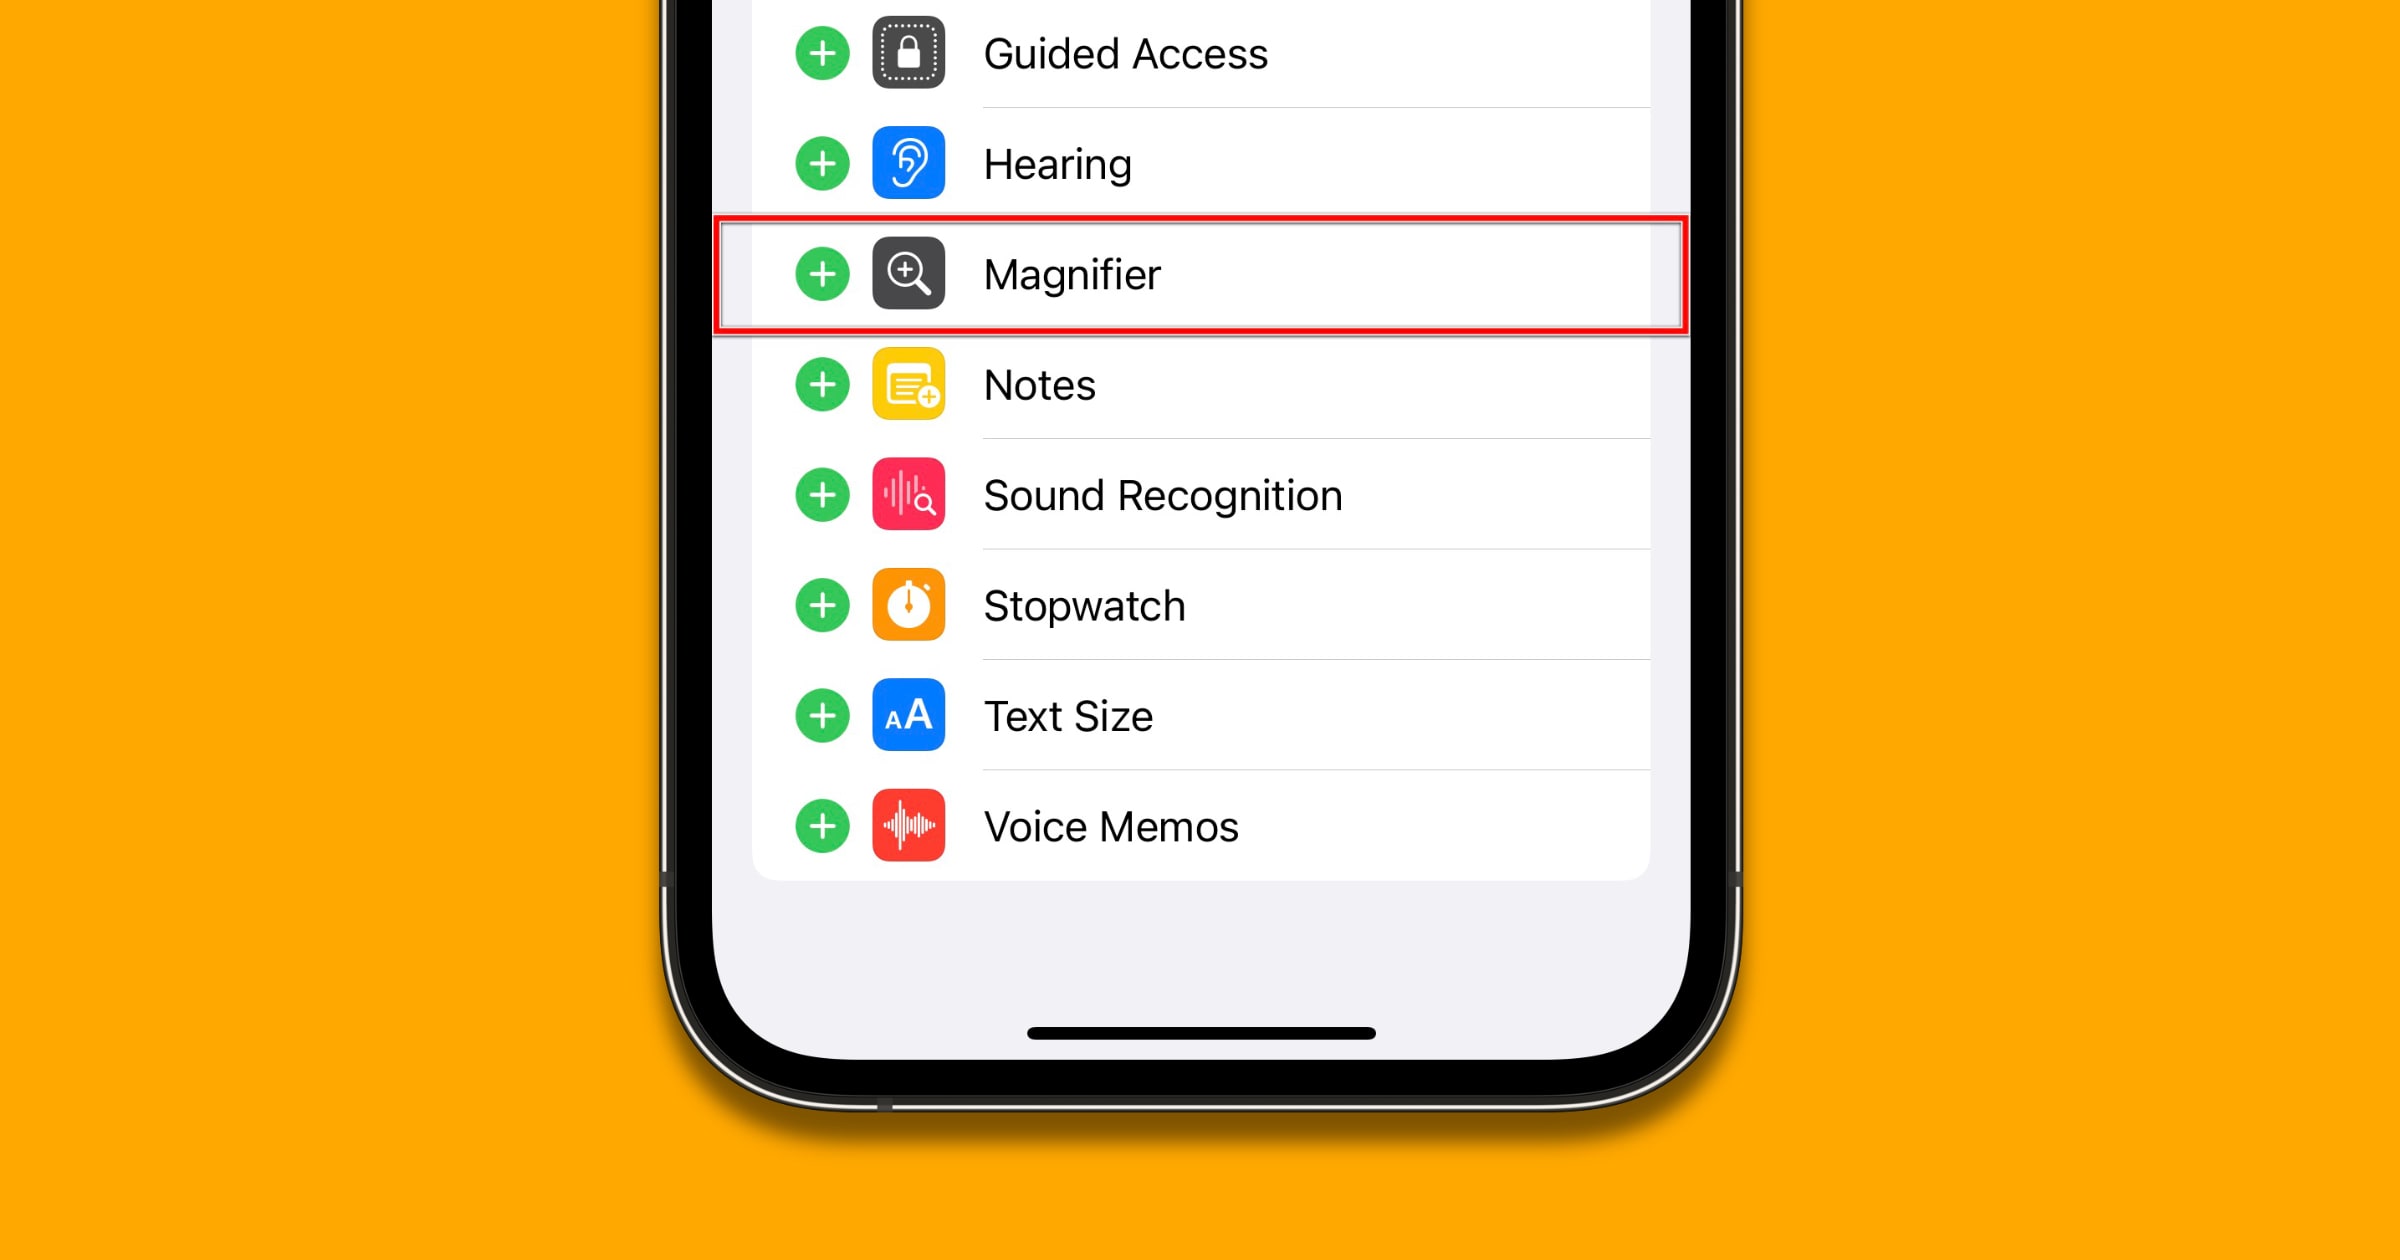
- Scroll down and tap on “Accessibility.”
- In the Accessibility menu, tap on “Magnifier.
- Toggle the switch next to “Magnifier” to turn it on.
Once you have enabled the Magnifier, you can access it by triple-pressing the side button (on iPhone models with Face ID) or the home button (on iPhone models with Touch ID). This quick shortcut allows you to instantly open the Magnifier whenever you need it.
Now that you have successfully enabled the Magnifier on your iPhone 13, let’s move on to exploring its various settings and features to make the most out of this tool.
Adjusting Magnifier Settings
Once you have enabled the Magnifier feature on your iPhone 13, you can adjust the settings to customize your magnification experience. Here are some key settings you can adjust:
Brightness: You can adjust the brightness of the magnified image to ensure optimal visibility. Simply swipe up or down on the screen to increase or decrease the brightness level.
Contrast: If you find it difficult to differentiate between elements in the magnified image, you can adjust the contrast settings. Swipe left or right on the screen to increase or decrease the contrast level until you achieve the desired visibility.
Zoom Level: The Magnifier allows you to zoom in on an object or text. You can adjust the zoom level to get a closer look at the details. To change the zoom level, use a pinching motion on the screen to zoom in or out.
Auto-Brightness: By enabling the Auto-Brightness option in the Magnifier settings, your iPhone will automatically adjust the brightness of the magnified image based on the ambient light conditions. This feature ensures that the magnified content is comfortable to view in any lighting environment.
Focus Lock: The Focus Lock feature allows you to keep the magnifier focused on a specific area, even if you move your iPhone. This is particularly useful when you need to read small text or examine intricate details. To enable Focus Lock, simply tap and hold on the screen until the yellow focus box appears. The magnifier will stay locked on that area until you disable Focus Lock.
Invert Colors: If you prefer to view the magnified content in inverted colors, you can enable the Invert Colors option. This can be helpful for individuals with specific visual preferences or conditions. To enable Invert Colors, go to the Magnifier settings and toggle the Invert Colors switch to the on position.
Save Photos: The Magnifier feature also allows you to capture and save photos of the magnified content for future reference. When you come across something you want to save, tap the capture button (a white circle) at the bottom center of the screen. The captured photo will be saved in your Photos app.
By adjusting these settings in the Magnifier feature on your iPhone 13, you can personalize your magnification experience and ensure that it meets your specific needs and preferences.
Using Magnifier for Text and Objects
If you struggle with reading small text or have trouble seeing objects up close, the Magnifier feature on your iPhone 13 can be incredibly useful. With just a few taps, you can transform your device into a powerful magnifying glass.
To access the Magnifier feature, follow these steps:
- Open the Settings app on your iPhone.
- Scroll down and tap on “Accessibility”.
- Tap on “Magnifier”.
- Toggle the switch for “Magnifier” to enable it.
Once you have enabled the Magnifier feature, you can easily adjust the settings to suit your preferences. Simply follow these steps:
- Open the Camera app on your iPhone.
- Triple-press the side button on your iPhone 13.
- The Magnifier interface will appear, allowing you to zoom in and out on objects or text.
To enhance your experience with the Magnifier, you can take advantage of additional features:
- Brightness adjustment: In the Magnifier interface, you can adjust the brightness level to ensure optimal visibility and clarity.
- Color filters: If you have color vision deficiencies, you can apply color filters to enhance contrast and make text or objects easier to distinguish.
- Freeze frame: By tapping the freeze button in the Magnifier interface, you can capture a still image of what you are magnifying, allowing you to examine it in more detail.
- Auto focus and exposure lock: If you need to focus on a specific area or keep the exposure settings consistent, you can tap and hold on the Magnifier interface to enable auto focus and exposure lock.
The Magnifier feature on your iPhone 13 provides a simple yet powerful tool for magnifying text and objects, making it easier to read small print or examine fine details. Whether you have visual impairments or simply need a helping hand in certain situations, the Magnifier can make a significant difference in your day-to-day life.
Utilizing Magnifier’s Advanced Features
While the Magnifier feature on the iPhone 13 is primarily designed to assist with reading small text, it also offers several advanced features that can enhance its functionality and usability.
1. Brightness and Contrast Adjustment: One of the key advanced features of the Magnifier is the ability to adjust the brightness and contrast of the magnified image. This can be particularly useful in different lighting conditions or when reading text with low contrast. To access this feature, simply tap the “Filter” button in the Magnifier interface and choose the “Adjust” option. From here, you can adjust the brightness and contrast levels to suit your preferences.
2. Color Filters: Another advanced feature is the ability to apply color filters to the magnified image. This can be helpful for individuals with visual impairments or specific color preferences. To apply a color filter, tap the “Filter” button in the Magnifier interface and select from a range of options such as grayscale, inverted colors, or even custom color filters. Experiment with different filters to find the one that works best for you.
3. Auto-Focus and Freeze Frame: The Magnifier also includes an auto-focus feature that continuously adjusts the focus of the magnified image. This ensures that the text or object you are magnifying remains sharp and clear. Additionally, the freeze frame option allows you to capture a still image of the magnified view by tapping the freeze frame button. This can be useful if you need to refer back to the magnified image later.
4. Display Zoom: If you find that the default magnification level is not sufficient, you can further enhance the magnifier’s capabilities by enabling Display Zoom. This option allows you to adjust the zoom level to your liking, providing even more control over the magnification process. To enable Display Zoom, go to Settings > Display & Brightness > Display Zoom and choose the desired zoom level.
5. Shortcut Accessibility: To make it even more convenient to access the Magnifier feature, you can set it up as an accessibility shortcut. This allows you to quickly activate the Magnifier by triple-clicking the side or home button. To enable this shortcut, go to Settings > Accessibility > Accessibility Shortcut and check the Magnifier option.
The advanced features offered by the Magnifier on the iPhone 13 make it a versatile tool for magnifying small text and objects. Whether you need to read fine print, examine details, or simply enhance your vision, the Magnifier can assist you with its powerful and adjustable features. Don’t hesitate to explore these advanced options and personalize the Magnifier to suit your specific needs.
In conclusion, the magnifier feature on iPhone 13 is a powerful tool that allows users to zoom in on various objects or text with ease. Whether you need to read small print, view intricate details in photos, or simply enlarge the screen for better visibility, the magnifier comes in handy in a variety of situations. Its intuitive interface and customizable settings make it a user-friendly feature that can be accessed quickly from the Control Center.
With the ability to adjust magnification levels, apply filters for improved visibility, and even capture images for later reference, the magnifier on iPhone 13 offers a range of functionalities to enhance the user experience. Whether you’re a professional needing precise examination of details or someone with visual impairments seeking an accessible solution, the magnifier feature on iPhone 13 is a valuable addition to the device’s arsenal of accessibility tools. Explore the magnifier feature on your iPhone 13 today and discover how it can simplify your daily tasks and provide an enhanced viewing experience.
FAQs
1. What is the Magnifier feature on the iPhone 13?
The Magnifier feature on the iPhone 13 is a built-in tool that allows users to quickly and easily magnify objects or text in real-time using the device’s camera. It can be especially useful for individuals with visual impairments or those who need to see details more clearly.
2. How do I access the Magnifier on my iPhone 13?
To access the Magnifier on your iPhone 13, simply swipe down from the top-right corner of the screen or triple-click the side or home button (depending on your iPhone model) to open the Control Center. Then, tap on the Magnifier icon, which resembles a magnifying glass.
3. How do I adjust the magnification level on the Magnifier?
Once the Magnifier is open, you can adjust the magnification level by using the slider at the bottom of the screen. Slide it to the right to increase the magnification and to the left to decrease it. You can also use the pinch-to-zoom gesture on the screen to adjust the magnification level.
4. Can I change the color filter on the Magnifier?
Yes, you can change the color filter on the Magnifier to enhance visibility based on your preferences or specific visual needs. To do this, tap the Filters button at the bottom left corner of the Magnifier screen. You can then choose from various color filters, such as grayscale, inverted colors, or increased contrast.
5. Can I freeze the image on the Magnifier?
Yes, you can freeze the image on the Magnifier to examine details more closely or capture a screenshot for reference. To freeze the image, tap the Capture button at the bottom center of the Magnifier screen. The image will be saved to your Photos app, allowing you to view it later or share it with others.