
Are you looking to enhance the accuracy and precision of your rifle? Look no further than the Sightmark Magnifier. This high-quality magnifier is designed to work seamlessly with your firearm’s existing sight, offering a significant boost in target acquisition and range capability. Whether you’re a seasoned shooter or just starting out, learning how to zero a Sightmark Magnifier is essential to achieving optimal performance. In this article, we will guide you through the step-by-step process of zeroing your Sightmark Magnifier, ensuring that you hit your targets with precision every time. So grab your rifle, tighten your scope, and let’s get started on unlocking the full potential of your Sightmark Magnifier.
Inside This Article
- Overview of Sightmark Magnifier
- Step 1: Mounting the Sightmark Magnifier
- Step 2: Adjusting the Eye Relief
- Step 3: Zeroing the Sightmark Magnifier to the Red Dot Sight
- Conclusion
- FAQs
Overview of Sightmark Magnifier
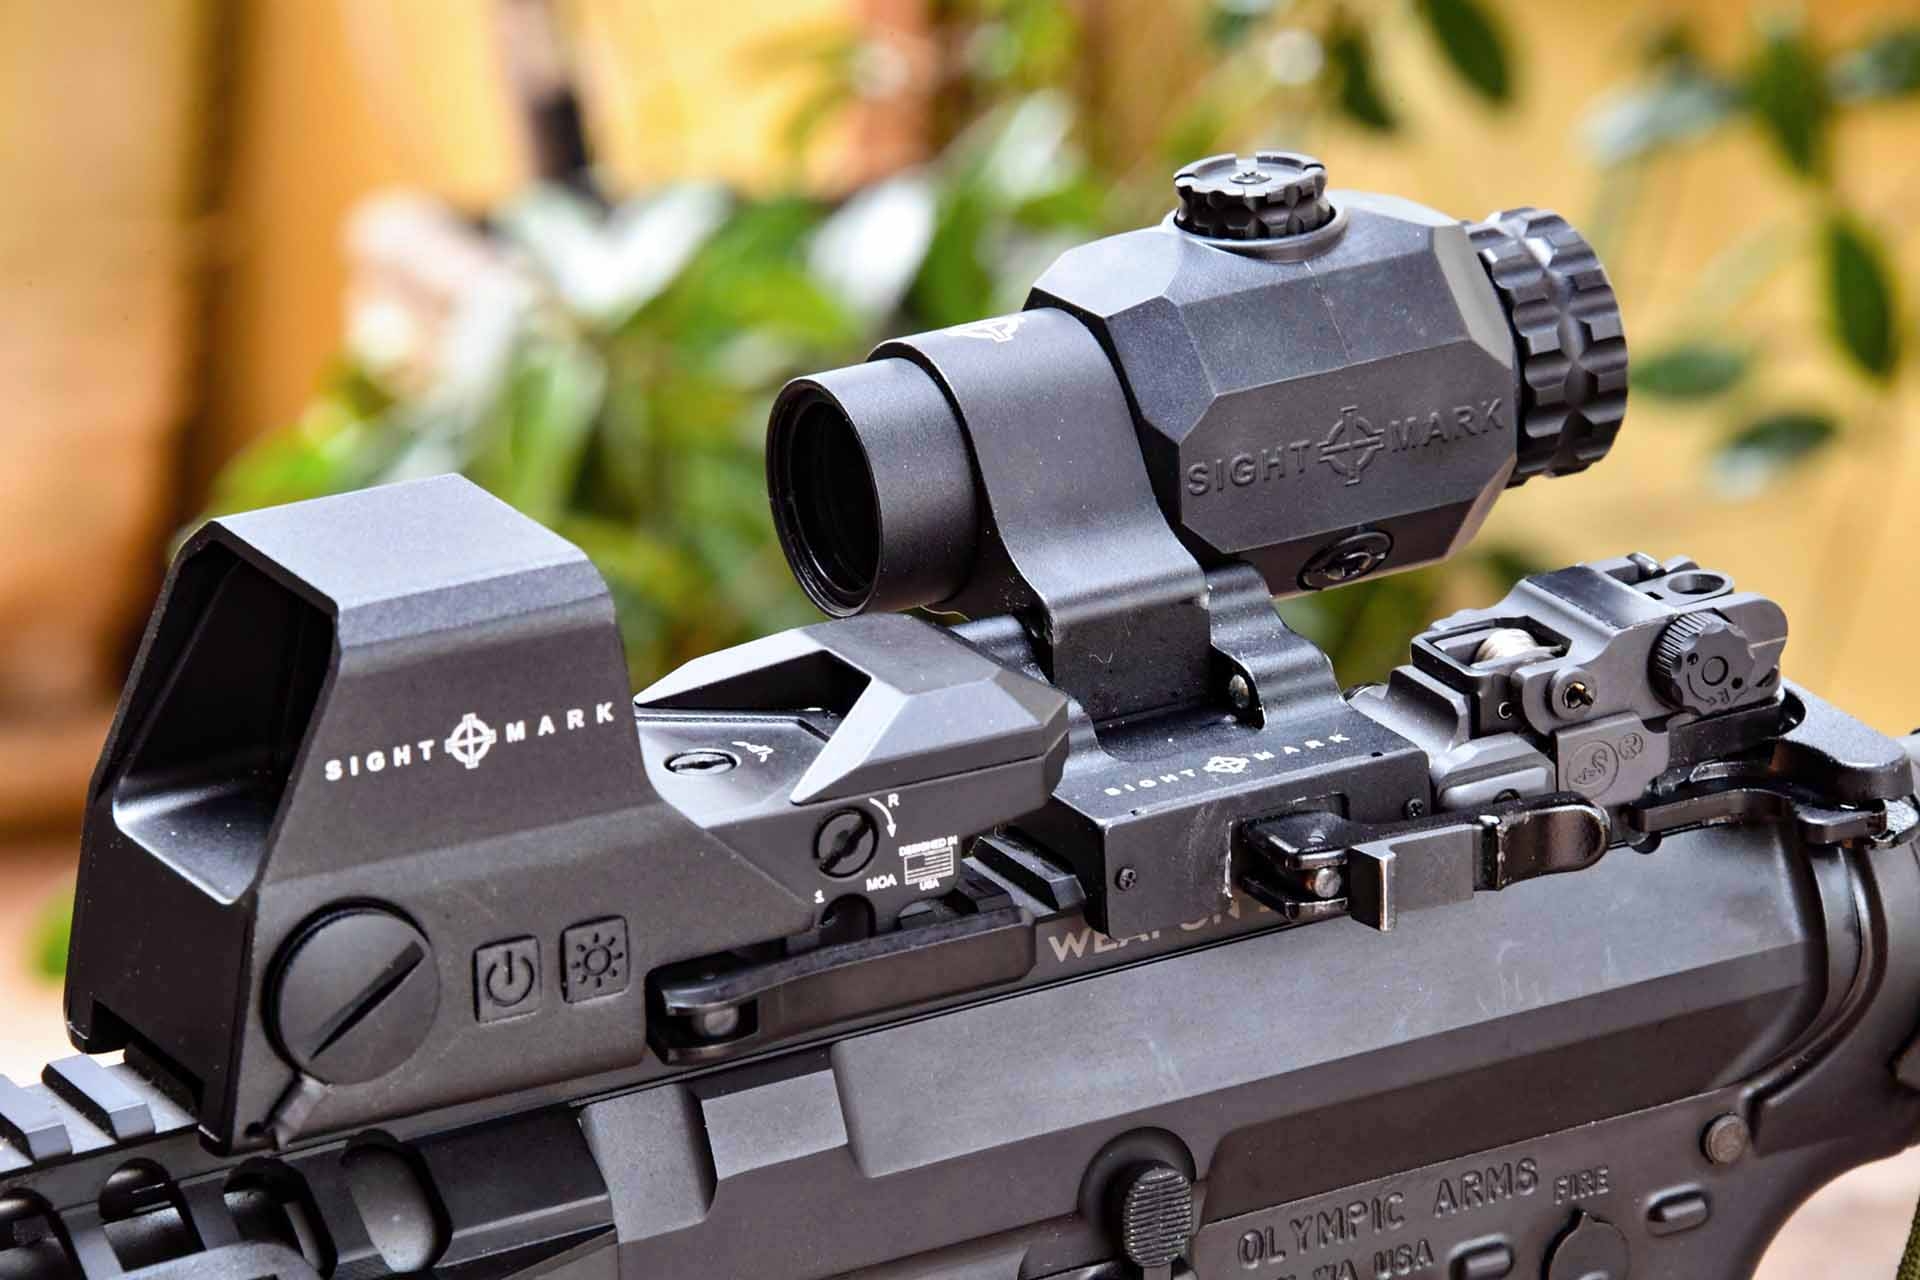
The Sightmark Magnifier is a versatile and essential accessory for firearms enthusiasts and professional shooters. Designed to work in conjunction with red dot sights, the magnifier provides enhanced aiming precision and target acquisition capabilities. Whether you’re engaging targets at close or medium range, the Sightmark Magnifier proves to be a valuable tool in your arsenal.
Featuring a high-quality optical system, the Sightmark Magnifier provides a clear and crisp view of the target. With its magnification power of up to 3x, it allows shooters to acquire a more detailed sight picture, enhancing their ability to make accurate shots. The magnifier is specifically designed to be compatible with various red dot sights, ensuring seamless integration and optimal performance.
One of the standout features of the Sightmark Magnifier is its quick-detach mount. This mount allows for easy and swift installation and removal of the magnifier. This is particularly useful in situations where you need to switch between magnified and non-magnified views quickly. The quick-detach mechanism ensures that the magnifier securely attaches to your firearm without compromising its stability.
The Sightmark Magnifier is also built to withstand the rigors of the field. Its durable construction and shockproof design ensure that it can handle the recoil and vibrations experienced during shooting sessions. Additionally, the magnifier is nitrogen-filled and O-ring sealed, making it fogproof and waterproof. These features make it a reliable accessory even in challenging weather conditions or environments.
Another noteworthy feature of the Sightmark Magnifier is its adjustable eye relief. This allows shooters to customize the distance between the magnifier and their eye for optimal comfort and sight alignment. By adjusting the eye relief, you can find the sweet spot that provides a clear, full-field view without any distortion.
Step 1: Mounting the Sightmark Magnifier
Mounting the Sightmark Magnifier is the first step in enhancing your shooting experience. It allows you to have a clearer and more magnified view through your red dot sight, enabling greater accuracy and precision. To mount the Sightmark Magnifier properly, follow these simple steps:
1. Select a suitable location on your firearm’s rail system where you want to mount the magnifier. Ensure that the area is free from any obstructions or interference with other accessories.
2. Loosen the tension screws on the magnifier’s mounting base using a suitable Allen key or wrench. This will allow you to easily slide the magnifier onto the rail.
3. Gently slide the mounting base of the magnifier onto the rail, aligning it with the desired location. Make sure it is securely seated on the rail before tightening the tension screws.
4. Begin tightening the tension screws gradually, alternating between the screws to ensure consistent pressure. Be careful not to overtighten, as this can lead to damage or misalignment.
5. Once the magnifier is firmly mounted, perform a visual inspection to ensure it is properly aligned with your red dot sight. Adjust the position if necessary, keeping in mind the ideal eye relief and comfortable shooting position.
6. Finally, use a torque wrench or a suitable tool to firmly tighten the tension screws on the mounting base. This will ensure that the magnifier remains securely attached to your firearm during use.
With the Sightmark Magnifier securely mounted, you are ready to move on to the next step: adjusting the eye relief. Mounting the magnifier correctly is essential for optimal performance, stability, and overall shooting experience.
Step 2: Adjusting the Eye Relief
One of the crucial steps in zeroing a Sightmark Magnifier is adjusting the eye relief. The eye relief refers to the distance between your eye and the eyepiece of the magnifier. It is essential to achieve the correct eye relief to ensure a clear, comfortable, and properly aligned sight picture.
To start, ensure that the magnifier is securely mounted on your firearm. Having the correct mount is essential for stability and accuracy when adjusting the eye relief. Once the magnifier is mounted, follow these steps to adjust the eye relief:
- Start with a comfortable shooting position: Position yourself behind the firearm in a way that feels natural and comfortable. Proper body alignment and stability are important to maintain consistency while adjusting the eye relief.
- Set the magnifier at the furthest eye relief: Begin by setting the magnifier at its maximum eye relief position. This usually involves extending the magnifier away from the shooter. It is better to start with more eye relief and gradually reduce it for optimal clarity.
- Achieve a clear and centered sight picture: Look through the magnifier while aiming at a target. Adjust the position of your eye until you achieve a clear and well-centered sight picture. This means that the sight reticle should be in line with the magnifier’s center and without any visual distortion.
- Adjust the eye relief: Once you have a clear and centered sight picture, slowly adjust the magnifier’s eye relief by bringing it closer or moving it further away from your eye. Make small adjustments and take note of the changes in clarity and alignment. The goal is to find the sweet spot where the sight picture is crisp, the reticle is centered, and there is minimal eye strain.
- Test and fine-tune: After making adjustments, continue to test and evaluate the sight picture. Look for any signs of eye strain or discomfort. If necessary, make further adjustments until you achieve an optimum eye relief that provides clear visibility and a comfortable shooting experience.
Remember, the correct eye relief may vary depending on individual preferences, the firearm you are using, and other factors. It’s important to experiment and find the eye relief that works best for you. Once you have adjusted the eye relief, you can proceed to the next step of zeroing your Sightmark Magnifier.
Step 3: Zeroing the Sightmark Magnifier to the Red Dot Sight
Now that you have successfully mounted the Sightmark Magnifier and adjusted the eye relief, it’s time to zero the magnifier to your red dot sight. Zeroing the magnifier will ensure that the point of impact aligns with the point of aim, allowing for precise and accurate shooting.
Here is a step-by-step guide on how to zero your Sightmark Magnifier to the Red Dot Sight:
- Choose a suitable shooting range: Find a shooting range that allows for different target distances. This will enable you to accurately test the zeroing of your magnifier.
- Set up the target: Place the target at a distance that you want to zero your magnifier to. It is recommended to start at a closer distance, such as 25 yards, before moving to longer distances.
- Align the red dot and magnifier: With the red dot sight turned on, look through the magnifier and ensure that the red dot is centered and aligned with the target.
- Take a series of shots: Fire a series of shots at the target, aiming at the center. This will give you an idea of where your shots are landing in relation to your point of aim.
- Make adjustments: Based on where your shots are landing, determine if you need to make adjustments. If your shots are consistently landing to the left, adjust the windage knob on your red dot sight accordingly. If they are consistently high or low, make adjustments to the elevation knob.
- Test and repeat: Once you’ve made the necessary adjustments, fire another series of shots at the target. Repeat the process until your shots are hitting the center of the target consistently.
- Note down your settings: Once you’ve achieved the desired zero, take note of the adjustments you made on your red dot sight. This will allow you to easily re-zero your Sightmark Magnifier in the future, if needed.
It’s important to keep in mind that zeroing a magnifier to a red dot sight may require some trial and error, as each firearm and sighting system can vary. Practice patience and make incremental adjustments until you achieve the desired results.
By following these steps, you’ll be able to zero your Sightmark Magnifier to your red dot sight effectively and ensure accurate shooting in any situation.
Conclusion
In conclusion, learning how to zero a Sightmark magnifier is an essential skill for any firearm enthusiast or professional. By understanding the process and following the step-by-step instructions, you can ensure your magnifier is properly aligned with your optic, allowing for improved accuracy and precision in your shooting experience.
Remember to take your time and carefully adjust both the windage and elevation settings until your point of impact matches your point of aim. Additionally, make sure to utilize a stable shooting position and eliminate any potential disruptions or external factors that could impact the zeroing process.
With a properly zeroed Sightmark magnifier, you can confidently engage your targets at various distances, knowing that your shots will land exactly where you intend them to. So, grab your magnifier, head to the range, and start honing your shooting skills with this valuable accessory.
FAQs
1. What is a Sightmark Magnifier?
A Sightmark Magnifier is a popular accessory for enhancing the magnification of your rifle’s sight. It is designed to provide increased clarity and precision for long-range shooting.
2. How does a Sightmark Magnifier work?
A Sightmark Magnifier uses optical lenses to magnify the target image seen through your rifle’s sight. It is mounted behind the sight and can be flipped up or down as needed. When the magnifier is flipped up, it increases the magnification, allowing for better target acquisition and more accurate shots.
3. How do I zero a Sightmark Magnifier?
Zeroing a Sightmark Magnifier involves aligning its point of aim (POA) with the point of impact (POI) of your rifle’s sight. To do this, you will need to follow specific steps, including adjusting the sight’s windage and elevation settings. It is recommended to refer to the manufacturer’s instructions or consult an expert to ensure proper zeroing.
4. Can I use a Sightmark Magnifier with any type of sight?
Yes, a Sightmark Magnifier is designed to be compatible with a wide range of rifle sights, including red dot sights and holographic sights. However, it is always important to check the compatibility and mounting options of the magnifier with your specific sight before making a purchase.
5. Are there any tips for using a Sightmark Magnifier?
Here are a few tips for using a Sightmark Magnifier effectively:
- Ensure proper alignment: Make sure the magnifier is aligned correctly with your sight to maintain accurate shooting.
- Practice proper eye relief: Maintain the correct distance between your eye and the magnifier to avoid eye strain and ensure a clear sight picture.
- Adjust focus: Some Sightmark Magnifiers come with a focus adjustment feature. Use it to get a sharp and clear image.
- Regular maintenance: Keep your magnifier clean and free from debris to ensure optimal performance.