
The advancement of smartphone camera technology has revolutionized the way we capture and share moments. One of the exciting features available on modern iPhones is HDR, which stands for High Dynamic Range. But what exactly is HDR and how can you make the most of it on your iPhone camera?
HDR allows for better image quality by combining multiple exposure levels to create a photo with balanced lighting and enhanced details. Whether you’re capturing a vibrant sunset or a dimly lit room, HDR can help you capture photos with stunning clarity and depth. In this article, we will explore what HDR is, how it works, and provide you with some tips on how to use it effectively on your iPhone camera.
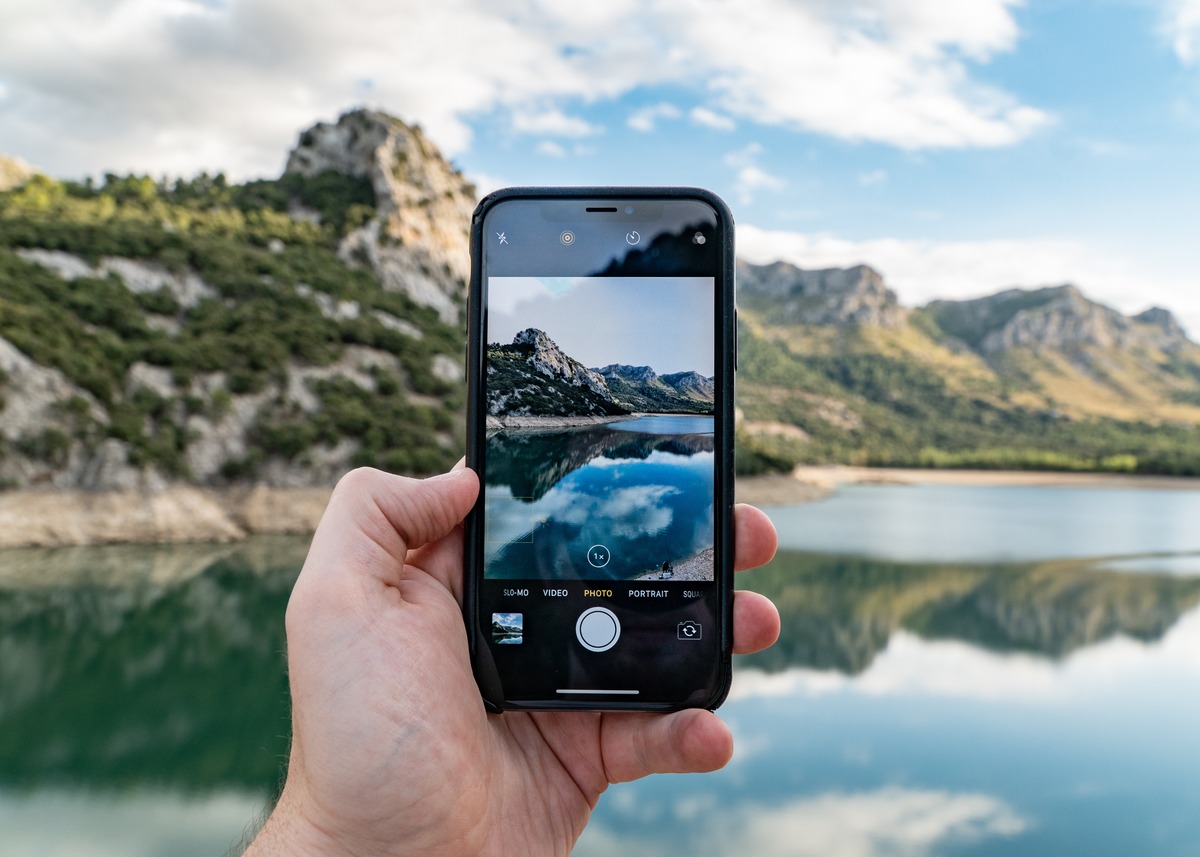
So, if you’re ready to take your iPhone photography to the next level, let’s dive into the world of HDR and discover its incredible potential!
Inside This Article
- What Is HDR?
- Understanding the Benefits of HDR
- How to Enable HDR on Your iPhone Camera
- Adjusting HDR Settings for Better Results
- Conclusion
- FAQs
What Is HDR?
High Dynamic Range (HDR) is a camera feature that allows you to capture photos with a wider range of brightness levels. It improves the overall quality and detail of your photos by combining multiple exposures to create an image with more dynamic range.
Traditional cameras and smartphones typically have a limited dynamic range, which means they struggle to capture details in both bright and dark areas of a scene. HDR helps to overcome this limitation by blending different exposure settings to ensure that both the highlights and shadows are properly exposed.
By using HDR, you can capture more vibrant colors, crisp details, and balanced lighting in your photos. It is particularly useful in situations with high contrast, such as landscapes with bright skies and shaded foregrounds, or indoor scenes with bright windows and darker interiors.
Whether you’re a professional photographer or a hobbyist, HDR can be a valuable tool to enhance the quality of your photos and make them more visually appealing.
Understanding the Benefits of HDR
High Dynamic Range, or HDR, is a feature that has become increasingly popular in smartphones, including the iPhone. HDR technology allows your iPhone camera to capture a wider range of lighting, resulting in more detailed and balanced photos.
One of the main benefits of using HDR is that it reduces the loss of detail caused by overexposure or underexposure. When you take a photo in challenging lighting conditions, such as a scene with bright highlights and dark shadows, HDR automatically combines multiple exposures to create a single image that preserves both highlight and shadow detail. This means that your photos will have a greater dynamic range, with more visible details in both the brightest and darkest areas.
Another advantage of HDR is its ability to enhance the overall tonal and color balance of your images. By merging multiple exposures, HDR technology brings out the true colors in your photos, making them more vibrant and true-to-life. This can be especially useful when photographing landscapes, sunsets, or any scene with a wide range of colors.
Additionally, HDR can significantly improve the overall image quality by reducing noise and increasing sharpness. Since HDR combines multiple exposures, it effectively minimizes noise in low-light situations, resulting in cleaner and clearer images. Furthermore, the blending of multiple exposures can enhance the sharpness of your photos, providing greater clarity and detail.
Whether you’re capturing a stunning sunset, taking photos in challenging lighting conditions, or simply wanting to enhance the quality of your images, HDR on your iPhone camera can make a noticeable difference. With its ability to preserve detail, enhance colors, and improve overall image quality, HDR is a powerful tool that can take your iPhone photography to the next level.
How to Enable HDR on Your iPhone Camera
High Dynamic Range (HDR) is a powerful feature available on the iPhone camera that allows you to take stunning photos with improved contrast and detail. Enabling HDR is simple, and this guide will walk you through the process step-by-step.
1. Open the Camera app on your iPhone.
2. Locate the HDR button, which is displayed as a small icon or text, usually located at the top or side of the camera screen.
3. Tap the HDR button to activate it. It will typically have three options: “On”, “Off”, or “Auto”.
4. If you want to enable HDR for all your photos, select “On”. This means that HDR will be applied to every photo you take, regardless of the lighting conditions.
5. If you prefer more control over when HDR is used, choose the “Auto” setting. When set to “Auto”, your iPhone will decide whether or not to enable HDR based on the available lighting conditions. For example, it will enable HDR in high contrast situations or when the scene has both bright and dark areas.
6. If you don’t want to use HDR at all, select “Off”. This will disable the HDR feature completely, and your iPhone will capture photos without any HDR processing.
7. Experiment with HDR to see the difference it makes in your photos. Take some photos with HDR enabled and compare them to photos taken without HDR. You’ll notice that HDR photos have better balance between shadows and highlights, resulting in more vibrant and detailed images.
Keep in mind that enabling HDR may slightly increase the processing time for each photo, as the iPhone combines multiple exposures to create the final image. However, the improvement in photo quality is well worth the extra time.
Whether you’re capturing landscapes, portraits, or any other type of photo, enabling HDR on your iPhone camera can greatly enhance the image quality. So go ahead, give it a try and take your photography to the next level!
Adjusting HDR Settings for Better Results
When using HDR (High Dynamic Range) on your iPhone camera, it’s important to understand that the default settings may not always produce the desired results. By adjusting the HDR settings, you can fine-tune your photos and achieve even better image quality. Here are some tips to help you get the most out of your HDR shots:
1. Assess the Scene: Before taking a photo in HDR mode, assess the lighting conditions of the scene. HDR works best in high contrast situations, such as landscapes with bright skies and shadowed foregrounds. If the scene has a more balanced lighting, HDR may not be necessary.
2. Disable Auto HDR: By default, the iPhone camera is set to Auto HDR mode, where it automatically determines when to use HDR based on the lighting conditions. However, using the manual HDR mode gives you more control. To disable Auto HDR, go to Settings > Camera > HDR and select “Off.”
3. Use HDR When There Are Bright and Dark Areas: HDR is particularly useful when there are areas of extreme brightness and darkness in the scene. It helps to capture details in both the highlights and shadows, resulting in a well-balanced photo. Enable HDR by tapping on the HDR icon in the Camera app and select “On.”
4. Experiment with HDR Exposure Levels: The HDR feature on iPhones allows you to adjust the exposure levels. In the Camera app, tap on the HDR icon and select “Auto” or “On,” and then swipe your finger up or down on the screen to manually adjust the exposure. Experiment with different levels to find the optimal balance for your photo.
5. Use a Tripod for Long Exposures: In situations where the HDR shot requires a longer exposure time, such as capturing a sunset or night scene, using a tripod ensures a steady shot. Setting up your iPhone on a stable surface prevents any unwanted camera shake, resulting in sharper and clearer images.
6. Edit HDR Photos: After capturing your HDR photos, you can further enhance them using photo editing apps. Adjust the brightness, contrast, saturation, and other settings to fine-tune your image and make it even more visually appealing.
By adjusting the HDR settings on your iPhone camera, you can take your photography skills to the next level. Experiment with different settings and techniques to find what works best for your desired outcomes. Remember, practice makes perfect, so keep shooting and refining your skills to capture stunning HDR photos!
Conclusion
With the advancements in technology, HDR has become an essential feature on modern smartphones, including the iPhone. This powerful tool allows users to capture stunning photos with better color accuracy, improved dynamic range, and enhanced details.
By enabling HDR on your iPhone, you can take advantage of its automatic mode to let the camera analyze the scene and determine the best exposure settings. Alternatively, you can manually control HDR and choose when to use it, especially in challenging lighting conditions.
Remember to experiment with the different HDR settings and techniques to get the best results based on your specific photography preferences. Whether you’re capturing landscapes, portraits, or architectural shots, HDR can significantly elevate the quality of your iPhone photos.
So don’t shy away from exploring HDR and unlocking its potential. With a few simple adjustments and a keen eye for composition, you’ll be able to capture breathtaking images that truly showcase the beauty of the world around you.
FAQs
1. What is HDR and why should I use it on my iPhone camera?
HDR stands for High Dynamic Range. It is a camera feature that enhances the quality of your photos by capturing a wider range of light and dark tones. When you enable HDR on your iPhone camera, it takes multiple exposures of the same scene and combines them into a single well-balanced image. This allows you to capture more details in both the highlights and shadows, resulting in stunning and more realistic photographs.
2. How do I enable HDR on my iPhone camera?
Enabling HDR on your iPhone camera is quite simple. Open the Camera app on your iPhone and tap the “HDR” option, which is usually located at the top of the screen. You can select “Auto HDR” to let your iPhone determine when to use HDR based on the available lighting conditions, or you can manually select “On” or “Off” to enable or disable HDR mode.
3. Does using HDR drain my iPhone’s battery faster?
Using HDR on your iPhone camera can slightly impact your battery life, as it requires the device to process multiple exposures and merge them into a single image. However, the battery impact is generally minimal and shouldn’t significantly affect your overall battery performance. If you are concerned about battery drain, you can always disable HDR mode when you don’t need it, or have it set to “Auto HDR” for more efficient usage.
4. Are there any situations where HDR is not recommended?
While HDR can greatly enhance your photos in most situations, there are some scenarios where it may not be ideal. Fast-moving subjects, such as sports events or active children, can cause ghosting or blur in HDR images, as the camera needs to capture multiple exposures. Additionally, if you’re photographing scenes with extreme lighting contrasts, like direct sunlight, HDR may not always produce the desired results. In these cases, it’s best to experiment with both HDR and non-HDR modes to find the optimal setting.
5. Can I edit or adjust HDR photos after taking them?
Yes, you can edit or adjust HDR photos on your iPhone just like any other photo. HDR images are stored as one file, but the data from multiple exposures is embedded in it. Therefore, you can use editing apps or the built-in editing tools on your iPhone to adjust the brightness, contrast, saturation, or apply filters to your HDR photos. This flexibility allows you to fine-tune your images and create the desired look without compromising on the HDR effect.