
If you’re the proud owner of a Moto G Stylus, you may find yourself wondering where the gallery is located on your device. As a versatile smartphone that combines powerful features with a built-in stylus, the Moto G Stylus offers a seamless and efficient user experience. However, finding specific functions, such as the gallery, can sometimes be a challenge. But fear not! In this article, we’ll explore the whereabouts of the gallery on the Moto G Stylus and guide you through the steps to access your photos and videos with ease. So, whether you’re looking to browse through your cherished memories or share your captured moments, we’ll help you navigate the gallery on your Moto G Stylus. Let’s get started!
Inside This Article
- How to Access the Gallery on the Moto G Stylus
- Troubleshooting if the Gallery is Missing on the Moto G Stylus
- Alternative Options for Viewing and Managing Photos on the Moto G Stylus
- Tips to Optimize and Organize the Gallery on the Moto G Stylus
- Conclusion
- FAQs
How to Access the Gallery on the Moto G Stylus
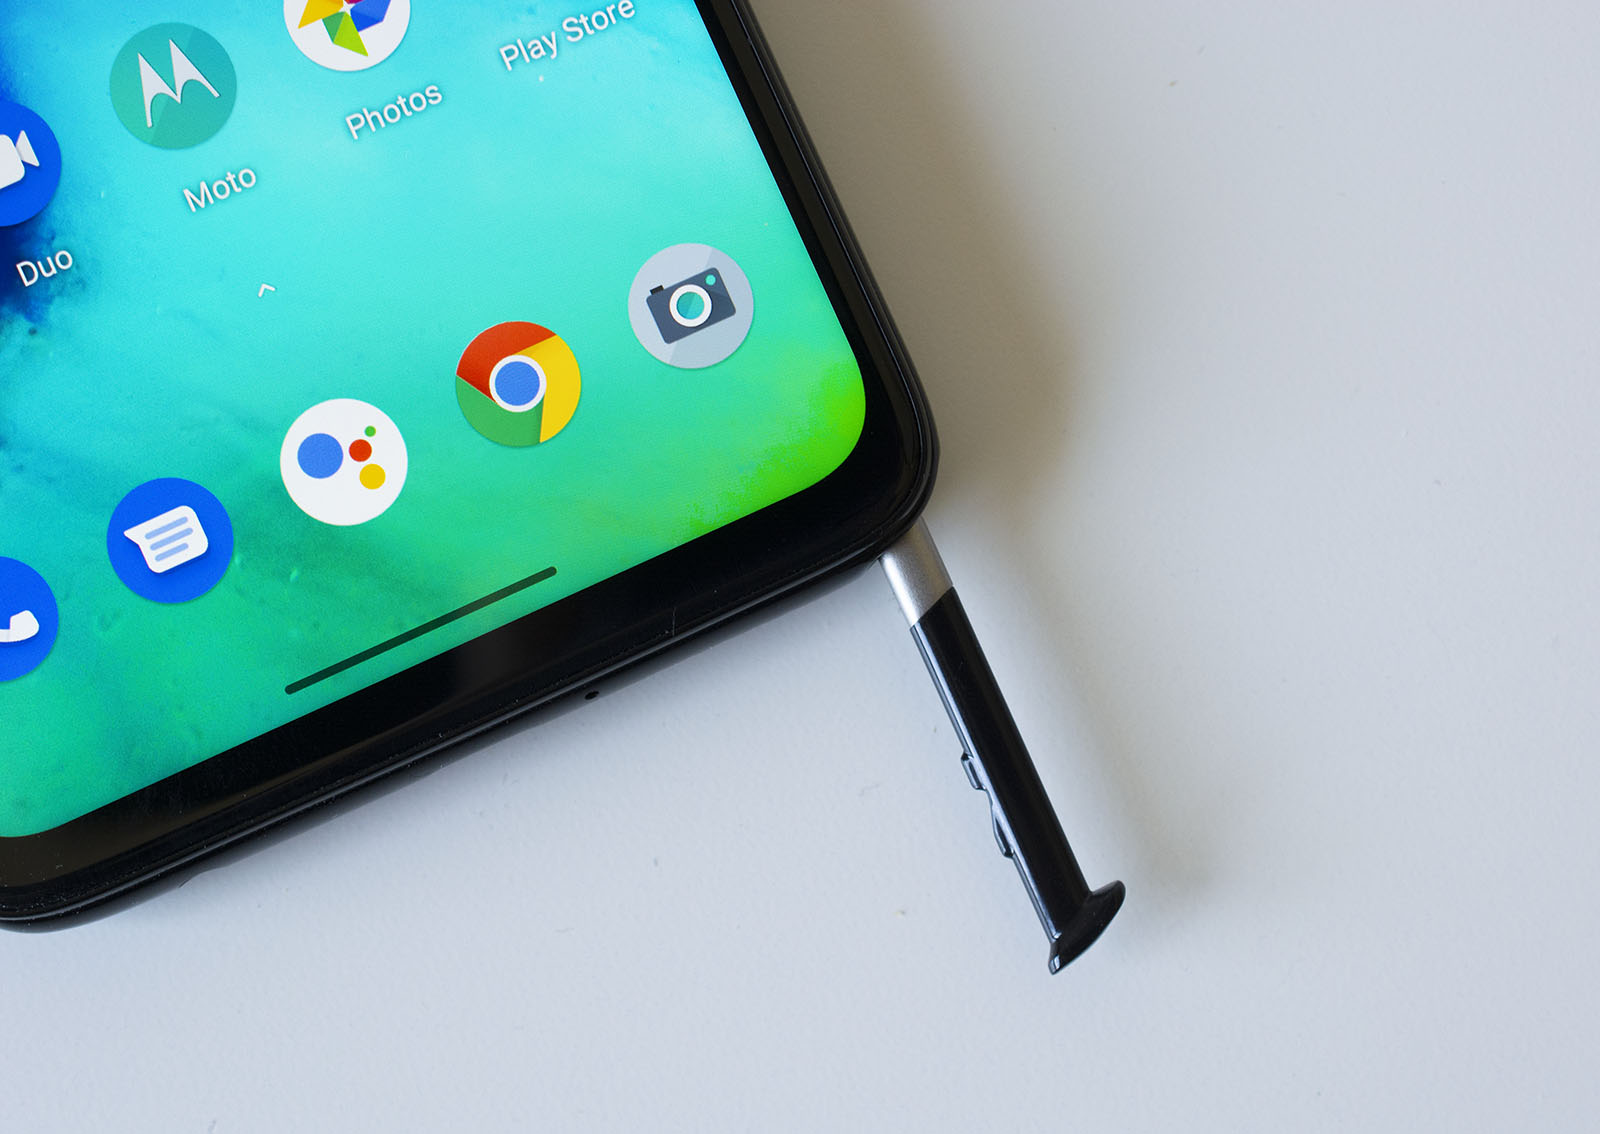
The gallery on the Moto G Stylus is where you can find and manage all your photos and videos. With its large, high-definition display, the Moto G Stylus provides a great viewing experience for all your captured memories. Accessing the gallery is a simple process that can be done in a few easy steps.
To access the gallery on the Moto G Stylus, follow these steps:
- From the home screen, locate and tap the “Apps” icon, which is represented by a grid of squares and is usually located at the bottom center of the screen.
- Scroll through the apps until you find the “Gallery” app, which is represented by an icon featuring a collection of photos. Tap on the app icon to open it.
- Once the gallery app is open, you will be able to see all your photos and videos in a grid layout. You can scroll through the grid to browse your media or use the search bar at the top to search for specific photos or videos.
- To view a photo or video in full screen, simply tap on it. You can then swipe left or right to navigate through your media.
- If you wish to organize your photos and videos into albums or folders, tap on the options menu icon (usually represented by three vertical dots or lines) and select the “Create album” or “Create folder” option. You can then name your album or folder and add photos or videos to it.
That’s it! You have successfully accessed the gallery on your Moto G Stylus. You can now enjoy viewing and managing your photos and videos with ease.
Troubleshooting if the Gallery is Missing on the Moto G Stylus
If you’re unable to find the Gallery app on your Moto G Stylus, don’t worry! There could be a few reasons why it’s not appearing on your device. Here are some troubleshooting steps you can follow to resolve the issue:
1. Check the App Drawer: Start by checking your app drawer. Swipe up from the home screen or tap the app drawer icon (usually a grid of dots) to access all your installed apps. Scroll through the list and look for the Gallery app. If you can’t find it there, proceed to the next step.
2. Search for the Gallery App: Some devices have a search feature within the app drawer. Swipe down on the app drawer or tap the search bar at the top, then type “Gallery” and see if the app appears in the search results. If it does, simply tap on it to open it. If not, move on to the next step.
3. Check the Disabled Apps List: It’s possible that the Gallery app might be disabled on your device. To check this, go to your device’s settings and navigate to the “Apps” or “Apps & Notifications” section. Look for the “Disabled” or “Turned off” apps option and see if the Gallery app is listed there. If it is, tap on it and select “Enable” or “Turn on” to restore the app.
4. Clear Cache and Data: If the Gallery app is still not showing up, you can try clearing its cache and data. To do this, go to your device’s settings and navigate to the “Apps” or “Apps & Notifications” section. Locate the Gallery app, tap on it, and then select the “Storage” option. From there, you can clear the cache and data for the app. Note that this will remove any temporary files or settings associated with the app, so make sure to back up any important data before proceeding.
5. Update or Reinstall the App: If none of the above steps work, it’s possible that the Gallery app may need to be updated or reinstalled. Go to the Google Play Store, search for the Gallery app, and check if there’s an update available. If so, install the update and see if the app appears on your device. If there’s no update or reinstalling the app doesn’t bring it back, you may need to seek further assistance from Motorola support or your device’s retailer.
By following these troubleshooting steps, you should be able to resolve the issue of the Gallery app being missing on your Moto G Stylus. Remember to check for any software updates or device-specific instructions from Motorola to ensure that your device is functioning at its best.
Alternative Options for Viewing and Managing Photos on the Moto G Stylus
While the Moto G Stylus comes with a built-in gallery app for viewing and managing photos, there are also alternative options available that can enhance your photo viewing and organizing experience. Here are some of the alternative options you can explore:
1. Google Photos: Google Photos is a popular photo storage and management app that offers unlimited storage for high-quality photos. By installing the Google Photos app on your Moto G Stylus, you can easily sync your photos and access them from any device with your Google account. The app also offers features such as automatic backups, photo editing tools, and intelligent search capabilities.
2. Third-party gallery apps: There are numerous third-party gallery apps available on the Google Play Store that offer additional features and customization options. Some popular options include QuickPic, Piktures, and A+ Gallery. These apps often provide alternative ways to view and organize your photos, including different layouts, sorting options, and advanced editing tools.
3. File manager apps: If you prefer a more straightforward approach to organizing your photos, you can use a file manager app. File manager apps allow you to browse through the files on your device and manage them directly. You can create folders, move or copy photos, and rename files to keep your photo collection organized. Some popular file manager apps include ES File Explorer and Solid Explorer.
4. Cloud storage services: Another option is to store your photos in the cloud using services like Dropbox, OneDrive, or Amazon Drive. These services offer storage space for your photos and allow you to access them from any device with an internet connection. You can also share your photos with others by creating shared folders or generating shareable links.
5. Social media platforms: If you frequently share your photos on social media, you can utilize platforms like Instagram, Facebook, or Snapchat to store and manage your photos. These platforms provide features for organizing your photos into albums or stories, applying filters and effects, and easily sharing them with your friends and followers.
By exploring these alternative options, you can find the photo viewing and managing solution that best suits your needs and preferences. Whether you prefer a feature-rich gallery app, a simple file manager, or cloud storage services, there are plenty of options available to enhance your Moto G Stylus photo experience.
Tips to Optimize and Organize the Gallery on the Moto G Stylus
The Gallery on the Moto G Stylus is a powerful tool for managing and accessing your photos. To make the most of this feature, here are some tips to optimize and organize your gallery:
1. Create Folders: One of the best ways to keep your photos organized is by creating folders. You can create folders for different events, trips, or categories, such as “Family,” “Vacation,” or “Nature.” To create a folder, open the Gallery app, go to the desired location, and tap on the “Create folder” option. Give it a name and start organizing your photos!
2. Use Albums: In addition to folders, you can also utilize the album feature. Albums allow you to categorize your photos based on specific criteria, such as “Favorites,” “Recent,” or “Selfies.” To create an album, open the Gallery app, go to the desired location, tap on the three-dot menu, and select “Create album.” Add the photos you want to the album and easily access them whenever you need.
3. Delete Unwanted Photos: Over time, your gallery may become cluttered with unnecessary photos. To keep your gallery clean and optimized, regularly delete unwanted photos. Simply open the Gallery app, select the photo you want to delete, and tap on the trash bin icon. You can also select multiple photos at once and delete them in bulk.
4. Rearrange Photos: If you want to change the order of your photos, you can easily do so in the Gallery app. Open the desired album or folder, tap on the three-dot menu, and select “Sort.” From there, you can arrange your photos according to various criteria, such as date, name, or size. This way, you can arrange your photos in a way that makes the most sense to you.
5. Back up Your Photos: To ensure the safety of your precious memories, it’s essential to back up your photos. The Moto G Stylus offers various backup options, such as Google Photos or cloud storage services. By backing up your photos, you can access them from any device and never worry about losing them in case of unforeseen circumstances.
6. Utilize Filters and Editing Tools: The Moto G Stylus also provides you with several built-in editing tools and filters to enhance your photos. Experiment with different filters, adjust brightness and saturation, crop and rotate images, and apply various effects to make your photos more visually appealing. These tools allow you to customize your photos directly within the Gallery app.
7. Enable Gesture Control: The Moto G Stylus offers gesture control features that can make navigating through your gallery easier. Take advantage of swipe gestures to quickly switch between photos or use the stylus to scroll through your gallery. These intuitive features can streamline your browsing experience and allow for effortless navigation.
By following these tips, you can optimize and organize the Gallery on your Moto G Stylus for a seamless photo management experience. Whether you want to create folders, arrange photos, or enhance your images, the Gallery app provides you with the tools to showcase your photos in the best possible way.
Conclusion
In conclusion, the Moto G Stylus is undoubtedly a feature-packed smartphone that offers an impressive array of functionalities. With its built-in stylus, it provides users with a unique and convenient way to interact with their device. Whether you’re an artist looking to unleash your creativity or a professional who needs to take quick notes on the go, the Moto G Stylus has you covered.
Furthermore, the Moto G Stylus boasts a sleek design, a large display, and a powerful processor, making it a top choice for multitasking and media consumption. Plus, its expandable storage and long-lasting battery ensure that you have ample space for your files and can stay connected all day long.
So, if you’re in search of a versatile and reliable smartphone that comes with a built-in stylus, look no further than the Moto G Stylus. With its impressive features, it’s sure to meet all your mobile needs and make a stylish statement in the process. Upgrade to the Moto G Stylus and take your smartphone experience to the next level.
FAQs
1. Where can I find the gallery on the Moto G Stylus?
The gallery on the Moto G Stylus is located in the default Photos app. You can access it by tapping on the Photos app icon on your home screen or by swiping up from the bottom of the screen and searching for “Photos”. Once you open the Photos app, you’ll find your gallery, which contains all the photos and videos you have taken or saved on your device.
2. How can I organize my photos in the Moto G Stylus gallery?
To organize your photos in the Moto G Stylus gallery, you can create albums or folders to categorize them. Open the Photos app, tap on the three-dot menu in the top-right corner, and select “Create album” or “Create folder”. Give your album or folder a name and choose the photos you want to add to it. This way, you can easily locate and view specific groups of photos in your gallery.
3. Can I edit my photos in the Moto G Stylus gallery?
Yes, you can edit your photos directly in the Moto G Stylus gallery. When you open a photo in the gallery, tap on the edit icon (usually represented by a pencil or brush). This will bring up a range of editing tools, such as cropping, enhancing, applying filters, adjusting brightness and contrast, and more. Experiment with these tools to enhance your photos and make them look even better.
4. Is it possible to delete photos from the Moto G Stylus gallery?
Absolutely! To delete a photo or multiple photos from the Moto G Stylus gallery, open the Photos app, navigate to the photo you want to delete, and tap on the trash can icon. Confirm the deletion when prompted. If you want to delete multiple photos at once, you can tap on the “Select” option, choose the photos you wish to delete, and then tap on the trash can icon to remove them permanently.
5. Can I recover deleted photos from the Moto G Stylus gallery?
Unfortunately, once you delete a photo from the Moto G Stylus gallery, it’s not directly recoverable from the gallery itself. However, if you have backed up your photos to a cloud storage service or synced them to your Google account, there may be a chance to recover them. You can check your cloud storage or Google Photos app to restore deleted photos if you have a backup available.