
When it comes to setting up your Dyson vacuum cleaner, one important aspect to consider is where to put the docking station. The docking station is an essential accessory that allows you to store and charge your Dyson vacuum conveniently. Whether you own a Dyson handheld vacuum or a cordless stick vacuum, finding the right place for the docking station is crucial.
In this article, we will explore some practical and accessible locations to put your Dyson docking station. We will discuss the pros and cons of different placement options, taking into consideration factors such as accessibility, space availability, and the convenience of charging your Dyson vacuum. So, if you’re wondering where to put your Dyson docking station, read on to find the perfect spot that suits your needs and enhances the functionality of your Dyson vacuum cleaner.
Inside This Article
- Wall Mounting the Dyson Docking Station
- Installing the Dyson Docking Station on a Flat Surface
- Attaching the Dyson Docking Station to a Cabinet or Shelf
- Using a Freestanding Floor Stand for the Dyson Docking Station
- Conclusion
- FAQs
Wall Mounting the Dyson Docking Station
If you’re looking for a convenient and secure way to store your Dyson vacuum cleaner when not in use, wall mounting the docking station is a great option. Not only does it keep your vacuum off the floor and out of the way, but it also ensures that it’s always easily accessible when you need it. Here’s a step-by-step guide on how to wall mount the Dyson docking station:
- Choose the perfect location: Find a suitable spot on the wall where you want to mount the docking station. Take into consideration the proximity to a power outlet and the height at which you’ll be comfortable docking and undocking your vacuum.
- Mark the mounting holes: Hold the docking station against the wall and use a pencil to mark the locations of the mounting holes. Make sure the docking station is level.
- Drill pilot holes: Using a drill and a suitable drill bit, carefully create pilot holes at the marked locations. Ensure that the drill bit is the right size for the wall anchors you’ll be using.
- Insert wall anchors: Push the wall anchors into the pilot holes. Gently tap them with a hammer until they are flush with the wall surface.
- Secure the docking station: Align the docking station with the wall anchors and insert the screws through the mounting holes. Use a screwdriver or drill to tighten the screws, ensuring that the docking station is securely attached to the wall.
- Attach the accessory holder (if applicable): Some Dyson docking stations come with an accessory holder. If yours has one, simply clip it onto the docking station and secure it in place using the provided screws or clips.
That’s it! Your Dyson docking station is now securely mounted on the wall. Dock your vacuum cleaner in the station and enjoy the convenience of having it within easy reach whenever you need it. Wall mounting not only saves floor space but also helps to keep your vacuum cleaner organized and in top condition.
Installing the Dyson Docking Station on a Flat Surface
Installing the Dyson Docking Station on a flat surface is a convenient option for those who don’t want to mount it on the wall or attach it to a cabinet or shelf. Here’s a step-by-step guide to help you with the installation process:
1. Choose the perfect spot: Start by finding a suitable location on a flat surface where you want to place the Dyson Docking Station. It should be easily accessible and close to a power outlet for convenient charging.
2. Prepare the surface: Make sure the surface is clean and free from any dust or debris. Use a damp cloth to wipe it down and ensure a smooth and secure installation.
3. Position the Docking Station: Place the Dyson Docking Station on the desired spot, ensuring that it is level and stable. You may want to use a level tool to ensure accuracy.
4. Secure the Docking Station: Once the Docking Station is in the right position, use screws or adhesive pads (depending on the model) to secure it to the flat surface. Follow the instructions provided by Dyson for the specific model you have.
5. Connect the power cord: After securing the Docking Station, plug in the power cord into a nearby power outlet. Make sure the cord is neatly arranged and doesn’t pose a tripping hazard.
6. Attach the charging cable: Next, connect the charging cable to the Docking Station. Ensure a snug and secure fit to prevent any accidental disconnections.
7. Dock your Dyson device: Finally, dock your Dyson device onto the Docking Station. Make sure it is securely attached and properly aligned for charging.
That’s it! You have successfully installed the Dyson Docking Station on a flat surface. Now, you can easily store and charge your Dyson device whenever it’s not in use.
Attaching the Dyson Docking Station to a Cabinet or Shelf
If you’re looking to free up some counter space or keep your Dyson vacuum easily accessible, attaching the docking station to a cabinet or shelf can be a great option. This method allows you to conveniently store and charge your vacuum in a location that is out of the way but still easily accessible when needed.
Before you start the process, make sure you have the necessary tools ready, such as a drill, screws, and a screwdriver. Additionally, check whether the cabinet or shelf you want to attach the docking station to is sturdy enough to hold the weight of the vacuum and docking station.
Once you have everything ready, follow these steps to attach the Dyson docking station to a cabinet or shelf:
- Locate a suitable spot on the cabinet or shelf where you want to mount the docking station. Ensure it is at a convenient height and easily accessible.
- Using a pencil or a marker, mark the spots where the screws will go. You will typically need at least two screws to securely attach the docking station.
- If your cabinet or shelf is made of wood, you can skip this step. However, if it is made of a different material (e.g., metal or plastic), you might need to use anchors for added stability. Drill pilot holes for the screws or anchors at the marked spots.
- Align the docking station with the pilot holes or anchors and place it against the cabinet or shelf.
- Using a screwdriver, secure the docking station in place by carefully inserting the screws into the pilot holes or anchors and tightening them.
- Double-check the stability of the docking station by giving it a gentle tug. Ensure it is firmly attached to the cabinet or shelf.
- Now, your Dyson docking station is securely attached to the cabinet or shelf, and you can conveniently store and charge your vacuum.
Remember to consider the height and accessibility of the docking station when attaching it to a cabinet or shelf. You want to ensure that it is easy to dock and remove your Dyson vacuum without any strain or discomfort.
By attaching the docking station to a cabinet or shelf, you can optimize storage space and keep your Dyson vacuum organized and ready for use. Plus, it adds a sleek and modern touch to your home while keeping your vacuum conveniently at hand.
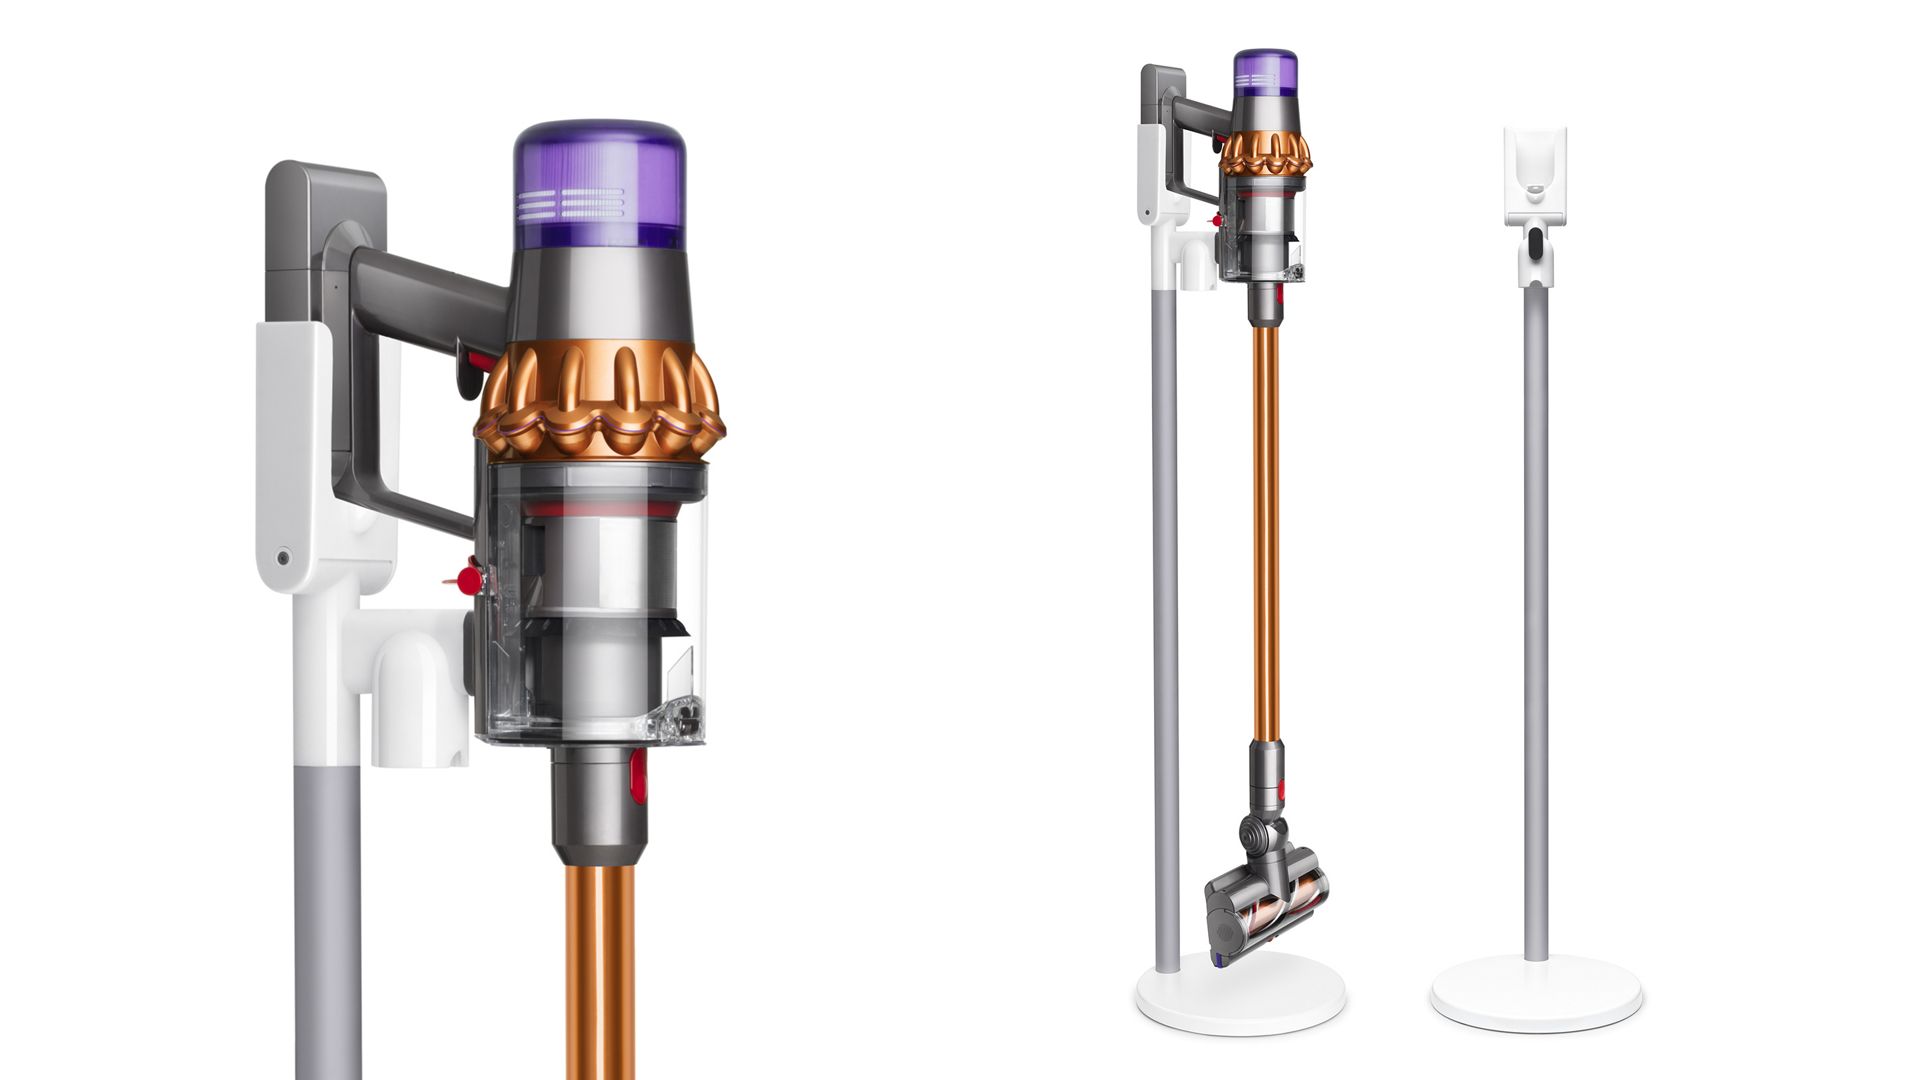
Using a Freestanding Floor Stand for the Dyson Docking Station
If wall mounting or installing the Dyson docking station on a flat surface is not feasible for you, there is another convenient option available: using a freestanding floor stand. A freestanding floor stand provides flexibility as it allows you to move the docking station and your Dyson vacuum cleaner around the house without the hassle of installation or permanent placement.
When choosing a freestanding floor stand for your Dyson docking station, it is important to consider a few factors. Firstly, ensure that the floor stand is compatible with the specific model of your Dyson vacuum cleaner. Different Dyson models may have varying dimensions and attachment mechanisms, so it’s essential to select a floor stand that is designed to accommodate your specific model.
Additionally, consider the stability and durability of the floor stand. You want to invest in a stand that is sturdy and can securely hold your Dyson vacuum cleaner, ensuring it remains in an upright position even during use or accidental bumps. Look for stands made of high-quality materials, such as metal or reinforced plastic, which provide the necessary stability and durability.
Another important consideration is the height adjustability of the floor stand. The stand should allow you to customize the height according to your preference or the intended use. This feature ensures optimal convenience and comfort while using your Dyson vacuum cleaner, preventing the need for bending or straining during cleaning tasks.
Furthermore, some freestanding floor stands come with additional storage features. These features can include hooks or compartments to store attachments, accessories, or even extra batteries for your Dyson vacuum cleaner. Having these storage options readily available can help keep your cleaning tools organized and easily accessible, enhancing your overall cleaning experience.
Once you have selected a suitable freestanding floor stand for your Dyson docking station, the setup process is relatively straightforward. Most stands come with clear instructions and minimal assembly requirements. Simply follow the instructions provided, ensuring that the docking station is securely attached to the stand, and you’ll be ready to use your Dyson vacuum cleaner in no time.
Using a freestanding floor stand for your Dyson docking station offers convenience and versatility, allowing you to easily move and position your vacuum cleaner anywhere in the house. Whether you need to clean multiple rooms or simply want the flexibility to switch locations, a floor stand provides a practical solution.
With a freestanding floor stand, you can keep your Dyson docking station readily accessible and your vacuum cleaner organized, ensuring effective cleaning without the limitations of permanent installation. Enjoy the convenience and flexibility of a freestanding floor stand for your Dyson docking station and make your cleaning routine a breeze.
In conclusion, finding the ideal location to put your Dyson docking station is essential for both practicality and aesthetics. By considering factors such as accessibility, stability, and visibility, you can ensure that your docking station is placed in the most convenient and visually pleasing spot in your home.
Whether it’s in a high-traffic area for quick and easy access or tucked away in a discreet corner, the choice ultimately depends on your personal preference and the layout of your space. Remember to keep the docking station away from moisture and direct sunlight to maintain its longevity.
With the right placement, your Dyson docking station will not only become a functional charging hub for your vacuum cleaner but also a stylish addition to your home. So take the time to consider the best spot, and enjoy the convenience and efficiency that the docking station brings to your Dyson cleaning routine.
FAQs
Q: Where should I put my Dyson docking station?
A: The ideal location for your Dyson docking station depends on several factors. Firstly, you’ll want to choose a spot that is easily accessible and convenient for docking and undocking your Dyson device. It should be near a power outlet so that you can charge your device without any issues. Additionally, consider a location where the docking station won’t be in the way or at risk of getting knocked over. A wall-mounted docking station is often a popular choice, as it takes up minimal space and keeps your Dyson device organized and within reach.
Q: Can I install the Dyson docking station by myself?
A: Yes, installing a Dyson docking station is typically a straightforward process that you can easily do yourself. Many models come with easy-to-follow instructions and mounting hardware. However, it’s essential to ensure that you have the right tools and preparedness for wall-mounted installations, such as locating wall studs and using proper anchors. If you are uncertain or uncomfortable with the installation process, it’s always best to consult the user manual or contact Dyson support for assistance.
Q: Can I use the Dyson docking station for different Dyson devices?
A: The compatibility of the docking station depends on the specific model and design of both the Dyson docking station and the Dyson devices. While some docking stations are built to be universal, accommodating various Dyson devices, others are designed specifically for certain models or product lines. It’s crucial to check the compatibility of the docking station with your specific Dyson device before making a purchase. This information can usually be found in the product descriptions or user manuals.
Q: Is it possible to move the Dyson docking station once it’s installed?
A: Yes, in most cases, you can move the Dyson docking station after it has been installed. However, keep in mind that relocating the docking station may require patching any holes left behind from the previous installation. If you plan on moving the docking station frequently, consider using adhesive strips or removable mounting options instead of drilling holes. These alternatives allow for easier repositioning without causing damage to your walls.
Q: Can I buy a replacement docking station for my Dyson device?
A: Yes, it’s usually possible to purchase a replacement docking station for your Dyson device. Dyson offers a selection of docking stations and accessories for their various products, which are available for individual purchase. These replacement docking stations can serve as a direct replacement for a damaged or lost docking station, allowing you to continue conveniently charging and storing your Dyson device. Make sure to check the compatibility and model specifications to ensure it is the correct docking station for your specific Dyson device.