
Welcome to this comprehensive guide on how to activate your new Samsung phone! Getting a new device is always an exciting experience, but it can also come with the daunting task of activating it properly. Whether you’re upgrading to the latest flagship model or switching to a Samsung phone for the first time, we’ve got you covered.
In this article, we will walk you through the step-by-step process of activating your new Samsung phone, making sure that you can start using it to its full potential. From inserting the SIM card to connecting to a network and setting up your accounts, we will cover everything you need to know. So, let’s dive in and get your new Samsung phone up and running!
Inside This Article
- Set Up Your New Samsung Phone
- Insert SIM Card and Memory Card
- Power On and Activate Your Samsung Phone
- Connect to a Wi-Fi Network
- Conclusion
- FAQs
Set Up Your New Samsung Phone
Setting up your new Samsung phone is an exciting process that allows you to personalize your device and make it your own. Follow these steps to ensure a smooth setup:
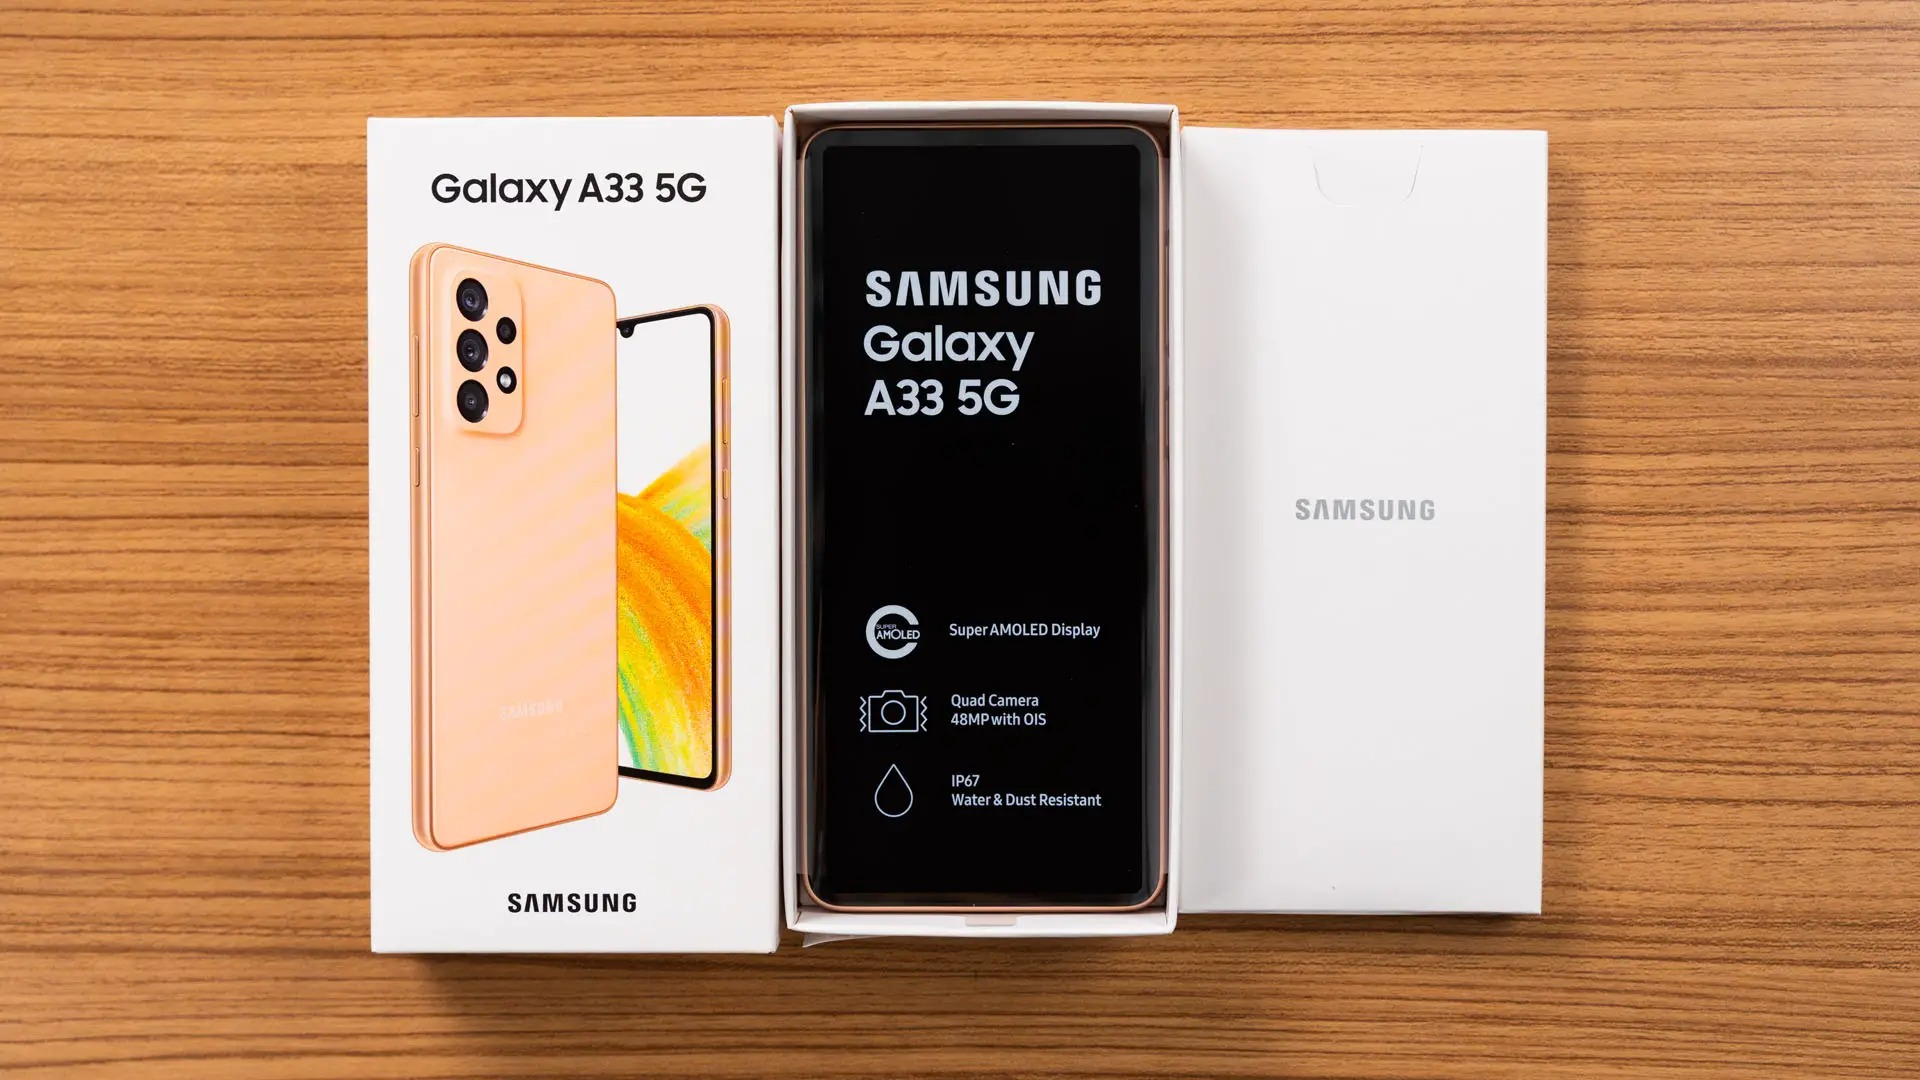
Step 1: Unbox Your Phone
Start by unboxing your new Samsung phone. Carefully remove the plastic wrap and open the box to reveal your sleek new device.
Step 2: Charge Your Phone
Before you begin the setup process, make sure your phone is charged. Connect it to a power source using the included charger and cable. Allow it to charge for a while before continuing with the setup.
Step 3: Power On Your Phone
Once your phone is charged, press and hold the power button until the Samsung logo appears on the screen. This indicates that your phone is powering on.
Step 4: Select Your Language and Region
Your Samsung phone will prompt you to select your preferred language and region. Choose the options that align with your preferences and location.
Step 5: Connect to Wi-Fi
Next, connect your phone to a Wi-Fi network. This will enable you to download updates, install apps, and make the most of your device’s online capabilities.
Step 6: Sign in to your Google Account
If you already have a Google account, sign in with your credentials. This will allow you to sync your contacts, apps, and other important data to your new phone. If you don’t have a Google account, you can create one during the setup process.
Step 7: Customize Your Settings
Take some time to customize your settings to suit your preferences. You can adjust things like display brightness, sound profiles, and notification settings. Explore the options and make the necessary changes.
Step 8: Transfer Data from Your Old Phone (Optional)
If you’re upgrading from an old phone, you may have the option to transfer data from your old device to your new Samsung phone. Follow the on-screen instructions to complete the data transfer process.
Step 9: Set Up Biometrics and Security Features
To protect your personal information, set up biometrics and security features such as fingerprint recognition, face recognition, or a PIN code. This will ensure that only you have access to your device.
Step 10: Install Essential Apps
Lastly, install the essential apps that you use on a daily basis. This could include social media apps, messaging apps, productivity tools, and entertainment apps. Visit the Google Play Store or Samsung Galaxy Store to download and install your preferred apps.
With these simple steps, you can set up your new Samsung phone and begin enjoying all its features and capabilities.
Insert SIM Card and Memory Card
Once you have unpacked your new Samsung phone, it’s time to insert the SIM card and memory card. These two components play essential roles in ensuring the functionality and storage capacity of your device. Here’s a step-by-step guide on how to properly insert them:
1. Locate the SIM card and memory card slots: Depending on the model of your Samsung phone, the SIM card and memory card slots may be located on the side or behind the back cover. Refer to the user manual or the manufacturer’s website for specific instructions on where to find them.
2. Insert the SIM card: Take your SIM card and carefully insert it into the SIM card slot. Align the notched corner of the SIM card with the corresponding corner of the slot. Gently push the card in until it is securely in place. Be cautious not to force the card as it may cause damage to both the card and the phone.
3. Insert the memory card (optional): If you have a memory card that you want to use to expand the storage capacity of your Samsung phone, locate the memory card slot. Insert the memory card into the slot, making sure that the metal contacts on the card align with the contacts in the slot. Again, be gentle when pushing the card in to avoid any potential damage.
4. Secure the SIM and memory cards: After inserting both the SIM card and memory card, ensure that they are securely in place. Some Samsung phones have trays that need to be closed or secured. Follow the instructions provided by your phone’s manufacturer to properly close and secure the slots.
5. Power on your Samsung phone: After inserting the SIM and memory cards, it’s time to power on your device. Press and hold the power button until the Samsung logo appears on the screen. Follow the on-screen prompts to complete the initial setup process.
By inserting the SIM card and memory card correctly, you will have an active connection to your cellular network and expandable storage for your Samsung phone. Now you can start enjoying all the features and capabilities your device has to offer.
Power On and Activate Your Samsung Phone
Once you have inserted the SIM card and memory card into your new Samsung phone, it’s time to power it on and activate it. Follow these simple steps to get your phone up and running:
1. Press and hold the power button located on the side or top of your Samsung phone. This will turn on the device and display the Samsung logo on the screen.
2. After powering on, you will be guided through the initial setup process. Follow the on-screen prompts to select your preferred language, connect to a Wi-Fi network, and agree to the terms and conditions.
3. Next, you will need to sign in to your Samsung account or create a new one. This will ensure that you have access to all the features and services offered by Samsung, such as Samsung Cloud and the Galaxy Store.
4. Once you have signed in to your Samsung account, you will be prompted to set up additional security measures, such as a PIN, pattern, or fingerprint lock. It is highly recommended to enable these security features to protect your device and personal information.
5. After completing the setup process, your Samsung phone will automatically connect to the mobile network. If the SIM card is already activated, you should see the signal bars indicating a successful connection. However, if your SIM card is not activated or you need to transfer your existing phone number to the new device, you may need to contact your mobile service provider to complete the activation process.
6. Finally, take some time to explore the settings and customize your new Samsung phone to your liking. You can adjust the display settings, set up notifications, and install your favorite apps from the Google Play Store.
By following these steps, you can power on and activate your new Samsung phone with ease. Enjoy the full range of features and functionality that your Samsung device has to offer!
Connect to a Wi-Fi Network
Once you have powered on your new Samsung phone, the next step is to connect it to a Wi-Fi network. Connecting to Wi-Fi allows you to access the internet, download apps, and perform various online activities.
To connect to a Wi-Fi network, follow these steps:
- Swipe down from the top of the screen to open the notification panel.
- Tap on the Wi-Fi icon to turn on Wi-Fi.
- A list of available Wi-Fi networks will appear. Tap on the one you want to connect to. If the network requires a password, enter it when prompted and tap Connect.
- Once you are connected to the Wi-Fi network, you will see the Wi-Fi icon in the status bar at the top of the screen.
It is recommended to connect to a Wi-Fi network whenever possible to conserve your mobile data and ensure a faster and more stable internet connection.
If you are having trouble connecting to a Wi-Fi network, try the following tips:
- Make sure you are within range of the Wi-Fi network and that the network is functioning properly.
- Restart your phone and try connecting again.
- Check if you have entered the correct Wi-Fi password.
- If you are still unable to connect, contact your internet service provider for assistance.
Once you are connected to a Wi-Fi network, you can start exploring the internet, downloading your favorite apps, and enjoying the full capabilities of your new Samsung phone.
Conclusion
In conclusion, activating a new Samsung phone is a simple and straightforward process that allows you to start using your device and exploring its features and capabilities. From inserting the SIM card to connecting to a Wi-Fi network and signing in with your Samsung account, the activation process ensures that your phone is set up and ready to go.
By following the steps outlined in this article, you can activate your new Samsung phone hassle-free and begin enjoying all that it has to offer. Remember to keep your phone charged, update the software regularly, and explore the various settings and customization options to personalize your experience.
Whether you’re switching to a new Samsung phone or upgrading from an older model, activation is an essential step in getting started. With the convenience and power of Samsung’s innovative technology, you can stay connected, capture memories, and access a world of information and entertainment right at your fingertips.
FAQs
1. How do I activate a new Samsung phone?
To activate your new Samsung phone, follow these simple steps:
- Insert the SIM card into your phone.
- Power on the device by pressing and holding the power button.
- Follow the on-screen instructions to set up your phone, including connecting to a Wi-Fi network and signing in to your Samsung account.
- If required, enter the activation code provided by your carrier.
- Complete the setup process, including customizing your settings and transferring data from your old phone, if applicable.
- Your Samsung phone will now be activated and ready to use.
2. Can I activate a Samsung phone without a SIM card?
Yes, it is possible to activate a Samsung phone without a SIM card. You can set up the phone and use its features, such as accessing apps, taking photos, and connecting to a Wi-Fi network. However, please note that certain functions, such as making calls or sending text messages, may require a SIM card and an active cellular network connection.
3. How long does it take to activate a Samsung phone?
The time it takes to activate a Samsung phone can vary depending on various factors, including the carrier and network conditions. Typically, the activation process takes a few minutes to complete. However, in some cases, it may take up to 24 hours for the phone to be fully activated and ready to use.
4. What should I do if my Samsung phone doesn’t activate?
If your Samsung phone doesn’t activate, try the following troubleshooting steps:
- Ensure that you have inserted a compatible SIM card from your carrier into the phone.
- Restart the phone and try the activation process again.
- Check if you have a stable internet connection, as activation may require an internet connection.
- Contact your carrier for further assistance, as there may be specific requirements or issues with your account.
5. Can I activate a Samsung phone on any carrier?
Samsung phones are generally compatible with multiple carriers, but it’s essential to check for compatibility before attempting to activate your phone on a different carrier. Some carrier-specific models may be locked to a specific network, limiting their use with other carriers. It’s advisable to contact the carrier you intend to use and verify if your Samsung phone is compatible with their network before attempting to activate it.