
Welcome to our comprehensive guide on how to activate a new Samsung phone! If you’ve just purchased a shiny new Samsung device, congratulations! Now comes the exciting part – getting your phone up and running. Activating your new Samsung phone is a crucial step to ensure that you can access all of its features and functionalities, and start using it to its fullest potential. In this article, we will walk you through the entire activation process, step by step. Whether you’re switching from another device or getting your first Samsung phone, we’ve got you covered. From setting up your SIM card to configuring your network settings, we’ll provide you with all the information you need. So, let’s dive in and get your new Samsung phone activated in no time!
Inside This Article
- Setting Up Your New Samsung Phone
- Charging Your Samsung Phone
- Inserting the SIM Card
- Turning on and Activating Your Samsung Phone
- Conclusion
- FAQs
Setting Up Your New Samsung Phone
So you’ve just obtained a brand new Samsung phone and you’re excited to get it up and running. Setting up your new device is an important step to ensure that you can fully enjoy all of its features and functionality. Luckily, Samsung has made the setup process simple and user-friendly. Follow the steps outlined below to easily set up your new Samsung phone.
1. Power on your new Samsung phone: Start by pressing and holding the power button until you see the Samsung logo appear on the screen. This indicates that your device is powering on. Once it boots up, you’ll be greeted with the initial setup screen.
2. Choose your language and region: On the setup screen, you’ll be prompted to select your preferred language and region. This ensures that your device displays information in the correct language and adjusts certain settings based on your location.
3. Connect to Wi-Fi: To continue the setup process, you’ll need to connect your Samsung phone to a Wi-Fi network. Tap on the Wi-Fi network you want to connect to and enter the password if required. Having an internet connection during setup allows your device to download any necessary updates and sync your accounts.
4. Sign in with your Google account: If you have a Google account, sign in with your credentials to sync your contacts, calendar, emails, and other Google services to your Samsung phone. This step is optional, but it can greatly enhance your overall phone experience and make it easier to access your personal information across devices.
5. Review and agree to the terms and conditions: Like any new device, there will be terms and conditions to review and accept. Take the time to read through them, and if you agree, proceed with the setup process.
6. Set up a fingerprint or PIN: Setting up a fingerprint or PIN adds an extra layer of security to your Samsung phone. It allows you to unlock your device quickly and easily while ensuring that only you have access to your personal data. Follow the on-screen instructions to set up your preferred security method.
7. Transfer data from your old phone (optional): If you’re switching from another Android device or an iPhone, Samsung offers a convenient data transfer tool called Smart Switch. With Smart Switch, you can effortlessly transfer your contacts, photos, messages, and more from your old phone to your new Samsung device. If you wish to use this feature, follow the prompts to transfer your data.
8. Customize your home screen and settings: Once you’ve completed the initial setup process, take a moment to customize your home screen and settings to your liking. You can rearrange app icons, choose a wallpaper, and adjust various settings to personalize your Samsung phone and make it feel truly yours.
Following these steps will ensure that your new Samsung phone is set up and ready for use. Now you can start exploring all of the amazing features, apps, and possibilities that your device has to offer. Enjoy your new Samsung phone and make the most of your mobile experience!
Charging Your Samsung Phone
One of the first things you need to do when you get a new Samsung phone is to ensure that it is charged. Follow these steps to charge your phone effectively and safely:
1. Connect the charger: Start by connecting the charging cable to the charging port on your Samsung phone. Make sure it is inserted securely.
2. Plug in the charger: Insert the other end of the charging cable into a power outlet or a compatible USB port. You can use the power adapter that came with your Samsung phone or any other compatible adapter.
3. Check the charging status: Your Samsung phone will usually display a charging icon or a battery percentage on the screen to indicate that it is charging. If the screen is turned off, press the power button or the home button to wake up your device and check the charging status.
4. Allow your phone to charge: Let your Samsung phone charge for a sufficient amount of time. The charging time may vary depending on the battery capacity and the charging speed of your device. It is recommended to charge your phone until it reaches 100%.
5. Disconnect the charger: Once your Samsung phone is fully charged, unplug the charger from the power outlet and remove the charging cable from the phone’s charging port. Avoid yanking the cable out forcefully to prevent any damage.
It is important to note that while charging your Samsung phone, it is advisable to use the original charger or a certified charger from a reputable manufacturer. Using counterfeit or low-quality chargers can be dangerous and may damage your device or cause overheating.
Additionally, it is recommended to charge your Samsung phone in a well-ventilated area and avoid covering it with any objects that may obstruct airflow and cause overheating.
By following these steps, you can ensure that your new Samsung phone is charged properly and ready to be used. Remember to always prioritize safety and use genuine charging accessories to protect your device and maximize its battery life.
Inserting the SIM Card
One of the crucial steps in activating your new Samsung phone is inserting the SIM card. The SIM card is a small, portable memory chip that enables your device to connect to a mobile network and make phone calls, send text messages, and access cellular data.
To insert the SIM card into your Samsung phone, follow these simple steps:
- Locate the SIM card slot: Depending on the model of your Samsung phone, the SIM card slot can be found on the side or back of the device. Look for a small, rectangular flap or removable panel.
- Power off your phone: Before inserting the SIM card, it is essential to turn off your phone to avoid any potential damage to the device or SIM card.
- Open the SIM card slot: Use a SIM card ejector tool or a small paperclip to gently push into the small hole or slot on the side of the phone. Apply a little pressure until the SIM card slot pops out or the panel unlocks.
- Place the SIM card correctly: Take the SIM card out of its protective cover and align it with the metal contact points inside the SIM card slot. Make sure the gold contacts on the SIM card match the gold contacts in the slot.
- Insert the SIM card: Gently slide the SIM card into the slot until it fits snugly. Be careful not to force it in or insert it in the wrong direction, as this could potentially damage the SIM card or the phone.
- Close the SIM card slot: Once the SIM card is properly inserted, push the slot back into the phone until it locks in place. If you were using a removable panel, securely fasten it back onto the device.
That’s it! You have successfully inserted the SIM card into your Samsung phone. Now you can proceed with turning on and activating your device to start enjoying the features and functionalities of your new mobile phone.
It’s worth noting that the process of inserting the SIM card may vary slightly based on the model and manufacturer of your Samsung phone. If you’re unsure about the specific steps for your device, refer to the user manual or contact the customer support of Samsung for guidance.
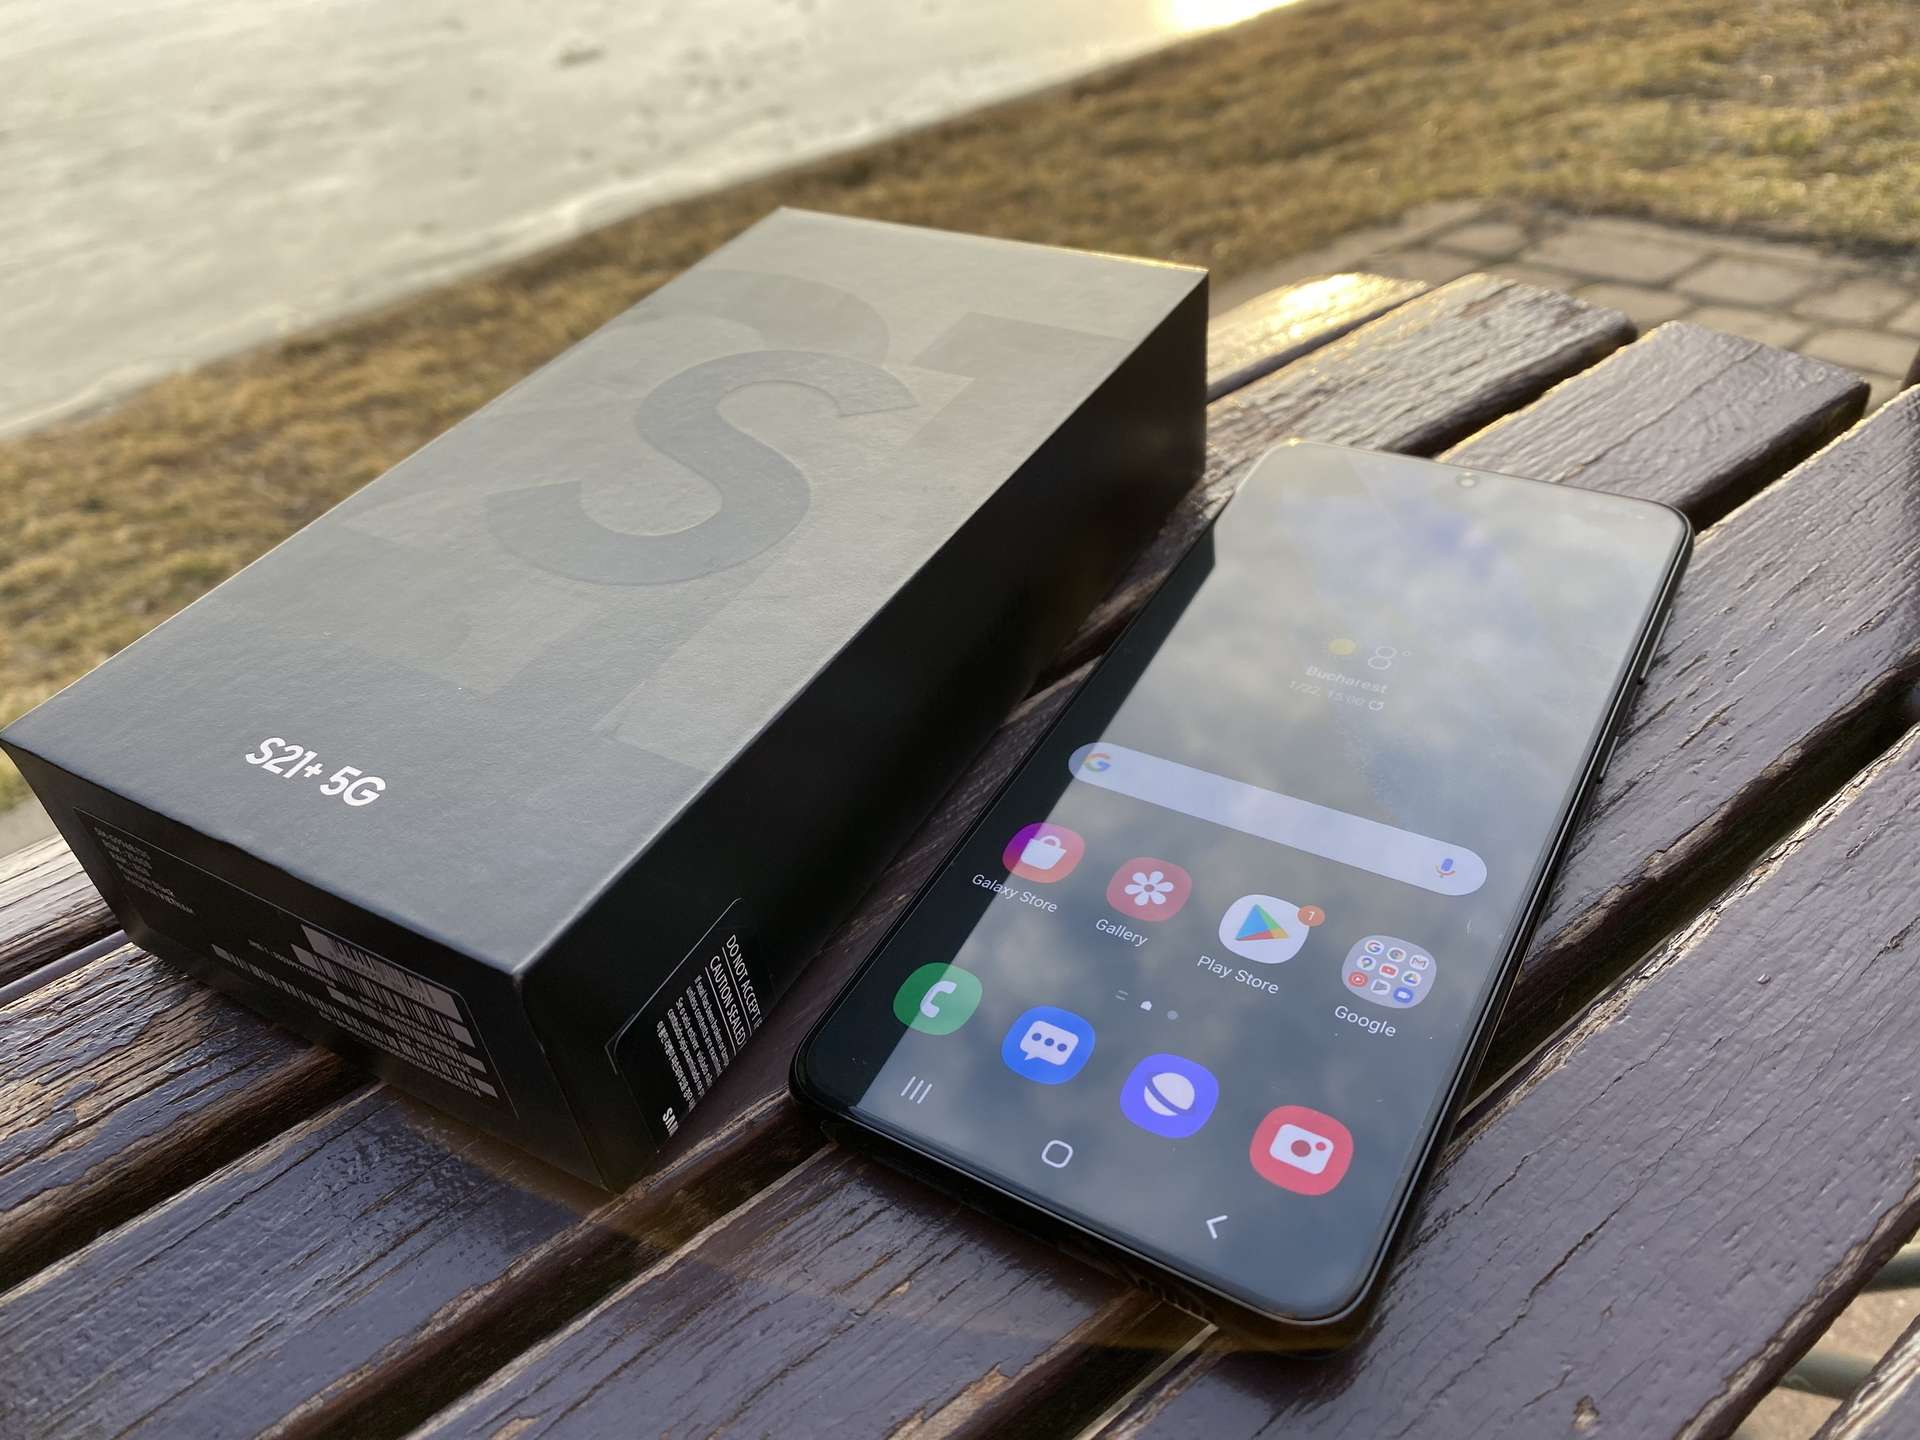
Turning on and Activating Your Samsung Phone
So, you’ve just purchased a brand new Samsung phone and you’re ready to start using it. In this section, we’ll guide you through the process of turning on and activating your Samsung phone, so you can start enjoying all its features and functionalities as soon as possible. Let’s get started!
1. Unbox your new Samsung phone and locate the power button. It is usually located on the side or at the top of the device. Press and hold the power button until you see the Samsung logo appear on the screen. This indicates that your phone is powering on.
2. Once your phone has finished booting up, you will be greeted with the initial setup screen. Follow the on-screen instructions to select your preferred language, connect to a Wi-Fi network, and sign in to your Google account. This step is crucial as it enables you to access the Google Play Store and other essential apps and services.
3. Next, you’ll be prompted to enter your SIM card. Insert the SIM ejector tool into the small hole on the side of your phone to eject the SIM card tray. Carefully place your SIM card into the tray, ensuring that the gold contacts are facing downwards. Gently push the tray back into the phone until it clicks into place.
4. After inserting the SIM card, your phone will automatically detect it and activate the cellular network. Depending on your carrier and location, this process may take a few moments. Once activated, you will see the signal bars or network indicator at the top of your phone’s screen.
5. Now that your phone is powered on and activated, it’s time to set up your preferences. Customize your home screen by adding your favorite apps and widgets. Explore the settings menu to adjust various options such as display brightness, sound settings, and security features like fingerprint or facial recognition.
6. Lastly, it’s essential to ensure that your new Samsung phone is up to date with the latest software. Go to the settings menu, scroll down to “Software Updates,” and tap on it. If a new software version is available, follow the prompts to download and install it. Regularly updating your device will enhance its performance, improve security, and provide access to new features and optimizations.
That’s it! You have successfully turned on and activated your new Samsung phone. Now you can explore its full potential, download your favorite apps, customize settings to your liking, and stay connected wherever you go. Enjoy your new device!
In conclusion, activating a new Samsung phone is a straightforward process that can be easily done in a few simple steps. From inserting the SIM card to powering on the device and following the on-screen instructions, it’s a seamless experience for users. With the advancements in mobile technology, activating a new Samsung phone has become more user-friendly and accessible. Whether you’re a tech-savvy individual or a beginner, the intuitive interface and guided setup make it a hassle-free process. So, with a new Samsung phone in hand, you can now enjoy all the amazing features and functionalities it offers.
FAQs
1. How do I activate a new Samsung phone?
To activate a new Samsung phone, follow these steps:
- Insert the SIM card: Locate the SIM card tray, usually found on the side or the top of the device. Use the SIM ejector tool (or a paperclip) to push the SIM card tray open. Insert the SIM card into the tray and gently slide it back into the phone.
- Power on the device: Press and hold the power button until the Samsung logo appears on the screen. The phone will boot up and begin the activation process.
- Follow the setup wizard: Once the device has powered on, you will be guided through a series of setup steps. This includes selecting your language, connecting to a Wi-Fi network, signing in to your Google account, and more.
- Follow carrier-specific instructions: Depending on your carrier, you may need to follow additional instructions to complete the activation process. This may involve entering a verification code, contacting customer support, or activating the device online.
- Complete the setup: Once the activation process is complete, you can customize your new Samsung phone by installing apps, transferring data, and personalizing settings to your preference.
2. What if I don’t have a SIM card for my new Samsung phone?
If you don’t have a SIM card for your new Samsung phone, you will need to contact your carrier to obtain one. SIM cards are essential for activating your phone and connecting to a cellular network. Your carrier will provide you with a SIM card that is compatible with your specific device and plan. They may also assist you in transferring your existing number and data to the new SIM card if needed.
3. Can I activate a new Samsung phone without an internet connection?
While it is possible to activate some Samsung phones without an internet connection, most devices require an internet connection for initial setup and activation. To activate your new Samsung phone, it is recommended to connect to a Wi-Fi network during the setup process. This ensures a smooth activation and allows you to download necessary updates and apps. If you don’t have access to Wi-Fi, you may need to use a mobile data connection to activate your device, depending on your carrier’s requirements.
4. What should I do if my new Samsung phone is not activating?
If your new Samsung phone is not activating, try the following troubleshooting steps:
- Restart the device: Press and hold the power button until the option to restart appears. Select “Restart” and allow the device to reboot.
- Check the SIM card: Ensure that the SIM card is properly inserted and that it is not damaged. Try removing and reinserting the SIM card, ensuring it is securely in place.
- Check for network coverage: Make sure you are in an area with strong network coverage. If you are in a poor coverage area, try moving to a different location and reattempting activation.
- Contact your carrier: If the above steps do not resolve the issue, contact your carrier’s customer support for assistance. They may be able to troubleshoot the activation process or provide alternative solutions.
5. What happens if I skip the activation process on my new Samsung phone?
Skipping the activation process on your new Samsung phone can limit its functionality and prevent you from accessing essential features and services. By skipping activation, you may not be able to make calls, send messages, or use mobile data. Additionally, some apps and services may require activation to function properly. It is crucial to complete the activation process to ensure that your Samsung phone is fully operational and ready to use.