
Are you a proud iPhone owner but need to change your SIM card? Whether you’ve upgraded your plan, switched carriers, or simply need to replace a damaged or lost SIM card, learning how to change the SIM card in an iPhone is essential. Luckily, the process is straightforward and can be done in just a few easy steps. In this article, we will guide you through the process of changing the SIM card in an iPhone, providing you with the necessary information and step-by-step instructions to ensure a seamless transition. From finding the SIM card slot to removing and inserting the SIM card, we’ve got you covered. So, let’s dive in and learn how to change the SIM card in an iPhone!
Inside This Article
- Checking the SIM Card Type
- Locating the SIM Card Tray
- Removing the Existing SIM Card
- Inserting the New SIM Card
- Conclusion
- FAQs
Checking the SIM Card Type
Before you can change the SIM card in your iPhone, you need to ensure that you have the correct SIM card type. Apple iPhones are compatible with three main types of SIM cards: Standard SIM cards, Micro SIM cards, and Nano SIM cards.
To determine the SIM card type your iPhone requires, you can check the documentation that came with your device or visit the Apple website for specific details. Alternatively, you can also check the SIM card tray of your iPhone to see what size SIM card it accommodates.
Most newer iPhone models, including the iPhone X, iPhone 11, and iPhone 12 series, use Nano SIM cards. However, older models like the iPhone 5 and iPhone 6 may require Micro SIM cards. It’s important to match the correct SIM card size to ensure it fits properly into your iPhone’s SIM card tray.
If you are unsure about the SIM card type your iPhone needs, you can always contact your mobile service provider or visit a local Apple store for assistance. They will be able to guide you in choosing the right SIM card for your device.
Locating the SIM Card Tray
Locating the SIM card tray on an iPhone depends on the model you have. Here are the steps to find the SIM card tray:
1. For iPhone 4 and earlier models, the SIM card tray is located on the top of the device. Look for a small pinhole or a small compartment that can be opened using a SIM card removal tool or a paperclip. Insert the tool into the pinhole or gently push down on the compartment to open it.
2. For iPhone 5 and newer models, the SIM card tray is usually located on the right-hand side of the device. Look for a small hole or a rectangular slot on the side. Use the SIM card removal tool or a paperclip to push into the hole or slot and the tray will pop out.
3. On some newer models, such as the iPhone XR and iPhone 11, the SIM card tray is located at the bottom of the device, next to the charging port. Look for a small hole or a slot on the bottom edge of the phone. Insert the SIM card removal tool or a paperclip into the hole or slot to eject the tray.
Once you have located the SIM card tray, you are ready to proceed with the next steps of changing the SIM card in your iPhone. Make sure to handle the tray and SIM card with care to prevent any damage.
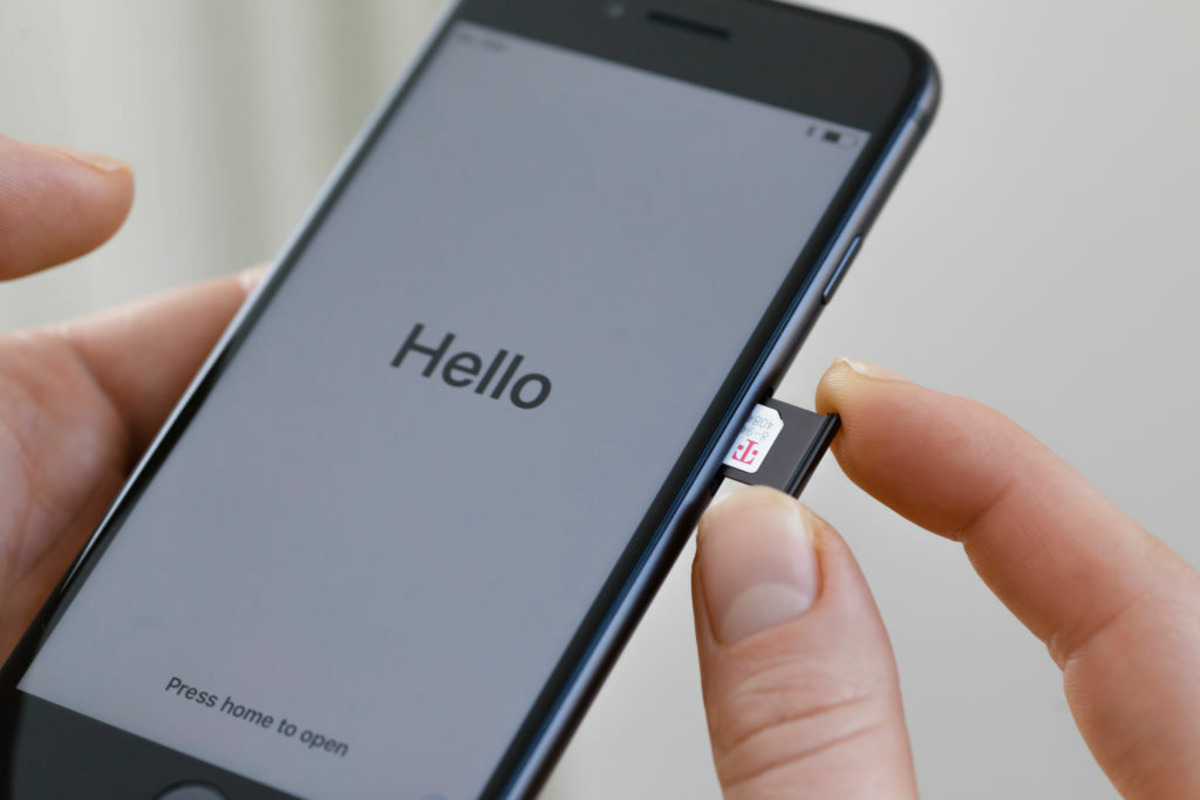
Removing the Existing SIM Card
Removing the existing SIM card from your iPhone is a simple process that can be done in a few easy steps:
1. Power off your iPhone: Before removing the SIM card, it’s important to power off your iPhone to avoid any potential damage to the device or the SIM card itself.
2. Locate the SIM card tray: The SIM card tray is usually located on the side of your iPhone. The exact location may vary based on the specific iPhone model you have.
3. Use the SIM card removal tool: To access the SIM card tray, you will need a SIM card removal tool. This tool is a small pin-like object that usually comes with your iPhone or can be purchased separately. If you don’t have the tool, you can use a small paperclip as an alternative.
4. Insert the removal tool: Insert the SIM card removal tool or the paperclip into the small hole beside the SIM card tray. Apply gentle pressure to release the tray.
5. Pull out the SIM card tray: Once the tray is released, gently pull it out using your fingers. Be careful not to force it out, as this can cause damage to the tray or the iPhone.
6. Remove the SIM card: On the SIM card tray, you will find the existing SIM card. Slide it out carefully from the tray and keep it in a safe place.
Remember to handle the SIM card with care, as it is a delicate piece of technology. Avoid touching the metal contacts on the card and do not bend or scratch it.
That’s it! You have successfully removed the existing SIM card from your iPhone. Now, you’re ready to insert the new SIM card and continue using your device without any interruptions.
Inserting the New SIM Card
Once you have successfully removed the existing SIM card, it’s time to insert the new one. Follow these steps to complete the process:
- Check the orientation: Before inserting the new SIM card, ensure that you are placing it in the correct orientation. Look for the notched corner or the SIM card tray diagram to align it properly.
- Place the SIM card: Gently place the new SIM card into the SIM card tray, making sure it fits securely and is flush with the tray.
- Reinsert the SIM card tray: Carefully slide the SIM card tray back into the iPhone. Make sure it is inserted in the correct direction and clicks into place.
- Power on your iPhone: Once the SIM card tray is securely inserted, proceed to turn on your iPhone by pressing the power button.
- Activate the new SIM card: Depending on your carrier, you may need to activate the new SIM card. Follow the instructions provided by your carrier or use their self-activation process.
Remember to power off your iPhone before inserting or removing the SIM card to avoid any damage to the device. It is also advisable to remove any security locks or passcodes, as the device may prompt you to enter them after inserting the new SIM card.
That’s it! You have successfully inserted the new SIM card into your iPhone. Now you can enjoy all the benefits and features of your new mobile network.
Changing the SIM card in an iPhone is a straightforward process that allows you to switch carriers or replace a damaged card. By following the simple steps outlined in this article, you can easily remove the old SIM card and insert a new one, ensuring that your iPhone stays connected and functional.
Remember to power off your iPhone before beginning the process and handle the SIM card with care to avoid any damage. Whether you have an iPhone SE, iPhone 11, or any other model, the process of changing the SIM card remains the same. Just use an ejector tool or a paperclip to release the SIM card tray, swap out the old card, and insert the new one. Power on your iPhone, and you’re ready to go!
Now that you have learned how to change the SIM card in an iPhone, you can confidently switch carriers or replace a damaged card on your own. Enjoy a hassle-free experience and stay connected with your new SIM card!
FAQs
Here are some frequently asked questions about changing the SIM card in an iPhone:
-
1. Why would I need to change the SIM card in my iPhone?
There can be several reasons why you might need to change the SIM card in your iPhone. Some common scenarios include upgrading to a new phone plan, switching carriers, traveling abroad and needing a local SIM card, or replacing a damaged or lost SIM card.
-
2. How do I determine the type of SIM card my iPhone uses?
Depending on the iPhone model, there are different types of SIM cards used. The older iPhone models (iPhone 4 and earlier) use a regular-sized SIM card known as a “mini SIM.” The newer models (iPhone 5 and later) use a smaller SIM card called a “nano SIM.” You can check the SIM card slot on your iPhone or refer to the user manual to identify the type of SIM card required.
-
3. What tools do I need to change the SIM card in my iPhone?
Changing the SIM card in an iPhone is a relatively simple process that requires minimal tools. You will need a SIM card ejector tool (which usually comes with your iPhone) or a small paperclip. These tools are used to eject the SIM card tray from the side of the iPhone.
-
4. How do I change the SIM card in my iPhone?
To change the SIM card in your iPhone, follow these steps:
- Locate the SIM card slot on the side of your iPhone.
- Insert the SIM card ejector tool or a paperclip into the small hole next to the SIM card slot.
- Gently push the tool or paperclip in until the SIM card tray pops out.
- Remove the old SIM card from the tray.
- Insert the new SIM card into the tray, making sure it is properly aligned.
- Slide the SIM card tray back into the iPhone until it is fully inserted.
Once the SIM card is inserted, you can turn on your iPhone and it should recognize the new SIM card.
-
5. Can I use my iPhone without a SIM card?
Yes, you can use your iPhone without a SIM card, but its functionality will be limited. Without a SIM card, you won’t be able to make calls, send messages, or connect to a cellular data network. However, you can still use your iPhone for functions such as accessing Wi-Fi, using apps that don’t require a cellular connection, and using various features like the camera, notes, and calendar.