
Keeping your iPhone clean is not only important for maintaining its performance, but also for ensuring your own health and safety. With regular use, our smartphones can accumulate dirt, dust, and even germs over time. From fingerprints on the screen to debris in the charging port, these can have a negative impact on the functionality and longevity of your device. In this article, we will provide you with step-by-step instructions on how to effectively clean your iPhone. Whether you are dealing with smudges on the screen or dust in the speaker, we have got you covered. So, let’s dive in and learn how to give your iPhone the TLC it deserves!
Inside This Article
- Gather Cleaning Supplies
- Power Off Your iPhone
- Clean the Exterior
- Clean the Screen and Ports
- Clean the Speakers and Microphone
- Clean the Camera Lenses
- Dry and Reassemble Your iPhone
- Conclusion
- FAQs
Gather Cleaning Supplies
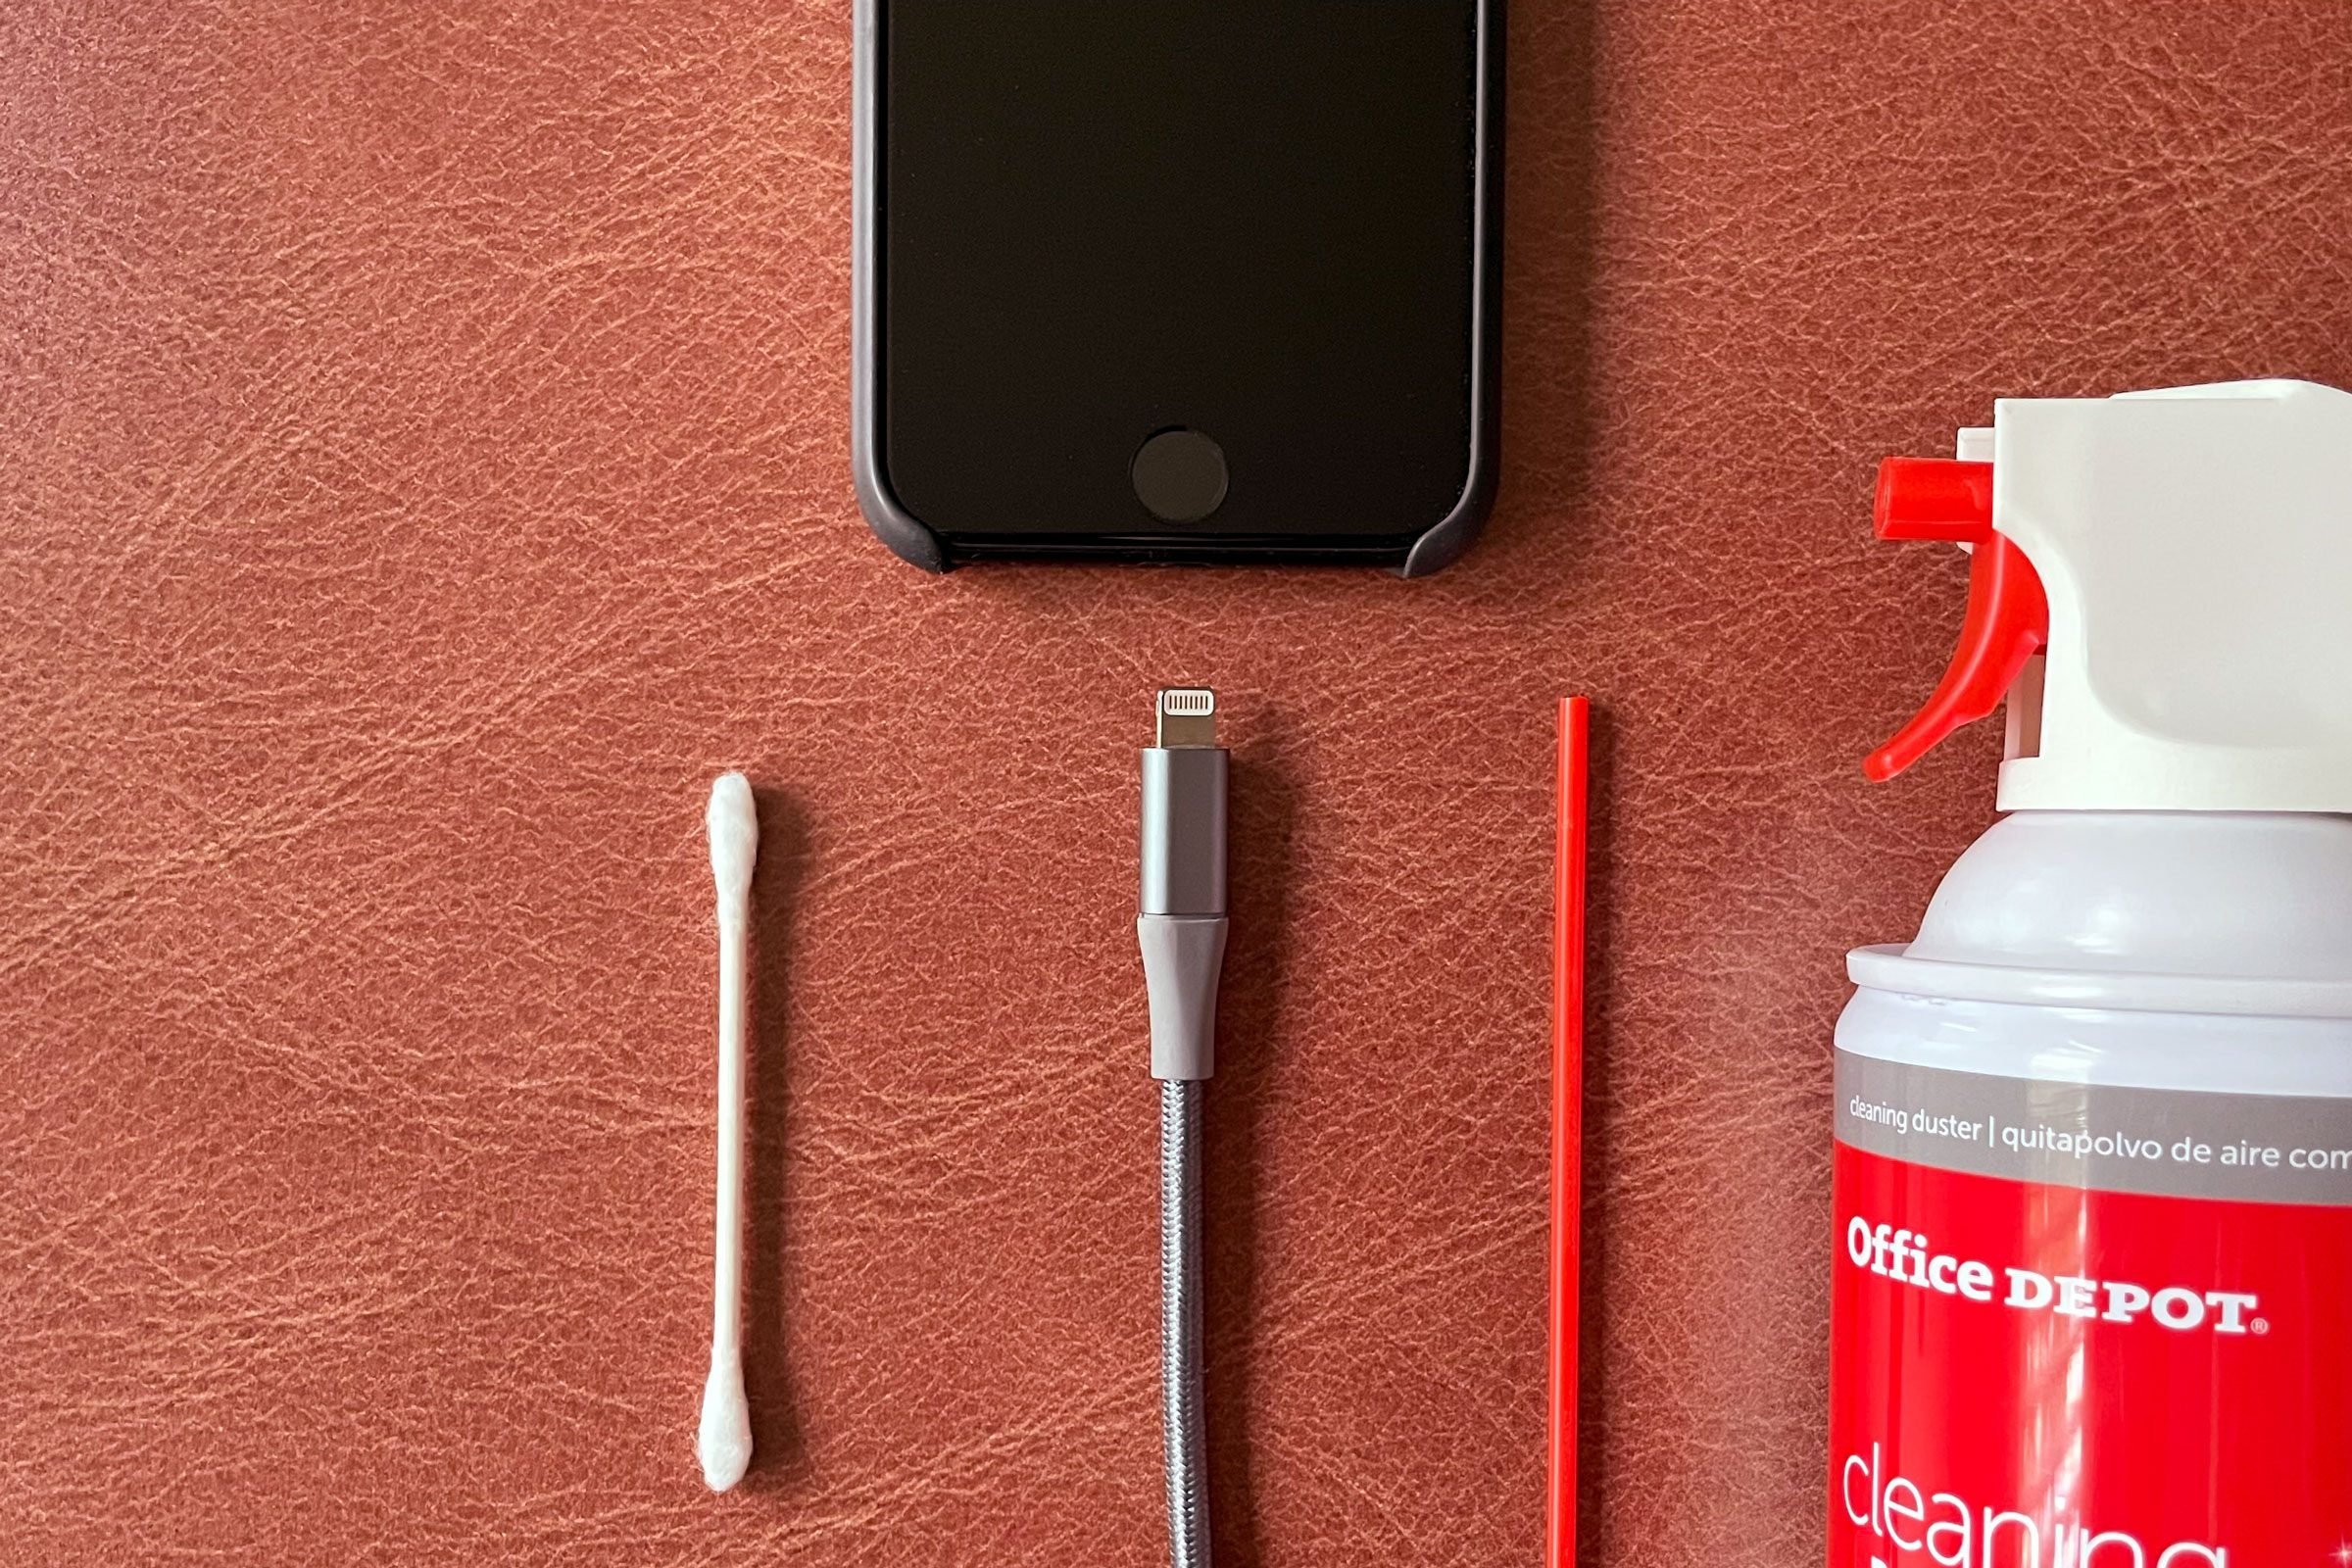
Keeping your iPhone clean is essential for its longevity and optimal performance. Before you start cleaning, make sure you have gathered all the necessary cleaning supplies. Here’s a list of items you will need:
1. Microfiber Cloth: A soft, lint-free microfiber cloth is ideal for cleaning the screen and removing smudges and fingerprints. Avoid using abrasive materials like paper towels, as they can scratch the screen.
2. Isopropyl Alcohol: Isopropyl alcohol, commonly known as rubbing alcohol, is an effective disinfectant. It can help remove stubborn dirt, bacteria, and germs from your iPhone. Ensure that the isopropyl alcohol concentration is at least 70%.
3. Cotton Swabs: Cotton swabs, or Q-tips, are perfect for cleaning hard-to-reach areas such as ports, buttons, and speakers. They can help remove dirt and debris without causing damage.
4. Compressed Air: Compressed air in a can or a small air blower can be used to remove dust particles from the crevices of your iPhone. Be careful not to spray the air directly onto the phone, as it can cause liquid damage.
5. Phone Cleaning Solution: There are various cleaning solutions available specifically designed for electronic devices. These solutions are safe to use on your iPhone and can effectively remove smudges, fingerprints, and bacteria.
6. Protective Case: If you use a protective case for your iPhone, it’s a good idea to clean it as well. Remove the case and clean it using a mild soap and warm water. Allow it to dry completely before reattaching it to your phone.
Having these cleaning supplies ready will ensure that you have everything you need to effectively clean your iPhone. Remember, it’s important to use these supplies with caution and follow the recommended cleaning techniques.
Power Off Your iPhone
Before you begin cleaning your iPhone, it’s important to power it off to avoid any potential accidents or damage. Here’s how you can power off your iPhone:
1. Locate the power button on your iPhone. On most models, it is located on the right side or the top of the device.
2. Press and hold the power button until a slider appears on the screen labeled “Slide to power off.”
3. Swipe the slider to the right to power off your iPhone. The screen will go blank, indicating that your device is fully powered off.
Powering off your iPhone is essential because it ensures that you won’t accidentally trigger any functions or settings while cleaning it. This step also reduces the risk of electrical shock and damage to the internal components.
Keep in mind that if you plan to clean your iPhone’s charging port or other areas that may require the device to be powered on, it’s important to exercise caution and take necessary precautions to avoid any accidents or damage. Consult the manufacturer’s instructions or seek professional assistance if you’re unsure.
Now that your iPhone is powered off, you’re ready to move on to the next step and clean the exterior of your device.
Clean the Exterior
When it comes to cleaning the exterior of your iPhone, it’s important to use gentle methods to avoid causing any damage. Here are some steps you can follow:
1. Start by unplugging any cables and removing the iPhone case if you have one. This will give you better access to the phone’s surface.
2. Use a soft, lint-free cloth slightly dampened with water or a mild cleaning solution specifically formulated for electronic devices. Avoid using harsh chemicals or abrasive materials, as they can scratch the surface of your iPhone.
3. Gently wipe the entire exterior of your iPhone, paying special attention to areas that accumulate dirt and grime, such as the edges and the back of the device.
4. For stubborn dirt or fingerprints, you can use a microfiber cloth or a cotton swab moistened with isopropyl alcohol. Be sure to use a small amount of alcohol and apply gentle pressure to avoid damaging the surface.
5. If there are any sticky residues on your iPhone, you can try using a small amount of adhesive remover or rubbing alcohol. Apply it to a clean cloth and gently rub the affected area until the residue is removed. Remember to be cautious and avoid getting any liquid into the ports or openings.
6. Once you have cleaned the entire exterior, use a dry, lint-free cloth to wipe away any moisture and ensure that your iPhone is completely dry before reassembling it or powering it back on.
By following these steps, you can effectively clean the exterior of your iPhone and keep it looking sleek and well-maintained. Remember, a little bit of regular cleaning goes a long way in keeping your device in top condition.
Clean the Screen and Ports
One of the most important parts of cleaning your iPhone is keeping the screen and ports free from dirt and debris. Here’s how you can do it:
1. Start with the Screen: Use a microfiber cloth or a screen cleaning solution specifically designed for electronic devices to gently wipe the screen. Make sure to remove any fingerprints, smudges, or dirt that may have accumulated.
2. Clean the Charging Port: Over time, lint, dust, and debris can accumulate in the charging port of your iPhone, causing connectivity issues. To clean it, use a wooden or plastic toothpick and gently remove any dirt or debris. Be careful not to insert anything metallic into the charging port as it can damage the internal components.
3. Clear the Headphone Jack: If your iPhone still has a headphone jack, it’s important to keep it clean. Use a cotton swab dipped in rubbing alcohol to clean the inside of the jack. Gently rotate the cotton swab to remove any dirt or lint that may be stuck inside.
4. Don’t Forget the Speaker Grills: The speaker grills on your iPhone can collect dust and dirt over time, affecting sound quality. To clean them, use a soft-bristled brush or a clean, dry toothbrush to gently brush away any loose dirt or debris. Be careful not to apply too much pressure to avoid damaging the speakers.
5. Clean the SIM Card Tray: If your iPhone has a removable SIM card tray, you can clean it using a soft cloth or a cotton swab lightly dampened with rubbing alcohol. Gently wipe the tray to remove any fingerprints, dust, or dirt that may have accumulated.
6. Allow Everything to Dry: Once you have cleaned the screen and ports, allow them to air dry completely before reassembling your iPhone or connecting any cables. This will help prevent any damage that can occur from moisture.
Remember to be gentle when cleaning the screen and ports of your iPhone. Avoid using abrasive materials or harsh chemicals as they can damage the delicate surfaces. Regularly cleaning your iPhone’s screen and ports will not only keep it looking great but also ensure optimal performance.
Clean the Speakers and Microphone
The speakers and microphone of your iPhone are crucial components for audio input and output. Over time, they can accumulate dust, dirt, and other debris, affecting the sound quality and overall performance of your device. Here are a few simple steps to effectively clean the speakers and microphone:
1. Start by using a soft-bristle brush or a clean, dry toothbrush to gently brush away any visible debris from the speaker grills and microphone ports. Ensure that you brush in a downward motion to prevent pushing the dirt further into the openings.
2. If there are stubborn particles lodged in the speaker or microphone, you can use a can of compressed air to blow away the debris. Hold the can in an upright position and use short bursts of air to avoid damaging the components. Keep a distance of about six inches between the can and the device to prevent any liquid propellant from escaping.
3. For any spots that are still difficult to reach or clean, you can lightly dampen a microfiber cloth with a small amount of isopropyl alcohol. Make sure the cloth is not dripping wet, as excess moisture can damage your device. Gently swipe the cloth over the speaker grills and microphone ports to remove any remaining dirt or residue.
4. To ensure a thorough cleaning, you can also use a cotton swab dipped in isopropyl alcohol. Gently swab the areas around the speakers and microphone, being careful not to insert the swab too deeply into the openings. This method can help remove any stubborn or hard-to-reach dirt particles.
5. Once you have cleaned the speakers and microphone, allow them to air dry completely before turning on your iPhone or using any audio features. Avoid using excessive heat or direct sunlight to accelerate the drying process, as this can potentially damage your device.
By regularly cleaning the speakers and microphone of your iPhone, you can ensure optimal sound quality and prevent any potential issues caused by dirt or debris. Incorporate this simple cleaning routine into your regular device maintenance, and enjoy clear and crisp audio for your calls, music, and videos.
Clean the Camera Lenses
One of the essential components of your iPhone is the camera lenses. Over time, they can accumulate dirt, fingerprints, and smudges, affecting the quality of your photos. To keep your camera lenses clean and ensure crisp, clear images, follow these simple steps:
1. Start by using a soft, lint-free cloth or microfiber cloth to gently wipe away any loose debris or dust from the camera lenses. Avoid using abrasive materials like paper towels or tissues, as they can scratch the lenses.
2. For stubborn dirt or smudges, you can lightly dampen the cloth with water or use lens cleaning solution specifically designed for camera lenses. Apply a small amount of the cleaning solution to the cloth and gently wipe the lenses in a circular motion. Be careful not to apply too much pressure or get any liquid inside the camera module.
3. For thorough cleaning, you can also use a lens cleaning brush or compressed air to remove any remaining dust particles from the camera lenses. Make sure to hold your iPhone with the camera lenses facing downward to prevent any debris from falling back onto the lenses.
4. If you notice any stubborn fingerprints or smudges that are not easily removed, you can use a lens cleaning pen. These pens usually have a soft brush on one end to remove dust and a cleaning tip on the other end to gently eliminate smudges and fingerprints.
5. Finally, use a dry, lint-free cloth to gently wipe away any moisture or residue from the camera lenses. Ensure that they are completely dry before reassembling your iPhone or using the camera.
By regularly cleaning the camera lenses of your iPhone, you can ensure optimal image quality and capture stunning photos. Maintaining clean lenses will also prevent any potential damage caused by dirt or debris. Now that your camera lenses are clean, you are ready to capture beautiful memories!
Dry and Reassemble Your iPhone
After you have completed the cleaning process for your iPhone, the final step is to ensure that it is dried thoroughly and reassembled properly. Here are some important tips to follow:
1. Gently shake off any excess moisture from your iPhone. Be careful not to drop it or cause any further damage.
2. Use a soft, lint-free cloth to carefully dry the exterior of your iPhone. Pay special attention to the ports, buttons, and camera lenses to ensure that they are free from moisture.
3. Allow your iPhone to air dry for at least 30 minutes. Avoid using any external heat source, such as a hairdryer, as it can damage the internal components.
4. Once your iPhone is completely dry, it’s time to reassemble it. Start by inserting the SIM card (if applicable) and then carefully place the back cover onto the device.
5. Make sure that the back cover is securely in place and aligned properly with the buttons and ports. Gently press along the edges to ensure a snug fit.
6. Power on your iPhone and verify that everything is functioning correctly. Check the touch screen, buttons, speakers, microphone, and camera to ensure that they are all working properly.
7. Finally, if you had removed any protective cases or screen protectors during the cleaning process, you can now reapply them to safeguard your iPhone from future damage.
By following these steps, you can effectively dry and reassemble your iPhone after cleaning it. Remember to always exercise caution and take your time to prevent any further damage to your device.
Conclusion
Keeping your iPhone clean is not only important for its appearance but also for its performance and longevity. By following the proper cleaning techniques and using the right tools, you can ensure that your iPhone stays in top condition.
Remember to regularly wipe the screen using a microfiber cloth and avoid using harsh chemicals or abrasive materials. Cleaning the ports and speakers with a soft brush can prevent build-up and ensure optimal sound quality.
Additionally, don’t forget to clean the case regularly and consider using a screen protector to minimize scratches. By taking these simple steps, you can maintain the cleanliness and functionality of your iPhone for years to come.
So, start incorporating these cleaning habits into your iPhone maintenance routine and enjoy a clean and pristine device every day.
FAQs
1. How often should I clean my iPhone?
It is recommended to clean your iPhone regularly, ideally once every few weeks. However, if you notice any dust, smudges, or buildup on the screen or other surfaces, it’s a good idea to clean it immediately.
2. What cleaning products should I use?
When cleaning your iPhone, it’s important to avoid using harsh chemicals or abrasive materials that could damage the device. Instead, use a soft, lint-free cloth slightly dampened with water or isopropyl alcohol to gently wipe away dirt and fingerprints.
3. Can I use disinfectant wipes on my iPhone?
While disinfectant wipes may help remove germs from your iPhone, it’s important to ensure that the wipes are safe for use on electronic devices. Some disinfectant wipes contain chemicals that can harm the screen or other components. It’s best to consult the manufacturer’s recommendations or use a cleaning solution specifically designed for electronics.
4. How do I clean the charging port?
Over time, dirt and debris can accumulate in the charging port, hindering proper charging. To clean it, first, make sure your iPhone is turned off. Then, gently insert a clean, dry toothpick into the charging port to remove any debris. Avoid using any liquids or sharp objects that may cause damage.
5. How can I remove stubborn stains or marks?
If you encounter stubborn stains or marks on your iPhone, try using a microfiber cloth with a small amount of mild soap and water. Dampen the cloth, making sure not to saturate it, and gently scrub the affected area. Avoid applying excessive pressure or using abrasive materials that could scratch the surface.