
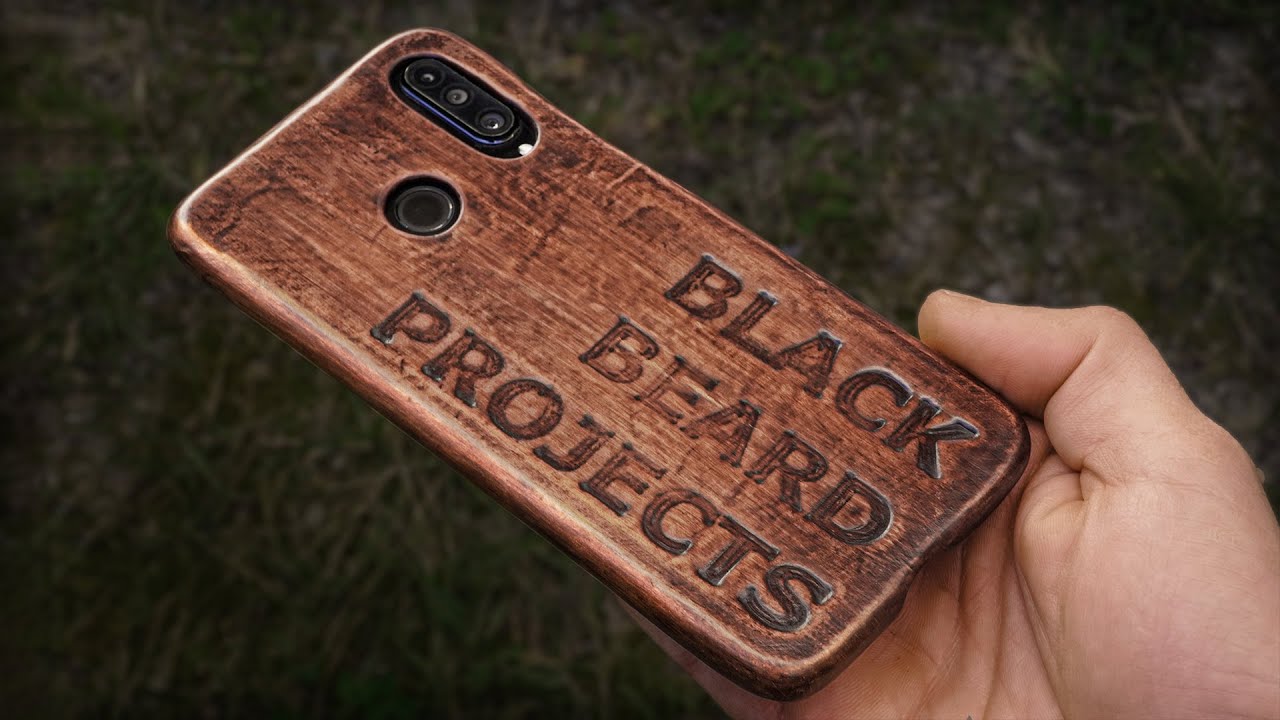
In today’s era of technology, cell phones have become an essential part of our lives. With the rise in popularity of mobile phones, the need for protective phone cases has also increased. Having a unique and personalized phone case not only adds a touch of style but also ensures the safety of your device. If you want to create your own phone case, you may consider making a phone case mold. A phone case mold is a template or model that allows you to create multiple phone cases with the same design and dimensions. In this article, we will guide you on how to make a phone case mold, providing step-by-step instructions and useful tips to help you get started. So, let’s dive in and unleash your creativity!
Inside This Article
- Materials Needed
- Step 1: Creating the Silicone Mold
- Step 2: Preparing the Phone Case
- Step 3: Pouring the Casting Material
- Step 4: Removing the Mold
- Conclusion
- FAQs
Materials Needed
When it comes to making a phone case mold, there are a few essential materials you’ll need to get started. Gathering these supplies beforehand will ensure a smooth and hassle-free process. Here’s a list of the materials you’ll need:
- Modeling Clay: Choose a reliable and easily moldable modeling clay that will hold its shape well. It should be firm enough to keep the phone case mold intact.
- Phone Case: Select the phone case that you want to create a mold for. Ensure that it fits securely and snugly around your phone.
- Release Agent: A release agent, such as mold release spray or petroleum jelly, is crucial to prevent the modeling clay from sticking to the phone case and ruining the mold.
- Mold Box: A mold box or container is needed to provide a sturdy and defined frame for the clay mold. It should be able to accommodate the phone case and allow space for pouring the mold-making materials.
- Mold-Making Materials: You will require silicone rubber or liquid latex to make the mold. Choose the material that suits your preference and budget.
- Mixing Tools: Depending on the mold-making material you choose, you may need mixing cups, stir sticks, and a measuring scale to ensure accurate proportions.
- Protective Gear: It’s essential to prioritize safety while working with mold-making materials. Wear gloves, safety glasses, and a dust mask to protect yourself from any potential hazards.
Gathering these materials before you start making a phone case mold will save you time and ensure a successful outcome. Now that you have everything you need, let’s move on to the next step: making the clay mold.
Step 1: Creating the Silicone Mold
Creating a silicone mold is an essential step in making a phone case mold. Silicone molds are flexible, durable, and easy to release, making them ideal for this project. Here’s a step-by-step guide on how to create a silicone mold for your phone case:
1. Gather the Materials:
Before you begin, make sure you have all the necessary materials. You’ll need silicone rubber, a mixing container, a stirring stick, a mold release agent, a brush, and the phone case you want to mold.
2. Prepare the Phone Case:
Clean the phone case thoroughly to remove any dirt, dust, or debris. This will ensure that the mold captures all the intricate details of the case.
3. Build a Container:
Create a container using cardboard or plastic, larger than the phone case. Make sure it has enough height to accommodate the silicone rubber without overflowing.
4. Apply Mold Release:
Using a brush, apply a mold release agent to the phone case and the inside walls of the container. This will create a barrier between the silicone and the case, making it easier to release the mold later on.
5. Mix the Silicone Rubber:
Follow the instructions provided with the silicone rubber to mix it properly. Use a clean mixing container and a stirring stick to blend the two components thoroughly.
6. Pour the Silicone into the Container:
Carefully pour the mixed silicone rubber into the container, ensuring that the phone case is fully submerged. The silicone should cover the case entirely, allowing it to capture all the details.
7. Remove Air Bubbles:
To eliminate any air bubbles trapped in the silicone, gently tap the container on a flat surface. You can also use a toothpick or a plastic stirrer to pop any visible bubbles.
8. Let the Silicone Cure:
Allow the silicone to cure, following the recommended curing time provided by the manufacturer. This can range from a few hours to overnight, depending on the type of silicone being used.
9. Demold the Silicone Mold:
Once the silicone has cured completely, carefully remove the container and peel the silicone mold away from the phone case. Take your time to avoid tearing or damaging the mold.
10. Clean and Store the Mold:
Rinse the mold with water to remove any residue, then pat it dry with a clean cloth. Store the mold in a cool, dry place until you’re ready to use it for making your phone case.
By following these steps, you’ll have successfully created a silicone mold for your phone case. Now you’re ready to move on to the next steps, which involve actually making the phone case using the mold you’ve created.
Step 2: Preparing the Phone Case
Before creating a mold for your phone case, it is essential to properly prepare the case itself. This step ensures that the mold will accurately capture every detail of your phone case design. Here’s what you need to do:
-
Clean the phone case: Start by giving your phone case a thorough cleaning. Use a mild soap and water to remove any dirt, grease, or fingerprints. This step ensures that the mold will be free from any imperfections caused by debris on the surface of the case.
-
Dry the case: Once the phone case is clean, make sure to dry it completely. You can use a soft cloth or a towel to gently pat it dry. It is crucial to ensure that there is no residual moisture on the case, as this can affect the quality of the mold.
-
Apply a mold release agent: To ensure that the phone case does not stick to the mold, it is advisable to apply a mold release agent. This can be in the form of a spray or liquid, specifically designed for this purpose. Apply a thin, even coat of the release agent on the surface of the phone case. This step facilitates the easy removal of the case from the mold once it has finished curing.
-
Allow the release agent to dry: After applying the mold release agent, allow it to dry completely. This typically takes a few minutes, but it is important to follow the instructions provided with the specific release agent you are using. By ensuring that the release agent is dry, you prevent any interference with the molding process.
-
Inspect the case: Before proceeding to the next step, closely examine the phone case to ensure there are no visible defects or imperfections. This is particularly important if you are using a pre-existing phone case. Any flaws on the case may be transferred to the mold, affecting the final result.
By following these steps, you are now ready to move on to the next stage of creating your phone case mold. Take your time to ensure that the phone case is clean, dry, and properly prepared, as this will greatly contribute to the success of your mold-making process!
Step 3: Pouring the Casting Material
Once you have successfully prepared the mold and secured the phone case, it’s time to pour the casting material. This step is crucial as it will determine the final outcome and quality of your phone case mold.
Before pouring the casting material, it’s essential to choose the right material for your mold. There are various options available, such as silicone, resin, or polyurethane. Each material has its advantages and considerations, so make sure to select one that best suits your needs.
Now, let’s move on to pouring the casting material into the mold. It’s important to remember that different materials have different pouring techniques and requirements. Follow the specific instructions provided with your chosen casting material carefully to ensure the best results.
First, prepare the casting material according to the instructions. This may involve mixing different components or adding a catalyst to initiate the curing process. Follow the recommended ratios and mixing times to ensure a proper chemical reaction.
Once the casting material is ready, slowly pour it into the mold. Start from one corner and allow the material to flow evenly throughout the entire mold. Be cautious not to overfill the mold, as this can lead to excess material overflowing and ruining the mold.
Gently tap the mold on a solid surface to remove any air bubbles that may have formed during the pouring process. It’s essential to eliminate air bubbles as they can affect the final outcome and make the mold weaker.
After tapping the mold, let it sit undisturbed for the specified curing time. This can vary depending on the casting material you’re using. It’s crucial to adhere to the suggested curing time as it allows the material to harden properly and ensures the durability of your phone case mold.
Once the curing time is complete, carefully remove the hardened casting material from the mold. Depending on the material and mold design, it may be necessary to gently pry and flex the mold to release the casting. Take your time and be patient to avoid any damage to the mold or the casting.
After removing the casting, inspect it for any imperfections or irregularities. Sand down any rough edges or excess material to achieve a smooth and refined finish. Remember that the quality of the casting will greatly impact the final appearance of your phone case. Take your time to refine it and make any necessary adjustments.
And there you have it! You have successfully poured the casting material into the mold and created your own phone case mold. Next, we will move on to removing the phone case from the mold and putting the finishing touches on your custom creation.
Step 4: Removing the Mold
Once the phone case has finished curing in the mold, it’s time to carefully remove the mold and unveil your beautiful creation. Follow these steps to ensure a successful and clean removal:
1. Prepare your workspace: Find a clean, well-lit area to work in. Lay down a soft cloth or towel to protect the surface from any accidental scratches or spills.
2. Gently loosen the mold: Carefully peel back the edges of the mold starting at one corner. Use your fingers or a small, flat tool to slowly work the mold away from the phone case. Be cautious not to apply too much force, as you don’t want to distort or damage the case.
3. Take your time: Slowly and patiently work your way around the entire mold, taking care to release it gently from all sides. This may require some delicate maneuvering and strategic loosening of any areas that appear to be sticking.
4. Remove the phone case from the mold: Once the mold is fully loosened, carefully lift the phone case out of the mold. Use your fingers or a small tool to guide it out, being mindful not to snag or scratch the case in the process.
5. Inspect for any imperfections: Take a close look at the phone case once it’s out of the mold. Look for any air bubbles, rough edges, or other imperfections that may have occurred during the molding process. If necessary, you can use sandpaper or a small file to smooth out any rough spots.
6. Clean the mold: Before storing or reusing the mold, make sure to thoroughly clean it. Use warm soapy water and a soft brush to remove any residue or excess clay. Allow the mold to dry completely before storing it to prevent any molding or deterioration.
Now that you’ve successfully removed the mold, you can marvel at your handiwork. The phone case is now ready for any customization or finishing touches you desire. Whether you choose to paint it, add embellishments, or keep it simple and sleek, the possibilities are endless. Enjoy your one-of-a-kind phone case and show it off to your friends and family!
Conclusion
In conclusion, creating a phone case mold is a straightforward process that can be accomplished with the right materials and techniques. By following the steps outlined in this guide, you can design and customize your own phone case mold to protect and personalize your device.
Remember to carefully consider the type of material you use for the mold, ensuring it is durable and suitable for the molding process. Take your time to accurately measure and prepare the mold, and be patient during the curing and drying stages.
Once your phone case mold is ready, you can use it to make multiple phone cases, allowing you to experiment with different colors, patterns, and designs. With a little creativity and attention to detail, you can create unique phone cases that reflect your personal style.
So, why settle for generic phone cases when you have the opportunity to make your own? Start exploring the world of phone case molding today and enjoy the benefits of having a custom-made accessory for your beloved device.
FAQs
1. Can I make a phone case mold at home?
Yes, you can make a phone case mold at home using materials like silicone, epoxy resin, or 3D printing. There are various DIY tutorials and guides available online that can help you create a custom phone case mold in the comfort of your own home.
2. What materials do I need to make a phone case mold?
The materials you will need to make a phone case mold include silicone or epoxy resin, a mold release agent, a mixing container, a mixing stick, and the object you want to mold (such as a phone case). Additionally, you may need a vacuum chamber or pressure pot if you are using epoxy resin to remove air bubbles.
3. How long does it take to make a phone case mold?
The time it takes to make a phone case mold depends on the materials and methods you are using. If you are using silicone or epoxy resin, the curing time can range from a few hours to a day or more, depending on the specific product and its instructions. 3D printing a phone case mold can take several hours, depending on the size and complexity of the design.
4. Can I reuse a phone case mold?
Yes, in most cases, phone case molds can be reused multiple times. Silicone molds, in particular, are known for their reusability. After removing the molded object, you can clean the mold and store it for future use. However, over time, the mold may wear out or lose its shape, so it’s always a good idea to have extra molds on hand.
5. Are there any tips for creating a successful phone case mold?
Absolutely! Here are some tips for creating a successful phone case mold:
– Ensure that your phone case is clean and free from any dust or debris before placing it in the mold.
– Mix the silicone or epoxy resin thoroughly and according to the manufacturer’s instructions to avoid any curing issues.
– Use a mold release agent to facilitate the easy removal of the molded object from the mold without any damage.
– Consider using a vacuum chamber or pressure pot to remove air bubbles for a smoother and more professional finish.
– Allow sufficient curing time before removing the molded object from the mold.
– Experiment with different colors, additives, or glitter to create unique and personalized phone case molds.