
Are you tired of constantly squinting at the tiny screen of your iPhone? Do you find yourself constantly zooming in and out to read text or view images? If so, you’re not alone. Many iPhone users face the challenge of a limited screen size, which can be especially frustrating when trying to perform tasks or consume content on the go. The good news is that there are several effective strategies you can use to minimize the size of your iPhone screen, making it easier to navigate and use. In this article, we will explore some practical tips and tricks that you can implement to maximize your screen real estate and enhance your overall iPhone experience. So, let’s dive in and discover how to minimize your iPhone screen!
Inside This Article
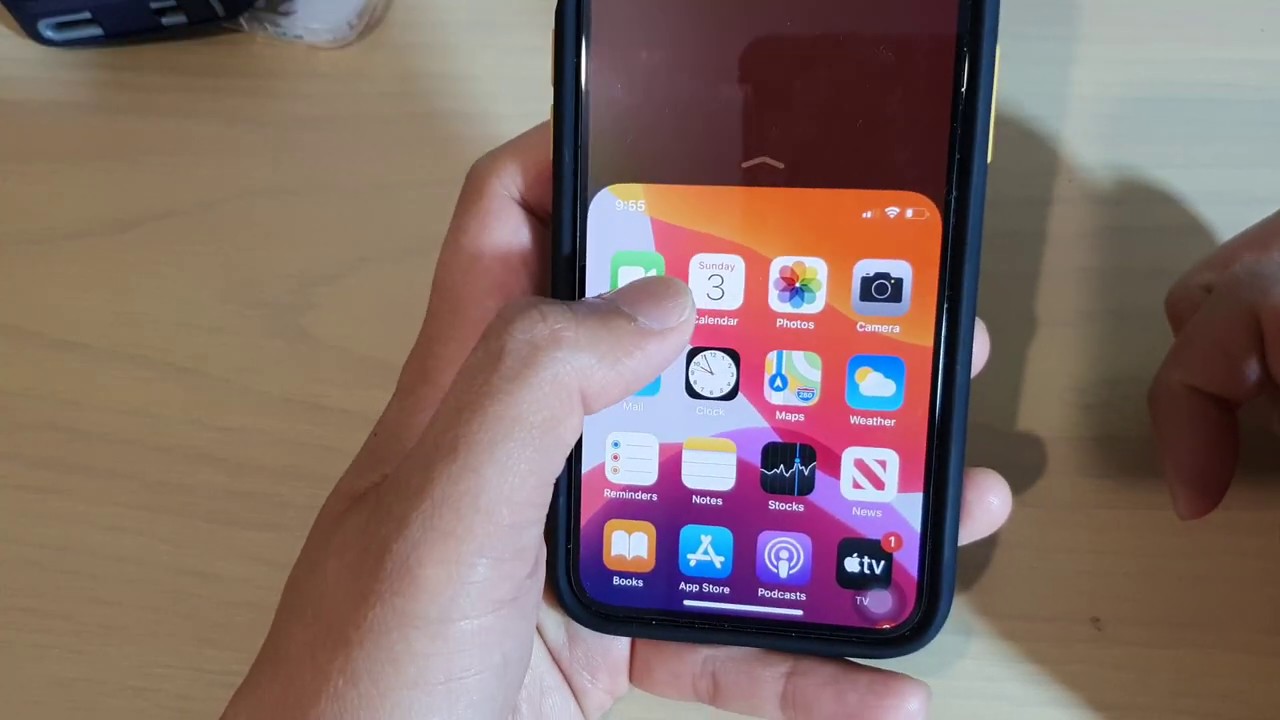
- Point 1: Adjusting Display Zoom
- Point 2: Using Reachability feature
- Point 3: Enabling Reduce Motion
- Point 4: Customizing Display and Brightness settings
- Conclusion
- FAQs
Point 1: Adjusting Display Zoom
One of the ways to minimize the screen size on your iPhone is by adjusting the Display Zoom settings. Display Zoom allows you to magnify or shrink the content on your screen, giving you more control over how much information is displayed at once.
To adjust the Display Zoom, follow these steps:
- Open the Settings app on your iPhone.
- Tap on Display & Brightness.
- Select View.
- You will see two options: “Standard” and “Zoomed”.
- If you want to minimize the screen size, choose “Zoomed”.
- Your iPhone will prompt you to restart it in order to apply the changes.
By choosing “Zoomed”, the content on your screen will appear larger, effectively reducing the amount of information displayed. This is particularly useful for individuals who prefer a larger, easier-to-read interface.
However, it’s important to note that adjusting the Display Zoom may result in some elements being cut off or cropped. If you’re experiencing issues with certain apps or screen elements, you may want to switch back to the “Standard” display option.
It’s worth mentioning that the Display Zoom feature is only available on certain iPhone models, such as the iPhone 6, iPhone 6s, and iPhone 7. If you have a newer iPhone model with a larger display, you may not have the option to adjust the display zoom.
Point 2: Using Reachability feature
The Reachability feature on iPhones is a handy tool that allows users to access the top part of the screen without stretching their fingers. It is especially useful for those with larger iPhones or smaller hands. When enabled, this feature brings the top half of the screen closer to your thumb, making it easier to reach.
To activate Reachability, simply double-tap (not press) the Home button. The entire screen will shift downwards, enabling easy access to icons or buttons located at the top. You can then interact with the desired elements without straining your hand or adjusting your grip.
Once you have completed the action, you can exit Reachability by tapping anywhere on the screen outside the active region or by pressing the Home button. The screen will return to its normal position, allowing you to continue using your iPhone as usual.
It’s worth mentioning that Reachability is only available on certain iPhone models, such as the iPhone 6 and later. So, if you have an older model, you may not have access to this feature. To check if your iPhone supports Reachability, go to “Settings,” select “Accessibility,” and look for the “Reachability” option.
Overall, Reachability is a fantastic function for individuals who struggle with one-handed use or reaching the top of their iPhone screen comfortably. It offers a quick and intuitive way to navigate your device without compromising on functionality or convenience.
Point 3: Enabling Reduce Motion
The Reduce Motion feature on your iPhone allows you to minimize the screen motion and animations, resulting in a more static and less visually stimulating display. This can be particularly helpful for individuals who experience motion sickness or prefer a more subtle visual experience.
To enable Reduce Motion on your iPhone, follow these simple steps:
- Go to the Settings app on your iPhone’s home screen.
- Scroll down and tap on “Accessibility.”
- Tap on “Motion” under the “Vision” section.
- Toggle the switch next to “Reduce Motion” to turn it on.
Once enabled, you will notice a reduction in the parallax effect on the home screen and app icons, as well as a decreased animation when opening and closing apps.
Enabling Reduce Motion can not only help create a more visually comfortable experience but also contribute to the conservation of battery life, as it reduces the processing power required for animations and transitions.
However, it is important to note that enabling Reduce Motion may affect certain features on your iPhone, such as the dynamic wallpapers, parallax effect in some apps, and certain visual effects in iMessage. Keep this in mind when deciding whether to enable or disable Reduce Motion based on your personal preferences.
Overall, if you prefer a more static and less visually stimulating display on your iPhone, enabling Reduce Motion can greatly enhance your user experience. Give it a try and see if it enhances your comfort and usability.
Point 4: Customizing Display and Brightness settings
Customizing the display and brightness settings on your iPhone can significantly help in minimizing screen usage and optimizing battery life. Here are some useful tips to make the most out of your device:
1. Adjust the Brightness: Lowering the brightness level of your iPhone’s screen can reduce power consumption and prolong battery life. Go to “Settings” > “Display & Brightness” and slide the brightness slider to a comfortable yet dimmer level.
2. Enable Night Shift: Night Shift is a feature that reduces the blue light emitted by your iPhone’s screen, making it easier on the eyes, especially during nighttime. This feature can also help minimize screen-induced eye strain. To enable Night Shift, go to “Settings” > “Display & Brightness” > “Night Shift”. You can schedule it to activate automatically or manually adjust it as per your preference.
3. Use Auto-Brightness: Enabling the Auto-Brightness feature allows your iPhone to automatically adjust the screen brightness based on ambient light conditions. This can help optimize the display brightness while conserving battery life. To activate Auto-Brightness, go to “Settings” > “Display & Brightness” and toggle on the “Auto-Brightness” option.
4. Set Auto-Lock Timer: The Auto-Lock feature automatically locks your iPhone’s screen after a certain period of inactivity, reducing unnecessary screen time and saving power. To adjust the Auto-Lock timer, go to “Settings” > “Display & Brightness” > “Auto-Lock” and choose the desired time interval.
5. Disable Raise to Wake: By default, the “Raise to Wake” feature automatically wakes up your iPhone’s display when you lift it. However, if you want to minimize screen usage, disabling this feature can be helpful. Go to “Settings” > “Display & Brightness” and toggle off the “Raise to Wake” option.
By customizing your iPhone’s display and brightness settings, you can effectively minimize screen usage and optimize battery life. Experiment with different settings to find the balance between comfortable viewing and conserving power, ensuring you make the most out of your device.
After exploring various methods to minimize the iPhone screen, we can conclude that there are multiple options available for users to customize their screen size and improve their user experience. Whether it’s using the Zoom feature, enabling Display Zoom, or adjusting the text size, these options provide flexibility and convenience for iPhone users.
By minimizing the screen, users can enhance readability, reduce eye strain, and increase overall productivity. The ability to adjust screen size caters to individual preferences and ensures a comfortable viewing experience.
Remember, finding the perfect screen size is a matter of personal preference, and it may take some experimentation to discover what works best for you. So, go ahead and give these methods a try to find the optimal screen size for your iPhone!
FAQs
1. How can I minimize the screen on my iPhone?
To minimize the screen on your iPhone, simply swipe up from the bottom edge of the screen if you have an iPhone with a Home button. If you have an iPhone X or newer model, swipe down from the top-right corner of the screen to access the Control Center and tap on the minimize button located in the top-right corner of the control center screen.
2. Can I minimize specific apps or only the entire screen?
When you minimize the screen on your iPhone, it applies to the entire device, including all the apps that are currently open. However, you can switch between the minimized apps by swiping left or right on the minimized screen at the bottom or by using the App Switcher.
3. Will minimizing the screen affect the performance or battery life of my iPhone?
No, minimizing the screen on your iPhone does not affect the performance or battery life of your device. It simply puts the device in a minimized state where you can quickly access the Control Center and switch between different apps.
4. How do I bring back a minimized screen to full size?
To bring back a minimized screen to its full size, swipe up from the bottom edge of the screen for iPhones with a Home button, or for iPhone X and newer models, swipe up from the bottom edge and hold until the minimized screen expands to full size.
5. Can I customize the gestures for minimizing and maximizing the screen on my iPhone?
Unfortunately, Apple does not allow customization of the gestures for minimizing and maximizing the screen on iPhones. The gestures mentioned above are the default gestures provided by Apple, and they cannot be modified.