
Smartphones have become an integral part of our lives, keeping us connected, informed, and entertained. However, accidents happen, and one of the most common mishaps is a cracked or broken screen. Dealing with a damaged smartphone screen can be frustrating and inconvenient, especially if you rely heavily on your device. Thankfully, replacing a smartphone screen is a viable solution that can restore your device to its former glory.
In this article, we will guide you through the process of replacing your smartphone screen, providing you with all the information you need to successfully complete the task. From understanding the different types of screens to step-by-step instructions on how to replace them, we have got you covered. So, grab your tools and let’s dive into this comprehensive guide on how to replace a smartphone screen.
Inside This Article
- Assessing the Damage
- Gathering the Necessary Tools
- Removing the Damaged Screen
- Installing the New Screen
- Testing the Replacement
- Troubleshooting Common Issues
- Conclusion
- FAQs
Assessing the Damage
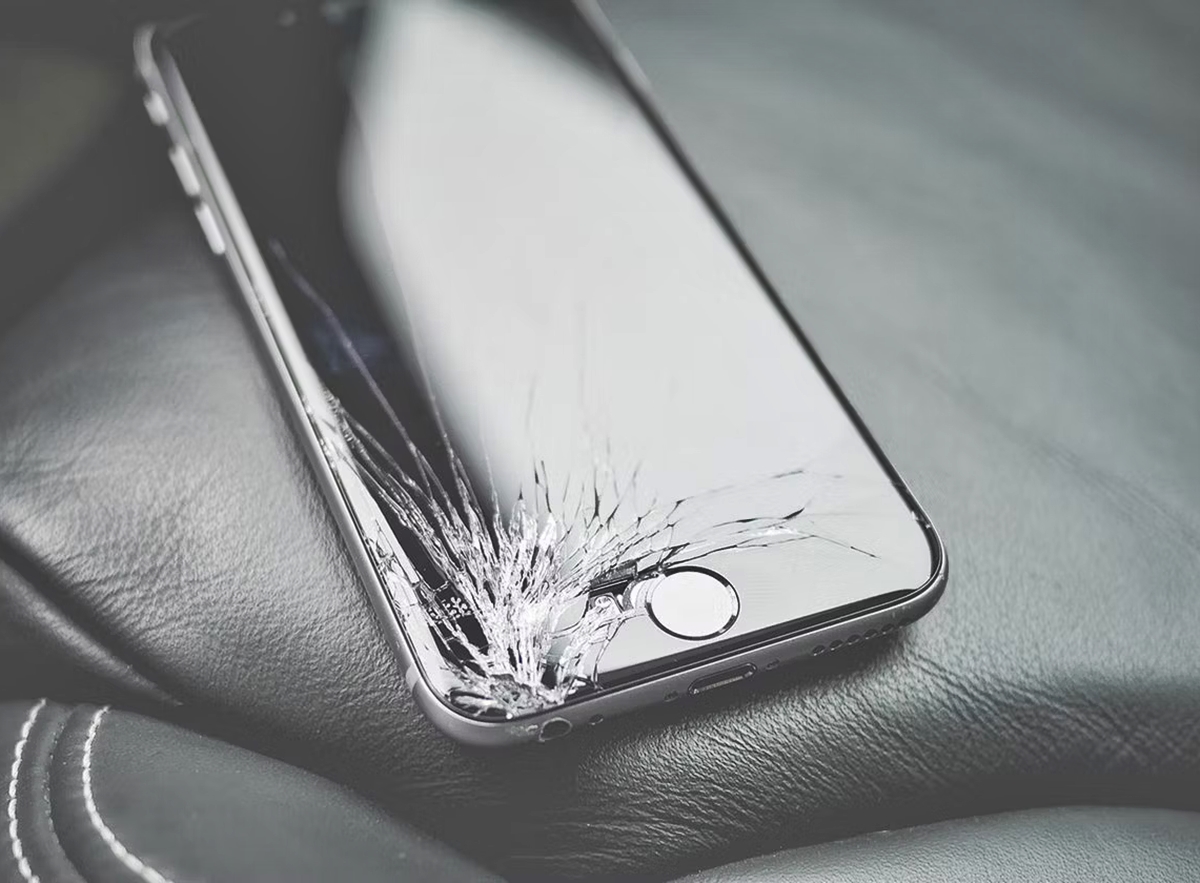
Before diving into the process of replacing your smartphone screen, it’s essential to assess the extent of the damage. This will help you determine if a screen replacement is necessary or if there are alternative solutions available.
Start by carefully examining your phone’s screen for any visible signs of damage. Look for cracks, shattered glass, or deep scratches that may affect the functionality of the device. Additionally, pay attention to any discoloration, flickering, or unresponsive areas on the display.
If the damage is limited to superficial scratches or minor cracks that don’t obstruct the screen or affect touch sensitivity, you may consider using a screen protector or a DIY repair kit to fix the issue. These options can help minimize the visibility of the damage and protect the screen from further deterioration.
However, if the screen is severely cracked, completely shattered, or displaying significant discoloration, it’s highly recommended to proceed with a screen replacement. This is crucial as severe damage can impair the touch functionality, hinder visibility, and potentially cause further harm to the internals of your phone.
Remember, it’s important to exercise caution when assessing the damage and to consult with a professional if you’re unsure about the severity or the best course of action. Now that we have assessed the damage, let’s move on to the necessary tools for the screen replacement process.
Gathering the Necessary Tools
Before you start replacing your smartphone screen, it’s essential to gather the necessary tools to ensure a smooth and successful process. Having the right tools on hand will not only make the task easier but also reduce the risk of damaging your phone further. Here are the essential tools you’ll need:
- Screwdriver set: A small screwdriver set with various interchangeable heads is vital for removing screws and opening the phone’s housing.
- Plastic prying tools: These non-conductive tools are designed to help safely separate the phone’s screen from the frame without scratching or damaging the components.
- Tweezers: A pair of fine-tip tweezers will come in handy for handling small screws and delicate connectors.
- Adhesive strips or double-sided tape: These will be necessary to secure the new screen in place after installation.
- Heat gun or hairdryer: The adhesive holding the screen in place may need to be softened with heat before removal. A heat gun or hairdryer can help accomplish this task.
- Cleaning materials: Make sure you have a microfiber cloth, screen cleaning solution, and isopropyl alcohol to clean the screen and remove any residual adhesive.
- Replacement screen: Of course, you’ll need to acquire a compatible replacement screen for your specific smartphone model. Ensure that the replacement screen is of high quality and comes from a reliable source.
By gathering all these tools beforehand, you’ll be well-prepared to tackle the screen replacement process with confidence. Remember to ensure the tools are clean and in good condition to avoid any complications during the repair.
Removing the Damaged Screen
Removing the damaged screen from your smartphone is a crucial step in the screen replacement process. It requires precision and care to avoid causing further damage to your device. Follow these steps to remove the damaged screen and prepare for the installation of a new one:
1. Power off the device: Before you begin, make sure your smartphone is turned off. This will prevent any accidental electrical shocks or damage to the internal components.
2. Gather the necessary tools: You’ll need a set of small screwdrivers, a plastic pry tool, and any other tools specified by the screen replacement kit or guide you’re following. Having the right tools on hand will help make the removal process easier.
3. Remove the back cover or battery (if applicable): Some smartphones have a removable back cover or battery. If that’s the case with your device, carefully remove it according to the manufacturer’s instructions.
4. Unscrew and detach the display assembly: Locate the screws that secure the display assembly to the device’s frame. Use the appropriate screwdriver to unscrew them carefully. Once the screws are removed, gently detach the display assembly from the frame. Take your time and be careful not to strain or damage any of the cables or connectors.
5. Disconnect the display flex cables: Look for the flex cables that connect the display assembly to the device’s circuit board. These cables are usually located near the top of the device. Use a plastic pry tool or your fingers to gently disconnect them from their corresponding connectors. Take note of the cable orientation for reassembly.
6. Release adhesive and separate the screen: In many cases, the screen is held in place with adhesive. To remove it, carefully pry around the edges of the screen with a plastic pry tool or a guitar pick. Apply gentle pressure to release the adhesive and separate the damaged screen from the rest of the assembly.
7. Clean the device: After the damaged screen has been removed, use a lint-free cloth and some isopropyl alcohol to clean any residual adhesive or debris from the frame. This will ensure a clean and secure installation of the new screen.
By following these steps, you can successfully remove the damaged screen from your smartphone. Remember to exercise caution and take your time to avoid causing any additional damage. Once the screen has been removed, you’re ready to move on to the next step: installing the new screen.
Installing the New Screen
Now that you have successfully removed the damaged screen, it’s time to install the new one. Follow these steps to ensure a smooth and hassle-free installation process:
1. Carefully remove the protective film from the adhesive side of the new screen. Be sure to handle the screen with clean hands or wear gloves to avoid fingerprints or smudges.
2. Align the connectors on the new screen with the corresponding ports on the phone. Gently place the screen onto the phone, making sure it sits flush and evenly without any gaps or misalignments.
3. Apply slight pressure on the screen, starting from the top and gradually working your way down to ensure proper adhesion. Use a microfiber cloth or a soft, lint-free cloth to smooth out any air bubbles or imperfections.
4. Carefully reattach any screws, clips, or brackets that were removed earlier, following the reverse order of the disassembly process. Double-check that everything is secure and properly connected.
5. Power on your phone to test the new screen. Check for any dead pixels, touch responsiveness, and overall display quality. If you notice any issues, double-check the connections and adhesive, and retest.
6. Once you’re satisfied with the replacement, finish off by cleaning the screen with a suitable screen cleaner and a microfiber cloth. This will help remove any fingerprints or smudges that may have accumulated during the installation process.
Congratulations! You have successfully installed the new screen on your smartphone. Enjoy the crisp display and smooth touch experience of your repaired device.
Testing the Replacement
Once you have successfully installed the new screen on your smartphone, it’s important to test it to ensure that everything is functioning properly. Testing the replacement screen will give you peace of mind, knowing that you’ve completed the repair successfully. Here are some steps to follow when testing the replacement:
1. Power on the Device: Start by powering on your smartphone. If the device turns on without any issues and the display is working, it’s a good sign that the replacement screen is functioning correctly.
2. Check Touch Responsiveness: Test the touch responsiveness of the screen by navigating through different apps, typing messages, and performing various gestures. Make sure that the touchscreen registers your inputs accurately and without any delay.
3. Examine Display Quality: Inspect the display quality to ensure that it matches the original screen. Look for any abnormalities such as pixelation, discoloration, or uneven brightness. If the display appears crisp, vibrant, and without any defects, it indicates a successful replacement.
4. Test the Proximity Sensor: Make a call and verify if the proximity sensor is working correctly. The proximity sensor is responsible for detecting when the phone is held close to your face during a call. If the screen dims or becomes inactive when you bring the phone close to your ear, it means the proximity sensor is functioning as intended.
5. Check Sound and Volume Controls: Test the sound output and volume controls to ensure that they are working properly. Play some music, watch a video, or make a phone call to check if the audio is clear and the volume can be adjusted without any issues.
6. Verify the Camera Functionality: Open the camera app and check if both the front and rear cameras are working correctly. Capture photos and videos to confirm that the camera is functioning as it should.
7. Test Connectivity: Lastly, verify that all connectivity features are working, including Wi-Fi, Bluetooth, GPS, and mobile data. Connect to a Wi-Fi network, pair your device with other Bluetooth devices, and use location services to ensure everything is functioning properly.
If you encounter any issues during the testing process, it might indicate a problem with the replacement screen installation. In such cases, you may need to retrace your steps and double-check the connections and installation process. If the issues persist, it’s recommended to seek professional help or contact the manufacturer for further assistance.
Overall, testing the replacement screen is an essential step in the screen replacement process. It ensures that your smartphone is fully functional, allowing you to enjoy all the features and capabilities without any hindrances. Take your time during the testing phase to identify and resolve any potential issues, and soon you’ll be back to using your smartphone with a brand-new screen.
Troubleshooting Common Issues
Replacing a smartphone screen can be a daunting task, and occasionally, you may encounter certain issues during the process. Here are some common problems you might face and handy troubleshooting tips to overcome them:
1. Unresponsive Touchscreen: If your new screen is not detecting touch input or is lagging, ensure that all the connections are secure. Carefully detach and reattach the ribbon cables, ensuring they are properly aligned and firmly connected. If the issue persists, try restarting the device or performing a factory reset to rule out any software-related issues.
2. Poor Display Quality: If the new screen’s display appears dim or lacks clarity, check the brightness settings on your device. Adjust the brightness slider to a suitable level and ensure that auto-brightness is enabled if available. If the problem persists, double-check the screen connectors for any loose or damaged pins and reattach them securely.
3. Ghost Touches: Ghost touches occur when the screen registers unintended taps or gestures. This can be due to dust or debris trapped between the screen and the device’s frame. Gently clean the screen and the area around it using a microfiber cloth. If the issue persists, try calibrating the touchscreen by following the instructions provided by the device manufacturer.
4. Dead Pixels: Dead pixels are tiny black or colored spots on the screen that fail to display any image. Unfortunately, this issue is usually a hardware defect and may require replacing the screen again. However, before taking that step, you can try running a dead pixel fixer app or applying slight pressure to the affected area to see if the pixels can be revived.
5. Erratic Screen Behavior: If the screen behaves erratically, randomly registering touches or freezing, it could be due to a faulty digitizer. Try reconnecting the digitizer cable, ensuring it is securely plugged into the device. If the problem persists, you might need to consider replacing the digitizer itself.
6. Non-Functioning Buttons: In some cases, after replacing the screen, certain buttons like the home or volume buttons may stop working. This can occur if the cables for the buttons are not properly connected or damaged. Carefully check and reconnect these cables, ensuring they are securely attached to the motherboard.
7. Battery Life Drain: After screen replacement, you might notice a decrease in your device’s battery life. This can be due to the screen consuming more power or a software issue. Check the battery usage statistics in your device settings to identify any power-hungry apps. You can also try calibrating the battery or performing a software update to resolve the issue.
Remember, troubleshooting common issues during a screen replacement requires patience and careful handling. If you are unsure about any step or encounter persistent problems, it is recommended to seek professional help or contact the device manufacturer for further assistance.
Conclusion
Replacing a smartphone screen can be a daunting task, but with the right knowledge and tools, it is possible to do it yourself. However, it is important to consider the cost, warranty, and expertise required before attempting the repair. If you’re not confident in your skills or don’t have the necessary tools, it’s best to leave it to a professional.
Remember to back up your important data before starting any repairs to avoid losing any valuable information. Additionally, take your time, follow instructions carefully, and be patient throughout the process.
By following the steps outlined in this article, you can save money and prolong the lifespan of your smartphone by replacing the screen when needed. Just remember to research the specific model of your smartphone and purchase a high-quality replacement screen to ensure the best results.
FAQs
1. Can I replace the screen on my smartphone by myself?
Yes, it is possible to replace the screen on your smartphone by yourself. However, it is recommended that you have some technical knowledge and experience in handling electronic devices. If you are not confident in your abilities, it may be best to seek professional help to avoid causing further damage to your smartphone.
2. Where can I purchase a replacement screen for my smartphone?
You can purchase a replacement screen for your smartphone from various sources. Online marketplaces such as Amazon, eBay, and specialized smartphone parts websites are popular options. It is important to ensure that you are purchasing a genuine and compatible screen for your specific smartphone model.
3. How much does it typically cost to replace a smartphone screen?
The cost of replacing a smartphone screen can vary depending on the brand, model, and availability of the screen. Generally, the cost can range from $50 to $300, or even more for high-end flagship devices. Additionally, if you choose to have the screen replaced by a professional technician, there may be additional labor charges.
4. What tools do I need to replace a smartphone screen?
To replace a smartphone screen, you may need the following tools:
– Screwdrivers (usually Phillips or Torx)
– Plastic prying tools or guitar picks
– Suction cup
– Heat gun or hairdryer (to loosen adhesive)
– Tweezers (for handling small components)
– Anti-static wristband (to prevent electrostatic discharge)
It is important to note that the tools required may vary depending on the specific smartphone model and repair guide you are following. Make sure to research and gather the necessary tools before attempting the screen replacement.
5. Are there any risks involved in replacing a smartphone screen myself?
Yes, there are risks involved in replacing a smartphone screen yourself. Mishandling the delicate internal components of the smartphone can lead to further damage or even render the device unusable. Additionally, if the replacement screen is not of high quality, it may result in poor display quality or lack of touch sensitivity. It is crucial to exercise caution and take necessary precautions to minimize the risks involved.