
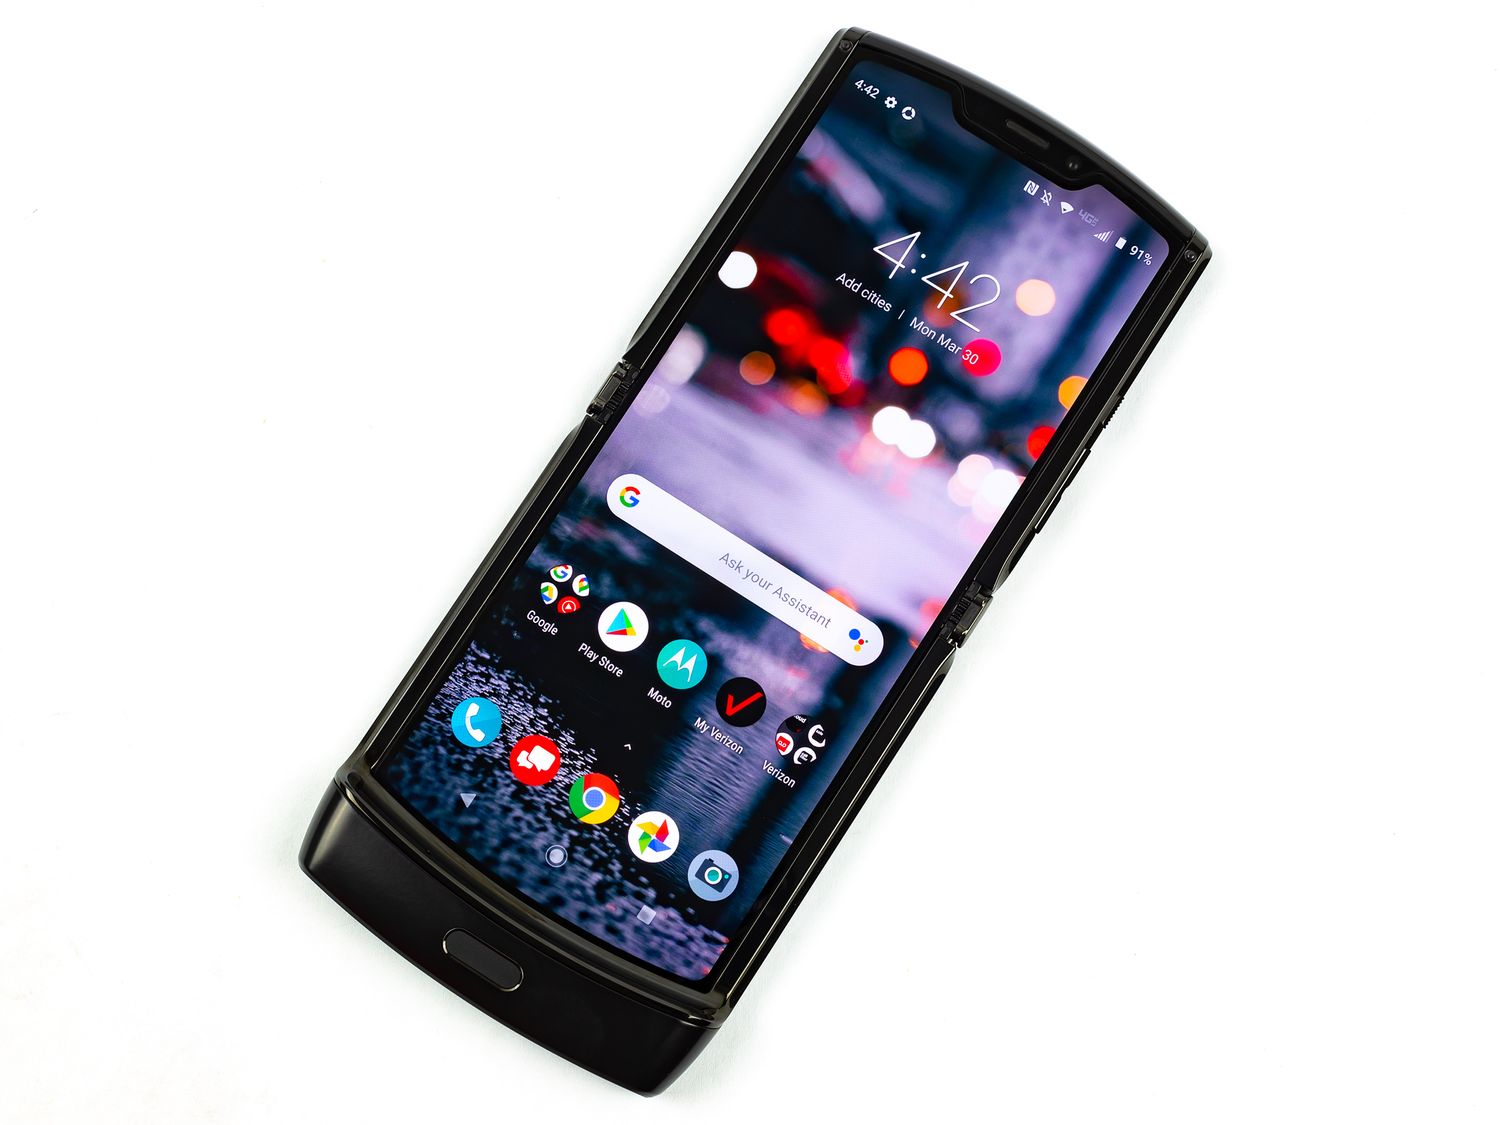
The Motorola Razr is a beloved cell phone that has stood the test of time. However, accidents happen, and a cracked or damaged screen can be a frustrating setback. If you’re wondering how to replace the screen of your Motorola Razr, you’ve come to the right place. In this article, we’ll guide you through the steps to help you successfully replace the screen yourself. Whether you’re a DIY enthusiast or just looking to save some money on repairs, we’ll provide you with all the information you need. From gathering the necessary tools to carefully disassembling your Razr and installing the new screen, you’ll be equipped with a comprehensive guide to get your phone looking and functioning like new again. Let’s dive in and get your Motorola Razr screen replacement process started!
Inside This Article
- Step 1: Gather the necessary tools
- Step 2: Power off the Motorola Razr
- Step 3: Remove the back cover
- Step 4: Disconnect the battery
- Step 5: Remove the screws securing the screen
- Step 6: Carefully detach the old screen
- Step 7: Attach the new screen
- Step 8: Secure the screen with screws
- Step 9: Reconnect the battery
- Step 10: Replace the back cover
- Conclusion
- FAQs
Step 1: Gather the necessary tools
Before you begin the process of replacing the screen on your Motorola Razr, it’s essential to gather all the necessary tools. Having the right tools on hand will make the process smoother and ensure you have everything you need to successfully replace the screen. Here are the tools you’ll need:
- Replacement screen: Make sure you have a compatible replacement screen for your specific model of the Motorola Razr. This is the most important tool you’ll need for the screen replacement.
- Small Phillips screwdriver: A small Phillips screwdriver will be necessary to remove the screws holding the screen in place.
- Plastic prying tools: It’s crucial to have plastic prying tools to carefully detach the old screen without causing any damage to the phone.
- Tweezers: Tweezers can come in handy for maneuvering small components during the replacement process.
- Tape or adhesive: Depending on the replacement screen you purchase, you may need tape or adhesive to secure the new screen in place.
- Clean cloth: A clean cloth is essential to wipe away any dust or debris that may be on the phone or the replacement screen.
Having these tools ready before you begin will save you time and ensure a smooth and successful screen replacement process. It’s also a good idea to have a clean and well-lit workspace to work in, as it will make the process easier and help prevent any accidental damage.
Step 2: Power off the Motorola Razr
Before you begin replacing the screen of your Motorola Razr, it is crucial to power off the device to prevent any potential damage or accidents. Follow these simple steps to power off your Motorola Razr:
- Press and hold the power button located on the side or top of your device.
- A power menu will appear on your screen.
- Select the “Power off” or “Turn off” option from the menu. This will initiate the shutdown process of your Motorola Razr.
- Wait for a few seconds until the device completely powers off. You can double-check by ensuring that the screen is completely black and there are no sounds or vibrations.
It is important to ensure that your Motorola Razr is powered off before proceeding with any further steps. This will ensure your safety and prevent any accidental damage during the screen replacement process.
Now that you have successfully powered off your Motorola Razr, you are ready to move on to the next step of replacing the screen.
Step 3: Remove the back cover
Removing the back cover of your Motorola Razr is an important step in replacing the screen. Follow these steps carefully to avoid any damage to your device:
1. Power off your Motorola Razr: Before you begin, make sure to power off your device. This will ensure your safety and prevent any accidental damage to the phone.
2. Locate the back cover: Flip your Motorola Razr over and identify the area where the back cover is located. Look for a small indentation or groove near the bottom of the device.
3. Use a prying tool: To remove the back cover, you will need to use a prying tool such as a plastic opening tool or a guitar pick. Insert the tool into the groove and gently apply pressure to lift the cover.
4. Work your way around: Once you’ve inserted the prying tool, carefully slide it along the edge of the phone to gradually separate the back cover from the device. Be cautious not to apply too much force to prevent any cracks or dents.
5. Lift off the back cover: As you work your way around the phone, the back cover will start to release from the device. Once you have gone all the way around, use your fingertips to lift off the back cover and set it aside.
6. Take note of the location of any screws: Some models of the Motorola Razr may have screws securing the back cover. If you notice any screws, make sure to remove them before attempting to lift off the cover.
With the back cover successfully removed, you are now one step closer to replacing the screen of your Motorola Razr. Now, let’s move on to the next step and disconnect the battery.
Step 4: Disconnect the battery
Disconnecting the battery is an important step in the process of replacing the screen on your Motorola Razr. This step ensures your safety and prevents any accidental damage to the device.
To disconnect the battery, you will need a screwdriver with a small Phillips head. Look for the screws that are securing the metal bracket covering the battery connector. Use the screwdriver to carefully remove these screws.
After removing the screws, gently lift the metal bracket to reveal the battery connector. The connector will be attached to the motherboard via a small plug. Take caution not to pull on the wires or forcefully disconnect the battery.
Using your fingers or a pair of tweezers, carefully grip the plug attached to the battery connector and gently pull it out from the motherboard. Make sure to grasp the plug and not the wires as you disconnect it.
Once the battery connector is disconnected, you can verify that the battery is no longer providing power to the device. This step is essential for your safety as it reduces the risk of electric shock or damage to sensitive components.
Keep the battery disconnected throughout the rest of the screen replacement process to ensure a safe working environment. When you finish replacing the screen and reassembling the device, remember to reconnect the battery before powering it back on.
By properly disconnecting the battery, you minimize the risk of electrical mishaps and protect both yourself and the device. Take the time to follow this step carefully to ensure a smooth and successful screen replacement for your Motorola Razr.
Step 5: Remove the screws securing the screen
Now that you have successfully removed the back cover and disconnected the battery, it’s time to move on to the next step in replacing your Motorola Razr screen – removing the screws that secure the screen in place.
Start by locating the screws that hold the screen in place. Typically, there are several small screws along the edges of the screen. You will need a suitable screwdriver to remove them. Depending on the model of your Motorola Razr, the size and type of screws may vary, so make sure you have the right tool for the job.
Using your screwdriver, carefully unscrew each screw one by one. It’s essential to keep track of the screws and their exact placement, as you will need to reinsert them when attaching the new screen.
A useful tip is to place the screws on a clean, flat surface in the order you remove them. This way, you can easily remember their positioning and ensure correct reinstallation later on. Additionally, you may want to consider using a small magnetic tray or container to prevent any accidental loss of screws during the process.
Take your time and be gentle when removing the screws, ensuring you don’t strip or damage them. Applying excess force can lead to complications and undesirable consequences, such as difficulty reattaching the new screen or causing further damage to your device.
Once you have removed all the screws securing the screen, set them aside in a safe place and move on to the next step of detaching the old screen from the device.
Step 6: Carefully detach the old screen
Now that you have removed the back cover and disconnected the battery, it’s time to carefully detach the old screen from your Motorola Razr. This step requires some precision and patience, so be sure to follow the instructions carefully.
First, locate the connectors that hold the screen in place. These connectors are usually located on the sides or bottom of the screen. It’s important to handle them gently to avoid damaging them.
Use a plastic pry tool or a small screwdriver to gently lift the connectors and detach them from the motherboard. Take your time and make sure you have a firm grip on the connectors before pulling them away.
Once the connectors are detached, you can slowly lift the old screen away from the frame. Be cautious as the screen may still be connected by additional cables or adhesive.
If there are any adhesive strips holding the screen in place, carefully peel them off using the plastic pry tool. Take care not to damage any other components or cables in the process.
Once the old screen is detached, set it aside in a safe place. Make sure to keep it protected from any potential damage, as it may still be useful for future repairs or as a spare part.
With the old screen removed, you are now ready to move on to the next step – attaching the new screen to your Motorola Razr. But before that, take a moment to clean any dust or debris that may have accumulated on the frame or motherboard during the screen removal process.
Now that you have successfully detached the old screen, you can proceed with confidence knowing that you have taken the necessary precautions to prevent any damage to your Motorola Razr. With careful handling and attention to detail, you’ll soon have your new screen in place and your smartphone back to its full functionality.
Step 7: Attach the new screen
Now that you have removed the old screen, it’s time to attach the new one. Follow these steps carefully to ensure a successful replacement:
- Inspect the new screen: Before you begin, take a moment to examine the new screen for any defects or damage. Check that it matches the specifications of your Motorola Razr model.
- Align the new screen: Carefully align the connectors on the new screen with the corresponding connectors on the phone. Take your time to ensure a proper fit.
- Gently press down: Once the connectors are aligned, gently press down on the screen to attach it to the phone. Apply even pressure across the entire surface to ensure a secure connection.
- Double-check the alignment: After attaching the screen, double-check that it is properly aligned with the phone. Look for any gaps or uneven edges that may indicate a faulty installation.
- Reinsert the screws: If your phone requires screws to secure the screen, carefully reinsert them in their original positions. Use a screwdriver to tighten them, but be careful not to overtighten and risk damaging the screen or the phone.
- Test the new screen: With the screen securely attached, power on your Motorola Razr to test its functionality. Check for any display issues, touch responsiveness, or other abnormalities.
- Clean the screen: Before proceeding further, use a microfiber cloth to clean any fingerprints or smudges from the new screen. This will help improve visibility and maintain its clarity.
Attaching the new screen may seem intimidating, but following these steps can make the process smoother and more successful. Keep in mind that it’s always a good idea to consult the manufacturer’s instructions or seek professional assistance if you encounter any difficulties or are unsure about any aspect of the replacement process.
Step 8: Secure the screen with screws
Once you have attached the new screen to the Motorola Razr, it’s time to secure it in place using screws. This step is crucial to ensure that the screen remains firmly fixed and doesn’t come loose during use.
Start by locating the screw holes on the screen assembly. These holes are usually located around the edges of the screen and may be marked with small indentation or symbols to indicate their position.
Next, take the screws that were removed in Step 5: Remove the screws securing the screen and carefully align them with the corresponding screw holes on the screen assembly. Make sure that the screws fit snugly into the holes without any force or strain. If they feel loose or don’t align properly, double-check the positioning and try again.
Using a screwdriver, gently tighten each screw in a clockwise direction until they are firmly secured. Be careful not to overtighten the screws as it can damage the screen or strip the threads. Tighten them just enough to ensure a secure hold.
As you tighten each screw, periodically check the alignment and positioning of the screen to ensure that it remains flush and properly aligned with the device’s frame. If you notice any misalignment, loosen the screws and adjust the screen accordingly before tightening them again.
Once all the screws are securely tightened and the screen is properly aligned, take a final moment to inspect the overall appearance and fit of the screen. Make sure there are no gaps or unevenness between the screen and the device’s frame.
Congratulations! You have successfully secured the new screen in place using screws. This final step ensures the stability and longevity of the replacement screen, allowing you to enjoy a seamless and uninterrupted user experience on your Motorola Razr.
Step 9: Reconnect the battery
Now that you have successfully removed the old screen and attached the new one, it’s time to reconnect the battery. This step is crucial as it will ensure that your Motorola Razr functions properly once the replacement process is complete.
Firstly, locate the battery connector on the motherboard. It is a small, rectangular connector with a set of pins. Take care not to confuse it with other connectors on the board.
Next, align the battery connector pins with the corresponding slot on the motherboard. Gently push the connector into place until it is fully inserted. You should feel a slight click, indicating that the connection is secure.
Once the battery is properly connected, it’s time to move on to the final steps of the replacement process. This includes securing the screen with screws and replacing the back cover.
Note: Ensure that the battery connector is properly aligned and inserted. A loose or misaligned connection can lead to issues with the phone’s functionality. Take a moment to double-check the connection before proceeding.
After reconnecting the battery, it’s a good idea to test your Motorola Razr to ensure everything is working as expected. Power on the device and check if the new screen is displaying properly. Also, make sure that all the buttons and touch functionality are working correctly.
If you encounter any issues or notice any abnormalities with your phone’s performance, it may be necessary to redo the previous steps and reattach the battery connector. Sometimes, a loose or faulty connection can be the cause of unexpected problems.
Once you have verified that everything is in order and the phone is functioning normally, you can proceed with securing the screen using the screws and replacing the back cover. These final steps will provide additional protection and ensure a seamless and professional finish to your screen replacement process.
By following these steps carefully and paying attention to detail, you will successfully reconnect the battery of your Motorola Razr, bringing it back to full functionality with its new screen.
Step 10: Replace the back cover
After successfully attaching the new screen to your Motorola Razr, it’s time to put the device back together by replacing the back cover. This final step will not only ensure the screen’s protection but also give your smartphone a polished and seamless appearance.
To replace the back cover, follow these simple steps:
- Take the back cover and align it with the edges of the device. Make sure it is correctly oriented to ensure a proper fit.
- Carefully press down on the back cover, applying even pressure, and gently slide it into place.
- Make sure all the edges and corners of the back cover are flush with the device.
- Once the back cover is securely in place, give it a firm press to ensure that it is properly attached.
You have now successfully replaced the back cover of your Motorola Razr, completing the screen replacement process. Your smartphone should now look as good as new, ready to be used and enjoyed once again.
It is important to note that if you encounter any difficulties or your device does not function correctly after replacing the back cover, it is recommended to seek professional assistance or contact the manufacturer for further support.
By following the steps outlined in this guide, you can save yourself the hassle and expense of taking your Motorola Razr to a repair shop for a simple back cover replacement.
Remember to always handle your smartphone with care and exercise caution when performing any repairs or modifications. With the right tools and a little patience, you can successfully replace the back cover of your Motorola Razr and have it looking brand new.
Conclusion
Replacing the screen on your Motorola Razr can be a daunting task, but with the right tools and guidance, it is definitely achievable. By following the steps we’ve outlined in this article, you can successfully replace a damaged or cracked screen on your smartphone.
Remember to gather all the necessary tools, take your time, and work in a clean and well-lit area. Make sure to refer to the manufacturer’s instructions or seek professional help if you encounter any difficulties along the way.
By replacing the screen on your Motorola Razr, you can restore its functionality and enjoy an immersive visual experience once again. Whether you’re a DIY enthusiast or prefer to have someone else handle the repairs, getting your screen replaced is a worthwhile investment in your smartphone’s lifespan.
So don’t let a cracked screen hinder your mobile experience – take the necessary steps and replace your Motorola Razr screen today!
FAQs
Q: Can I replace the screen of my Motorola Razr smartphone?
Yes, it is possible to replace the screen of your Motorola Razr smartphone. However, it is recommended to let a professional handle the replacement process to ensure proper installation and avoid any further damage.
Q: How much does it cost to replace the screen of a Motorola Razr?
The cost of replacing the screen of a Motorola Razr can vary depending on various factors such as the model of the phone, the availability of the replacement screen, and the labor charges. It is best to check with authorized service centers or repair shops for a detailed quote.
Q: Can I replace the screen of my Motorola Razr at home?
While it is technically possible to replace the screen of your Motorola Razr at home, it is not recommended for inexperienced users. The process requires a certain level of technical expertise and specialized tools. Making a mistake during the replacement process can result in permanent damage to the phone.
Q: How long does it take to replace the screen of a Motorola Razr?
The duration of the screen replacement process for a Motorola Razr can vary depending on the complexity of the repair and the availability of the replacement parts. On average, it may take anywhere from a few hours to a couple of days. It is advised to consult with the repair technician or service center for an accurate estimate.
Q: Is it worth replacing the screen of a Motorola Razr?
Whether it is worth replacing the screen of a Motorola Razr depends on factors such as the cost of the replacement, the overall condition and age of the phone, and your personal preference. If the phone is relatively new and in good working condition, replacing the screen can be a worthwhile investment. However, if the phone is old and experiencing other issues, it may be more cost-effective to consider getting a new phone altogether.