
If you’ve recently purchased a new iPhone from Verizon, congratulations! You’re about to embark on an exciting journey of discovering the endless possibilities of your new device. Setting up a new iPhone on Verizon is a simple and straightforward process, ensuring that you can start enjoying all the features and functionalities right away. In this article, we will provide you with a step-by-step guide on how to set up your new iPhone on Verizon, from activating your device to transferring data and personalizing your settings. Whether you’re a first-time iPhone user or just upgrading to a newer model, we’ve got you covered. So let’s dive in and get your new iPhone from Verizon up and running in no time!
Inside This Article
- Setting up your new iPhone with Verizon
- Registering your new iPhone with Verizon
- Activating your new iPhone on the Verizon network
- Transferring data from your old iPhone to your new iPhone
- Conclusion
- FAQs
Setting up your new iPhone with Verizon
So, you’ve just gotten your hands on a brand new iPhone and you’re excited to start using it on the Verizon network. Setting up your new iPhone with Verizon is a quick and straightforward process. Just follow these simple steps to get your device up and running in no time.
1. Check your Verizon account: Before you begin, make sure that your Verizon account is active and in good standing. If you’re unsure, contact Verizon customer support to confirm the status of your account.
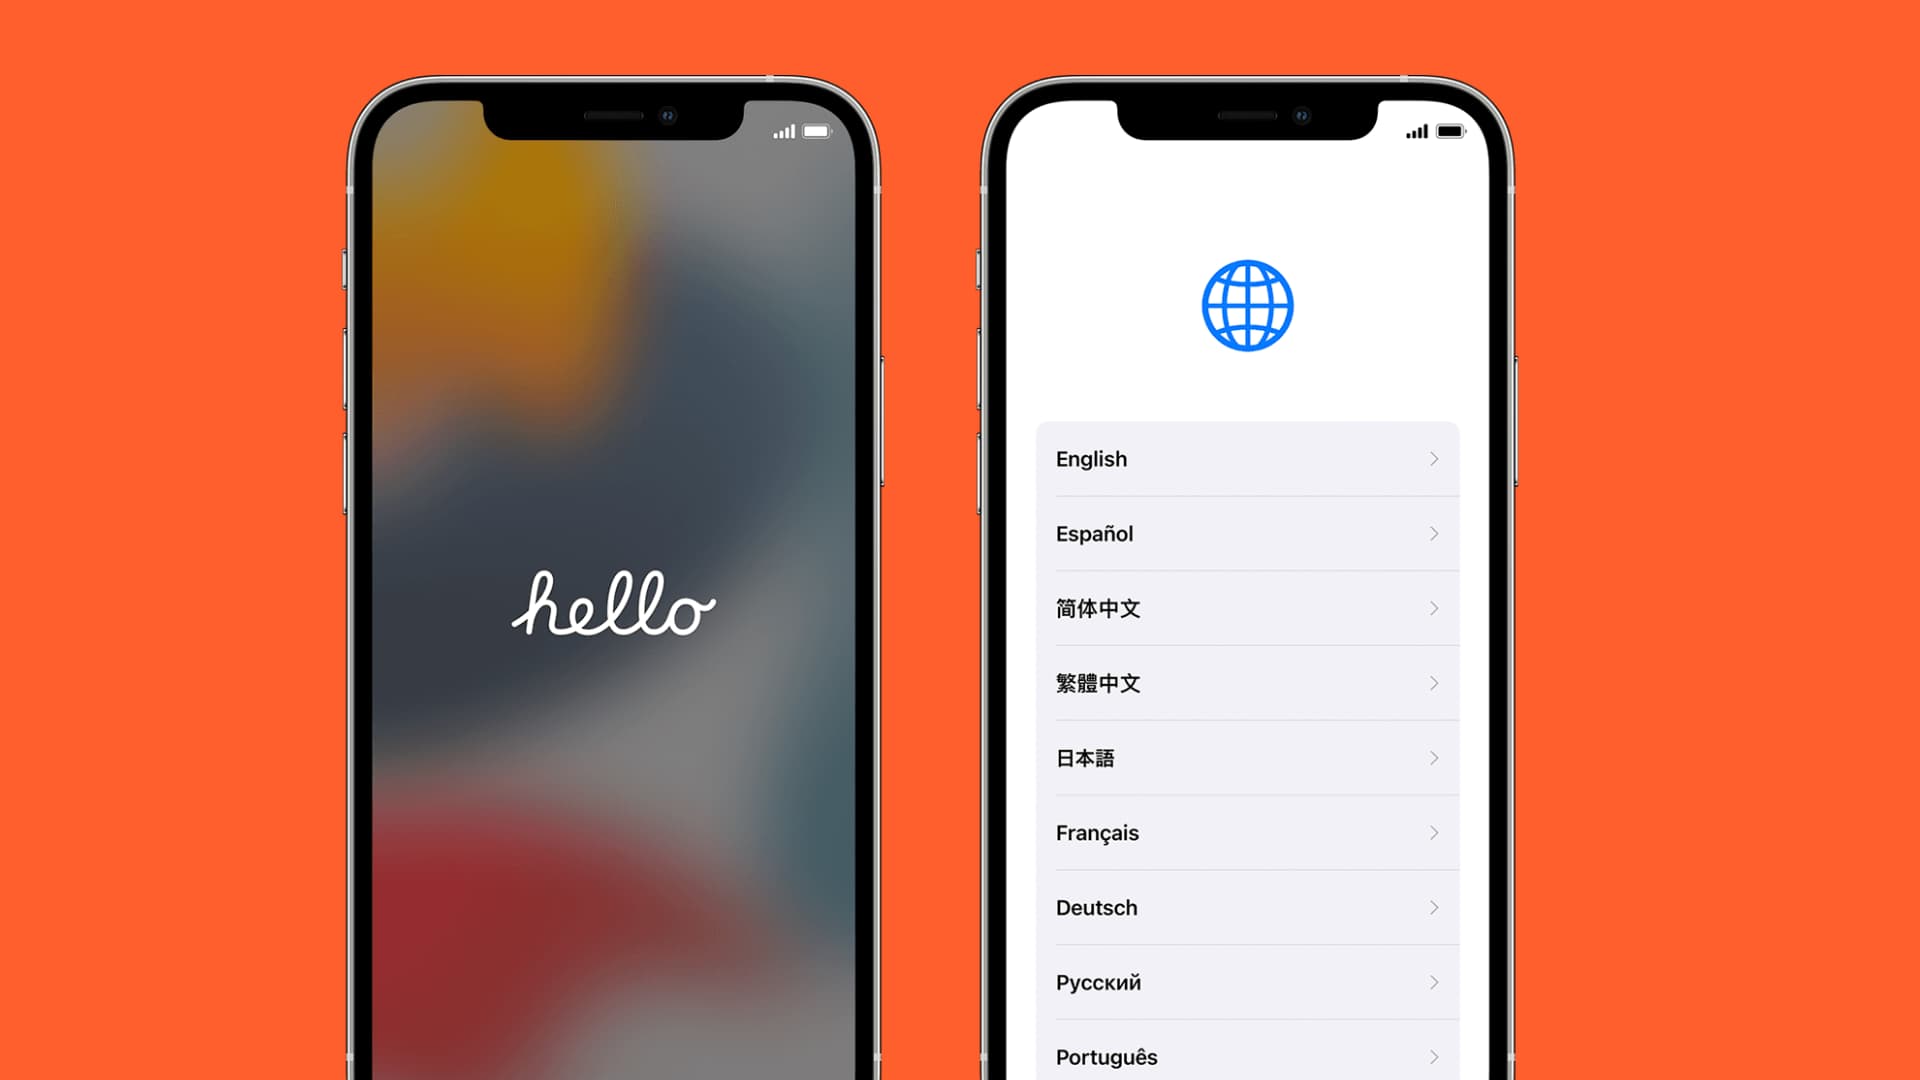
2. Power on your new iPhone: Hold down the power button on your new iPhone until the Apple logo appears on the screen. Once the phone is powered on, you’ll be guided through the initial setup process.
3. Connect to Wi-Fi: During the setup process, you’ll be prompted to connect to a Wi-Fi network. Select your preferred Wi-Fi network from the list and enter the password if required. This will ensure a stable internet connection for the rest of the setup process.
4. Sign in to your Apple ID: If you already have an Apple ID, sign in using your credentials. This will allow you to sync your contacts, apps, and other data with your new iPhone. If you don’t have an Apple ID, you can create one during the setup process.
5. Set up Touch ID or Face ID: If your new iPhone supports Touch ID or Face ID, you’ll have the option to set it up during the initial setup process. Follow the on-screen instructions to complete the setup and ensure the security of your device.
6. Agree to terms and conditions: Review and agree to the terms and conditions set by Apple and Verizon. This includes acknowledging the privacy policy and giving permission for certain data sharing options.
7. Choose your preferences: During the setup, you’ll be given the opportunity to customize various settings such as Siri, app suggestions, and location services. Adjust these settings according to your personal preferences.
8. Select a backup option: If you have a backup of your old iPhone, you can choose to restore it onto your new device. This will transfer your apps, settings, and data onto your new iPhone. Select the appropriate backup option and follow the prompts to complete the process.
9. Verify your Verizon account: Once the initial setup is complete, you may need to verify your Verizon account. This may involve providing your account credentials or entering a verification code sent to your registered phone number or email address.
10. Test your device: Congratulations! Your new iPhone is now set up with Verizon. Test out various features, make a call, send a text, and browse the internet to ensure everything is working smoothly.
By following these steps, you’ll have your new iPhone set up with Verizon in no time. Enjoy all the amazing features and benefits of your new device on one of the most reliable networks in the country.
Registering your new iPhone with Verizon
Registering your new iPhone with Verizon is a crucial step to ensure that your device is activated and ready to use. Whether you purchased your iPhone directly from Verizon or through another retailer, the registration process is straightforward. Follow the steps below to complete the registration smoothly:
- Check your SIM card: Before getting started, make sure you have the SIM card provided by Verizon. This small card contains your unique phone number and other necessary information. If you don’t have a SIM card, contact Verizon to obtain one.
- Power on your iPhone: Press and hold the power button on the side or top of your iPhone until the Apple logo appears on the screen. This indicates that your device is turning on.
- Connect to Wi-Fi: On the setup screen, select your preferred Wi-Fi network and enter the password if required. A Wi-Fi connection is necessary to complete the registration process and activate your iPhone on the Verizon network.
- Follow the on-screen prompts: Once connected to Wi-Fi, your iPhone will display a series of on-screen prompts. These prompts will guide you through the registration and activation process. Make sure to read the instructions carefully and follow them accordingly.
- Enter your Verizon account information: At some point during the registration process, you will be asked to enter your Verizon account information. This may include your account number or username, as well as your account password. Input the requested details accurately to proceed.
- Insert the SIM card: If you haven’t inserted the SIM card already, this is the time to do so. Carefully insert the SIM card into the designated slot on your iPhone. Make sure it is properly aligned and inserted all the way to ensure a secure connection.
- Complete the registration: Once all the necessary information is entered and the SIM card is inserted, your iPhone will proceed with the registration and activation process. This may take a few minutes, so be patient. Your iPhone will restart automatically once the process is complete, and you’ll be ready to use it with Verizon.
- Test your phone: After the registration process is finished, make a test call or send a text message to ensure that your new iPhone is functioning properly on the Verizon network. If you encounter any issues, reach out to Verizon for assistance.
By following these steps, you can easily register your new iPhone with Verizon and enjoy all the features and functionalities of your device on their network. Remember to keep your Verizon account information handy and ensure a stable Wi-Fi connection for a smooth registration process.
Activating your new iPhone on the Verizon network
Once you have your shiny new iPhone in hand, it’s time to activate it on the Verizon network. This process is essential to ensure that your iPhone is up and running smoothly, allowing you to make calls, send messages, and use data services seamlessly.
The first step in activating your new iPhone on Verizon is to power it on. To do this, press and hold the power button located on the side or top of your iPhone until the Apple logo appears on the screen. Once the device is powered on, you will be guided through the setup process.
During the setup process, you may be prompted to connect to a Wi-Fi network. If you have access to a Wi-Fi connection, it is recommended to connect to it as it will help expedite the activation process. However, if you don’t have Wi-Fi access, you can still proceed with the activation using your cellular data plan.
Next, you will be prompted to select your language, region, and enable location services. Follow the on-screen instructions to complete these steps. Once you have completed the initial setup, it’s time to activate your iPhone on the Verizon network.
To activate your iPhone on Verizon, you will need a valid SIM card and an active Verizon account. If you are upgrading from a previous iPhone and already have a Verizon SIM card, simply insert it into the SIM card tray of your new iPhone. If you don’t have a SIM card, you can visit a Verizon store or contact Verizon customer service to obtain one.
Once your SIM card is inserted, your iPhone will automatically search for the Verizon network. If the network is detected, you will receive a prompt to activate your iPhone. Follow the prompts and enter any necessary information, such as your Verizon account details, to complete the activation process.
If your iPhone does not automatically detect the Verizon network or you encounter any issues during the activation process, you can manually activate your device by calling Verizon customer service. They will guide you through the activation process and troubleshoot any problems you may encounter.
Once your iPhone is successfully activated on the Verizon network, you can start enjoying all the features and capabilities of your new device. Make sure to test your phone by making a call, sending a text message, and accessing the internet to ensure everything is functioning properly.
Remember, activating your new iPhone on the Verizon network is an essential step to fully utilize your device’s capabilities. Whether you’re a new Verizon customer or an existing one, following these steps will ensure a seamless and hassle-free activation process.
Transferring data from your old iPhone to your new iPhone
When you get a new iPhone, one of the most important tasks is to transfer all your data from your old iPhone to the new one. Fortunately, Apple has made this process seamless and hassle-free. Here are the steps to transfer your data from your old iPhone to your new iPhone:
1. Backup your old iPhone: Before you begin transferring the data, it’s essential to create a backup of your old iPhone. You can do this by connecting your old iPhone to iTunes or by using iCloud backup. Make sure you have a recent backup to ensure that all your data is up to date.
2. Set up your new iPhone: Once you have your backup ready, it’s time to set up your new iPhone. Turn on your new iPhone and follow the on-screen instructions till you reach the “Apps & Data” screen.
3. Choose the data transfer method: On the “Apps & Data” screen, you will have different options to transfer your data. You can choose to restore from an iCloud backup, restore from an iTunes backup, or move data directly from your old iPhone using Quick Start.
4. Restore from iCloud backup: If you previously backed up your old iPhone using iCloud, you can select the “Restore from iCloud Backup” option. Sign in to your iCloud account and choose the most recent backup to restore all your data, including apps, settings, and photos.
5. Restore from iTunes backup: If you backed up your old iPhone using iTunes, choose the “Restore from iTunes Backup” option. Connect your new iPhone to your computer and open iTunes. Select your new iPhone and choose the most recent backup to restore all your data.
6. Use Quick Start: If both your old and new iPhones are running iOS 12.4 or later, you can use Quick Start to transfer data directly from your old iPhone to the new one. Place the two iPhones close to each other and follow the on-screen instructions to transfer all your data wirelessly.
7. Sign in to your accounts: After transferring your data, you may need to sign in to your accounts again, such as iCloud, App Store, and other apps that require authentication. Simply enter your credentials for each account to regain access to your data.
8. Sync your data: Lastly, make sure to sync your new iPhone with your computer to ensure that all your apps, music, and other content are up to date. Connect your iPhone to your computer and use iTunes to sync your data.
By following these steps, you can transfer all your important data from your old iPhone to your new one, ensuring a smooth transition and continuity of your digital life. Enjoy your new iPhone with all your familiar settings, apps, and memories!
Setting up a new iPhone on Verizon is a seamless and straightforward process. By following the steps outlined in this guide, you can quickly activate your device and start enjoying all the features and functionalities that your new iPhone has to offer. Whether you’re transferring your data from an old device or setting up a brand-new account, Verizon provides the necessary tools and resources to make the process as effortless as possible.
Remember to back up your data, connect to a stable internet connection, and ensure that you have the necessary login credentials and account information at hand. By doing so, you can ensure a smooth and hassle-free setup experience, allowing you to unleash the full potential of your new iPhone on Verizon’s robust network. Embrace the possibilities and possibilities that your new iPhone brings, and enjoy all that the world of mobile technology has to offer.
FAQs
1. How do I set up a new iPhone on Verizon?
Setting up a new iPhone on Verizon is a straightforward process. Here’s a step-by-step guide to help you:
- Insert the SIM card: Open the SIM card slot using the SIM ejector tool provided. Insert the SIM card into the designated slot and reinsert it into the iPhone.
- Power on the iPhone: Press and hold the power button until the Apple logo appears on the screen.
- Connect to Wi-Fi or cellular data: Follow the on-screen prompts to connect to a Wi-Fi network or use your cellular data.
- Set up Touch ID or Face ID: If your iPhone supports it, you can set up either Touch ID or Face ID for added security and convenience.
- Sign in with your Apple ID: Enter your Apple ID and password to sign in or create a new Apple ID if you don’t have one.
- Restore from backup or set up as new: Choose whether you want to restore your data from a previous iPhone backup or set up the iPhone as a completely new device.
- Agree to terms and conditions: Read and accept the terms and conditions presented on the screen.
- Customize your settings: Personalize your iPhone by selecting your preferred language, region, Siri settings, and more.
- Finish the setup: Follow the remaining on-screen instructions to complete the setup process and start using your new iPhone on Verizon.
2. Do I need a Verizon-specific version of the iPhone?
No, you don’t need a Verizon-specific version of the iPhone. As long as your iPhone is unlocked, it can be used on any carrier, including Verizon. However, if you purchased your iPhone directly from Verizon or a Verizon-authorized retailer, it may come pre-configured with Verizon settings and software.
3. Will I lose my contacts and data when setting up a new iPhone on Verizon?
If you have backed up your contacts and data using iCloud or iTunes, you can easily restore them during the setup process of your new iPhone on Verizon. When prompted, select the option to restore from a previous backup and choose the most recent backup file. This will transfer your contacts, app data, and settings to your new device. If you haven’t backed up your data, you may lose it during the setup process unless you use third-party software or services to transfer the data manually.
4. Can I keep my current phone number when setting up a new iPhone on Verizon?
Yes, you can keep your current phone number when setting up a new iPhone on Verizon. During the setup process, there will be an option to transfer your existing phone number to your new iPhone. You will need to provide some information, such as your current carrier account number and PIN, to initiate the number transfer process. Verizon will handle the rest and ensure a seamless transition of your phone number to your new device.
5. What should I do if I encounter any issues during the setup process?
If you encounter any issues during the setup process of your new iPhone on Verizon, there are a few troubleshooting steps you can try:
- Restart your iPhone: Sometimes, a simple restart can resolve minor software glitches.
- Check your network connection: Ensure that you have a stable Wi-Fi or cellular data connection.
- Contact Verizon support: If the issue persists, contact Verizon support for assistance. They can guide you through the troubleshooting process or provide further instructions tailored to your specific situation.
- Visit an Apple Store: If all else fails, visit an Apple Store or authorized service provider for in-person support.