
Do you ever find yourself caught in unexpected rain showers or unprepared for sudden drops in temperature? With an iPhone, you can stay ahead of the weather game by turning on weather notifications. These convenient alerts provide you with real-time updates on weather conditions, so you can plan your day accordingly and be prepared for whatever Mother Nature has in store.
In this article, we will guide you through the process of turning on weather notifications on your iPhone. Whether you’re an avid outdoor enthusiast, a professional always on the go, or simply want to stay informed about local weather patterns, enabling these notifications will ensure that you never leave home without the necessary weather essentials.
Read on to discover how you can harness the power of your iPhone to stay one step ahead of the weather and make your day more enjoyable and hassle-free!
Inside This Article
-
Enabling Weather Notifications on iPhone
-
Frequently Asked Questions (FAQs)
- Step 1: Accessing the Settings
- Step 2: Locating the Notification Center
- Step 3: Finding the Weather App
- Step 4: Enabling Weather Notifications
- Conclusion
- FAQs
Enabling Weather Notifications on iPhone
Weather notifications on your iPhone can be incredibly useful, providing you with real-time updates about weather conditions in your area. Whether you want to stay prepared for a sudden rainstorm or plan your outdoor activities based on the forecast, having weather notifications enabled on your iPhone can be a game-changer.
If you’re wondering how to turn on weather notifications on your iPhone, you’re in the right place. In this guide, we’ll walk you through the steps to enable weather notifications so that you can stay informed and plan your day accordingly.
Step 1: Accessing the Settings
To begin, open the “Settings” app on your iPhone. It is the gear-shaped icon usually found on the home screen or in the app drawer. Once you’ve located the Settings app, tap on it to proceed to the next step.
Step 2: Locating the Notification Center
Inside the Settings app, you’ll find various options and configurations for your iPhone. Scroll down and look for the “Notifications” tab. It is usually represented by a speech bubble icon. Tap on “Notifications” to access the notification settings for your device.
Step 3: Finding the Weather App
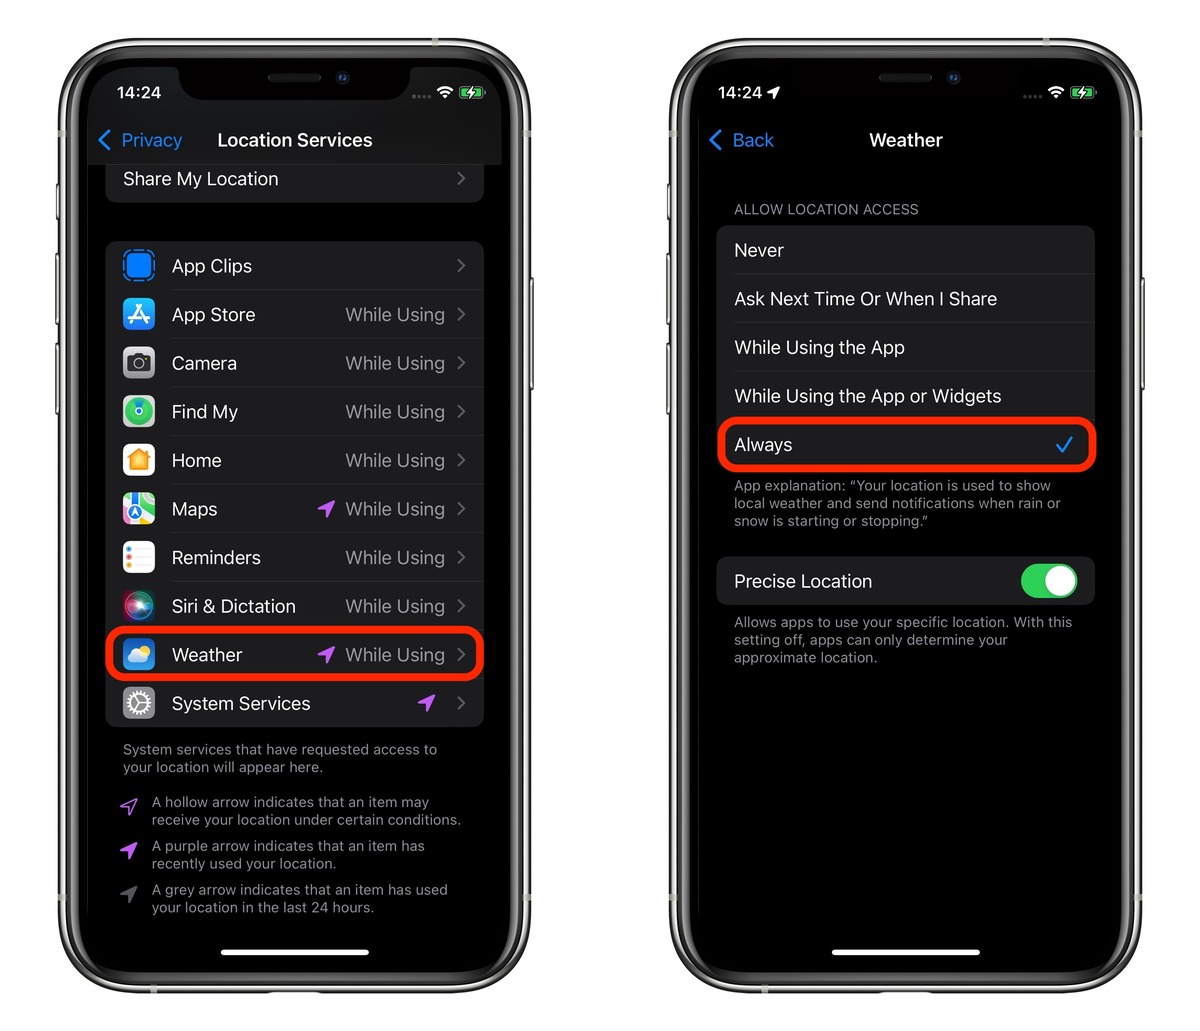
Within the Notification settings, you’ll see a list of apps installed on your iPhone. Scroll through the list until you find the “Weather” app. Once you’ve located it, tap on it to access the weather notification settings.
Step 4: Enabling Weather Notifications
Finally, you’ve reached the settings page for the Weather app notifications. Here, you have the option to customize how you receive weather updates. To enable weather notifications, toggle the switch next to “Allow Notifications”. You can also choose other preferences, such as the notification style (banner or alerts) and the sound options for weather notifications.
Once you have set your desired preferences, exit the settings and rest assured knowing that you’ll receive weather notifications on your iPhone.
By following these simple steps, you can easily turn on weather notifications on your iPhone. Now, you can stay one step ahead of the weather and plan your days accordingly. Whether it’s a sunny day or a sudden downpour, your iPhone will keep you informed and prepared.
Frequently Asked Questions (FAQs)
-
Can I customize the type of weather notifications I receive?
Yes, you can customize the notification style and sound options for weather notifications in the settings. You can choose between banner and alert notifications and select the sound that you prefer.
-
Do I need an internet connection for weather notifications to work?
Yes, an internet connection is required for your iPhone to retrieve real-time weather information and send you notifications.
-
Can I disable weather notifications if I don’t want them?
Yes, you can easily disable weather notifications by following the same steps mentioned above. Simply toggle off the “Allow Notifications” switch for the Weather app in the notification settings.
-
Can I receive weather notifications for multiple cities?
Yes, you can add multiple cities in the Weather app, and your iPhone will send you weather notifications for each of those locations if you have enabled notifications for the app.
With these FAQs, we hope to have addressed any additional questions you may have had regarding weather notifications on your iPhone. If you have any other queries, feel free to consult Apple’s official support documentation or reach out to their customer support.
Step 1: Accessing the Settings
To enable weather notifications on your iPhone, the first step is to access the Settings menu. The Settings app acts as the control center for various features and functions of your device. To find it, locate the gear icon on your iPhone’s home screen and tap on it. This will open the Settings app, which allows you to customize and configure various settings on your device.
Once you have opened the Settings app, you will see a list of different categories and options. These categories are designed to help you navigate through the various settings available on your iPhone. Scroll through the list of categories until you find the one labeled “Notifications”. Tap on this category to proceed to the next step.
The Notifications menu on your iPhone allows you to control how you receive notifications from various apps and services on your device. By accessing this menu, you will be able to customize the notification settings for the Weather app specifically, enabling you to receive weather notifications directly on your iPhone’s lock screen or as banners.
Now that you have reached the Notifications menu, you are one step closer to enabling weather notifications on your iPhone. In the next step, we will guide you on how to locate the Weather app within the Notifications menu so that you can configure its notification settings.
Step 2: Locating the Notification Center
Once you have accessed the Settings on your iPhone, it’s time to locate the Notification Center. The Notification Center is where you can manage all your app notifications, including the weather app. Follow the steps below to find the Notification Center:
1. Open the Settings app on your iPhone by tapping on the gear icon.
2. Scroll down until you see the “Notifications” option and tap on it.
3. In the Notifications menu, you will find a list of all the apps on your iPhone. Scroll through the list until you find the “Weather” app.
4. Tap on the Weather app to access its notification settings.
By following these steps, you will be able to locate the Notification Center and find the Weather app within it. Once you have reached the Weather app’s notification settings, you can proceed to the next step to enable weather notifications on your iPhone.
Step 3: Finding the Weather App
Once you have accessed the Notification Center in your iPhone’s settings, it’s time to find the Weather app. The Weather app allows you to receive real-time weather updates and notifications right to your device.
To locate the Weather app, scroll through the list of apps displayed in the Notification Center settings. Look for the icon that resembles a small sun with clouds. It’s typically located alphabetically, so you might find it towards the middle of the list.
If you have a large number of apps installed on your iPhone, you can make the search easier by using the search bar at the top of the Notification Center settings. Simply type “Weather” into the search bar, and the app should appear in the results below.
Once you have found the Weather app in the Notification Center settings, click on it to access the notification options. Here, you will find various settings that allow you to customize how you receive weather notifications on your iPhone.
Take some time to explore the different notification options available for the Weather app. You can choose to receive notifications for severe weather alerts, daily weather updates, or even specific weather conditions like rain or snow.
Additionally, you can customize the notification style, sound, and even the ability to show weather forecast on the lock screen. These options ensure that you receive weather notifications in a way that suits your preferences.
Once you have configured the notification settings according to your liking, simply exit the Notification Center settings. The changes you made will be saved automatically, and you will start receiving weather notifications on your iPhone.
With the Weather app set up and notifications enabled, you will be able to stay informed about the latest weather conditions at a glance, helping you plan your day accordingly and prepare for any unforeseen weather events.
Step 4: Enabling Weather Notifications
Once you have located the Weather app in the Notification Center, it’s time to enable the weather notifications on your iPhone. Follow the steps below to do so:
1. Tap on the Weather app icon to open the app on your iPhone.
2. Once the Weather app is open, tap on the “…” button located at the bottom right corner of the screen. This will open a menu with various options.
3. In the menu, tap on the “Settings” option. This will take you to the Weather app settings.
4. Look for the “Notifications” or “Notification Settings” option in the Weather app settings menu and tap on it.
5. Inside the Notifications settings, toggle the switch next to “Allow Notifications” to enable weather notifications. You may also have other options to customize the notifications, such as selecting the notification sound or choosing the notification style.
6. Once you have enabled the weather notifications, you can also choose the location for which you want to receive weather updates. This can be done by going back to the main screen of the Weather app and tapping on the location icon at the bottom left corner. From there, you can search for and select your preferred location.
And that’s it! You have successfully enabled weather notifications on your iPhone. Now, you will receive weather updates and alerts directly on your device, keeping you informed about the latest weather conditions.
In conclusion, weather notifications on iPhone provide a convenient way to stay informed about weather conditions and updates. Through the use of built-in weather apps or third-party weather apps, users can customize their notifications to receive timely alerts about changes in weather conditions, severe weather warnings, or even daily weather forecasts.
By enabling weather notifications, iPhone users can plan their activities accordingly, whether it’s deciding to bring an umbrella for a rainy day or adjusting their outfit based on the expected temperature. Additionally, these notifications can be particularly useful for those who engage in outdoor activities or rely on weather conditions for work purposes.
The process for turning on weather notifications may vary slightly depending on the iPhone model and version of iOS, but it usually involves accessing the settings menu, locating the notifications section, and enabling weather notifications for the desired app. By following these simple steps, users can enjoy the benefits of staying weather-informed at their fingertips.
FAQs
FAQ 1: How do I turn on weather notifications on my iPhone?
To turn on weather notifications on your iPhone, follow these steps:
1. Open the “Settings” app on your iPhone.
2. Scroll down and tap on “Notifications”.
3. Scroll through the list of apps and find the “Weather” app.
4. Tap on “Weather” and then toggle on the “Allow Notifications” option.
5. You can also customize the Alert Style, Sounds, and other notification settings for weather updates.
FAQ 2: Can I select specific locations for weather notifications on my iPhone?
Yes, you can select specific locations for weather notifications on your iPhone. Here’s how you can do it:
1. Open the “Weather” app on your iPhone.
2. Tap on the “+” button located at the bottom right corner of the screen.
3. Search or enter the location for which you want to receive weather notifications.
4. Once you select the location, you will start receiving weather updates and notifications for that specific location.
FAQ 3: Is it possible to customize the frequency of weather notifications on my iPhone?
Unfortunately, the frequency of weather notifications on iPhones is not customizable. The Weather app uses data from reliable sources and sends notifications based on significant changes in weather conditions, such as severe weather alerts or major weather events. However, you can always check the weather app or use Siri to get weather updates on demand.
FAQ 4: Can I prioritize weather notifications over other app notifications on my iPhone?
Yes, you can prioritize weather notifications over other app notifications on your iPhone. To do this:
1. Go to “Settings” on your iPhone.
2. Scroll down and tap on “Notifications”.
3. Locate the “Weather” app from the list of apps.
4. Tap on “Weather” and then tap on “Notification Grouping”.
5. Select “Automatic” or “By App” to prioritize the weather app’s notifications over other apps.
FAQ 5: Can I disable weather notifications on my iPhone?
Yes, you can disable weather notifications on your iPhone if you no longer wish to receive them. Here’s how:
1. Open the “Settings” app on your iPhone.
2. Scroll down and tap on “Notifications”.
3. Find the “Weather” app from the list of apps.
4. Tap on “Weather” and then toggle off the “Allow Notifications” option.
5. After disabling weather notifications, you will no longer receive weather updates or alerts on your iPhone.