
The Razer Phone 2 is a powerhouse of a smartphone designed specifically for gamers and tech enthusiasts. With its cutting-edge features and high-performance hardware, this device offers an immersive gaming experience like no other. But the Razer Phone 2 is not just for gaming; it packs a plethora of features and functionalities that can greatly enhance your overall smartphone usage.
In this article, we will dive into the world of the Razer Phone 2 and explore some of the most useful tips and tricks to help you maximize its potential. Whether you’re a hardcore gamer or simply love having the latest and greatest tech, these tips will help you get the most out of your Razer Phone 2.
Inside This Article
- Setting up Your Razer Phone 2
- Customizing Your Razer Phone 2 Settings
- Maximizing Battery Life on Your Razer Phone 2
- Exploring Advanced Features on Your Razer Phone 2
- Conclusion
- FAQs
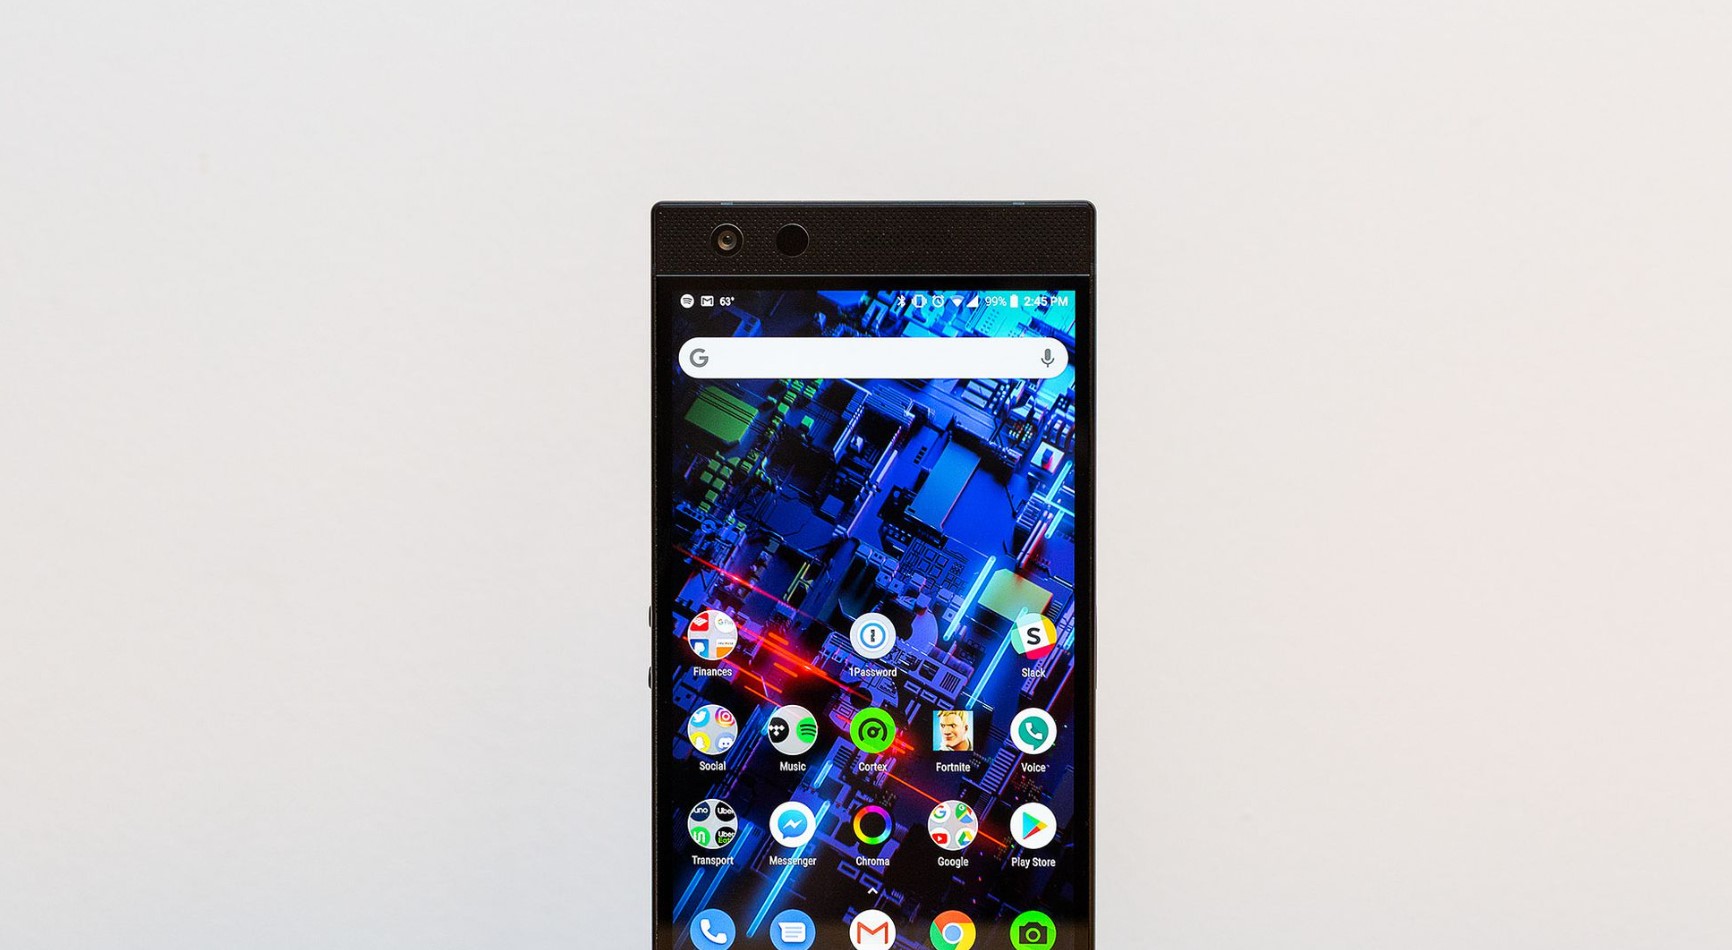
Setting up Your Razer Phone 2
Congratulations on your new Razer Phone 2! Setting up your new device is an exciting process, and with a few simple steps, you’ll be ready to start enjoying all its amazing features. Whether you’re a seasoned smartphone user or new to the Razer experience, this guide will help you get your Razer Phone 2 up and running in no time.
Step 1: Power on your device by pressing and holding the power button located on the right side of the phone. You’ll see the Razer logo appear on the screen, indicating that your phone is starting up.
Step 2: Follow the on-screen prompts to select your language, connect to a Wi-Fi network, and sign in with your Google account. This will automatically set up your email, contacts, and other Google services on your Razer Phone 2.
Step 3: Once you have completed the initial setup, you can customize your device to suit your preferences. Start by exploring the various home screen layouts and widgets available on your Razer Phone 2. You can easily rearrange app icons by pressing and holding them, then dragging them to your desired location.
Step 4: Next, personalize your Razer Phone 2 by choosing a wallpaper that reflects your style. You can select from pre-installed wallpapers or choose a photo from your gallery. To change your wallpaper, go to “Settings,” select “Display,” and then choose “Wallpaper.”
Step 5: Now it’s time to explore the app drawer, where all your installed apps are stored. To access the app drawer, simply swipe up from the bottom of the screen. You can organize your apps by creating folders and dragging and dropping icons into them. This will help you keep your home screen neat and organized.
Step 6: Don’t forget to set up your notifications and alerts. Go to “Settings,” select “Notifications,” and customize your preferences for each app. You can choose to receive notifications as banners, in the notification center, or not at all.
Step 7: Lastly, take some time to familiarize yourself with the Razer Phone 2’s security features. Set up a strong password or PIN, enable facial recognition or fingerprint scanning, and activate the “Find My Phone” feature to ensure that your device is always protected.
With these simple steps, you have successfully set up your Razer Phone 2. Now you’re ready to explore the endless possibilities this powerful device has to offer. Enjoy your new smartphone and make the most of its exceptional features!
Customizing Your Razer Phone 2 Settings
Your Razer Phone 2 is more than just a powerful mobile device. With its customizable settings, you can truly tailor your phone to suit your preferences. From adjusting display settings to personalizing notification options, here are some tips and tricks to help you make the most out of customizing your Razer Phone 2.
Brighten Up: One of the first things you may want to do is adjust the display settings on your Razer Phone 2. To do this, go to “Settings” and tap on “Display”. From here, you can change the brightness level, enable adaptive brightness, and even toggle on the “Night Light” feature to reduce blue light emission during nighttime use.
Make it Yours: Personalizing your home screen is another great way to customize your Razer Phone 2. Long-press on any empty space on your home screen to access the customization options. You can add widgets, change the wallpaper, and even rearrange app icons to create a layout that suits your style and makes your phone feel truly yours.
Manage Notifications: If you find yourself overwhelmed with notifications, the Razer Phone 2 lets you take control. Head over to “Settings” and tap on “Apps and Notifications”. From here, you can individually manage app notifications, including adjusting the sound, vibration, and priority level for each app. You can also enable or disable heads-up notifications for a distraction-free experience.
Gesture Navigation: With the Razer Phone 2, you have the option to use gesture navigation instead of the traditional navigation buttons. To enable this feature, go to “Settings” and tap on “System”. Then, select “Gestures” and choose the type of gesture navigation you prefer. You can swipe up from the bottom to go home, swipe up and hold for recent apps, and even swipe from the side to go back.
Enhance Sound Quality: If you’re an audio enthusiast, you’ll be pleased to know that the Razer Phone 2 comes with built-in equalizer settings. To access these settings, go to “Settings” and tap on “Sound”. From here, you can adjust the bass, treble, and other audio parameters to enhance your listening experience. You can also enable Dolby Atmos for a more immersive audio experience.
Secure Your Phone: Keeping your personal information safe is essential. To ensure your Razer Phone 2 is secure, head over to “Settings” and tap on “Security”. From here, you can set up a screen lock method, such as a PIN, pattern, or fingerprint. You can also enable “Smart Lock” to automatically unlock your phone when connected to trusted devices or in trusted locations.
These are just a few ways you can customize your Razer Phone 2 settings to make your device truly your own. Don’t be afraid to explore the various options and experiment with different settings to find the perfect setup that suits your needs and preferences.
Maximizing Battery Life on Your Razer Phone 2
One of the key concerns for any smartphone user is battery life. Fortunately, the Razer Phone 2 comes with a powerful battery that can last all day with moderate usage. However, there are a few tips and tricks you can employ to maximize the battery life and get the most out of your Razer Phone 2.
The first thing you can do is optimize your display settings. The Razer Phone 2 boasts a stunning 5.7-inch QHD display that offers vibrant colors and sharp visuals. However, keeping the display brightness at maximum can drain the battery quickly. To save battery, reduce the brightness level to an optimal level that suits your needs. You can also consider enabling the adaptive display feature, which automatically adjusts the brightness based on ambient lighting conditions.
Another major battery drain is unnecessary apps running in the background. Take some time to review the apps installed on your Razer Phone 2 and disable or uninstall any that you don’t use regularly. Background app refresh can be disabled for apps that don’t require real-time updates, saving battery life. Additionally, limiting notifications can also help minimize unnecessary app activity and maximize battery efficiency.
One of the most effective ways to conserve battery life is by activating the battery saving mode on your Razer Phone 2. This mode optimizes device performance by reducing power consumption, limiting background activities, and adjusting system settings. You can choose to enable this mode manually or set it to activate automatically when the battery reaches a certain percentage.
Additionally, managing connectivity options can significantly impact battery life. When not in use, disable features like Wi-Fi, Bluetooth, and GPS. These connectivity options constantly search for signals and drain battery power. Enabling airplane mode when you are in an area with weak or no signal can also help conserve battery life.
Background data usage is another factor that can drain your Razer Phone 2’s battery quickly. Take control of your data usage by monitoring which apps consume the most data and restrict their background data usage. You can do this by going to the Data usage section in the Settings and selecting the apps you want to limit.
Lastly, keeping your Razer Phone 2’s software up to date is crucial for maximizing battery life. Manufacturers often release software updates that include optimizations and bug fixes, which can contribute to better battery efficiency. Make sure to regularly check for updates and install them to benefit from improved battery performance.
By following these tips and tricks, you can significantly extend the battery life of your Razer Phone 2 and enjoy a longer-lasting smartphone experience. Remember to always strike a balance between functionality and battery conservation, ensuring that you optimize your device’s performance without sacrificing battery life.
Exploring Advanced Features on Your Razer Phone 2
The Razer Phone 2 is not just your average smartphone. Packed with advanced features, it offers a truly immersive and cutting-edge mobile experience. From gaming enhancements to multimedia capabilities, there is so much to explore on your Razer Phone 2. Let’s dive into some of the standout features that make this phone a powerhouse.
First and foremost, the Razer Phone 2 is designed with gamers in mind. With its 120Hz UltraMotion display and Qualcomm Snapdragon 845 processor, it delivers smooth and lag-free gaming performance. The phone also features a vapor chamber cooling system, ensuring that your device stays cool even during intense gaming sessions. Whether you’re playing graphically demanding mobile games or using cloud gaming services, the Razer Phone 2 can handle it all.
In addition to its gaming capabilities, the Razer Phone 2 boasts impressive audio quality. Equipped with dual front-firing stereo speakers with Dolby Atmos, it delivers immersive and high-fidelity sound. Whether you’re streaming your favorite music, watching movies, or playing games, the audio experience on the Razer Phone 2 is truly remarkable. Plug in a pair of quality headphones, and you’ll be blown away by the detailed and powerful audio reproduction.
Another standout feature of the Razer Phone 2 is its camera system. With a dual-rear camera setup (12MP wide-angle lens + 12MP telephoto lens), you can capture stunning photos with ease. The camera app offers a range of shooting modes and features, including portrait mode, HDR, and manual controls. Whether you’re a photography enthusiast or just want to capture memorable moments, the Razer Phone 2’s camera is up to the task.
When it comes to battery life, the Razer Phone 2 doesn’t disappoint. Boasting a 4000mAh battery, it provides excellent endurance, ensuring that you won’t run out of power during the day. Additionally, the phone supports Qualcomm Quick Charge 4+ technology, allowing for fast charging. With a compatible charger, you can quickly top up your phone’s battery and get back to using its advanced features.
Lastly, the Razer Phone 2 offers a range of customization options. You can personalize your phone’s theme, icons, and wallpapers to reflect your style. The phone also comes with Razer Cortex, a gaming-focused app that optimizes performance and allows you to customize settings for individual games. With these customization features, you can truly make your Razer Phone 2 your own.
Conclusion
The Razer Phone 2 is truly a powerhouse in the world of mobile phones. With its impressive specs, cutting-edge features, and sleek design, it offers a top-notch gaming and multimedia experience. Whether you’re a hardcore gamer, a multimedia enthusiast, or simply someone looking for a high-performance smartphone, the Razer Phone 2 is a great choice.
In this article, we’ve explored some of the best tips and tricks to get the most out of your Razer Phone 2. From optimizing the display settings to enhancing the gaming experience with Game Booster, these tips will help you unlock the full potential of your device.
Remember to regularly update your phone’s software to ensure you have the latest features and security patches. And don’t forget to personalize your Razer Phone 2 with custom themes and wallpapers to make it truly your own.
So go ahead, dive into the world of mobile gaming and multimedia with the Razer Phone 2, and enjoy the seamless performance and immersive experience it has to offer!
FAQs
1. How do I take a screenshot on the Razer Phone 2?
To take a screenshot on the Razer Phone 2, simply press and hold the power button and volume down button simultaneously until you see the screen capture animation. The screenshot will be saved in your gallery.
2. Can I expand the storage on the Razer Phone 2?
Yes, the Razer Phone 2 supports expandable storage. It has a dedicated microSD card slot that can accommodate cards up to 1TB in size. This allows you to easily increase the available storage space for your photos, videos, and apps.
3. How do I enable 120Hz refresh rate on the Razer Phone 2?
The Razer Phone 2 comes with a 120Hz UltraMotion display, which offers incredibly smooth and responsive visuals. To enable the 120Hz refresh rate, go to Settings > Display > Refresh rate and select “120Hz.” This will enhance the overall fluidity of animations and make gaming and scrolling even more enjoyable.
4. Is the Razer Phone 2 waterproof?
While the Razer Phone 2 is not officially waterproof, it is water-resistant with an IP67 rating. This means that it can withstand being submerged in up to 1 meter of water for up to 30 minutes. However, it’s important to note that water damage is not covered under warranty, so it’s best to avoid exposing the phone to excessive moisture.
5. Does the Razer Phone 2 support wireless charging?
No, the Razer Phone 2 does not support wireless charging. However, it does come with Qualcomm Quick Charge 4.0+ technology, which allows for fast charging via the USB Type-C port. This means you can quickly charge your device using the included charger for extended gaming sessions or when you’re on the go.