
Are you struggling to connect your Afterglow wireless headset to your Xbox One? Look no further! In this comprehensive guide, we will walk you through the step-by-step process of connecting your Afterglow wireless headset to your Xbox One console. Whether you’re a seasoned gamer or new to the Xbox One community, we’ve got you covered. By following these simple instructions, you’ll be able to enjoy an immersive and high-quality audio experience while gaming on your Xbox One. Say goodbye to tangled wires and hello to the convenience of a wireless headset. So, let’s dive in and get your Afterglow wireless headset connected to your Xbox One in no time!
Inside This Article
- Prerequisites
- Step 1: Power on the Headset and Xbox One
- Step 2: Activate Xbox Wireless
- Step 3: Sync the Headset with the Xbox One
- Step 4: Adjust Audio Settings
- Step 5: Test the Headset Connection
- Troubleshooting Tips
- Conclusion
- FAQs
Prerequisites
Before you can connect your Afterglow wireless headset to your Xbox One, there are a few prerequisites you need to fulfill. Make sure you have the following items ready:
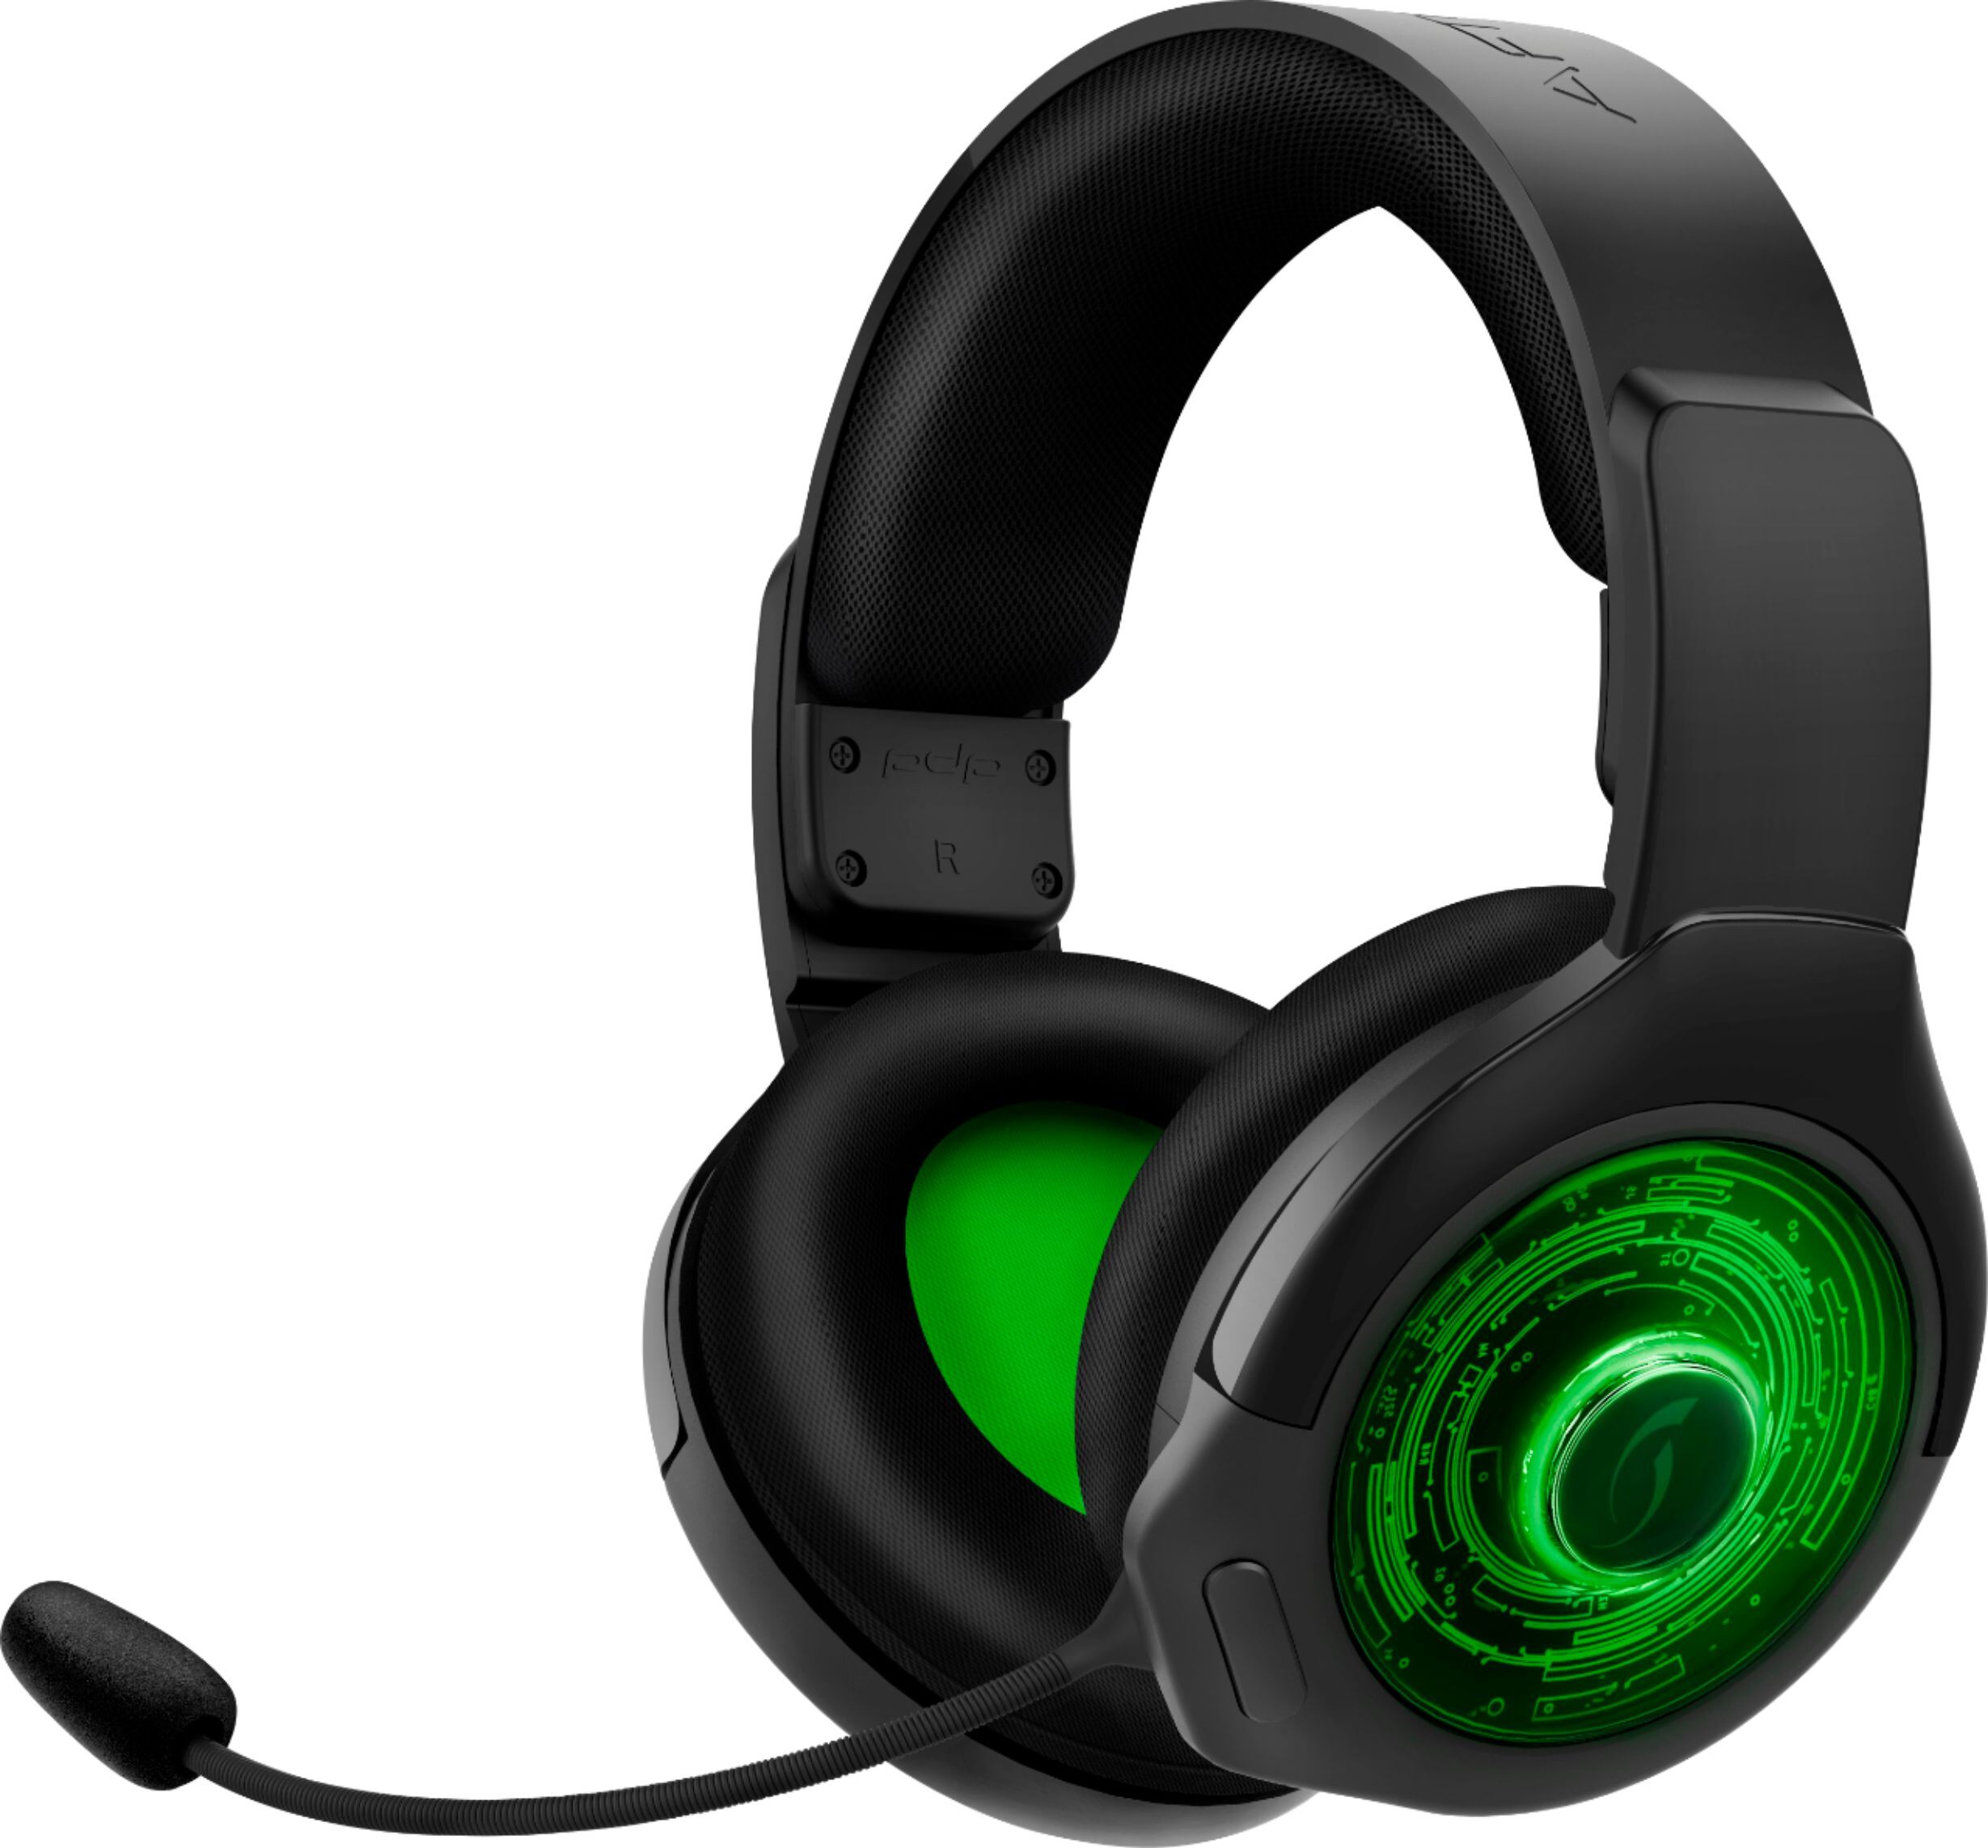
1. Afterglow wireless headset: Ensure that you have a compatible Afterglow wireless headset. Different models may have slightly different setup procedures, so it’s essential to check your headset’s user manual for specific instructions.
2. Xbox One console: Of course, you’ll need an Xbox One console to connect your Afterglow wireless headset. Ensure that your console is powered on and connected to your TV or monitor.
3. Xbox Wireless Adapter (if applicable): If you’re using an Afterglow wireless headset that doesn’t natively support Xbox Wireless, you’ll need to have the Xbox Wireless Adapter. This adapter allows you to connect your headset wirelessly to the Xbox One console.
4. Xbox Live account: Having an active Xbox Live account is necessary for online gaming and accessing some of the Xbox One’s features. Make sure you have an account set up and are connected to the internet.
5. Updated Xbox One firmware: To ensure compatibility and smooth operation, it’s crucial to have the latest firmware updates installed on your Xbox One console. Check for any available updates and install them before proceeding with the headset connection.
Once you have gathered all the necessary prerequisites, you’ll be ready to proceed with the connection process. Following the correct steps will ensure a seamless and hassle-free experience with your Afterglow wireless headset and Xbox One.
Step 1: Power on the Headset and Xbox One
Before you can connect your Afterglow wireless headset to your Xbox One, the first step is to power on both the headset and the console. Follow these simple steps to get started:
1. Turn on your Afterglow wireless headset by pressing the power button. The power button is usually located on the side or the ear cup of the headset. Make sure the headset is charged or has fresh batteries.
2. Power on your Xbox One console by pressing the Xbox button on the front of the console or on your Xbox One controller. This will start the powering process for your console.
3. Wait for your Xbox One console to fully power on. You will see the Xbox logo on your TV screen and hear the console’s startup sound. Once the console is powered on, you are ready to move on to the next step.
Powering on both your Afterglow wireless headset and Xbox One console is the first step towards connecting the two devices and enjoying your gaming experience with wireless audio. Now that you have completed this step, let’s move on to the next one.
Step 2: Activate Xbox Wireless
Activating Xbox Wireless is a crucial step in connecting your Afterglow wireless headset to your Xbox One. Xbox Wireless allows for seamless and hassle-free connectivity between your headset and console, ensuring a high-quality audio experience while gaming. Follow the steps below to activate Xbox Wireless:
1. Navigate to the home menu on your Xbox One by pressing the Xbox button on your controller.
2. Scroll to the right and select the “System” tab, which is represented by a gear-shaped icon.
3. From the system menu, choose “Settings” and then select “Devices & connections.”
4. In the Devices & connections menu, locate and select “Connections.”
5. Look for the option labeled “Device connections” and choose “Connectivity.” This is where you can manage wireless devices, including your Afterglow wireless headset.
6. In the Connectivity menu, select “Enable Xbox Wireless” or a similar option, depending on your Xbox One software version. This will activate the Xbox Wireless functionality on your console.
7. Once enabled, your Xbox One will start scanning for devices. Make sure your Afterglow wireless headset is in pairing mode. Refer to the headset’s user manual to activate pairing mode if necessary.
8. When the Xbox One finds your Afterglow headset, it will appear in the list of available devices. Select your headset from the list to establish the connection.
9. Follow any on-screen prompts or instructions to complete the pairing process. This may include entering a passkey or code provided by the headset.
10. Once the Afterglow headset is successfully paired and connected to your Xbox One, you’ll receive a confirmation message on your console screen.
With Xbox Wireless activated and your Afterglow headset connected, you’re now ready to enjoy immersive gaming audio without the constraints of wires.
Step 3: Sync the Headset with the Xbox One
After powering on your Afterglow wireless headset and activating Xbox Wireless on your Xbox One, the next step is to sync your headset with the console. This ensures a seamless and uninterrupted connection, allowing you to fully immerse yourself in your gaming experience.
Follow these steps to sync your Afterglow wireless headset with your Xbox One:
- On your Xbox One controller, press and hold the Connect button for a few seconds until the Xbox button starts flashing.
- Next, press and hold the Connect button on your Afterglow wireless headset until you see the headset’s LED lights start blinking rapidly.
- Release both buttons and wait for a few seconds. The Xbox One console will automatically detect and sync with your Afterglow wireless headset.
- Once the connection is established, the LED lights on the headset will stop blinking and remain steady, indicating a successful sync.
Please note that the syncing process may take a few seconds, so be patient. Once the sync is complete, your Afterglow wireless headset will be ready to use with your Xbox One.
If your headset fails to sync initially, try the following troubleshooting steps:
- Ensure that the headset and Xbox One controller are within close proximity to each other.
- Check the batteries on both the headset and controller to ensure they have sufficient power.
- Double-check that Xbox Wireless is properly activated on your Xbox One.
- If the issue persists, try resetting both the headset and Xbox One controller by turning them off, waiting for a few seconds, and then turning them back on.
- If all else fails, consult the user manual or contact the Afterglow customer support for further assistance.
Once you’ve successfully synced your Afterglow wireless headset with your Xbox One, you can adjust the audio settings to your preference and dive into your gaming adventure with crystal-clear sound and immersive gameplay.
Enjoy your gaming experience with your Afterglow wireless headset and Xbox One!
Step 4: Adjust Audio Settings
After successfully syncing your Afterglow wireless headset with your Xbox One, it’s important to make sure that the audio settings are properly configured for an optimal gaming experience. Here are the steps to adjust the audio settings:
1. Press the Xbox button on your controller to open the guide.
2. Navigate to the “System” tab using the left joystick and press the “A” button to select it.
3. Select “Settings” from the options that appear.
4. In the “Settings” menu, choose “Display & sound.”
5. Select “Audio output.”
6. Under “Headset audio,” choose the appropriate options:
- Headset format: Select the audio format that best suits your Afterglow wireless headset. You may choose from Windows Sonic for Headphones or Dolby Atmos for Headphones, depending on your preference and the capabilities of your headset.
- Volume level: Adjust the volume level of the headset to your preference. Test different levels to find the one that provides the best balance between game audio and chat audio.
- Headset chat mixer: Use the slider to adjust the balance between game audio and chat audio. Move the slider to the left to increase chat audio and decrease game audio, or move it to the right to increase game audio and decrease chat audio.
7. Once you have made the desired adjustments, press the B button on your controller to go back to the previous menu.
8. Finally, select “Power mode & startup” from the “Settings” menu.
9. Under “Power mode,” select “Instant-on” for a quicker startup of your Xbox One and headset.
10. Congratulations! You have successfully adjusted the audio settings for your Afterglow wireless headset on your Xbox One.
It’s worth noting that the audio settings mentioned above may vary slightly depending on the specific version of the Xbox One console you are using. However, the general steps described should be applicable to most Xbox One consoles.
By customizing your audio settings, you can ensure that you have the best sound quality and gaming experience with your Afterglow wireless headset and Xbox One.
Step 5: Test the Headset Connection
Now that you’ve successfully connected your Afterglow wireless headset to your Xbox One, it’s time to test the connection to ensure everything is working as it should. Follow these steps to test the headset connection:
1. Put on the Afterglow wireless headset and make sure it’s properly positioned and fitted comfortably.
2. Turn on your Xbox One console and navigate to the home screen.
3. Access the Xbox One settings by pressing the Xbox button on your controller.
4. In the settings menu, go to the “Audio” or “Sound” section.
5. Check if the headset is recognized and selected as the audio output device. If it is not selected, choose the Afterglow wireless headset from the available options.
6. Adjust the audio settings to your preference, such as game/chat balance and volume levels.
7. Launch a game or app that has audio and make sure you can hear the sound through the headset. Test different audio sources, including in-game sounds, voice chat, and background music, to ensure all aspects of the audio are working properly.
8. Speak into the headset microphone and verify that your voice is being captured and transmitted effectively. You can use Xbox One’s party chat or the microphone sensitivity settings to test the microphone functionality.
9. Check if the headset controls, such as the volume buttons and microphone mute switch, are functioning correctly. Adjust the volume and test the mute feature to ensure they are responsive.
In case you encounter any issues during the test, refer back to the troubleshooting tips section for solutions to common problems. Remember to double-check all connections and settings before troubleshooting.
Congratulations! If the headset passes the test and all the features are working properly, you can now enjoy an immersive gaming experience with your Afterglow wireless headset on your Xbox One!
Troubleshooting Tips
If you’re encountering any issues while trying to connect your Afterglow wireless headset to your Xbox One, don’t worry! We’ve got you covered with some troubleshooting tips to help you get everything up and running smoothly.
1. Make sure the headset and Xbox One are powered on: Double-check that both the headset and Xbox One console are turned on. Sometimes, a simple power cycle can fix connectivity problems.
2. Check the Xbox Wireless activation: Confirm that the Xbox Wireless feature is activated on your console. Go to the Xbox One settings and navigate to the Devices & connections section. Ensure that the Xbox Wireless option is turned on.
3. Reset the headset: If the connection problem persists, try resetting the Afterglow wireless headset. Locate the reset button, usually located on the bottom or side of the headset, and press and hold it for a few seconds. This will reset the headset back to its default settings.
4. Re-sync the headset with the Xbox One: Sometimes, the headset and console may lose their connection. To resolve this, you can re-sync the headset with the Xbox One. Press and hold the Connect button on the console until the Xbox logo begins flashing. Then, press and hold the Connect button on the headset until the LED light starts blinking rapidly. This will initiate the re-syncing process.
5. Check audio settings: Ensure that the audio settings on your Xbox One are properly configured for the Afterglow wireless headset. Go to the Xbox One settings and navigate to the Audio section. Make sure that the headset is selected as the primary audio output device.
6. Test the headset connection: After making any adjustments, it’s important to test the headset connection to ensure it’s working correctly. Launch a game or media app on your Xbox One and check if you can hear sound through the Afterglow wireless headset. If not, try restarting the console and repeating the previous troubleshooting steps.
7. Consult the user manual or contact support: If you have tried all the troubleshooting steps and are still facing issues, it may be helpful to consult the user manual for additional troubleshooting tips specific to the Afterglow wireless headset. If all else fails, reach out to the manufacturer’s support team for further assistance.
Remember, connectivity issues can occur for various reasons, but with these troubleshooting tips, you should be able to resolve most common problems with connecting your Afterglow wireless headset to your Xbox One.
Conclusion
Connecting your Afterglow wireless headset to your Xbox One is a simple and straightforward process that allows you to enjoy a wireless gaming experience with excellent audio quality. By following the steps outlined in this guide, you can seamlessly connect your headset and immerse yourself in your favorite games.
Now that you know how to connect your Afterglow wireless headset to your Xbox One, you can say goodbye to tangled cords and enjoy the freedom of wireless gaming. Remember to fully charge your headset before use and keep it updated with the latest firmware for the best performance.
Whether you’re playing competitively online or enjoying a solo gaming session, the Afterglow wireless headset will provide you with the audio clarity and comfort you need. So, grab your headset, power up your Xbox One, and get ready to elevate your gaming experience to new heights!
FAQs
Q: How do I connect the Afterglow wireless headset to Xbox One?
A: Connecting the Afterglow wireless headset to Xbox One is a quick and simple process. Start by turning on your Xbox One console and pressing the Xbox button on your controller. Go to the “Settings” menu and select “Devices & connections”. Under the “Devices” tab, choose “Audio” and then “Headset format”. Finally, select “Windows Sonic for Headphones” or “Dolby Atmos for Headphones” to enable spatial sound. Your Afterglow wireless headset is now connected and ready to use with your Xbox One.
Q: Can I use the Afterglow wireless headset with other devices?
A: Yes, the Afterglow wireless headset is compatible with a variety of devices including PCs, Macs, smartphones, and tablets. To connect it to other devices, simply follow the respective pairing instructions for the device you wish to connect with.
Q: How do I charge the Afterglow wireless headset?
A: To charge your Afterglow wireless headset, locate the charging port on the headset itself. Connect the included USB cable to the charging port and the other end to a power source, such as a USB port on your computer or a wall adapter. The headset’s LED indicator will light up to indicate that it is charging. Allow it to charge fully before using it for an extended period.
Q: How long does the battery of the Afterglow wireless headset last?
A: The battery life of the Afterglow wireless headset can vary depending on usage and settings. On average, it can provide up to 16 hours of continuous use before needing to be recharged. Keep in mind that using features like LED lighting or higher volume levels may decrease the battery life.
Q: How can I adjust the audio settings on the Afterglow wireless headset?
A: The Afterglow wireless headset offers various audio customization options. You can adjust the audio settings directly on the headset itself using the built-in controls. These controls typically include options to adjust the volume, mute the microphone, and control the balance between game audio and chat audio. Some models may also offer additional features like equalizer presets for different types of sound profiles.