
Are you an avid gamer looking for ways to enhance your gaming experience on your PlayStation 4 console? One popular choice among gamers is the Afterglow headset. This high-quality accessory not only provides impeccable sound quality but also offers an immersive gaming experience with its advanced features. Whether you’re playing competitive multiplayer games or diving into an immersive single-player campaign, the Afterglow headset is designed to deliver crystal clear audio and crisp communication. In this article, we will guide you on how to use the Afterglow headset on your PS4, from setup to troubleshooting tips. So, get ready to elevate your gaming sessions with the Afterglow headset and gain a competitive edge in the gaming world.
Inside This Article
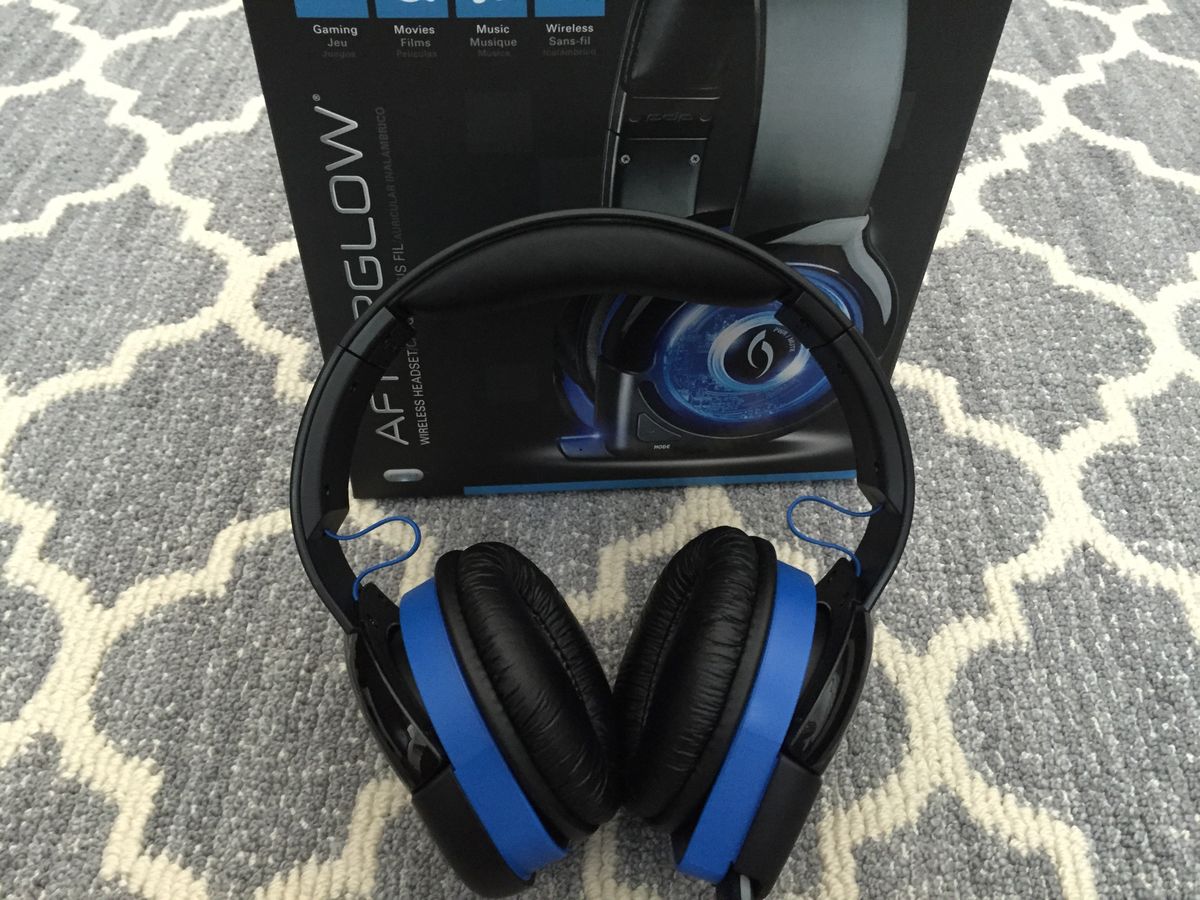
- Setting Up Your Afterglow Headset
- Connecting the Afterglow Headset to Your PS4
- Adjusting Audio Settings on Your PS4
- Troubleshooting Common Issues
- Conclusion
- FAQs
Setting Up Your Afterglow Headset
Setting up your Afterglow headset for use with your PS4 is a simple process that will have you ready to immerse yourself in the virtual world of gaming in no time. Follow these steps to ensure a smooth and hassle-free setup:
- Step 1: Unbox your Afterglow headset and ensure that all the necessary components are present. These typically include the headset itself, a USB receiver, and any cables or adapters that may be required.
- Step 2: Charge your Afterglow headset fully before first-time use. Connect the charging cable to the headset and the other end to a power source such as your computer or a wall adapter. Wait until the headset’s battery indicator confirms that it is fully charged.
- Step 3: Power on your PS4 console and navigate to the settings menu. Select “Devices” and then “Bluetooth Devices.”
- Step 4: On your Afterglow headset, locate the power switch and turn it on. The headset will enter pairing mode, indicated by a blinking LED light or a voice prompt.
- Step 5: On your PS4 console, select “Add New Device.” Your console will begin searching for available devices.
- Step 6: Once the PS4 detects your Afterglow headset, it will appear on the list of available devices. Select it to begin the pairing process.
- Step 7: Follow the on-screen prompts to complete the pairing process. Your PS4 console will establish a connection with your Afterglow headset.
- Step 8: Test your headset by playing audio or joining a chat party on your PS4. Adjust the headset volume to your preference.
- Step 9: If necessary, download and install any firmware updates for your Afterglow headset. These updates improve compatibility and add new features to enhance your gaming experience.
With these simple steps, you are now ready to enjoy the immersive sound and crystal-clear communication that the Afterglow headset provides. Happy gaming!
Connecting the Afterglow Headset to Your PS4
Connecting your Afterglow headset to your PS4 is a simple and straightforward process. Follow these steps to ensure a seamless connection:
- Ensure your PS4 is turned off: Before you start connecting your Afterglow headset, make sure your PS4 console is turned off. This will prevent any potential issues during the setup process.
- Locate the USB transmitter: The Afterglow headset comes with a USB transmitter that acts as a bridge between your headset and the PS4 console. Locate the USB transmitter and ensure it is within reach of the console.
- Insert the USB transmitter into the PS4: Take the USB transmitter and insert it into one of the available USB ports on your PS4 console. These ports can typically be found on the front or back of the console.
- Power on your PS4: Once the USB transmitter is connected to the console, power on your PS4 by pressing the power button on the front of the console or by using the PS button on your controller.
- Turn on the Afterglow headset: Now that your PS4 is powered on, turn on your Afterglow headset by pressing the power button located on the headset itself.
- Establish a wireless connection: The Afterglow headset will automatically search for and connect to the USB transmitter. Within a few seconds, you should see a solid LED light on the USB transmitter, indicating a successful connection.
- Adjust audio settings: Once the Afterglow headset is connected, you may need to adjust the audio settings on your PS4 to ensure optimal sound quality. Navigate to the “Settings” menu on your PS4 and select “Devices” followed by “Audio Devices.” From here, you can customize the headset’s volume, microphone level, and chat/game audio balance.
That’s it! You have successfully connected your Afterglow headset to your PS4. Enjoy immersive gaming experiences with crystal-clear audio and seamless wireless connectivity.
Adjusting Audio Settings on Your PS4
Once you have connected your Afterglow headset to your PS4, you may need to adjust the audio settings to ensure optimal sound quality. Here is a step-by-step guide on how to adjust the audio settings on your PS4:
- Turn on your PS4 and navigate to the main menu.
- Scroll to the right and select the “Settings” option.
- In the settings menu, choose the “Devices” option.
- Select “Audio Devices” from the devices menu.
- Under the “Input Device” dropdown menu, choose your Afterglow headset as the default input device.
- Next, select “Output Device” from the dropdown menu and choose your Afterglow headset as the default output device.
- Adjust the volume level by selecting “Volume Control (Headphones)” and using the on-screen slider to set your desired volume.
- If you want to adjust the microphone settings, select “Microphone Level” and use the slider to increase or decrease the microphone volume.
- Once you have made the necessary adjustments, press the “Circle” button on your controller to go back to the main menu.
- Your Afterglow headset should now be properly configured with your PS4, and you can start enjoying an immersive audio experience.
It’s worth noting that some games may have their own audio settings that you can adjust independently. Make sure to check the game’s audio options if you want to fine-tune the audio specifically for that game.
If you experience any issues with the audio settings or the sound quality, try the following troubleshooting steps:
- Ensure that your Afterglow headset is securely connected to your PS4 and that all cables are properly inserted.
- Check if the volume settings on the headset itself are adjusted correctly.
- Restart your PS4 console and try adjusting the audio settings again.
- If the issue persists, try connecting your Afterglow headset to a different USB port on your PS4 or try using a different USB cable.
- If none of the above steps resolve the issue, consult the user manual of your Afterglow headset for further troubleshooting guidance.
By following these steps, you should be able to adjust the audio settings on your PS4 and enjoy an immersive and high-quality audio experience with your Afterglow headset.
Troubleshooting Common Issues
While using your Afterglow headset on your PS4, you may encounter some common issues. Here are troubleshooting tips to help you resolve them:
1. No sound: If you don’t hear any sound through your Afterglow headset, first check if the headset is properly connected to your PS4 controller. Make sure the headset is securely plugged into the audio jack. Also, adjust the volume settings on your PS4 to ensure it’s not muted or turned down too low.
2. Mic not working: If the microphone on your Afterglow headset isn’t working, check the mic boom for any physical damage or obstructions. Ensure that the mic is properly positioned and is not muted on the headset or the PS4 settings. You may also want to try using the headset with another device to see if the issue is specific to your PS4.
3. Poor audio quality: If the audio quality from your Afterglow headset is distorted or of low quality, first check the audio settings on your PS4. Make sure the audio output is set to “Headset Connected to Controller” and adjust the audio format settings if necessary. If the issue persists, try connecting the headset to a different controller or device to determine if the problem is with the headset itself.
4. Connection issues: If your Afterglow headset keeps disconnecting or has intermittent connection issues, try resetting the wireless connection. Turn off your PS4 and unplug the USB receiver from the console. Wait for a few seconds, then plug it back in and turn on your PS4. This should re-establish the connection between your headset and the console.
5. Echo or feedback: If you hear an echo or feedback when using your Afterglow headset, check the microphone volume settings on your PS4. Lowering the mic volume may help reduce or eliminate the echo. You can also try moving away from any other electronic devices or sources of interference that may be causing the issue.
6. Compatibility issues: If your Afterglow headset is not functioning at all with your PS4, ensure that it is compatible with the console model you have. Refer to the headset’s user manual or the manufacturer’s website for compatibility information. If the headset is compatible but still not working, try updating the headset’s firmware, if available.
Remember, troubleshooting common issues with your Afterglow headset may require some trial and error. If none of the suggestions above resolve the problem, it’s best to reach out to the manufacturer’s customer support for further assistance.
In conclusion, using the Afterglow headset on your PS4 is a great way to enhance your gaming experience. With its advanced features and high-quality sound, you can immerse yourself in the game and enjoy crisp audio. The Afterglow headset is easy to set up and use, making it a convenient choice for gamers of all levels.
Whether you’re playing multiplayer games and coordinating with your team or enjoying a solo adventure, the Afterglow headset provides clear communication and exceptional audio performance. With its comfortable design and adjustable features, you can game for hours without feeling discomfort.
So don’t settle for subpar audio quality or limited communication options. Upgrade to the Afterglow headset for your PS4 and take your gaming experience to the next level. Immerse yourself in the virtual world, communicate with fellow gamers, and enjoy crystal-clear sound with this exceptional accessory.
FAQs
1. How do I connect my Afterglow headset to my PS4?
2. Can I use my Afterglow headset wirelessly with my PS4?
3. How do I adjust the audio settings on my Afterglow headset while using it on my PS4?
4. Can I use my Afterglow headset for game chat on my PS4?
5. Is the Afterglow headset compatible with other gaming consoles?