
Welcome to the world of gaming with your PlayStation 4! One of the most essential accessories for an immersive gaming experience is a high-quality headset, and the Afterglow headset is a popular choice among PlayStation 4 gamers. In this article, we will guide you through the step-by-step process of setting up your Afterglow headset for your PS4. Whether you’re a newbie or a seasoned gamer, this guide will ensure that you get the most out of your gaming sessions with excellent audio quality and clear communication with your fellow players. So prepare yourself for an enhanced gaming experience as we delve into the setup process of the Afterglow headset for your PlayStation 4.
Inside This Article
- Connecting the Afterglow Headset to the PS4
- Adjusting the Audio Settings on the PS4
- Configuring Chat and Game Audio
- Troubleshooting common issues with Afterglow Headset on PS4
- Conclusion
- FAQs
Connecting the Afterglow Headset to the PS4
The Afterglow Headset is a fantastic accessory for PS4 gamers looking to elevate their gaming experience. To get started, follow these simple steps to connect your Afterglow Headset to your PS4.
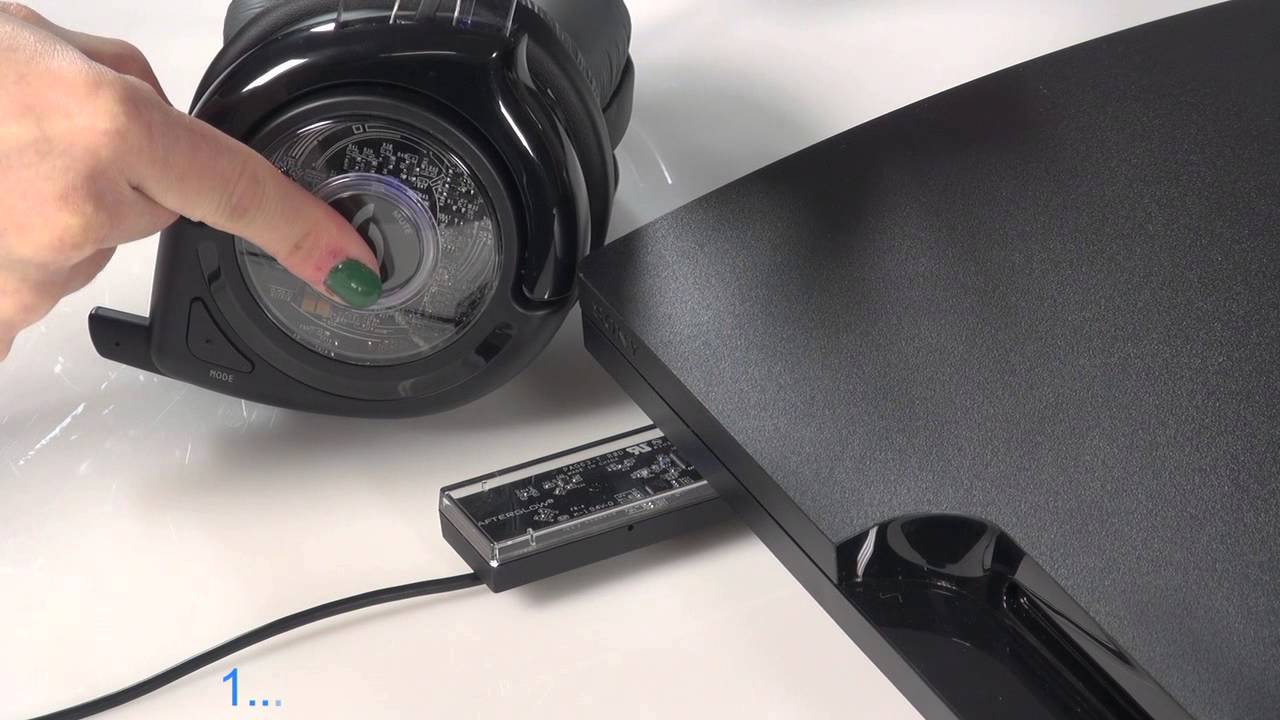
1. Start by locating the USB transmitter that comes with your Afterglow Headset. The USB transmitter is a small device that connects to the USB port on your PS4 console.
2. Insert the USB transmitter into one of the available USB ports on your PS4 console. Make sure to push it all the way in to ensure a secure connection.
3. Now, turn on your PS4 console and navigate to the Settings menu in the main dashboard.
4. Within the Settings menu, go to Devices and select Audio Devices. Here, you will find options to adjust audio input and output settings.
5. In the Audio Devices menu, select Output Device and choose the Afterglow Headset from the list of available devices. This will ensure that the audio output from your PS4 is routed to your Afterglow Headset.
6. Next, go back to the Audio Devices menu and select Input Device. Again, choose the Afterglow Headset as your desired input device. This ensures that the microphone on the Afterglow Headset is used for voice chat and communication.
7. You’re almost there! Now, power on your Afterglow Headset by pressing the power button located on the headset itself. The headset should automatically sync with the USB transmitter connected to your PS4.
8. Once your Afterglow Headset is connected and synced, you can adjust the volume and other audio settings directly from the headset or using the controls on your PS4 console.
Now you’re ready to enjoy immersive gaming sessions with your Afterglow Headset on your PS4. Whether it’s engaging in intense battles or communicating with your friends during multiplayer games, the Afterglow Headset will deliver crystal clear audio and an enhanced gaming experience.
Adjusting the Audio Settings on the PS4
When using Afterglow Headset on the PS4, it is important to adjust the audio settings to optimize your gaming experience. By customizing the audio settings, you can ensure clear and immersive sound while playing your favorite games. Here are the steps to adjust the audio settings on the PS4:
- Turn on your PS4 console and navigate to the “Settings” menu.
- Scroll down and select “Devices” from the menu options.
- Choose “Audio Devices” from the Devices menu.
- Under the “Output Device” section, select “Headset Connected to Controller” if it is not already selected.
- Now, go back to the “Audio Devices” menu and click on “Output to Headphones.”
- Here, you will have two options: “Chat Audio” and “All Audio.” Select “All Audio” to route both game audio and chat audio to your Afterglow Headset.
- You can also adjust the volume levels by selecting “Volume Control (Headphones)” from the “Audio Devices” menu. You can control the overall volume and balance between game audio and chat audio using the headset’s volume controls.
- Additionally, if you want to configure the microphone settings, you can go back to the “Audio Devices” menu and select “Adjust Microphone Level” or “Microphone Level” to fine-tune the microphone sensitivity.
By following these steps, you can optimize the audio settings on your PS4 to ensure a crystal-clear and immersive gaming experience with your Afterglow Headset.
Configuring Chat and Game Audio
Once you have successfully connected your Afterglow headset to your PS4 and adjusted the audio settings, the next step is to configure the chat and game audio. By doing so, you can ensure optimal audio balance and clarity while gaming or communicating with other players. Here are the steps to follow:
1. Access the PS4 settings menu by navigating to the home screen and selecting the “Settings” option.
2. Within the settings menu, scroll down and select “Devices”.
3. In the Devices menu, choose “Audio Devices”.
4. Under the Audio Devices menu, you will find options for “Output Device” and “Output to Headphones”. Select “Output to Headphones”.
5. You will now see options for “Chat Audio” and “All Audio”. Choose the setting that suits your preferences:
- If you want to hear both the game audio and chat audio in your headset, select “All Audio”.
- If you want to prioritize chat audio over game audio, select “Chat Audio”. This option is useful when gaming with friends and you want to focus more on communication.
6. Once you have selected your preferred option, click on “Back” and exit the settings menu.
7. To adjust the chat and game audio balance, you can use the volume controls on your Afterglow headset. Most headsets have separate volume controls for chat audio and game audio. Experiment with the balance until you achieve the desired audio levels.
8. It is also recommended to test the audio settings by playing a game or joining a voice chat with friends. This will help you fine-tune the audio balance and ensure that everything sounds just right.
By properly configuring the chat and game audio settings on your PS4, you will have an immersive gaming experience with clear and balanced audio. Enjoy your gaming sessions with the Afterglow headset!
Troubleshooting common issues with Afterglow Headset on PS4
Using the Afterglow Headset on your PS4 can greatly enhance your gaming experience. However, like any electronic device, it may encounter some common issues. In this section, we will address several troubleshooting steps to help you resolve these problems and get back to enjoying your gaming sessions.
1. No sound or audio distortion
If you’re experiencing no sound or audio distortion while using the Afterglow Headset on your PS4, there are a few possible solutions. First, ensure that the audio cable is properly plugged into both the headset and the PS4 controller. Try unplugging and reconnecting the cable to ensure a secure connection. If the issue persists, try adjusting the “Audio Output Settings” on your PS4. Go to “Settings” > “Devices” > “Audio Devices” and ensure that the Output to Headphones is set to “All Audio” or “Chat Audio.”
2. Microphone not working
If your microphone is not working on the Afterglow Headset, there are a few steps you can take to troubleshoot the issue. Firstly, check if the microphone mute button on the headset is activated. If it is, press the button to unmute the microphone. Additionally, make sure the microphone boom is properly positioned and not obstructed. If the problem persists, try adjusting the microphone settings on your PS4. Go to “Settings” > “Devices” > “Audio Devices” and ensure that the Input Device is set to the Afterglow Headset.
3. Connectivity issues
If you’re experiencing connectivity issues with your Afterglow Headset on your PS4, there are a few potential solutions to consider. First, try power cycling your PS4 console and unplugging the headset’s USB receiver from the console. Wait for a few seconds, then plug it back in. This can help reset the wireless connection. Additionally, make sure that the headset is fully charged or that the batteries are properly inserted. You can also try re-pairing the headset with the USB receiver by following the manufacturer’s instructions.
4. Comfort and fit
Sometimes, the Afterglow Headset may not fit comfortably on your head or may cause discomfort during long gaming sessions. This can be easily resolved by adjusting the headband and ear cups for a better fit. Check the headset for any signs of wear or damage that may affect its comfort. If necessary, consider investing in replacement ear cushions or a different headband to improve the overall fit of the headset.
5. Overall performance issues
If your Afterglow Headset is experiencing performance issues such as low volume, poor audio quality, or intermittent connections, it is important to ensure that the headset’s firmware is up to date. Visit the manufacturer’s website or consult the user manual for instructions on how to update the firmware. This can resolve many software-related issues and improve the overall performance of the headset.
By following these troubleshooting steps, you can address common issues that may arise while using the Afterglow Headset on your PS4. If you continue to experience problems, it may be necessary to contact the manufacturer’s customer support for further assistance or to explore other potential solutions specific to your headset model.
Conclusion
Setting up your Afterglow headset on your PS4 is a straightforward process that can greatly enhance your gaming experience. By following the steps outlined in this article, you can easily connect your headset, adjust the settings, and enjoy clear audio and immersive sound while playing your favorite games.
Remember to make sure your headset is fully charged, properly connected, and that the necessary audio and microphone settings are configured on your PS4. Don’t forget to update the firmware of your headset if needed, and always consult the user manual for detailed instructions specific to your Afterglow headset model.
With the Afterglow headset and your PS4 console working seamlessly together, you can immerse yourself in the world of gaming like never before. So go ahead, set up your Afterglow headset, grab your controller, and get ready to experience an enhanced audio adventure in your favorite games!
FAQs
1. Can I use Afterglow headset on PS4?
Yes, the Afterglow headset is compatible with the PS4. It offers seamless connectivity and high-quality audio performance, allowing you to enhance your gaming experience on the PlayStation 4 console.
2. How do I set up the Afterglow headset on my PS4?
Setting up the Afterglow headset on your PS4 is simple. First, connect the headset to the PS4 controller using the included 3.5mm audio jack. Then, go to the PS4 settings menu and select “Devices” and then “Audio Devices.” From there, you can adjust the headset volume and other audio settings to your preference.
3. Can I use the Afterglow headset wirelessly on my PS4?
No, the Afterglow headset does not have wireless capabilities for PS4. It relies on a wired connection via the 3.5mm audio jack. However, it ensures a stable and reliable connection, allowing for uninterrupted gaming sessions.
4. Are there any special features or controls on the Afterglow headset for PS4?
Yes, the Afterglow headset for PS4 comes with various features and controls to enhance your gaming experience. It typically includes an adjustable headband and ear cups for maximum comfort during long gaming sessions. Some models may have additional features like noise-cancellation, microphone adjustments, and LED lighting effects to customize your gaming setup.
5. Can I use the Afterglow headset for other devices besides the PS4?
Yes, the Afterglow headset is versatile and can be used with other devices besides the PS4. It is compatible with various platforms, including Xbox One, PC, mobile devices, and more. Simply connect the headset using the available input options, such as USB or 3.5mm audio jacks, and configure the audio settings accordingly.