
If you’re a proud Macbook Pro owner and want to enjoy the convenience of wireless connectivity, you’ve come to the right place! Connecting your Macbook Pro to a wireless network is a straightforward process that can greatly enhance your productivity and online experience. Whether you’re at home, in the office, or on the go, being able to connect to the internet without those bothersome cables allows you to stay connected and take advantage of all the online resources and services available to you. In this article, we will guide you through the steps to connect your Macbook Pro to a wireless network, ensuring a seamless and hassle-free experience. So sit back, relax, and let’s get started on your journey towards wireless freedom with your Macbook Pro!
Inside This Article
- Troubleshooting Common Issues
- Connecting to a Wi-Fi network
- Configuring Wi-Fi settings on MacBook Pro
- Conclusion
- FAQs
Troubleshooting Common Issues
Connecting your MacBook Pro to a wireless network can sometimes be a straightforward process. However, there may be instances where you encounter common issues that prevent a successful connection. Here are some troubleshooting steps you can take to resolve these issues:
1. No Wi-Fi Networks Found: If you don’t see any available Wi-Fi networks in your network settings, ensure that Wi-Fi is enabled on your MacBook Pro. You can do this by going to the Apple menu, selecting “System Preferences,” and clicking on “Network.” From there, make sure that the Wi-Fi option is checked in the left-hand sidebar. If it is already enabled and you still can’t see any networks, try restarting your MacBook Pro and then check again.
2. Weak or Intermittent Signal: If you can see available Wi-Fi networks but have a weak or intermittent signal, try moving closer to your wireless router. Walls, furniture, and other objects can impede the Wi-Fi signal, so positioning yourself closer to the router can improve the connection. Alternatively, you may consider installing a Wi-Fi extender or positioning the router in a more central location within your home or office.
3. Authentication or Password Issues: If you are unable to connect to a Wi-Fi network due to authentication or password issues, double-check that you are entering the correct password. Wi-Fi passwords are case-sensitive, so ensure that you have entered both uppercase and lowercase characters correctly. If you are still unable to connect, you can try resetting the Wi-Fi router to its default settings or contact your network administrator for assistance.
4. Interference from Other Devices: Other electronic devices, such as cordless phones, baby monitors, or microwave ovens, can interfere with the Wi-Fi signal and cause connection issues. Ensure that your MacBook Pro is not located near these devices when attempting to connect to a Wi-Fi network. Additionally, you can try switching the wireless frequency on your router from 2.4 GHz to 5 GHz, as this can sometimes help reduce interference.
5. Outdated Wi-Fi Driver: If you have recently updated your MacBook Pro’s operating system or installed any software updates, it’s possible that the Wi-Fi driver is outdated. To fix this, go to the Apple menu, select “System Preferences,” and click on “Software Update.” If an update is available for your Wi-Fi driver, follow the prompts to install it. Restart your MacBook Pro once the update is complete and then attempt to connect to a Wi-Fi network again.
By following these troubleshooting steps, you can likely resolve common Wi-Fi connectivity issues on your MacBook Pro. However, if you continue to experience difficulties, it may be necessary to seek further assistance from an IT professional or Apple support.
Connecting to a Wi-Fi network
Whether you’re setting up your new MacBook Pro or trying to connect to a different Wi-Fi network, the process is straightforward. Follow these simple steps to get your MacBook Pro connected to a wireless network.
1. Open the “System Preferences” on your MacBook Pro. You can access it by either clicking on the Apple logo in the top left corner of the screen and selecting “System Preferences” or searching for it in Spotlight.
2. In the “System Preferences” window, click on the “Network” icon. This will open the network settings for your MacBook Pro.
3. On the left-hand side of the “Network” window, you will see a list of different network connections. Make sure you are on the “Wi-Fi” tab.
4. Select the Wi-Fi network you want to connect to from the list of available networks. If the network requires a password, you will be prompted to enter it. Make sure to type the password correctly to avoid any connection issues.
5. Once you have entered the password, click on the “Join” button. Your MacBook Pro will then attempt to connect to the selected Wi-Fi network.
6. If the connection is successful, you will see a confirmation message and the Wi-Fi icon in the menu bar will show the signal strength of the network. You are now connected to the Wi-Fi network.
7. To ensure a stable connection, you can adjust the advanced Wi-Fi settings. Click on the “Advanced” button in the “Network” window. Here, you can manage preferred networks, change the Wi-Fi channel, and modify other settings to optimize your wireless experience.
Connecting your MacBook Pro to a Wi-Fi network is a simple process that allows you to access the internet wirelessly. Whether it’s at home, the office, or a coffee shop, being connected to Wi-Fi on your MacBook Pro ensures that you can browse the web, stream videos, and download files without relying on a wired connection.
Remember, if you encounter any issues while connecting to a Wi-Fi network, make sure to double-check the password and ensure that your MacBook Pro is within range of the Wi-Fi router. If the problem persists, you can try restarting your MacBook Pro or contacting your internet service provider for further assistance.
Configuring Wi-Fi settings on MacBook Pro
Configuring Wi-Fi settings on your MacBook Pro is essential to ensure a seamless and reliable internet connection. Follow these steps to configure your Wi-Fi settings and stay connected on your MacBook Pro.
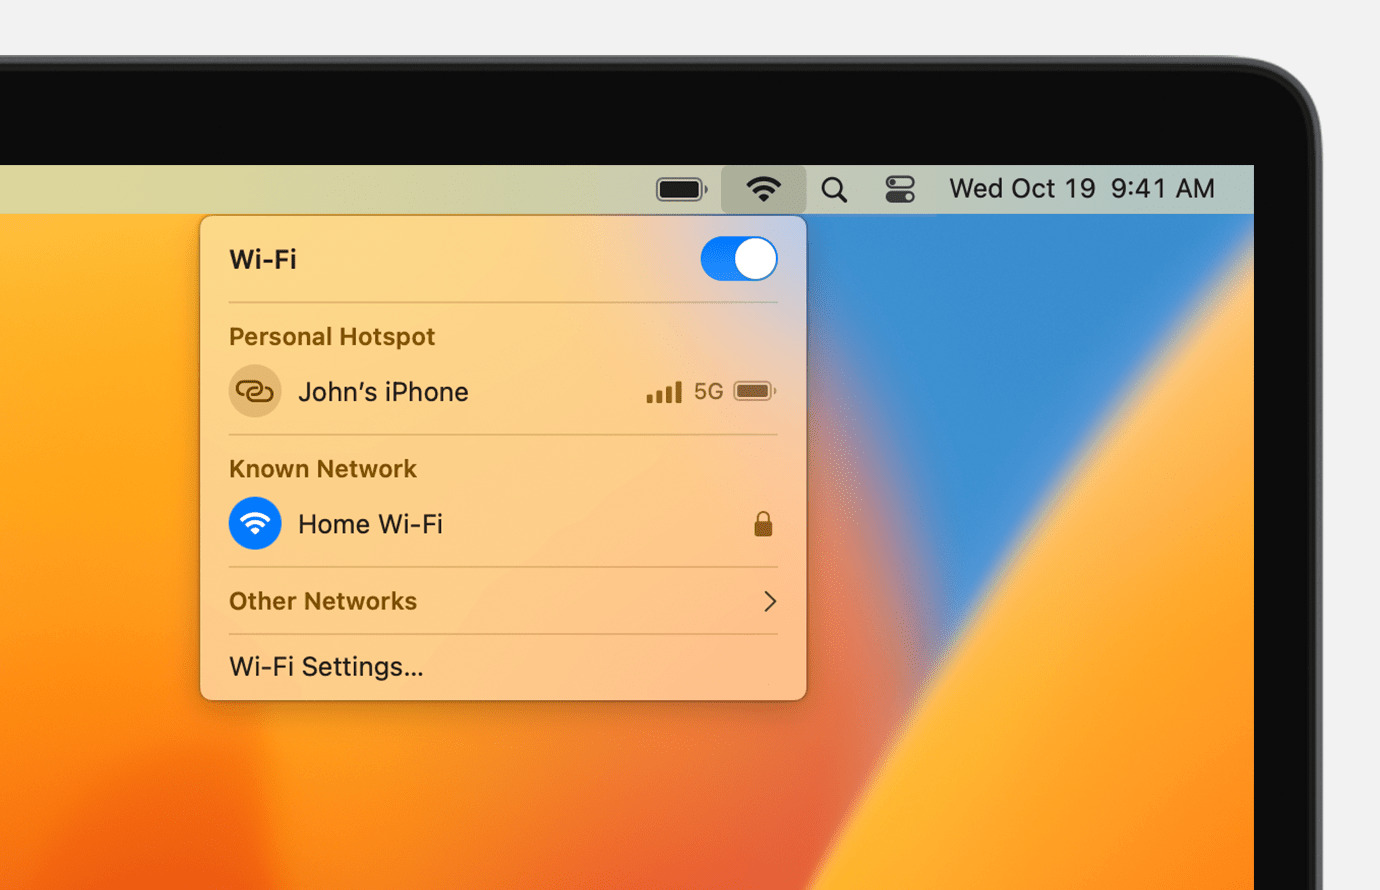
1. Click on the Wi-Fi icon located in the top-right corner of your screen. A dropdown menu will appear with a list of available Wi-Fi networks.
2. Select your desired Wi-Fi network from the list. If the network is secured, you will be prompted to enter the password. Make sure you have the correct password before proceeding.
3. After entering the password, click “Join” to connect to the Wi-Fi network. Your MacBook Pro will attempt to establish a connection to the network.
4. Once connected, you can access the Wi-Fi settings by clicking on the Wi-Fi icon again and selecting “Open Network Preferences”. This will open the Network Preferences window where you can view and manage your Wi-Fi settings.
5. In the Network Preferences window, you will see a list of available network connections on the left-hand side. Select the Wi-Fi connection you want to configure.
6. To modify the Wi-Fi settings, click on the “Advanced” button located at the bottom-right corner of the Network Preferences window. This will open the Advanced Wi-Fi settings.
7. In the Advanced Wi-Fi settings, you can configure various options such as network name, security type, and password. You can also prioritize Wi-Fi networks, delete saved networks, and manage other network-related settings.
8. Take some time to review the available options and adjust them according to your preferences. Once you have made the desired changes, click “OK” to save the settings.
9. Your Wi-Fi settings are now configured on your MacBook Pro. You should be connected to the desired Wi-Fi network and ready to browse the internet!
Remember, if you experience any issues with your Wi-Fi connection, you can always go back to the Network Preferences window and troubleshoot or adjust the settings as needed.
By properly configuring your Wi-Fi settings on your MacBook Pro, you can ensure a stable and secure internet connection, allowing you to make the most out of your device’s capabilities.
Conclusion
Connecting your MacBook Pro to a wireless network is a simple and essential task that allows you to stay connected and access the internet with ease. By following the steps outlined in this guide, you can ensure a smooth and hassle-free connection.
Remember to check your network settings, ensure the Wi-Fi is turned on, and enter the correct password. Troubleshoot any connectivity issues by restarting your MacBook Pro and resetting your router if necessary.
With a stable and secure wireless connection, you can make the most of your MacBook Pro’s features, seamlessly browse the web, stream videos, download files, and work online without any interruptions. To keep your connection secure, make sure to regularly update your MacBook Pro’s software and enable firewall and antivirus protection.
Now that you have the knowledge and steps to connect your MacBook Pro to a wireless network, you can enjoy the benefits of wireless connectivity wherever you go. Stay connected and make the most out of your MacBook Pro!
FAQs
1. Can I connect my MacBook Pro to a wireless network?
Yes, you can connect your MacBook Pro to a wireless network. MacBooks come equipped with built-in Wi-Fi capabilities, allowing you to connect to Wi-Fi networks without the need for any additional hardware.
2. How do I connect my MacBook Pro to a wireless network?
To connect your MacBook Pro to a wireless network, follow these steps:
- Click on the Wi-Fi icon in the menu bar on the top right corner of the screen.
- A dropdown menu will appear, showing available Wi-Fi networks. Select the network you want to connect to.
- If the network is secured, you will be prompted to enter a password. Enter the password and click “Join” to connect to the network.
3. Can I connect to multiple wireless networks on my MacBook Pro?
Yes, you can connect to multiple wireless networks on your MacBook Pro. Your MacBook Pro will remember the networks you have connected to in the past, and you can easily switch between them. Simply click on the Wi-Fi icon in the menu bar and select the network you want to connect to.
4. What should I do if my MacBook Pro is not connecting to a wireless network?
If your MacBook Pro is not connecting to a wireless network, there are a few troubleshooting steps you can try:
- Make sure Wi-Fi is turned on in your MacBook Pro’s settings.
- Verify that your Wi-Fi router is functioning properly and that other devices can connect to it.
- Restart your MacBook Pro.
- Reset your Wi-Fi router by unplugging it, waiting for a few seconds, and then plugging it back in.
- If all else fails, you may need to contact your internet service provider or Apple Support for further assistance.
5. How can I improve the Wi-Fi signal strength on my MacBook Pro?
To improve Wi-Fi signal strength on your MacBook Pro, you can try the following:
- Move closer to the Wi-Fi router to reduce the distance between your MacBook Pro and the router.
- Remove any physical obstructions that may be blocking the Wi-Fi signal.
- Ensure that your MacBook Pro is running the latest software updates.
- Consider using a Wi-Fi range extender or mesh system to boost your Wi-Fi coverage.