
So, you’ve just purchased the latest iPhone 13, and you’re eager to dive into its incredible features. But what if you want to connect it to your Macbook Pro to transfer files, sync data, or simply enjoy a larger screen? Thankfully, connecting your iPhone 13 to a Macbook Pro is a seamless process that allows you to make the most out of both devices.
In this article, we will guide you through the steps to connect your iPhone 13 to a Macbook Pro effortlessly. Whether you’re a seasoned Mac user or new to the Apple ecosystem, we’ve got you covered with detailed instructions and helpful tips. So let’s get started and make the connection between your iPhone 13 and Macbook Pro in no time!
Inside This Article
- How to Connect iPhone 13 to MacBook Pro
- Step 1: Check System Requirements
- Step 2: Connect iPhone 13 to MacBook Pro using Lightning Cable
- Step 3: Trust the Computer
- Step 4: Access iPhone 13 on MacBook Pro
- Step 5: Sync Data between iPhone 13 and MacBook Pro
- Conclusion
- FAQs
How to Connect iPhone 13 to MacBook Pro
Connecting your iPhone 13 to your MacBook Pro is a straightforward process that allows you to transfer data, sync files, and even charge your device. Whether you need to backup photos, transfer music, or simply access your iPhone’s files on your MacBook Pro, this step-by-step guide will help you get started.
Step 1: Check System Requirements
Before connecting your iPhone 13 to your MacBook Pro, it’s important to ensure that both devices meet the necessary system requirements. Make sure that your MacBook Pro is running the latest version of macOS and that your iPhone 13 is updated with the latest iOS version. This will ensure compatibility between the devices and a seamless connection.
Step 2: Connect iPhone 13 to MacBook Pro using Lightning Cable
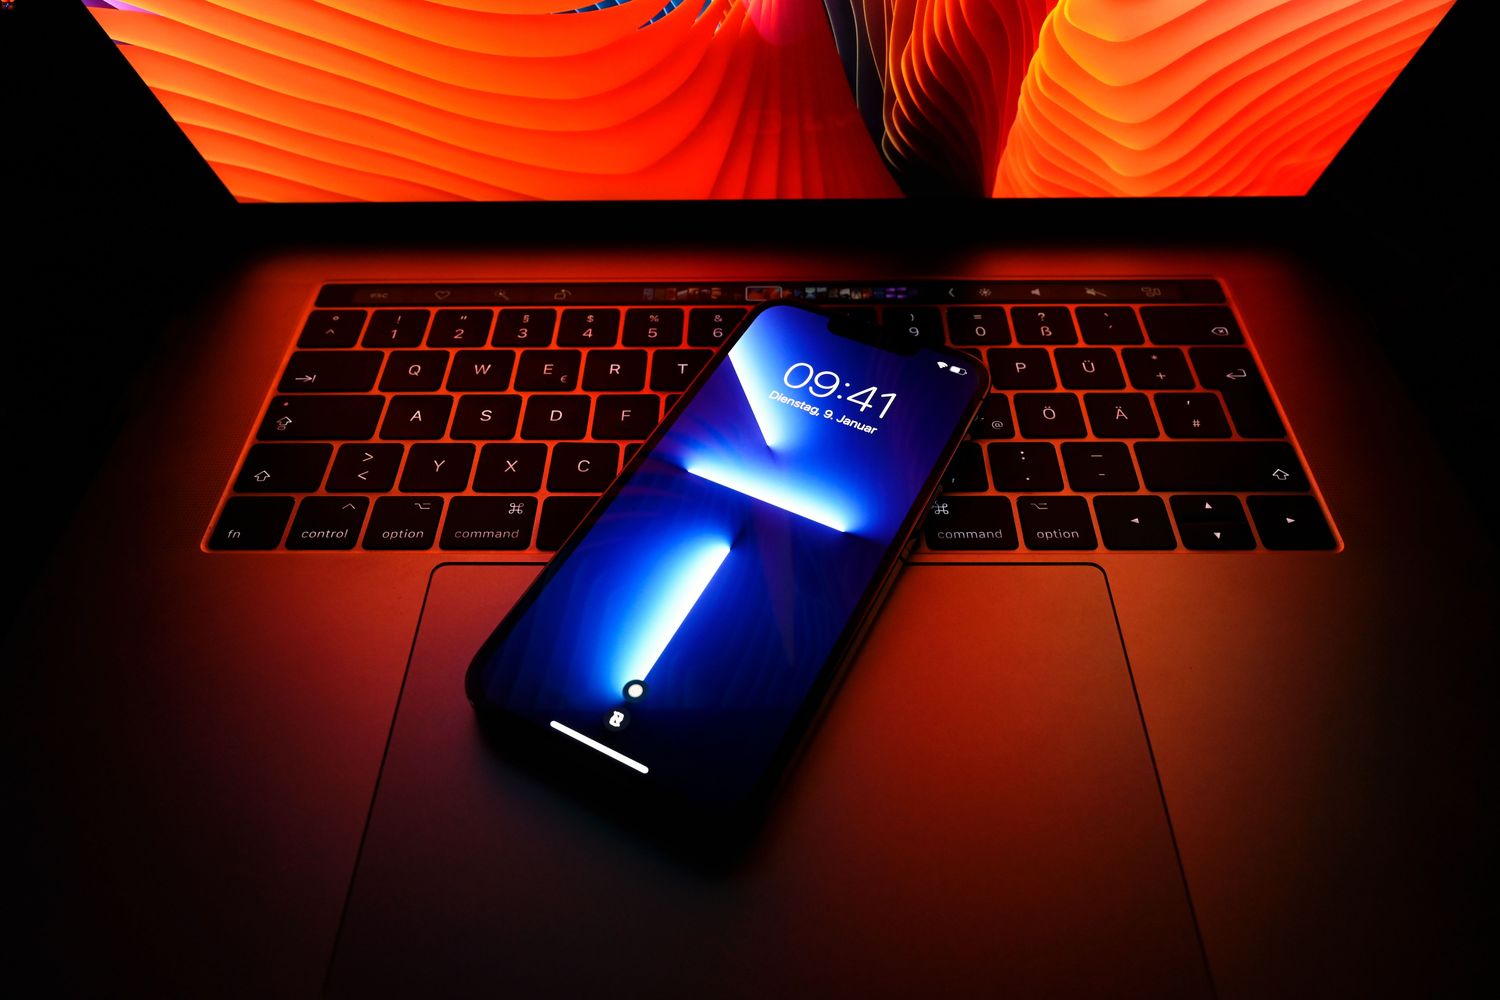
To connect your iPhone 13 to your MacBook Pro, you will need a Lightning cable. Take the Lightning cable and insert one end into the charging port at the bottom of your iPhone 13. Then, insert the other end of the cable into an available USB port on your MacBook Pro. Ensure that both ends are securely connected.
Step 3: Trust the Computer
When you connect your iPhone 13 to your MacBook Pro for the first time, a prompt will appear on your iPhone’s screen asking you to “Trust This Computer.” This is a security feature designed to protect your device. To proceed with the connection, unlock your iPhone 13 and tap “Trust” on the prompt. This will establish a trusted connection between your iPhone 13 and MacBook Pro.
Step 4: Access iPhone 13 on MacBook Pro
Once your iPhone 13 is connected and trusted, it will appear as a device on your MacBook Pro. To access your iPhone 13 files, open the Finder application on your MacBook Pro. In the sidebar, under the “Locations” section, you will see your iPhone 13 listed. Click on it to browse through your device’s folders and files.
Step 5: Sync Data between iPhone 13 and MacBook Pro
With your iPhone 13 successfully connected to your MacBook Pro, you can sync data between the two devices. This includes transferring photos, music, videos, documents, and more. Simply select the files or folders you want to transfer from your iPhone 13 and drag them to the desired location on your MacBook Pro.
Additionally, you can use applications like iTunes or Finder’s Music app to sync your music library between your iPhone 13 and MacBook Pro. This allows you to enjoy your favorite songs on both devices without the need for manual transfers.
Remember to safely disconnect your iPhone 13 from your MacBook Pro when you’re done by clicking on the eject button next to your device’s name in the Finder sidebar.
By following these simple steps, you can easily connect your iPhone 13 to your MacBook Pro and enjoy seamless data transfer and synchronization between the two devices. Whether you need to backup your files or enjoy media on a larger screen, this connection method provides convenience and efficiency.
Step 1: Check System Requirements
Before connecting your iPhone 13 to your MacBook Pro, it’s important to ensure that your system meets the necessary requirements. This will help ensure a smooth and seamless connection between the two devices.
Here are the system requirements you need to check:
- macOS Version: Make sure that your MacBook Pro is running the latest version of macOS compatible with the iPhone 13. This will ensure compatibility and optimal performance.
- Lightning Cable: Ensure that you have a Lightning cable, the standard charging and data transfer cable for iPhones. This cable will be used to connect your iPhone 13 to your MacBook Pro.
- iTunes or Finder: Check if you have the latest version of iTunes or Finder installed on your MacBook Pro. These applications are essential for managing and syncing data between your iPhone 13 and your Mac.
It’s also worth noting that your iPhone 13 should have the necessary software up to date. This includes ensuring that your iPhone 13 is running the latest version of iOS available. To check for updates, go to Settings > General > Software Update on your iPhone 13.
By verifying these system requirements, you can proceed with confidence to connect your iPhone 13 to your MacBook Pro and enjoy a seamless data transfer and device management experience.
Step 2: Connect iPhone 13 to MacBook Pro using Lightning Cable
Connecting your iPhone 13 to your MacBook Pro is a straightforward process that can be done using a lightning cable. This allows you to transfer files, sync data, and even charge your iPhone directly from your MacBook Pro. Follow these simple steps to establish a connection:
1. Start by ensuring your MacBook Pro is powered on and your iPhone 13 is unlocked.
2. Take the lightning cable that came with your iPhone 13, or any certified lightning cable, and connect one end to the lightning port on your iPhone 13.
3. Connect the other end of the lightning cable to an available USB port on your MacBook Pro.
4. Once connected, your iPhone 13 should display a prompt asking for your permission to trust the connected computer. Tap “Trust” to proceed.
5. Your MacBook Pro should now recognize your iPhone 13 and establish a connection. Depending on your macOS version, the Photos app may automatically open, allowing you to import photos and videos from your iPhone 13.
6. To access your iPhone 13’s files, you can open the Finder app on your MacBook Pro. Your iPhone 13 will appear in the sidebar under the “Locations” section. Simply click on it to access its contents.
7. You can now transfer files between your iPhone 13 and MacBook Pro by simply dragging and dropping them from one device to the other.
8. When you’re finished, remember to safely eject your iPhone 13 from your MacBook Pro by clicking on the eject icon next to your iPhone’s name in the Finder sidebar.
That’s it! You have successfully connected your iPhone 13 to your MacBook Pro using a lightning cable. Now you can enjoy seamless data transfer and syncing between your devices.
Step 3: Trust the Computer
When you connect your iPhone 13 to your MacBook Pro for the first time, you may encounter a prompt on your iPhone’s screen asking you to “Trust This Computer.” This is an important security feature designed to safeguard your data and prevent unauthorized access.
To proceed with connecting your iPhone 13 to your MacBook Pro:
- On your iPhone 13, you’ll see a message pop up with the option to “Trust” or “Don’t Trust” the computer. Tap on “Trust” to establish a secure connection between your devices.
- If you accidentally tapped on “Don’t Trust,” don’t worry. Simply unplug the Lightning cable from your iPhone and reconnect it. The prompt to trust the computer should reappear.
- After selecting “Trust,” your iPhone 13 will be authorized to communicate with your MacBook Pro. You can now proceed with transferring files, syncing data, and performing other tasks between the devices.
This trust relationship is necessary to ensure a secure and seamless connection between your iPhone 13 and MacBook Pro. By establishing trust, you can confidently transfer files, backup your device, or perform other operations without any concerns about data privacy or security breaches.
If you encounter any issues with the prompt to “Trust This Computer,” make sure you have the latest version of iOS and macOS installed on your devices. Additionally, check your charging cable and ensure it’s firmly connected to both the iPhone 13 and the MacBook Pro’s USB port.
By following these steps, you can establish a trusted connection between your iPhone 13 and MacBook Pro, allowing you to seamlessly transfer data and sync your devices. Next, we’ll explore how to access your iPhone 13 on your MacBook Pro.
Step 4: Access iPhone 13 on MacBook Pro
Once you have successfully connected your iPhone 13 to your MacBook Pro, it’s time to access your device on your computer. This will allow you to transfer files, sync data, and even perform backups easily.
The first thing you need to do is to open the Finder application on your MacBook Pro. You can do this by clicking on the Finder icon in the dock or by selecting Finder from the Applications folder.
With Finder open, you will see your iPhone 13 listed in the sidebar under the “Locations” section. Click on your device’s name to access it.
When you click on your iPhone 13, you will see various sections such as Photos, Music, Movies, and more. These sections allow you to manage specific types of data on your device.
For example, if you want to transfer photos from your iPhone 13 to your MacBook Pro, simply click on the “Photos” section. You will be able to browse through the photos on your iPhone and select the ones you want to import to your computer.
If you want to sync your music library or transfer files between your iPhone 13 and MacBook Pro, you can do that too. Just navigate to the respective sections in Finder and follow the instructions to complete the process.
It’s worth noting that accessing your iPhone 13 on your MacBook Pro via Finder gives you more control and flexibility compared to using third-party software. You can easily manage your files, create backups, and perform other tasks without relying on additional applications.
Additionally, accessing your iPhone 13 on your MacBook Pro allows you to take advantage of various built-in features and functions, such as syncing your contacts, calendars, and reminders through the native Apple apps.
Overall, accessing your iPhone 13 on your MacBook Pro is a seamless process that enables you to manage your device efficiently and transfer data with ease. Whether you need to back up important files, transfer photos, or sync your music library, using Finder on your MacBook Pro will provide you with all the necessary tools to accomplish those tasks.
Step 5: Sync Data between iPhone 13 and MacBook Pro
Synchronizing your data between your iPhone 13 and MacBook Pro is essential to keep your devices up-to-date and ensure seamless access to your files and information. Here’s how you can sync your data:
1. Launch the iTunes app on your MacBook Pro. If you don’t have iTunes installed, you can download it from the Apple website.
2. Connect your iPhone 13 to your MacBook Pro using the Lightning cable. Make sure both devices are turned on.
3. Once connected, your iPhone 13 will appear as a device in the upper-left corner of the iTunes window. Click on it to access the device’s settings.
4. In the sidebar on the left, you will see a list of options such as Music, Photos, Podcasts, and more. Choose the specific category you want to sync or select “Sync All” to sync all data.
5. Check the box next to the selected category or “Sync All” option. This tells iTunes to sync the data between your iPhone 13 and MacBook Pro.
6. Click on the “Apply” or “Sync” button at the bottom right corner of the iTunes window to initiate the synchronization process.
7. Depending on the amount of data you have and your internet speed, the synchronization process may take some time. Please be patient and do not disconnect your iPhone 13 until the process is complete.
8. Once the synchronization is finished, you can disconnect your iPhone 13 from your MacBook Pro. Your data will now be synced between both devices.
With the synchronization complete, you can enjoy seamless access to your music, photos, videos, and other files on both your iPhone 13 and MacBook Pro. Any changes or updates made on one device will be reflected on the other, ensuring that your information is always up-to-date.
Note: If you encounter any issues during the synchronization process, make sure you have the latest version of iTunes installed on your MacBook Pro and that your iPhone 13 is running on the latest iOS version. Additionally, check your cable connection and ensure that it is securely plugged into both devices.
Conclusion
Connecting your iPhone 13 to your MacBook Pro is a straightforward and convenient process. By following the steps outlined in this article, you can effortlessly establish a seamless connection between your devices and enjoy the benefits of integration.
The ability to sync, transfer files, and collaborate between your iPhone and MacBook Pro enhances productivity and ease of use. Whether you need to transfer photos, sync documents, or back up your device, the connection between your iPhone 13 and MacBook Pro provides a streamlined experience.
Remember to keep both your iPhone and MacBook Pro updated to the latest software versions to ensure compatibility and access to the latest features. With a reliable lightning cable or wireless connection, you can enjoy the convenience of connecting your devices and experiencing the seamless integration that Apple devices offer.
So, go ahead and connect your iPhone 13 to your MacBook Pro, and unlock a world of possibilities and enhanced productivity!
FAQs
1. How do I connect an iPhone 13 to a MacBook Pro?
To connect your iPhone 13 to a MacBook Pro, you can use a Lightning to USB cable or the built-in feature called Continuity. With a Lightning to USB cable, simply connect one end to the Lightning port on your iPhone 13 and the other end to an available USB port on your MacBook Pro. For Continuity, ensure that both devices are signed in to the same iCloud account and have Wi-Fi and Bluetooth enabled. Then, you can easily share files, use Handoff, make calls, and more between your iPhone 13 and MacBook Pro.
2. Can I connect my iPhone 13 wirelessly to my MacBook Pro?
Yes, you can connect your iPhone 13 wirelessly to your MacBook Pro using various methods. One option is to use AirDrop, which allows you to easily transfer files between your devices over Wi-Fi. Another option is to enable features like Handoff, which enables seamless integration between your iPhone 13 and MacBook Pro without the need for physical connection.
3. Do I need any additional software to connect my iPhone 13 to my MacBook Pro?
Generally, no additional software is required to connect your iPhone 13 to your MacBook Pro. Both devices come with built-in features and functionalities that allow for a seamless connection and integration. However, it is always a good idea to keep your devices updated with the latest software versions to ensure compatibility and optimal performance.
4. Can I share internet connection from my iPhone 13 to my MacBook Pro?
Yes, you can share your iPhone 13’s internet connection with your MacBook Pro using a feature called Personal Hotspot. Simply go to the Settings app on your iPhone 13, select Personal Hotspot, and toggle it on. Then, on your MacBook Pro, go to the Wi-Fi settings and connect to your iPhone 13’s hotspot network. This allows you to use your iPhone 13’s cellular data on your MacBook Pro when Wi-Fi is not available.
5. Are there any security considerations when connecting my iPhone 13 to my MacBook Pro?
When connecting your iPhone 13 to your MacBook Pro, it is important to ensure that you are using a secure connection. Avoid connecting to unknown or untrusted networks and always use a trusted Lightning to USB cable for physical connections. Additionally, make sure that both your iPhone 13 and MacBook Pro have up-to-date security settings and software to protect your devices and data from potential threats.