
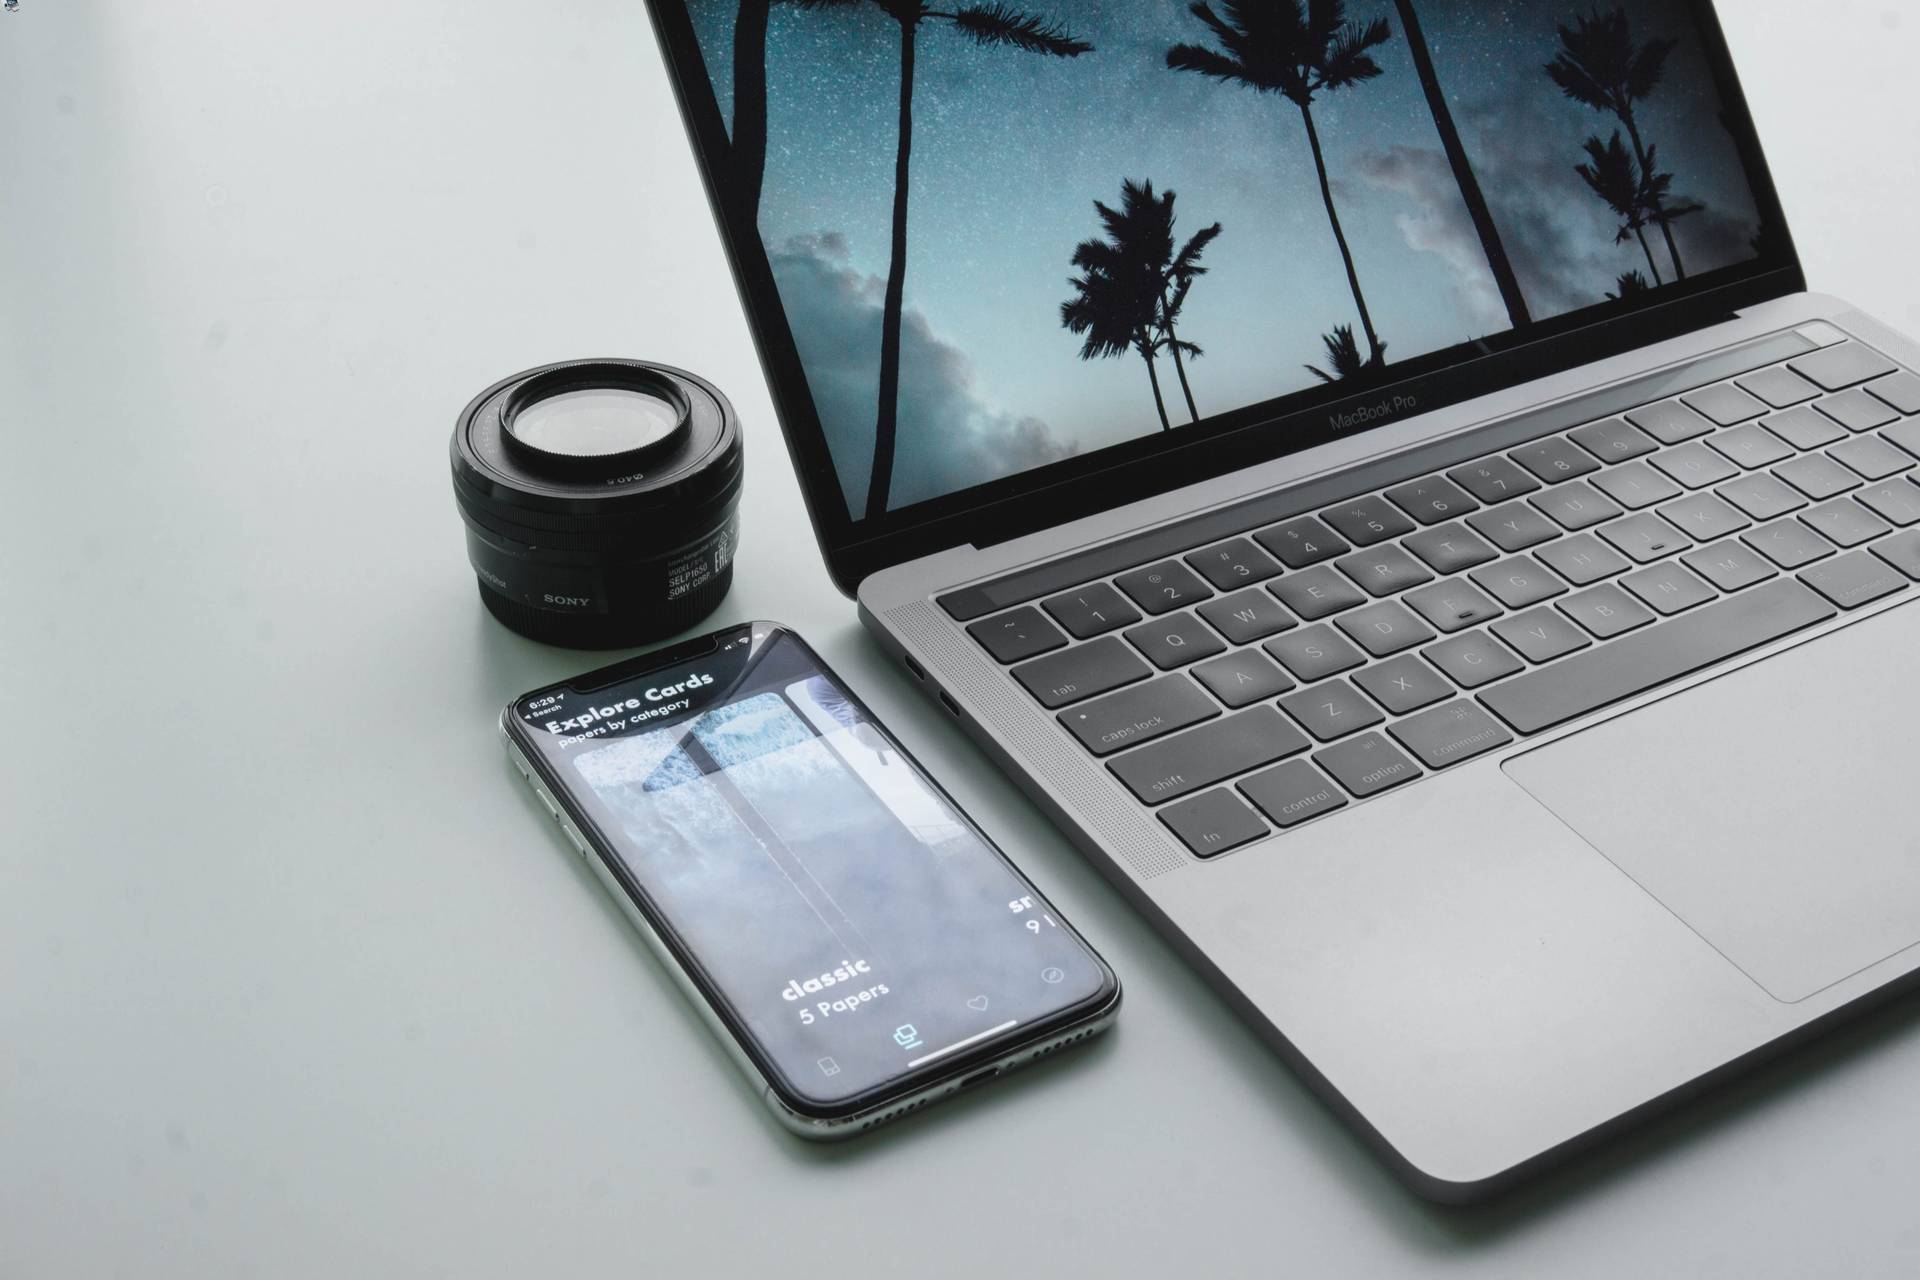
Are you struggling to figure out how to Bluetooth your iPhone to your MacBook? Look no further, as we have the complete guide to help you seamlessly connect these two devices. Bluetooth is a wireless technology that allows you to establish a connection between your iPhone and MacBook without the need for any cables. It offers convenience and flexibility, making it easier to transfer files, share data, or even use your iPhone as a remote control for your MacBook. In this article, we will walk you through the step-by-step process of connecting your iPhone to your MacBook via Bluetooth, ensuring a hassle-free experience. So, if you’re ready to unlock the power of wireless connectivity, let’s dive in!
Inside This Article
- Pairing your iPhone to your MacBook
- Transferring files between iPhone and MacBook
- Using your iPhone as a remote control for your MacBook
- Conclusion
- FAQs
Pairing your iPhone to your MacBook
Pairing your iPhone to your MacBook is a simple and convenient process that allows you to seamlessly connect and share data between the two devices. Whether you want to transfer files, sync your contacts, or use your iPhone as a remote control for your MacBook, pairing them together will enhance your workflow and connectivity.
Here’s a step-by-step guide to help you pair your iPhone to your MacBook:
- Make sure that both your iPhone and MacBook are turned on and have Bluetooth enabled. You can check this by going to the Settings app on your iPhone and selecting “Bluetooth. On your MacBook, open System Preferences and click on “Bluetooth.
- On your iPhone, tap on the Bluetooth option and select your MacBook from the list of available devices.
- A notification will appear on your MacBook asking you to confirm the pairing request. Click on “Pair” to proceed.
- Your iPhone will then display a numeric code that matches the code shown on your MacBook. If the codes match, tap on “Pair” on your iPhone.
- Once the pairing process is complete, you will see a message on both devices confirming the successful connection. Your iPhone is now paired with your MacBook.
It’s worth noting that the pairing process may vary slightly depending on the model and version of your iPhone and MacBook. However, the general steps outlined above should work for most devices.
Once your iPhone is paired with your MacBook, you can take advantage of various features and functionalities. Let’s explore some of the things you can do:
Transferring files between iPhone and MacBook
When it comes to transferring files between your iPhone and MacBook, there are several convenient methods that you can take advantage of. Whether you want to transfer photos, documents, or any other type of file, these options ensure seamless communication between your devices. Let’s explore some of the ways you can transfer files between your iPhone and MacBook.
1. iCloud: One of the easiest and most efficient ways to transfer files between your iPhone and MacBook is through iCloud. By enabling iCloud Drive on both devices, you can access and sync files seamlessly. Simply upload the files you want to transfer to iCloud from your iPhone and then open them on your MacBook. This method allows you to access your files from anywhere, as long as you have an internet connection.
2. AirDrop: AirDrop is another fantastic feature that allows you to transfer files wirelessly between your iPhone and MacBook. Ensure that Bluetooth and Wi-Fi are enabled on both devices, and then open the file you want to transfer on your iPhone. Tap the Share icon and select the recipient device – your MacBook. Once your MacBook accepts the file, it will be saved in the designated location. AirDrop is fast, secure, and doesn’t require an internet connection.
3. iTunes: If you prefer a wired connection, iTunes is a reliable option for transferring files between your devices. Connect your iPhone to your MacBook using a Lightning cable and open iTunes. Select your iPhone from the Devices section and navigate to the File Sharing tab. From there, you can choose the app from which you want to transfer files and simply drag and drop them onto your MacBook’s desktop or desired location.
4. Third-party apps: Alternatively, you can explore third-party file transfer apps available on the App Store. These apps provide additional flexibility and functionality, allowing you to transfer files between your iPhone and MacBook in a variety of ways. Some popular file transfer apps include Documents by Readdle, FileExplorer, and FileApp.
With these options at your disposal, you can easily transfer files between your iPhone and MacBook, making it convenient to access and manage your files across devices. Whether you prefer a wireless solution like iCloud and AirDrop or a wired connection using iTunes, choose the method that suits your needs and enjoy the seamless file transfer experience.
Using your iPhone as a remote control for your MacBook
Did you know that your iPhone can double as a remote control for your MacBook? With the right apps and settings, you can effortlessly control various aspects of your MacBook’s functionality right from your iPhone. This feature comes in handy when you’re in a presentation, streaming a movie, or simply want to navigate your MacBook from a distance. Let’s delve into how to set it up and make the most out of this convenient functionality.
The first step is to ensure that both your iPhone and MacBook are connected to the same Wi-Fi network. This will establish a seamless connection between the two devices and enable them to communicate effectively. Once your devices are connected, it’s time to explore the available apps that can transform your iPhone into a remote control.
One popular app is called “Remote,” developed by Apple itself. It allows you to control the basic functions of your MacBook, such as volume control, media playback, and navigation within apps like Keynote, iTunes, and QuickTime. To set it up, simply download the Remote app from the App Store, launch it on your iPhone, and follow the on-screen instructions to pair it with your MacBook. Once paired, you can easily control your MacBook using the intuitive interface on your iPhone.
If you’re looking for a more comprehensive remote control experience, you might consider using third-party apps like “Rowmote Pro” or “Mobile Mouse.” These apps offer additional features like keyboard input, multimedia controls, and even gesture support. Simply install the app of your choice from the App Store, follow the setup instructions, and enjoy full control of your MacBook with your iPhone.
Using your iPhone as a remote control for your MacBook can have several benefits. For example, during a presentation, you can effortlessly advance slides, highlight important points, and control the volume without needing to be near your MacBook. Similarly, if you’re using your MacBook as a media center, you can comfortably browse and select your favorite movies or songs without having to rely on the keyboard or trackpad.
Additionally, if you’re using your MacBook connected to a larger display or a TV, using your iPhone as a remote control can enhance the overall convenience and eliminate the need for extra peripherals. Instead of juggling multiple devices, you can use your iPhone to manage the entire experience seamlessly.
To wrap it up, using your iPhone as a remote control for your MacBook is a game-changer in terms of convenience and versatility. By leveraging the right apps and setting up the connection properly, you can effortlessly navigate your MacBook, control media playback, and even input text using your iPhone as a virtual keyboard. So why not take advantage of this feature and make your MacBook usage more effortless and enjoyable?
Conclusion
In conclusion, learning how to Bluetooth your iPhone to your MacBook is a valuable skill that can enhance your productivity and simplify your technological interactions. By following the steps outlined in this article, you can easily establish a seamless connection between your devices and enjoy the convenience of sharing files, using your MacBook’s internet connection, and even controlling media playback with your iPhone.
Whether you’re a professional looking to streamline your workflow or a casual user wanting to make your life easier, Bluetooth connectivity provides a range of benefits. From transferring photos and documents to enjoying wireless music playback, the possibilities are endless. So, don’t hesitate to explore the world of Bluetooth and unleash the full potential of your iPhone and MacBook.
Now that you have the knowledge and tools at your disposal, go ahead and experiment with Bluetooth connectivity between your iPhone and MacBook. Embrace the convenience and possibilities it offers, and make your digital life more seamless and enjoyable!
FAQs
1. How do I connect my iPhone to my MacBook using Bluetooth?
To connect your iPhone to your MacBook using Bluetooth, follow these steps:
– Enable Bluetooth on both devices (iPhone and MacBook) by going to the Settings menu and toggling the Bluetooth option.
– On your MacBook, click on the Bluetooth icon in the menu bar and select “Turn Bluetooth On” if it’s not already activated.
– On your iPhone, go to “Settings” and tap on “Bluetooth.” Make sure Bluetooth is turned on and wait for your MacBook to appear in the list of available devices.
– Once your MacBook is visible, tap on it to establish the connection. You might be prompted to enter a passcode on both devices to complete the pairing process.
– Once the iPhone is successfully connected to the MacBook, you can start using the Bluetooth connection for various purposes like file sharing or using your iPhone as a remote control for your MacBook.
2. Can I transfer files wirelessly between my iPhone and MacBook using Bluetooth?
Yes, you can transfer files wirelessly between your iPhone and MacBook using Bluetooth. Once you’ve successfully connected your iPhone to your MacBook via Bluetooth, you can use AirDrop to transfer files between the two devices. To do this:
– On your iPhone, open the file you want to share and tap on the share icon.
– From the sharing options, select the MacBook you want to send the file to.
– On your MacBook, you’ll receive a notification asking if you want to accept the file. Click on “Accept” to complete the transfer.
Please note that AirDrop requires both your iPhone and MacBook to be on the same Wi-Fi network and have Bluetooth enabled.
3. Can I use my iPhone as a wireless hotspot for my MacBook using Bluetooth?
No, you cannot use your iPhone as a wireless hotspot for your MacBook using Bluetooth alone. To use your iPhone as a wireless hotspot for your MacBook, you need to enable the Personal Hotspot feature on your iPhone and connect to it using Wi-Fi or a USB cable. Bluetooth alone does not provide the necessary internet connectivity for the hotspot functionality.
4. How do I disconnect my iPhone from my MacBook via Bluetooth?
To disconnect your iPhone from your MacBook via Bluetooth, you can follow these steps:
– On your MacBook, click on the Bluetooth icon in the menu bar.
– From the drop-down menu, hover over your iPhone’s name and click on the “Disconnect” option.
Alternatively, you can also turn off Bluetooth on either your iPhone or MacBook to disconnect the devices.
5. Can I use my iPhone’s Bluetooth to listen to audio on my MacBook?
No, you cannot use your iPhone’s Bluetooth to directly listen to audio on your MacBook. Bluetooth is primarily used for wireless data transfer and peripheral device connectivity. To listen to audio on your MacBook, you can use the built-in speakers, connect headphones or external speakers via the audio jack, or use wireless audio devices that support Bluetooth connectivity directly with your MacBook.