
If you’re a gaming enthusiast, you know that a good headset is essential for an immersive gaming experience. And when it comes to wireless headsets, the Afterglow Wireless Headset for PS3 is a popular choice among gamers. This wireless headset offers crystal-clear sound quality and the freedom to move around without being tethered to your console. But how do you go about hooking it up to your PS3? In this article, we will guide you through the process, step by step, ensuring that you can effortlessly connect your Afterglow Wireless Headset to your PS3 and start enjoying your favorite games with enhanced audio and communication.
Inside This Article
- Afterglow Wireless Headset Overview
- Step 1: Charge the Headset
- Step 2: Connect the USB Transmitter
- Step 3: Configure Audio Settings on PS3
- Step 4: Pair the Headset with the USB Transmitter
- Step 5: Test the Connection
- Troubleshooting Tips
- Conclusion
- FAQs
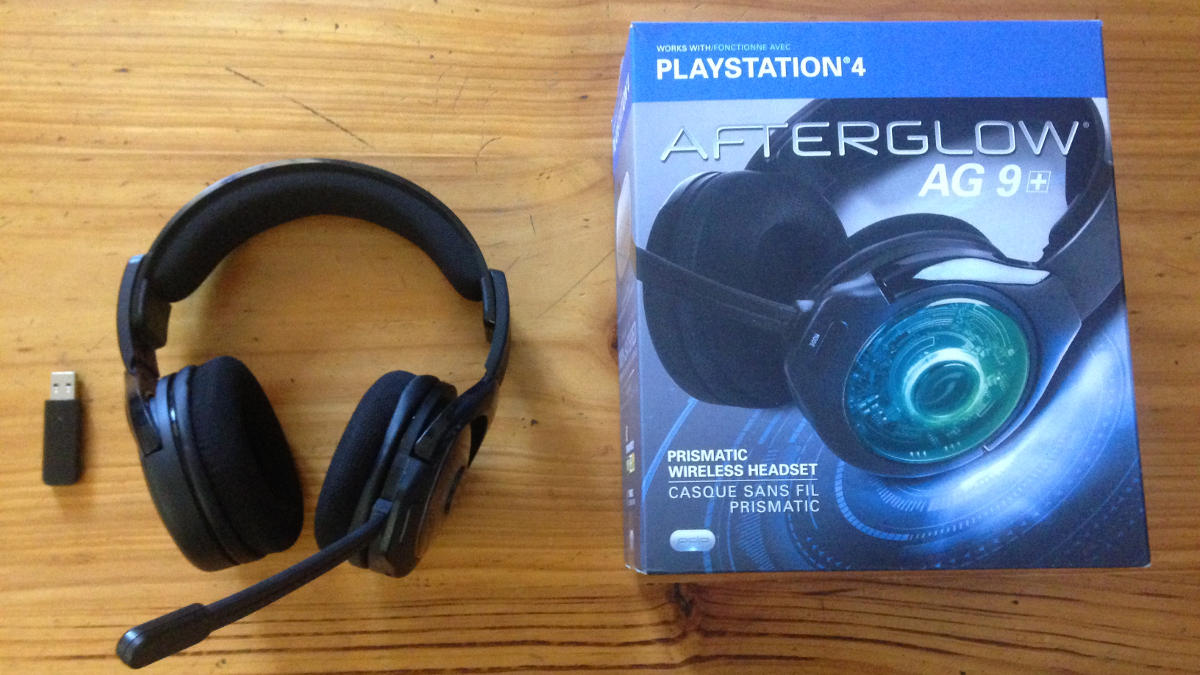
Afterglow Wireless Headset Overview
The Afterglow Wireless Headset is a popular choice for gamers who want a high-quality audio experience while playing on their PlayStation 3 (PS3) console. This wireless headset offers crisp and clear sound, comfortable design, and easy connectivity.
Featuring a sleek and stylish design, the Afterglow Wireless Headset is not only functional but also visually appealing. LED lights on the ear cups give it a unique and attractive glow, making it stand out from other headsets on the market.
With its wireless capability, you can enjoy gaming without the hassle of wires. The headset connects to your PS3 console via a USB transmitter, allowing you to move freely without being tethered to your device.
The Afterglow Wireless Headset also features noise-canceling technology, which ensures that you can fully immerse yourself in the game without any distractions from external sounds. This makes it perfect for intense gaming sessions where focus and concentration are crucial.
Furthermore, the headset comes with built-in controls, including volume adjustment and microphone muting, conveniently located on the ear cups. This allows for quick and easy access to essential settings, so you can make adjustments on the fly without interrupting your gameplay.
Additionally, the Afterglow Wireless Headset is designed for maximum comfort during long gaming sessions. The padded headband and over-ear cups provide a snug and comfortable fit, reducing any discomfort or fatigue that may arise from extended use.
Overall, the Afterglow Wireless Headset offers a winning combination of superior audio quality, wireless freedom, stylish design, and comfortable fit. Whether you’re playing action-packed games or immersing yourself in virtual worlds, this headset is sure to enhance your gaming experience on the PS3.
Step 1: Charge the Headset
The first step in setting up your Afterglow Wireless Headset with your PS3 is to ensure that it is properly charged. This will ensure optimal performance and longevity of the battery.
Start by locating the charging cable that came with your headset. It typically has a micro-USB connector on one end and a USB-A connector on the other. Plug the micro-USB end into the charging port on the headset, which is usually located on the bottom or side of the earcup.
Next, plug the USB-A end of the cable into a USB port of your choice. This can be the USB port on your PS3 console, a USB charging dock, or even your computer. Ensure that the device you are using to charge the headset is turned on and providing power.
Once the headset is connected to a power source, you should see a light indicator on the headset itself or on the charging cable. This light will typically turn red to indicate that the headset is charging. Leave the headset connected for the recommended amount of time, which is usually around 4 hours, or until the light turns green, indicating a full charge.
During the charging process, it’s important not to use the headset, as this may interfere with the charging and affect the battery life. Make sure to keep the headset in a safe and stable position while it charges to avoid any accidental damage.
Once your Afterglow Wireless Headset is fully charged, you are ready to move on to the next step of the setup process.
Step 2: Connect the USB Transmitter
Once you have charged your Afterglow Wireless Headset and are ready to connect it to your PS3, the next step is to connect the USB transmitter.
First, locate the USB transmitter that came with your headset. It looks like a small rectangular device with a USB connector on one end.
Next, insert the USB transmitter into one of the available USB ports on your PS3 console. You can find the USB ports on the front or back of the console, depending on the model.
Make sure the USB transmitter is firmly inserted into the USB port to ensure a stable connection. You should hear a click or feel the device securely in place.
Once the USB transmitter is connected, you will notice that the LED indicator on the transmitter will start flashing. This indicates that the transmitter is in pairing mode and ready to connect to your headset.
Keep in mind that the USB transmitter needs to be within the range of the headset for a proper connection. It is recommended to keep the transmitter as close to the headset as possible during setup.
Now that you have connected the USB transmitter, you are one step closer to enjoying the immersive gaming experience with your Afterglow Wireless Headset!
Step 3: Configure Audio Settings on PS3
Once you have charged the Afterglow Wireless Headset and connected the USB transmitter to your PS3, the next step is to configure the audio settings on your gaming console.
To do this, follow the steps below:
- Turn on your PS3 and navigate to the “Settings” menu. This can be found in the XMB (XrossMediaBar) interface.
- Select the “Accessory Settings” option from the Settings menu. This will open a new submenu.
- Within the Accessory Settings submenu, choose the “Audio Device Settings” option.
- On the next screen, you will see multiple options for audio output. Select the “Output Device” option.
- From the list of available devices, choose the “Afterglow Wireless Headset” option. This will set the Afterglow Headset as your default audio output device for the PS3.
- After selecting the Afterglow Headset, you may be prompted to perform a microphone test. Follow the instructions on screen to complete the test.
- Once the audio settings are configured, exit the settings menu and return to the main PS3 interface.
By following these steps, you will have successfully configured the audio settings on your PS3 to use the Afterglow Wireless Headset. You are now ready to enjoy your gaming experience with immersive audio and crystal-clear communication.
Step 4: Pair the Headset with the USB Transmitter
Once you have successfully connected the USB transmitter to your PS3, it’s time to pair your Afterglow wireless headset with the transmitter. This will ensure that your headset can wirelessly communicate with your console and provide you with a seamless gaming experience.
To pair the headset, follow these simple steps:
- Make sure that the headset is turned off.
- Locate the power button on the headset. Press and hold the power button until the LED lights start flashing.
- On the USB transmitter, look for the pairing button. It is usually located on the side or at the back of the transmitter.
- Press and hold the pairing button on the USB transmitter. The LED lights on the transmitter will start flashing, indicating that it is in pairing mode.
- While the LED lights on the transmitter are flashing, quickly press and hold the power button on the headset. This will initiate the pairing process.
- Wait for a few seconds until the LED lights on both the headset and the transmitter stop flashing and remain solid. This means that the headset and the transmitter are successfully paired.
It’s important to note that the pairing process may vary depending on the specific model of your Afterglow wireless headset. Always refer to the user manual for detailed instructions specific to your device.
Once the headset is paired with the USB transmitter, you can now enjoy wireless audio while gaming on your PS3. The headset should automatically connect to the transmitter whenever it is turned on, allowing you to immerse yourself in the gaming experience without any cables or restrictions.
If you’re experiencing any issues with pairing the headset or if the connection is not stable, refer to the troubleshooting tips section or consult customer support for further assistance.
Step 5: Test the Connection
Once you have successfully paired the Afterglow Wireless Headset with the USB transmitter, it’s time to test the connection and ensure everything is working properly. Follow these steps to complete the testing process:
1. Put on the Afterglow Wireless Headset and make sure it is turned on.
2. On your PS3, navigate to the Settings menu and select “Accessory Settings.”
3. Within the “Accessory Settings” menu, choose “Audio Device Settings.”
4. Select “Input Device” and make sure “Afterglow Wireless Headset” is selected. This ensures the headset is set as the input device for capturing your voice.
5. Next, select “Output Device” and ensure “Afterglow Wireless Headset” is also selected. This ensures that the game audio and chat audio will be played through the headset.
6. Once you have made these selections, exit the menu and launch a game or application that supports voice chat.
7. Engage in a voice chat or perform an action in the game that generates sound. You should hear the audio through the Afterglow Wireless Headset. Additionally, your voice should be picked up and transmitted through the microphone on the headset.
8. Adjust the volume on the headset to your desired level using the volume knob or buttons located on the headset itself.
If you experience any issues during the testing process, refer to the Troubleshooting Tips section for assistance in resolving common problems.
Troubleshooting Tips
Even with the most reliable devices, technical hiccups can sometimes occur. If you’re experiencing any issues while trying to connect the Afterglow Wireless Headset to your PS3, try the following troubleshooting tips:
1. Check the USB Connection: Ensure that the USB transmitter is securely plugged into your PS3 console. A loose connection can cause audio problems or a failure to pair the headset with the transmitter.
2. Restart Your Console: Sometimes a simple restart can resolve connectivity issues. Power off your PS3 console, unplug it from the power source, wait for a few moments, then plug it back in and turn it on again.
3. Charge the Headset: If you’re experiencing low audio output or intermittent sound, your headset might need a charge. Connect it to a power source using the included USB charging cable and let it charge for a few hours.
4. Reset the Headset and USB Transmitter: If the headset and USB transmitter are not pairing correctly, a reset might be necessary. Consult the Afterglow Wireless Headset’s user manual for specific instructions on how to reset the devices.
5. Update Firmware: It’s worth checking if there are any firmware updates available for your Afterglow Wireless Headset. Manufacturers often release updates to address compatibility issues and improve performance. Visit the manufacturer’s website for instructions on how to update the firmware.
6. Check Audio Settings: Verify that the audio output settings on your PS3 are correctly configured. Go to the PS3’s settings menu, select “Sound Settings,” and ensure that the audio output is set to the Afterglow Wireless Headset.
7. Test on a Different Device: If possible, try connecting the Afterglow Wireless Headset to a different device, such as a computer or smartphone. This can help identify whether the issue lies with the headset or the PS3 console.
8. Contact Customer Support: If all else fails, reach out to the Afterglow Wireless Headset’s customer support. They will be able to provide further assistance and troubleshoot the specific issue you’re experiencing.
By following these troubleshooting tips, you can overcome any obstacles that may arise when trying to hook up the Afterglow Wireless Headset to your PS3 console. Remember to double-check all connections and settings before seeking further assistance.
Conclusion
In conclusion, hooking up the Afterglow Wireless Headset to your PS3 is a straightforward process that enhances your gaming experience. By following the steps outlined in this guide, you can enjoy immersive gameplay with high-quality audio and the convenience of wireless connectivity. The Afterglow Wireless Headset offers great sound reproduction and a comfortable fit for extended gaming sessions.
Remember to ensure that your headset is fully charged and that you have completed the necessary pairing process for optimal performance. Don’t forget to configure the audio settings on your PS3 to enable voice chat and adjust the volume levels to your preference.
With the Afterglow Wireless Headset, you can take your gaming to the next level and fully immerse yourself in the virtual world. Say goodbye to tangled wires and hello to uninterrupted gameplay with crisp, clear sound. Upgrade your gaming experience today!
FAQs
1. How do I hook up the Afterglow wireless headset to my PS3?
To connect your Afterglow wireless headset to your PS3, follow these steps:
a. Turn on your PS3 console and navigate to the “Settings” menu.
b. Select “Accessory Settings” and then choose “Manage Bluetooth Devices”.
c. Put your Afterglow wireless headset into pairing mode by pressing and holding the power button for a few seconds until the LED lights start flashing.
d. On your PS3, select “Register New Device” and choose the option to scan for Bluetooth devices.
e. Your PS3 should detect the Afterglow wireless headset. Select it from the list of available devices.
f. Enter the pairing code if prompted. The default pairing code for Afterglow wireless headsets is usually “0000” or “1234”.
g. Your PS3 will now configure the Afterglow wireless headset, and you should be able to use it for audio playback and chat on your PS3.
2. How do I charge my Afterglow wireless headset?
To charge your Afterglow wireless headset, simply connect the included USB charging cable to the headset and plug the other end into a USB port on your console or a compatible charging device. The headset’s LED lights should indicate that it is charging. It’s important to fully charge the headset before using it for an extended period of time.
3. How do I adjust the volume on my Afterglow wireless headset?
To adjust the volume on your Afterglow wireless headset, locate the volume control buttons on the headset itself. Usually, there are separate buttons to increase and decrease the volume. Press the “+” button to increase the volume and the “-” button to decrease it. Some Afterglow wireless headsets also feature a volume dial or slider for more precise control.
4. Can I use my Afterglow wireless headset with other devices?
Yes, Afterglow wireless headsets are often compatible with a variety of devices. You can use them with other gaming consoles, PCs, smartphones, and tablets, as long as the device supports Bluetooth connectivity. Keep in mind that the pairing process may vary depending on the device, so refer to the specific instructions for each device to ensure a successful connection.
5. How do I reset my Afterglow wireless headset?
If you are experiencing any issues with your Afterglow wireless headset, you can try resetting it. To do this, locate the reset button on the headset. It is usually a small hole that you can press using a paperclip or a similar tool. Insert the paperclip into the hole and press and hold the reset button for a few seconds. This should reset the headset and restore it to its factory settings.