
Are you tired of worrying about your furry friend running off and getting into trouble? Look no further than the solution to your pet containment woes: a wireless dog fence. With a wireless dog fence, you can give your dog the freedom to roam and explore within the designated boundaries of your property, all while keeping them safe and secure.
Installing a wireless dog fence may seem like a daunting task, but fear not! In this article, we will guide you through the step-by-step process of installing a wireless dog fence, so you can enjoy peace of mind and your dog can enjoy the freedom they deserve. From setting up the transmitter to placing the boundary flags, we will cover it all. So, let’s dive in and learn how to install a wireless dog fence.
Inside This Article
- Equipment Needed
- Step 1: Planning and Preparation
- Step 2: Installing the Transmitter
- Step 3: Installing the Boundary Wire
- Step 4: Testing and Adjusting the System
- Step 5: Training and Use
- Troubleshooting Tips
- Frequently Asked Questions
- Conclusion
- FAQs
Equipment Needed
Installing a wireless dog fence requires a few essential pieces of equipment to ensure proper installation and functionality. Before you begin the installation process, make sure you have the following items on hand:
- Transmitter: The transmitter is the central unit of the wireless dog fence system. It sends signals to the receiver collar, creating the boundaries for your dog. Ensure you have a compatible and reliable transmitter designed for your specific wireless dog fence system.
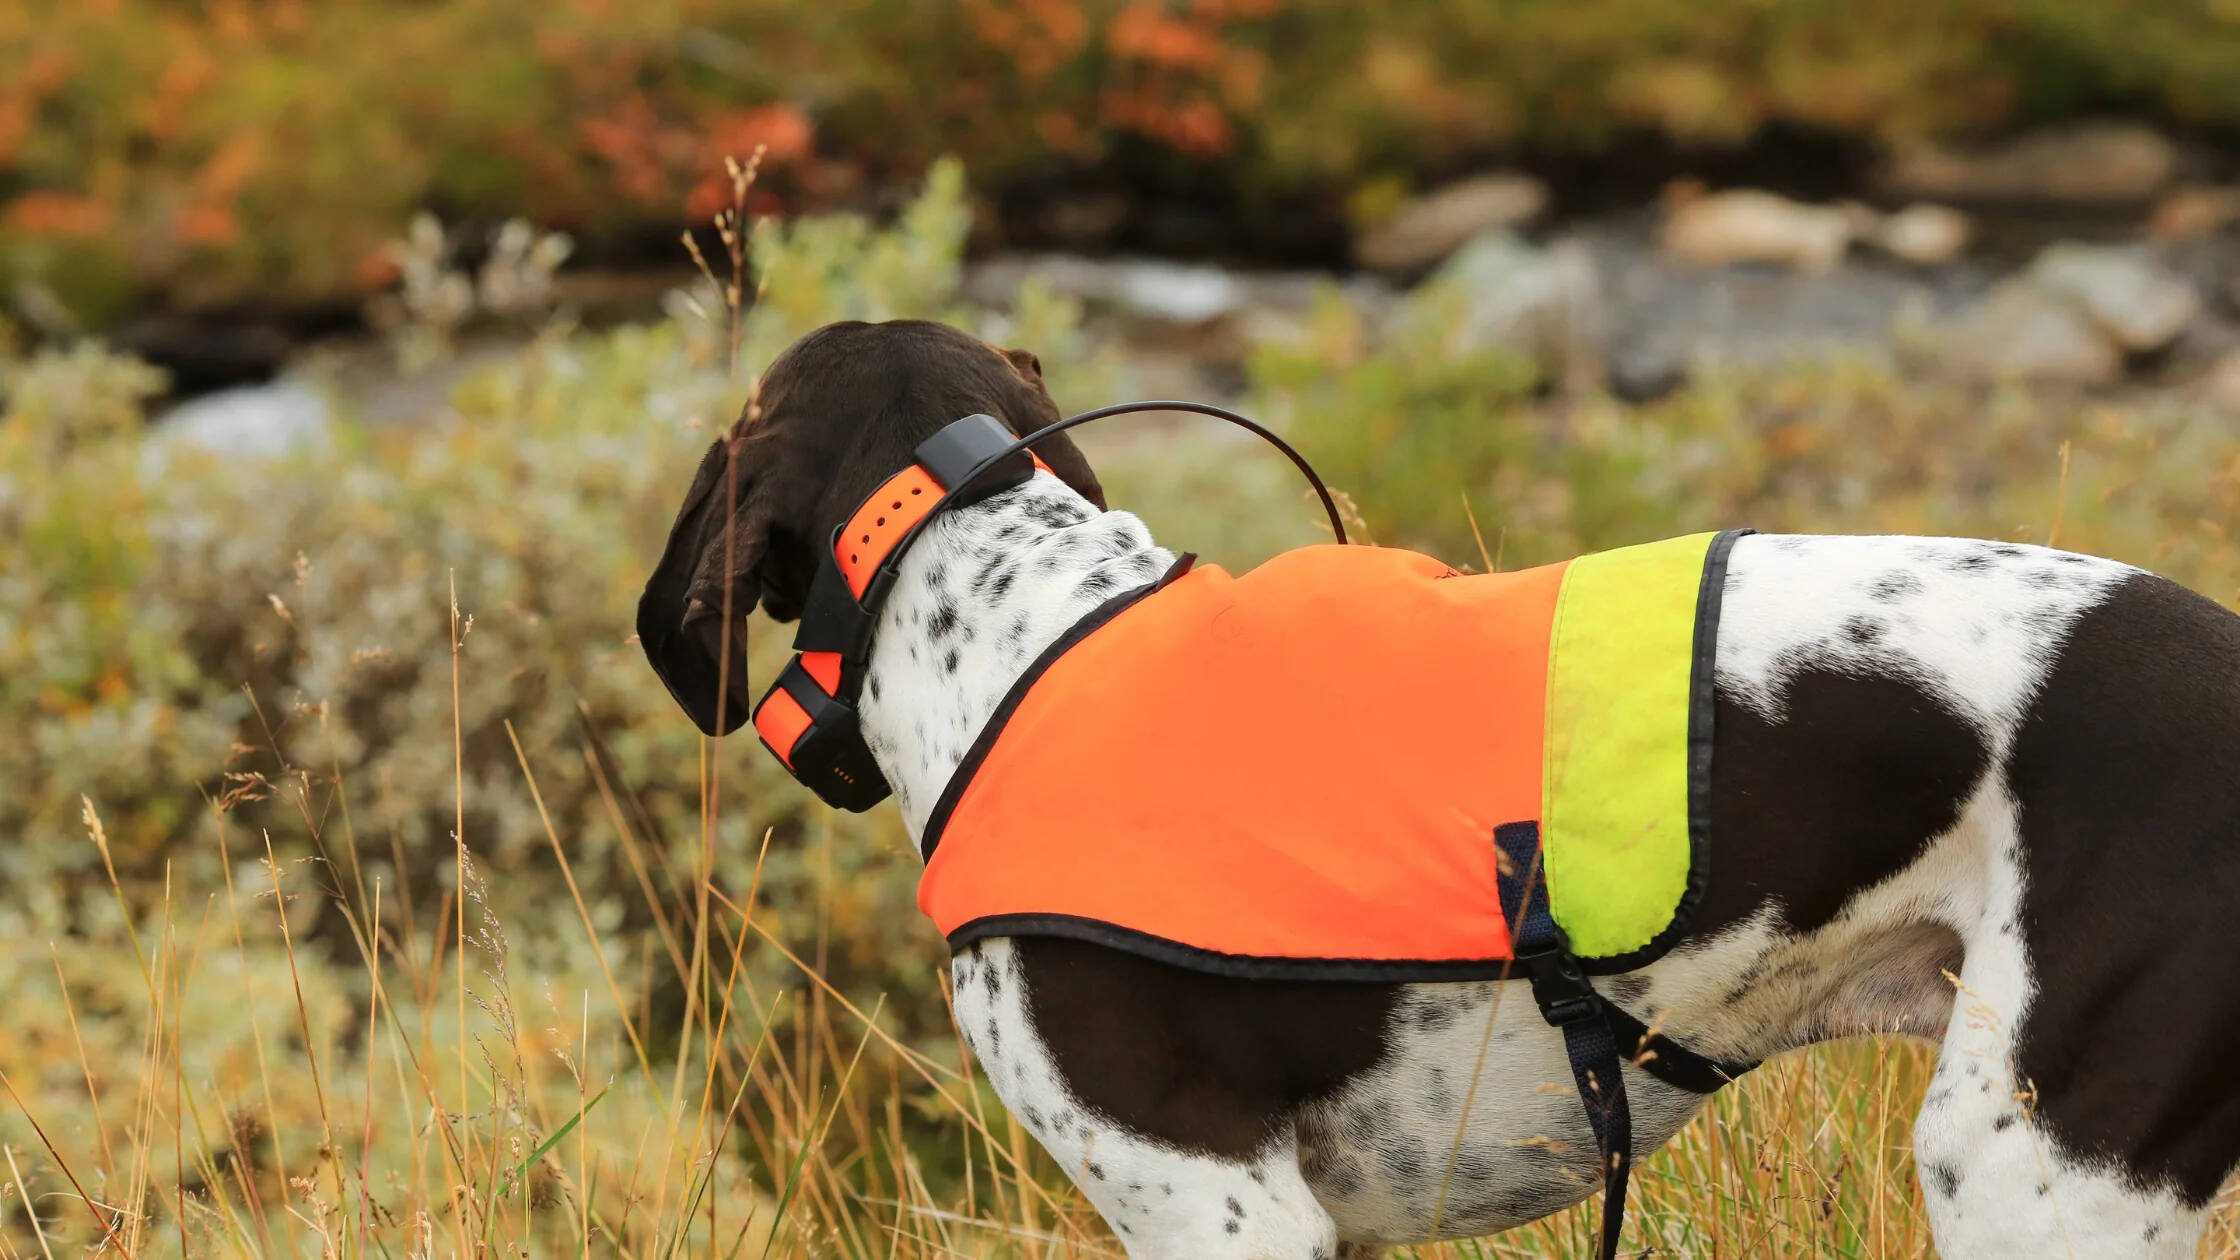
- Receiver Collar: The receiver collar is worn by your dog and receives the signals sent by the transmitter. It delivers a mild static correction when your dog approaches the boundary. Make sure the collar fits your dog comfortably and is suitable for their size and temperament.
- Battery: Most wireless dog fence systems operate on batteries, so it’s crucial to have an ample supply on hand. Make sure you have the correct battery type for both the transmitter and the receiver collar. It’s a good idea to keep spare batteries readily available for easy replacement when needed.
- Boundary Flags: Boundary flags are essential for training your dog to identify the boundary limits. These flags are placed along the perimeter of the designated area and act as visual markers for your dog. Having enough boundary flags will help your dog understand where they should and shouldn’t go.
- Boundary Wire: The boundary wire is used to define the perimeter of the wireless dog fence system. This wire can be buried underground or attached to existing fencing. Ensure you have the appropriate length of wire for covering the desired area effectively.
- Wire Connectors: Wire connectors are necessary for securing the boundary wire together and connecting it to the transmitter. These connectors ensure a stable and reliable signal transmission throughout the entire wire loop. Make sure you have enough wire connectors to complete the installation process.
- Wire Staples or Ground Staples: Depending on your installation method, you may need wire staples or ground staples to secure the boundary wire to the ground or existing fencing. These staples help keep the wire in place and prevent it from being easily damaged or displaced.
- Wireless Fence Tester: A wireless fence tester is a handy tool that allows you to check the boundary signal strength at different points around the perimeter. This will help you identify any weak areas where the signal might be compromised, allowing you to make necessary adjustments to ensure proper containment.
Before starting the installation process, ensure you have all the necessary equipment mentioned above. Having everything ready and available will make the installation process smoother and more efficient.
Step 1: Planning and Preparation
Before you start installing your wireless dog fence, it’s important to spend some time planning and preparing to ensure a successful installation. This step is crucial in creating an effective containment system for your furry friend. Here are some key aspects to consider:
1. Determine the Coverage Area: Start by deciding on the boundaries that you want to set for your dog. Consider the size of your property and the areas that you want to keep your dog away from. This will help you determine the amount of boundary wire you’ll need to purchase.
2. Check for Obstacles: Take a walk around your property and identify any potential obstacles that may interfere with the installation of the wireless dog fence. This can include trees, rocks, or even underground utilities. Make note of these obstacles so that you can plan accordingly and find the best route for your boundary wire.
3. Choose the Right Location for the Transmitter: The transmitter is the central unit that controls the wireless dog fence system. It’s important to select a suitable location for the transmitter, preferably indoors away from extreme weather conditions. The location should be easily accessible so that you can make any necessary adjustments in the future.
4. Consult the Instruction Manual: Take the time to thoroughly read the instruction manual provided with your wireless dog fence system. Familiarize yourself with the components and understand the installation process. This will ensure that you have a clear understanding of how everything works before you begin the installation.
5. Gather the Necessary Tools: Make sure you have all the tools you’ll need for the installation. This may include a shovel or a trenching tool to dig a trench for the boundary wire, wire cutters, and electrical tape. Having the right tools on hand will make the installation process smoother and more efficient.
By adequately planning and preparing for the installation, you’ll set yourself up for a successful wireless dog fence setup. This will help ensure the safety and containment of your beloved furry friend while allowing them to enjoy their designated play areas.
Step 2: Installing the Transmitter
Once you have completed the planning and preparation stage, it’s time to move on to installing the transmitter for your wireless dog fence. The transmitter is the central hub of the system, transmitting the signal that communicates with your dog’s collar receiver. Here’s how to properly install the transmitter:
1. Choose the optimal location: Select a suitable location for the transmitter that is easily accessible, protected from weather elements, and close to a power outlet. It’s important to place it indoors, preferably in a dry and well-ventilated area such as a garage or utility room.
2. Mount the transmitter: Securely mount the transmitter unit to the wall or a sturdy surface using the provided screws. Make sure it is positioned upright and has sufficient clearance to prevent obstruction of the signal.
3. Connect the power supply: Plug the power adapter into the transmitter unit, and then connect it to a nearby power outlet. Ensure that the power cord is out of the reach of children or pets and doesn’t create a tripping hazard.
4. Verify power and signal: Once the power supply is connected, check if the power indicator light on the transmitter unit is illuminated. This indicates that the system is receiving power. Additionally, verify that the signal indicator light is also on, indicating a successful signal transmission.
5. Adjust signal strength: Most wireless dog fence systems allow you to adjust the signal strength to match your specific needs. Follow the manufacturer’s instructions to set the desired signal level, taking into account the size of your dog and the boundaries you want to establish for them.
6. Test the signal range: Before proceeding to the next step, it’s crucial to test the signal range. Put the collar receiver on your dog and walk towards the perimeter of the desired boundary. Ensure that the collar beeps or vibrates as you approach the boundary, indicating that the signal is being received properly.
By following these steps, you can successfully install the transmitter for your wireless dog fence. Once this is done, you can proceed to the next step of installing the boundary wire, which will define the boundaries for your furry friend.
Step 3: Installing the Boundary Wire
Installing the boundary wire is a crucial step in setting up your wireless dog fence system. This wire acts as an invisible fence perimeter and helps to define the boundaries that your dog should not cross. Here are the steps to install the boundary wire:
1. Determine the perimeter: Start by deciding where you want the boundaries of your dog’s containment area to be. This could be around your entire backyard or just a specific section of it. Measure the perimeter using a measuring tape and mark the boundaries with stakes or flags.
2. Bury the wire: Once you have marked the boundaries, it’s time to bury the wire. Use a trencher or a garden edger to create a shallow trench around the perimeter, approximately 2-3 inches deep. Carefully place the wire in the trench, making sure it remains taut and does not have any kinks or loops.
3. Connect the wire to the transmitter: Locate the transmitter unit for your wireless dog fence system. Strip the ends of the boundary wire, exposing the inner copper strands. Insert the exposed wire into the corresponding terminals on the transmitter and secure them tightly. This step is crucial for ensuring proper connectivity and functionality of the system.
4. Test the boundary wire: Once the wire is installed and connected to the transmitter, it’s time to test its functionality. With the transmitter turned on, walk the perimeter of your dog’s containment area with the receiver collar in hand. Pay attention to any areas where the collar beeps or activates, as these could indicate potential issues with the boundary wire installation.
5. Adjust as necessary: If you encounter any areas where the boundary signal is weak or inconsistent, you may need to adjust the position of the wire. Use a wire locator or a signal tester to identify any breaks or weak spots along the boundary wire. Make necessary adjustments and retest the system to ensure a consistent and reliable boundary for your dog.
Remember, proper installation of the boundary wire is essential for the effectiveness of your wireless dog fence system. Take your time to ensure the wire is securely buried, connected to the transmitter correctly, and tested thoroughly. Following these steps will help create a safe and reliable containment area for your furry friend.
Step 4: Testing and Adjusting the System
Once you have successfully installed the wireless dog fence transmitter and boundary wire, it’s important to test and adjust the system to ensure it is working correctly. This step is crucial in order to create a safe and effective containment area for your furry friend.
Here are the steps you should follow to test and adjust the system:
- Check the Signal Range: Start by turning on the receiver collar and walking towards the boundary area with your dog. Pay attention to the indicator on the receiver collar. If it beeps or vibrates within the distance specified by the manufacturer, it means the signal range is working properly. If the signal is weak or non-existent, you may need to adjust the transmitter or check for any obstacles that could be interfering with the signal.
- Customize the Correction Level: Every dog is unique, and their response to the correction will vary. Most wireless dog fence systems come with adjustable correction levels. Begin with the lowest setting and observe your dog’s reaction. If they are not deterred from crossing the boundary, gradually increase the correction level until their behavior changes. However, it’s important to note that the correction level should never be set at a level that causes harm or distress to your dog.
- Test the Warning Zone: The warning zone is the area just before the boundary where the collar emits a warning sound or vibration to alert the dog to turn back. Walk with your dog towards the boundary area and observe if they respond to the warning. If your dog ignores the warning, you may need to increase the correction level or reinforce the training to ensure they understand the boundaries.
- Observe and Adjust: Throughout the testing process, observe your dog’s behavior closely. If they continuously ignore the correction and boundary warnings, consult the manufacturer’s guidelines or seek professional advice for further adjustments. It’s important to find the right balance between keeping your dog safe and allowing them enough freedom within the designated area.
By thoroughly testing and adjusting the system, you are ensuring the effectiveness of the wireless dog fence in keeping your furry friend safely contained. It may take some time and patience to find the right settings and training approach for your dog, but the end result will be a secure and happy environment for both you and your pet.
Step 5: Training and Use
Now that you have successfully installed your wireless dog fence, it’s time to move on to the next crucial step: training your furry friend to understand the boundaries and effectively use the system. Training is essential to ensure your dog’s safety and prevent them from crossing the invisible boundaries.
Here are some key guidelines to follow during the training process:
- Start with proper introductions: Once the system is activated, bring your dog to the fenced area on a leash. Allow them to explore the boundaries gradually, using positive reinforcement such as treats and praise to create a positive association with the fenced area.
- Use flags as visual cues: During the initial training, it is recommended to place small flags at the boundary points to provide a visual indication for your dog. This will help them understand the limits and reinforce their training.
- Set boundaries with consistent commands: Teach your dog a specific command or cue, such as “Stay” or “Boundary,” to associate with the invisible fence boundaries. Use this command consistently during training sessions to reinforce the concept of staying within the designated area.
- Supervise and correct behaviors: During the training period, closely monitor your dog’s behavior and reactions to the system. If they approach or attempt to cross the boundary, gently lead them back into the safe zone and redirect their attention to a positive activity within the boundaries.
- Gradually remove flags: As your dog becomes more comfortable and aware of the boundaries, you can start removing the flags one by one. This gradual process helps them internalize the limits without relying solely on the visual cues.
- Consistency and positive reinforcement: Remember, consistency is key in training your dog to use the wireless fence system. Regular training sessions, positive reinforcement, and rewards for staying within the boundaries will help reinforce the desired behavior.
It is important to note that each dog may have different learning curves and response to training. Some dogs may adapt quickly, while others may require more time and patience. Be consistent, patient, and understanding throughout the training process to ensure the best results.
Once your dog has successfully completed the training and demonstrated an understanding of the boundaries, you can use the wireless dog fence system with confidence. Keep in mind that continuous reinforcement and periodic refresher training sessions may be necessary to maintain your dog’s understanding of the boundaries.
Always prioritize your dog’s safety and well-being. Regularly check the system’s functionality, inspect the collar for proper fit, and ensure that your dog is comfortable and content within the boundaries while using the wireless dog fence system.
Troubleshooting Tips
Despite the best preparations and efforts, sometimes issues can arise when installing a wireless dog fence. Here are some troubleshooting tips to help you overcome common problems:
1. Range Issues: If you notice that the boundary zone is inconsistent or the signal is weak, check the transmitter’s placement. Make sure it is in a central location without any obstructions such as walls or metal objects that could interfere with the signal.
2. False Alarms: Occasionally, the system may trigger false alarms, causing your dog’s collar to activate even when they are within the safe zone. Verify that there are no large metal structures or electronic devices near the boundary wire, as these can interfere with the signal and trigger false alarms.
3. Collar Malfunction: If the dog’s collar is not beeping or delivering a correction signal when they approach the boundary, check the battery to ensure it is properly inserted and working. If the issue persists, contact the manufacturer for further assistance or consider replacing the collar.
4. Boundary Wire Break: If your dog’s collar consistently fails to detect the boundary, there may be a break in the boundary wire. Inspect the wire for any signs of damage or visible breaks. If necessary, reposition or replace the wire to maintain a continuous signal.
5. Poor Training Results: If your dog is not responding well to the training or seems confused about the boundaries, it may require additional training sessions or reinforcement. Be patient and consistent with your training methods, using positive reinforcement techniques to help your dog understand the limits.
6. Interference: Ensure that no other devices or wireless systems are causing interference with the wireless dog fence. Sometimes, nearby wireless signals from other devices can disrupt or weaken the fence’s signal. Adjust the frequency on the transmitter to minimize such interference.
By following these troubleshooting tips, you can address common issues and ensure that your wireless dog fence is functioning properly. If you encounter persistent problems or have further questions, consult the manufacturer’s instructions or contact their customer support for additional guidance.
Frequently Asked Questions
Here are some commonly asked questions about installing a wireless dog fence:
1. How does a wireless dog fence work?
A wireless dog fence works by using a radio signal to create a boundary around your property. A transmitter sends a signal to a receiver collar your dog wears. When your dog gets close to the boundary, the collar will emit a warning sound. If your dog continues to approach the boundary, it will receive a mild static correction to deter it from crossing.
2. Can I install a wireless dog fence on my own?
Yes, you can install a wireless dog fence on your own. Most wireless dog fence systems come with detailed instructions and are designed to be easy to set up. However, if you are unsure or not confident in your ability to install the fence properly, it is always recommended to seek professional assistance to ensure the system is installed correctly.
3. How long does it take to install a wireless dog fence?
The time it takes to install a wireless dog fence will vary depending on factors such as the size of your property and the complexity of the installation. On average, it can take a few hours to complete the installation process.
4. Can a wireless dog fence be used for multiple dogs?
Yes, a wireless dog fence can be used for multiple dogs as long as each dog is wearing a compatible receiver collar. Some wireless dog fence systems come with additional collars, while for others, you may need to purchase them separately.
5. Is a wireless dog fence suitable for all breeds?
While wireless dog fences can be used for most dog breeds, it’s important to consider the size and temperament of your dog. Some larger breeds with a high pain tolerance may not be deterred by the static correction. It’s always a good idea to consult with a professional to determine if a wireless dog fence is suitable for your specific breed.
6. Can a wireless dog fence be used indoors?
No, a wireless dog fence is designed to create an outdoor boundary. It relies on the positioning of the transmitter and the availability of a clear line of sight between the transmitter and the receiver collar. Indoor use is not recommended.
7. Can I adjust the boundary size of a wireless dog fence?
Yes, most wireless dog fence systems allow you to adjust the boundary size. This can be useful if you have a smaller property or if you want to prevent your dog from accessing certain areas. Refer to the manufacturer’s instructions on how to adjust the boundary size for the specific system you are using.
8. What happens if there is a power outage?
If there is a power outage, the transmitter will stop working, and the boundary signal will be lost. It’s important to have a backup plan in place, such as keeping your dog indoors or using a physical fence until power is restored.
9. Can the wireless dog fence be used in all weather conditions?
Most wireless dog fence systems are designed to withstand different weather conditions, including rain and snow. However, extreme weather conditions, such as heavy storms, may impact the performance of the system. It’s important to read the manufacturer’s guidelines and take appropriate precautions during severe weather.
10. Will the wireless dog fence harm my dog?
No, when used correctly, a wireless dog fence will not harm your dog. The static correction is designed to startle your dog and not cause harm. It is essential to follow the training guidelines provided by the manufacturer to ensure your dog understands and responds to the warning signals and static correction appropriately.
Remember, if you have any specific concerns or questions about installing and using a wireless dog fence, it’s always best to consult with a professional or the manufacturer for guidance.
Conclusion
In conclusion, installing a wireless dog fence is a smart and convenient solution for pet owners who want to provide their dogs with a safe and secure outdoor environment. The wireless dog fence offers many advantages over traditional fencing systems, such as ease of installation, flexibility, and portability. With the ability to customize boundaries and adjust settings, you can create the perfect containment area for your dog.
By utilizing advanced technology and a combination of GPS signals, radio frequency, and receiver collars, wireless dog fences effectively keep your furry friend within the designated boundaries while allowing them the freedom to roam and explore. Additionally, these systems are safe, humane, and reliable, ensuring both your peace of mind and your dog’s safety.
While there may be some initial training involved, the benefits of installing a wireless dog fence far outweigh any challenges. With careful planning and implementation, you can provide your dog with the freedom to enjoy the outdoors without compromising their safety or the aesthetics of your property.
So, whether you have a large backyard or live in a rental property, a wireless dog fence is an excellent choice to keep your dog happy, healthy, and secure.
FAQs
Q: What is a wireless dog fence?
A: A wireless dog fence is a system that uses radio signals to create an invisible boundary for your dog. It consists of a transmitter that emits a signal and a receiver that is attached to your dog’s collar. When your dog approaches the boundary, it receives a warning signal in the form of a beep or vibration, and if it continues to venture further, it may receive a mild static correction.
Q: How does a wireless dog fence work?
A: A wireless dog fence works by establishing a circular boundary around a central transmitter. The transmitter emits a radio signal that creates an invisible fence. The dog wears a receiver collar that picks up the signal. When the dog approaches the boundary, it receives a warning signal. If the dog continues to move closer, it may receive a mild static correction to deter it from crossing the boundary.
Q: Is a wireless dog fence safe for my pet?
A: When used correctly, a wireless dog fence is safe for your pet. The static correction delivered by the fence is designed to be a harmless deterrent, similar to a static shock. It is not meant to harm or cause pain to your dog. However, it is important to follow the manufacturer’s instructions and only use the recommended level of correction for your dog’s size and temperament.
Q: Can any dog use a wireless dog fence?
A: Most dogs can use a wireless dog fence, but there are some considerations to keep in mind. Small dogs may require a smaller, lightweight collar to ensure a comfortable fit. Additionally, some dogs with certain medical conditions, such as heart problems or hearing impairments, may not be suitable candidates for a wireless fence. It is best to consult with your veterinarian before using a wireless dog fence with your pet.
Q: How do I install a wireless dog fence?
A: Installing a wireless dog fence is relatively easy. First, you need to find a suitable location for the transmitter where it can be centrally positioned within your desired boundary area. Then, you set the desired boundary size by adjusting the transmitter’s settings. Next, attach the receiver collar to your dog and ensure it is properly fitted. Finally, test the system to ensure it is working correctly and guide your dog through training to familiarize them with the boundaries and proper response to warnings.