
Are you tired of dealing with the inconvenience of a Pop Socket on your phone every time you want to wirelessly charge it? Well, you’re in luck! In this article, we will guide you on how to remove your Pop Socket to enable seamless wireless charging for your cell phone. Whether you’re a fan of Now You Know or other cell phone brands, we’ve got you covered. We understand the frustration of having to remove your Pop Socket every time you want to charge your phone without wires. So, read on to learn the step-by-step process of removing your Pop Socket, ensuring a hassle-free wireless charging experience. Say goodbye to tangled wires and welcome the convenience of wireless charging with these easy instructions!
Inside This Article
- Overview of Pop Sockets and Wireless Charging Compatibility
- Steps for Removing Pop Socket for Wireless Charging
- Tips and Precautions for Pop Socket Removal
- Conclusion
- FAQs
Overview of Pop Sockets and Wireless Charging Compatibility
Pop Sockets have become incredibly popular accessories for cell phones, providing a convenient grip and stand for users. However, the introduction of wireless charging technology has posed a challenge for those who use a Pop Socket on their devices. The presence of a Pop Socket can interfere with the placement of the phone on a wireless charging pad, preventing the charging process from taking place efficiently.
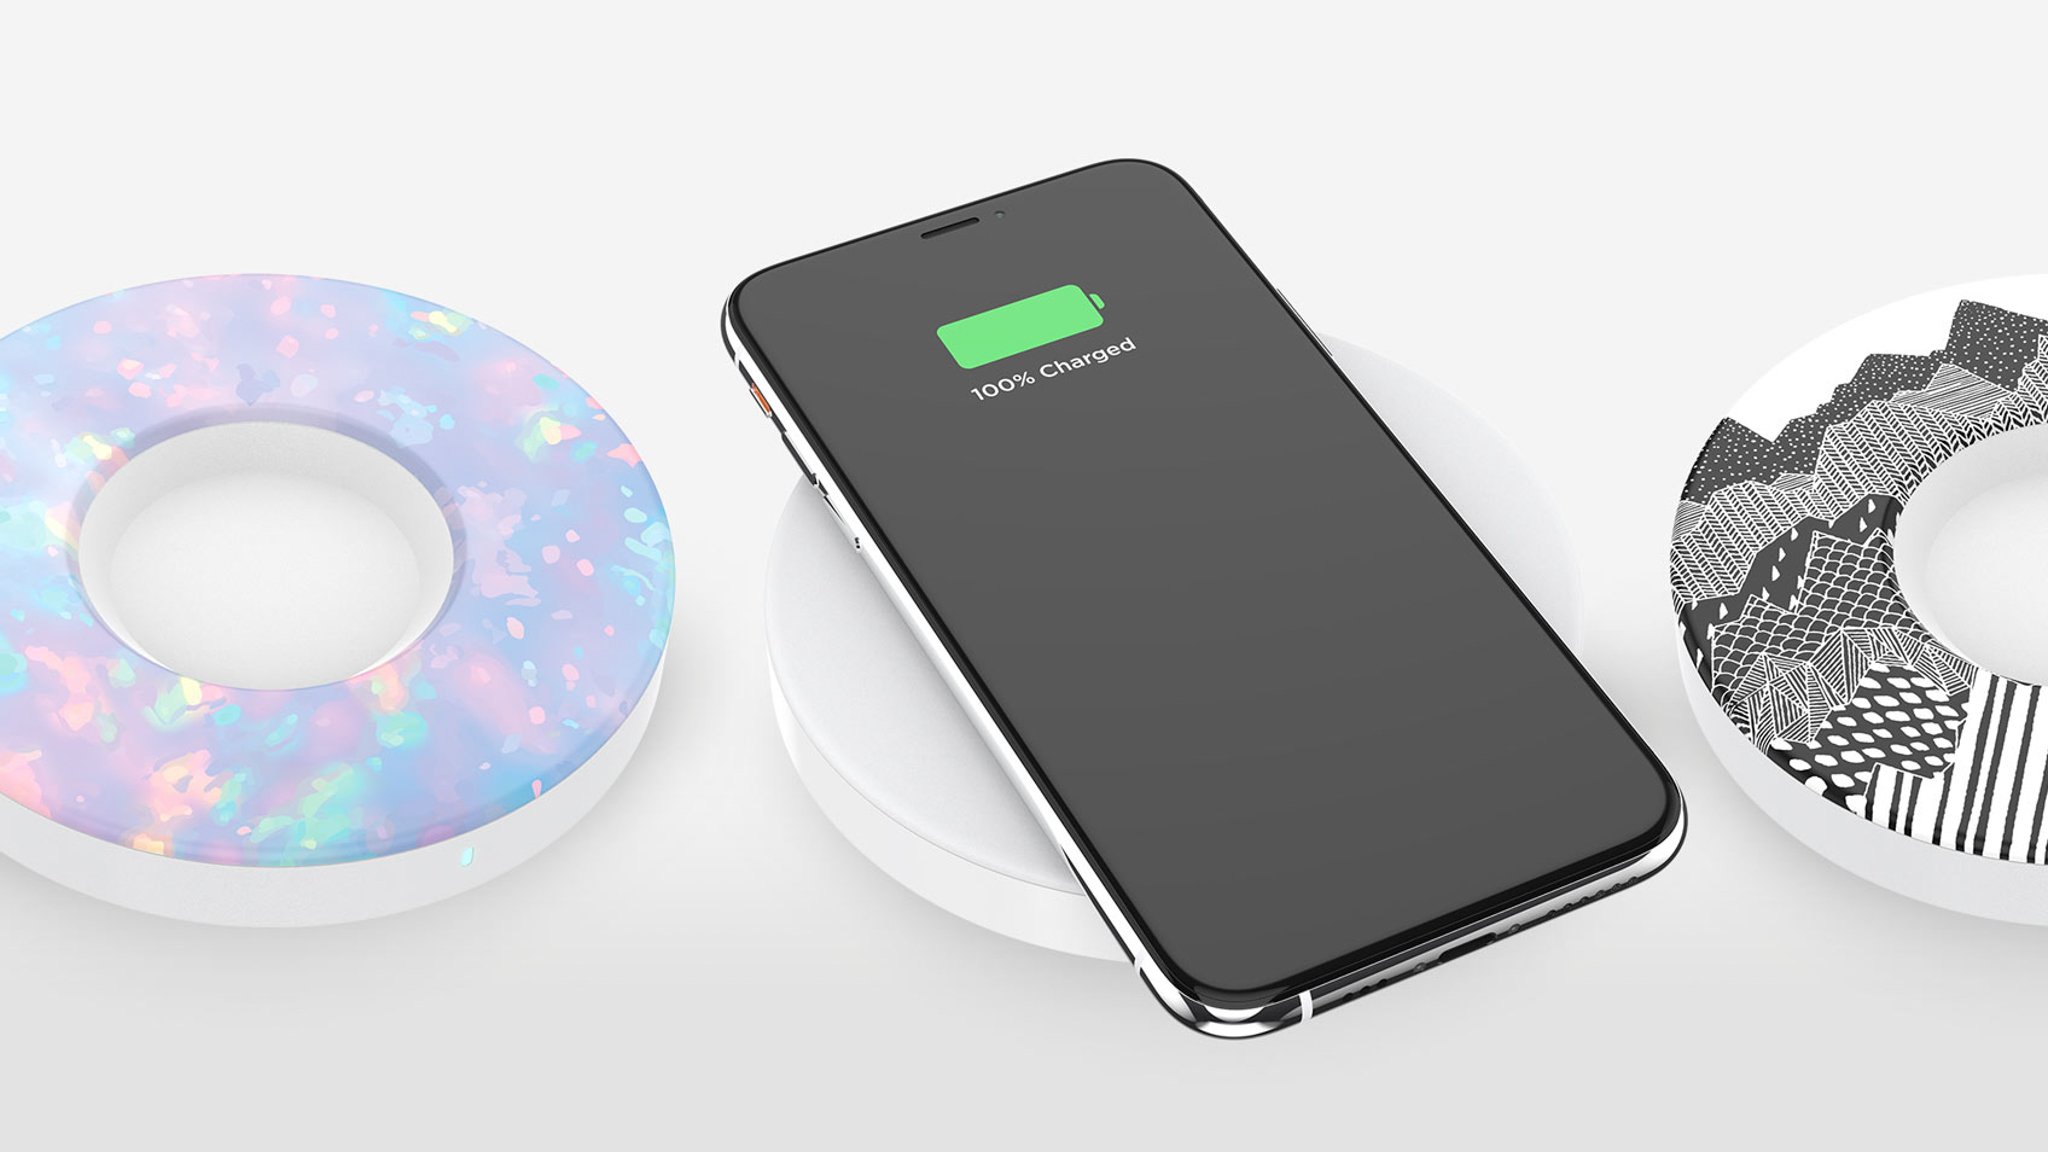
Wireless charging is an increasingly common feature offered by smartphone manufacturers. It eliminates the need for messy cables and allows users to simply place their devices on a charging pad to replenish the battery. This technology uses electromagnetic fields to transfer energy between the charging pad and the phone, enabling a seamless charging experience.
Unfortunately, the design of Pop Sockets can sometimes obstruct the proper alignment between the phone and the charging pad. This can result in limited or even no charging at all. Therefore, it is necessary to remove the Pop Socket before attempting to charge the phone wirelessly.
The compatibility between Pop Sockets and wireless charging can vary depending on the specific Pop Socket model and the wireless charging pad being used. Some Pop Sockets are designed to be removable, allowing users to easily detach them from the back of their phones. These removable Pop Sockets generally do not interfere with wireless charging when removed.
On the other hand, certain types of Pop Sockets, such as those made of a magnetic material, may hinder wireless charging even when removed. The magnetic nature of these Pop Sockets can interfere with the charging process and prevent the phone from receiving power wirelessly. In such cases, it is necessary to detach and completely remove the Pop Socket from the phone to ensure smooth wireless charging.
It is important for users to consider the compatibility between their specific Pop Socket model and their wireless charging pad. Some Pop Socket manufacturers offer wireless charging-compatible models that are designed to work seamlessly with wireless charging technology. These specialized Pop Sockets have a thinner profile or a removable section, allowing users to easily remove the obstructive portion when placing their phones on wireless charging pads.
Steps for Removing Pop Socket for Wireless Charging
Pop sockets have become incredibly popular accessories for cell phones, providing a convenient way to grip your device and take stable selfies. However, if you want to use wireless charging with your phone, you may need to remove the pop socket. Removing a pop socket can seem daunting at first, but with the right steps, it can be a relatively easy process. In this article, we will guide you through the steps to safely remove your pop socket in order to enable wireless charging.
Step 1: Start by preparing the necessary tools. You’ll need a thin and sturdy object, such as a credit card or plastic pry tool, to gently pry the pop socket from your phone. Make sure to choose an object that won’t cause any damage to your device.
Step 2: Next, take a close look at the base of your pop socket. You will notice a small groove or gap between the adhesive and the pop socket itself. This is where you will insert your thin object to pry the pop socket off.
Step 3: Insert the thin object into the groove and gently pry the pop socket upward. Apply enough pressure to loosen the adhesive bond, but be careful not to exert too much force that may cause damage to your phone or the pop socket.
Step 4: Once the pop socket is loosened, carefully peel it off from your phone’s surface. Take your time and ensure that you remove it slowly and steadily, without pulling too hard. This will help prevent any damage to your phone’s back panel.
Step 5: After removing the pop socket, you might find some residue or adhesive left on your phone. You can use a mild adhesive remover or rubbing alcohol to clean the surface and remove any sticky residue. Make sure to apply a small amount of the remover onto a cloth or cotton swab and gently rub the affected area.
Step 6: Finally, inspect your phone’s back panel to ensure that it is clean and free from any residue or damage. Once you’re satisfied, your phone is now ready for wireless charging without the pop socket interfering.
Following these steps will help you safely remove your pop socket and allow for seamless wireless charging. It’s important to note that while removing the pop socket is relatively straightforward, you should always exercise caution to prevent any accidental damage to your phone. By following these instructions, you can enjoy the benefits of wireless charging without compromising on the convenience of your pop socket accessory.
Tips and Precautions for Pop Socket Removal
Removing a pop socket from your phone may seem like a simple task, but it’s important to follow proper procedures to avoid any damage to your device. Here are some useful tips and precautions to keep in mind:
- Ensure a clean and dry surface: Before attempting to remove the pop socket, make sure the area around it is free from any dirt, dust, or moisture. This will help prevent any particles from getting lodged in the adhesive or causing damage to your phone when you remove the socket.
- Apply gentle pressure: When removing the pop socket, it’s important to use a gentle and steady amount of pressure. Avoid using excessive force that could potentially harm your phone’s surface or cause it to crack. Start by applying light pressure and gradually increase it if necessary.
- Twist and turn: If the pop socket is firmly attached, you can try twisting and turning it in a clockwise or counterclockwise direction. This can help loosen the adhesive and make it easier to remove without causing any damage to your phone.
- Use a flat tool: If you’re having trouble removing the pop socket with your fingers alone, you can use a flat and sturdy tool, such as a credit card or a plastic spatula, to gently pry it off. Be cautious not to use anything sharp or metal that could scratch or puncture your device.
- Apply heat (if necessary): If the adhesive is particularly stubborn, you can use a hairdryer or heat gun to warm up the area around the pop socket. The heat will soften the adhesive, making it easier to remove. Remember to keep a safe distance and avoid overheating your device.
- Clean residue: After removing the pop socket, you may notice some residue left behind. Use a mild adhesive remover or isopropyl alcohol on a soft cloth to gently clean the area. Be sure to follow the manufacturer’s instructions and avoid using harsh chemicals that could damage your phone.
- Be patient: Removing a pop socket requires patience and precision. Rushing the process or using excessive force can lead to accidental damage. Take your time, follow the instructions, and be cautious throughout the removal process.
- Consider professional help: If you’re unsure about removing the pop socket yourself or if you’re concerned about accidentally damaging your phone, it’s best to seek professional assistance. Visit a reputable phone repair shop or contact the manufacturer for guidance on safe removal.
By following these tips and taking the necessary precautions, you can safely remove a pop socket from your phone without causing any harm to your device. Remember to be gentle, patient, and attentive throughout the process to ensure a smooth and successful removal.
In conclusion, removing a pop socket to enable wireless charging is a straightforward process that can enhance the functionality and convenience of your mobile device. By following the steps outlined in this article, you can safely and easily remove your pop socket without causing any damage. Remember to be gentle and patient during the removal process to avoid any accidents.
Once you have successfully removed your pop socket, you can enjoy the benefits of wireless charging, eliminating the hassle of tangled cords and cables. Whether you’re at home, in the office, or on the go, wireless charging provides a convenient and efficient way to power up your device.
So, don’t let your pop socket hinder your wireless charging experience. With a few simple steps, you can remove it and enjoy the freedom and convenience of wireless charging for your cell phone.
FAQs
1. Can I remove the Pop Socket from my phone to enable wireless charging?
2. Does removing the Pop Socket affect the functionality of my phone?
3. How do I safely remove the Pop Socket without damaging my phone?
4. Can I reuse the Pop Socket after removing it?
5. Are there any alternative ways to use a Pop Socket and still enable wireless charging?