
Are you looking to transfer your Google data to another account? Whether you’re switching to a new email address or creating a separate account for personal and work-related data, transferring your Google data can be a seamless process with the right approach. By following a few simple steps, you can ensure that your emails, contacts, calendars, and other important data are safely migrated to your new account without any loss or inconvenience. In this article, we will guide you through the process of transferring your Google data to another account, providing you with the necessary steps and tips to make the transition smooth and efficient. So, if you’re ready to take control of your digital life and streamline your Google data, let’s dive in!
Inside This Article
- Overview
- Step 1: Export Google data from the current account
- Step 2: Import Google data to the new account
- Step 3: Verify the data transfer
- Tips for a Successful Transfer
- Conclusion
- FAQs
Overview
Transferring Google data from one account to another can be a crucial process when you want to migrate your information or consolidate your accounts. Whether you’re switching to a new email address, combining multiple accounts, or simply looking to back up your data, transferring Google data can save you time and effort in the long run.
In this article, we will guide you through the steps to transfer your Google data from one account to another. We will cover the process of exporting data from your current account, importing it to the new account, and verifying the data transfer. Additionally, we will provide some valuable tips to ensure a successful and seamless transfer.
By following these steps, you can safely transfer your data, including emails, contacts, calendars, documents, and more, to a new account while minimizing the risk of data loss or disruption. So, let’s dive in and learn how to transfer Google data to another account!
Step 1: Export Google data from the current account
When it comes to transferring your Google data from one account to another, the first step is to export the data from your current account. This process allows you to create a backup of your important information and ensure a smooth transition to your new account. Here’s how you can export your Google data:
- Sign in to your current Google account: Open your preferred web browser and navigate to the Google account sign-in page. Enter your email address and password to access your account.
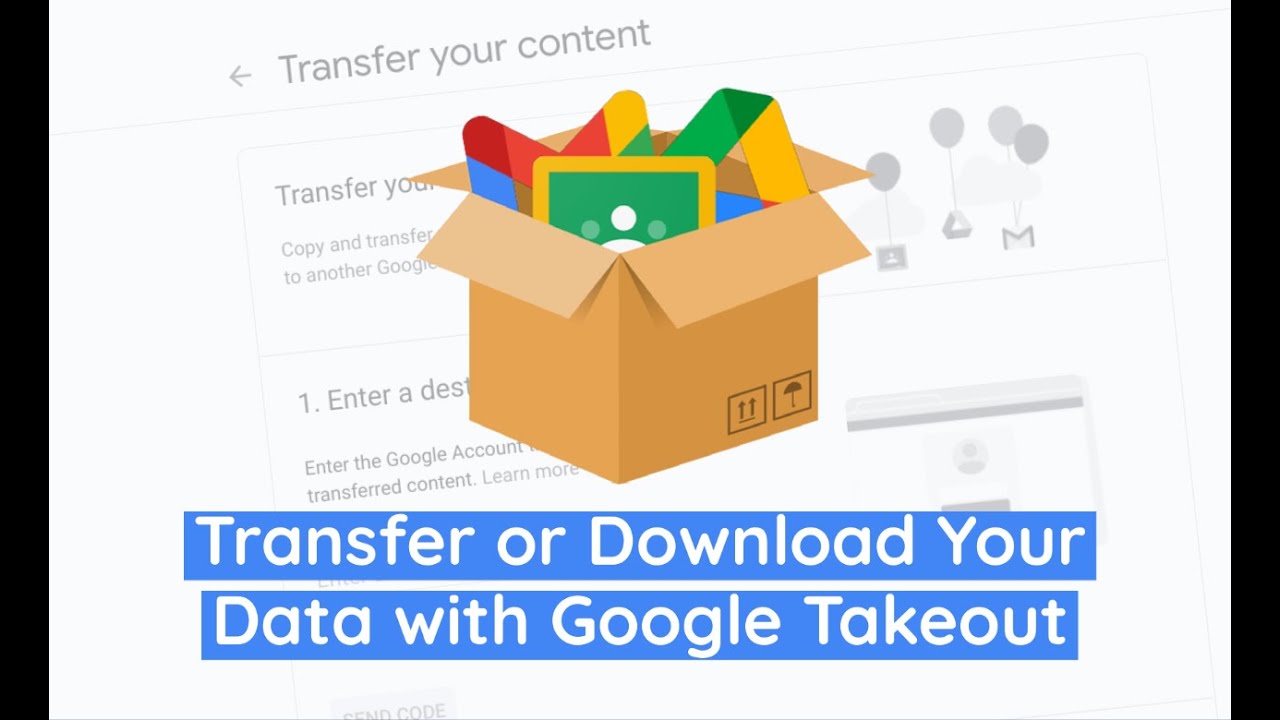
- Access the Google Takeout service: Once you are signed in to your account, go to the Google Takeout website. This service allows you to export various types of data from your Google account.
- Select the data you want to export: On the Google Takeout page, you will see a list of Google products that you can export data from. Check the boxes next to the products you want to include in your export. This may include Gmail, Google Drive, Google Photos, Google Calendar, and more.
- Customize your export settings: After selecting the desired products, you can further customize your export settings. You can specify the format of the exported data, choose the delivery method (download link or directly to another cloud storage service), and set the frequency of exports if you want to regularly back up your data.
- Start the export process: Once you have customized your settings, click on the “Next” button to proceed. On the following page, you can choose the file type, size, and delivery method of your export. After finalizing your choices, click on the “Create export” button to initiate the export process.
- Wait for the export to complete: Depending on the size and complexity of your data, the export process may take some time. Google will notify you via email when the export is completed and provide you with a download link or instructions for accessing your exported data.
By following these steps, you can successfully export your Google data from your current account, making it ready for import into your new account. Remember to keep the exported data secure and only share it with trusted sources.
Step 2: Import Google data to the new account
Once you have successfully exported your Google data from the current account, the next step is to import it into your new account. This process will allow you to transfer all your important information seamlessly, ensuring that you can continue using Google services without any disruption.
To import your Google data to the new account, follow these steps:
- Sign in to your new Google account. Make sure you are signed out of any other accounts to avoid confusion.
- Go to the respective Google service where you want to import your data. For example, if you want to import your Gmail data, go to the Gmail website.
- Look for the settings or preferences menu. It is usually represented by a gear or three horizontal dots icon.
- Click on the settings menu and select the “Import” or “Accounts and Import” option.
- Choose the option to import data from another account.
- Provide the necessary information, such as the email address and password of the account from which you exported the data.
- Select the specific data you want to import. It may include emails, contacts, calendar events, saved bookmarks, or any other relevant data.
- Review the import settings and make any necessary adjustments.
- Click on the “Import” or “Start Import” button to begin the data transfer process.
- Depending on the amount of data being imported, it may take some time to complete the process. Be patient and do not interrupt the import process.
- Once the import is complete, you will receive a confirmation message. Verify that the imported data is now available in your new Google account.
By following these steps, you can easily import all your Google data to the new account. This ensures that you have access to your important information, making the transition to a new account smooth and hassle-free.
Step 3: Verify the data transfer
After successfully importing your Google data to the new account, it’s important to verify that the transfer was completed accurately. Verification is crucial to ensure that all your important information has been successfully transferred and is accessible in the new account.
Here are a few steps to follow to verify the data transfer:
1. Review the transferred data: Take some time to review the data that has been transferred to the new account. Check if all the files, emails, contacts, and other data are present and accessible. This will give you an idea of whether the transfer was successful or if any data was left behind.
2. Test the accessibility: Try accessing different types of data in the new account, such as opening emails, viewing documents, and playing media files. Ensure that you can easily access and interact with all the transferred data without any issues. If you encounter any problems, you may need to troubleshoot the transfer or contact Google support for assistance.
3. Compare data with the old account: To further verify the data transfer, compare the data in your new account with the data in your old account. This can include checking the number of emails in each account, comparing the files and folders, and reviewing the contact lists. Any discrepancies should be noted and addressed accordingly.
4. Check synchronization: If you have any devices connected or synchronized with your Google account, such as smartphones or tablets, ensure that the data is synchronized properly. Test features like email synchronization, calendar events, and contact synchronization. This will help confirm that the transferred data is fully integrated and functional across all your connected devices.
5. Perform a trial run: Finally, perform a trial run with your new account and its transferred data. Use the account for a few days, perform regular tasks, and monitor any potential issues or glitches. If everything runs smoothly and you are satisfied with the data transfer, then congratulations! Your data transfer has been successfully verified.
Remember, it’s essential to carefully review and verify the data transfer to ensure that all your valuable information is securely transferred to the new account. If you encounter any difficulties during the process, don’t hesitate to seek assistance from Google support or consult online forums for guidance.
Tips for a Successful Transfer
When transferring data from one Google account to another, it’s essential to ensure a smooth and successful process. Here are some valuable tips to keep in mind:
- Backup your data: Before initiating the transfer, it’s always a good idea to create a backup of your data. This way, even if something goes wrong during the transfer, you’ll have a copy of all your important information.
- Double-check compatibility: Confirm that the transfer process supports all the types of data you want to move. Different Google services may have different transfer options, so it’s crucial to understand the limitations of each.
- Review privacy settings: Take the time to review your privacy settings in both the current and new Google accounts. Ensure that you’re comfortable with the level of access and permissions granted to your new account.
- Organize and filter: If you have a large amount of data, consider organizing and filtering it before starting the transfer. This can help streamline the process and ensure that only relevant data is moved.
- Check storage space: Make sure that your new Google account has enough storage space to accommodate the data you wish to transfer. If needed, consider upgrading your storage plan before initiating the transfer.
- Keep users informed: If the transfer involves shared documents or collaborations, inform all relevant users about the upcoming change. This will help minimize confusion and ensure a smooth transition for everyone involved.
- Check for file compatibility: If you’re transferring files that are in non-Google formats, such as Microsoft Office files, make sure they can be opened and edited in the new account. Check for any compatibility issues that may arise.
- Monitor the transfer: Once the transfer process has started, keep a close eye on its progress. This will allow you to identify and address any issues that may arise, ensuring a successful and complete transfer.
- Verify data integrity: After the transfer is complete, take the time to verify that all your data has been transferred accurately. Check data such as contacts, emails, documents, and photos to ensure nothing has been left behind.
- Update account settings: Finally, update your account settings, preferences, and notifications in the new Google account to match your requirements. This will ensure a seamless transition and optimal user experience.
By following these tips, you can ensure a successful transfer of your Google data to a new account. Remember to plan ahead, manage your data effectively, and monitor the process closely to avoid any hiccups along the way.
Conclusion
In conclusion, transferring Google data to another account can be a valuable process that allows you to consolidate your information and access it from a single location. Whether you are switching email addresses, merging accounts, or simply want to backup your data, Google provides various tools and methods to facilitate this process.
By following the steps outlined in this article, you can smoothly transfer your Gmail, Google Drive, Contacts, and other important data to a new Google account. Remember to back up your data beforehand and carefully review the instructions to ensure a successful transfer.
Keep in mind that transferring data may result in some limitations or changes to certain features, so it’s important to be aware of any potential implications beforehand. And don’t forget to notify your contacts, update your login information, and adjust settings in your new account to ensure a seamless transition.
Overall, with the right knowledge and tools, transferring Google data to another account can be a hassle-free process that allows you to keep your information organized and accessible in the most convenient way possible.
FAQs
1. How do I transfer my Google data to another account?
To transfer your Google data to another account, follow these steps:
- Open your Google Account settings.
- Click on “Data & personalization”.
- Scroll down to “Download, delete, or make a plan for your data”.
- Click on “Transfer your content”.
- Follow the instructions to transfer your data to another account.
2. Which data can I transfer to another Google account?
You can transfer a variety of data to another Google account, including emails, contacts, calendar events, Google Drive files, Google Photos, and more. However, there may be some limitations depending on the specific services and products you use. Make sure to review the transfer options provided by Google during the process to see which data can be transferred.
3. Is there a cost associated with transferring my Google data to another account?
No, transferring your Google data to another account is free of charge. Google provides this feature to help users easily move their data from one account to another without any additional cost.
4. Can I transfer data from a personal Google account to a G Suite account?
Yes, it is possible to transfer data from a personal Google account to a G Suite account. However, there are some restrictions and limitations to consider. For example, some data may not be transferrable due to differences in storage limits or feature availability between personal accounts and G Suite accounts. It’s recommended to review the documentation provided by Google for specific instructions and limitations when transferring data between these account types.
5. Will transferring my Google data to another account delete the data from the original account?
Transferring your Google data to another account does not automatically delete the data from the original account. The data is copied to the new account, so it will still remain in the original account unless you choose to manually delete it. It’s important to note that some data, such as emails, may still be visible in the original account’s Sent folder even after the transfer.