
Sure, here's the introduction paragraph wrapped in HTML tags:
html
Have you ever wondered how to capture stunning long exposure photos with your iPhone 12? Long exposure photography allows you to create mesmerizing images of flowing water, streaking lights, and captivating nightscapes. With the advanced camera capabilities of the iPhone 12, achieving professional-quality long exposure shots is within your reach. In this article, we’ll explore the step-by-step process of capturing breathtaking long exposure photos using your iPhone 12. Whether you’re a photography enthusiast or simply want to elevate your Instagram game, mastering long exposure photography on your iPhone 12 will unlock a world of creative possibilities.
Inside This Article
- Equipment Needed
- Setting Up Your Shot
- Taking the Long Exposure Shot
- Editing Your Long Exposure Photo
- Conclusion
- FAQs
Equipment Needed
Before diving into capturing stunning long exposure photos with your iPhone 12, it’s essential to ensure you have the right equipment at your disposal. Here’s a rundown of what you’ll need:
1. iPhone 12: As the star of the show, your iPhone 12 serves as the primary tool for capturing long exposure shots. Its advanced camera capabilities and intuitive settings make it an ideal choice for this creative endeavor.
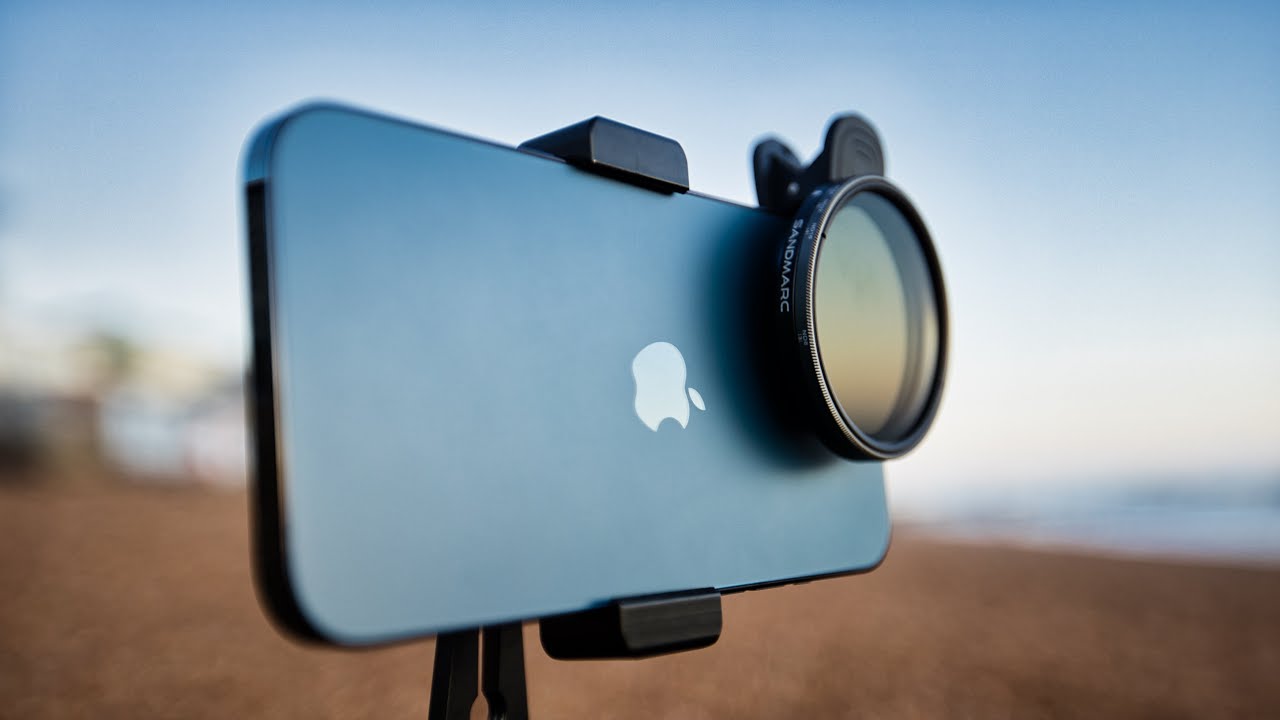
2. Tripod: Stability is key when it comes to long exposure photography. Investing in a reliable tripod will help eliminate camera shake and ensure sharp, high-quality images, especially in low-light conditions.
3. Remote Shutter Release: While not mandatory, a remote shutter release can further minimize camera movement, allowing you to capture long exposure shots with utmost precision and control.
4. Neutral Density (ND) Filter: To effectively manipulate light and achieve longer exposure times, consider using an ND filter. This accessory is particularly useful in bright settings where you need to reduce the amount of light entering the lens.
5. Patience and Creativity: While not tangible items, patience and creativity are indispensable when delving into long exposure photography. Embrace the process, experiment with different settings, and let your imagination run wild to capture captivating long exposure images with your iPhone 12.
Setting Up Your Shot
Before you start capturing a long exposure shot on your iPhone 12, it’s crucial to find the right subject and location. Look for scenes with movement, such as flowing water, traffic, or people walking, to create captivating long exposure effects.
Once you’ve chosen your subject, stabilize your iPhone 12 using a tripod or a stable surface to avoid any unwanted camera shake. This is essential for achieving a sharp and clear long exposure image.
Consider the composition of your shot. Experiment with different angles and perspectives to find the most compelling way to frame your subject. Additionally, ensure that the lighting conditions are suitable for the effect you want to achieve.
For the best results, use the native Camera app’s long exposure feature, which allows you to adjust the exposure time to suit your specific creative vision. This feature can be accessed by selecting “Long Exposure” from the shooting modes in the Camera app.
Taking the Long Exposure Shot
Now that you have your iPhone 12 set up on a stable surface and the Live Photo option enabled, it’s time to capture the long exposure shot. Ensure that your subject or scene is well-lit and that there is minimal movement to achieve the best results. When you’re ready, tap the shutter button to start the exposure. During this time, it’s important to keep the iPhone as steady as possible to avoid any blurriness in the final image.
As the exposure progresses, you’ll notice the Live Photo icon pulsating on the screen, indicating that the long exposure is being captured. Depending on the lighting conditions and the effect you’re aiming for, the exposure time can vary from a few seconds to several minutes. It’s crucial to remain patient and allow the iPhone to capture the desired light trails, smooth water surfaces, or other long exposure effects.
Once the exposure is complete, tap the shutter button again to stop the process. Review the resulting long exposure photo in your camera roll to ensure that the effect has been achieved to your satisfaction. If necessary, you can retake the shot with adjusted settings or compositions until you achieve the desired long exposure effect.
Editing Your Long Exposure Photo
Once you’ve captured a stunning long exposure photo, the next step is to enhance it through editing. While the iPhone 12’s camera produces impressive results, a bit of editing can take your long exposure shots to the next level.
Begin by opening the photo in your preferred editing app. Whether it’s the built-in Photos app, Adobe Lightroom, or another editing tool, the key is to adjust the brightness, contrast, and color balance to ensure the image looks its best.
Experiment with different filters and effects to add depth and drama to your long exposure photo. Consider adjusting the highlights and shadows to bring out the details in both the illuminated and darker areas of the image.
Don’t be afraid to crop the photo to improve its composition. By focusing on the most captivating elements of the image, you can create a more impactful visual story.
Lastly, pay attention to the sharpness and clarity of the photo. Fine-tuning these aspects can make a significant difference in the overall quality of your long exposure shot.
Conclusion
Long exposure photography on the iPhone 12 opens up a world of creative possibilities, allowing you to capture stunning images that were previously only achievable with professional cameras. By using the right apps and accessories, you can elevate your photography to new heights and experiment with light, motion, and artistic effects. Whether you’re capturing mesmerizing light trails, dreamy waterfalls, or captivating nightscapes, the iPhone 12’s long exposure capabilities empower you to unleash your creativity and produce breathtaking photographs. With the tips and techniques discussed in this article, you can confidently embark on your long exposure photography journey and create impressive images that stand out in a sea of ordinary snapshots.
FAQs
**Q: Can I take long exposure photos with my iPhone 12?**
A: Yes, you can capture stunning long exposure shots using your iPhone 12, thanks to its advanced camera capabilities and the availability of third-party apps designed specifically for long exposure photography.
Q: Do I need any additional equipment to take long exposure photos with my iPhone 12?
A: While the iPhone 12's camera is capable of capturing long exposure shots, using a tripod or stabilizing the device can significantly enhance the quality of your long exposure images, especially in low light conditions.
Q: Which apps are recommended for capturing long exposure photos on the iPhone 12?
A: There are several popular apps available for long exposure photography on the iPhone 12, including Spectre, Slow Shutter Cam, and Cortex Camera. These apps offer a range of features to help you achieve impressive long exposure effects.
Q: What are the ideal settings for capturing long exposure photos on the iPhone 12?
A: To achieve optimal long exposure results, it's important to experiment with different settings such as exposure time, ISO, and focus. Additionally, utilizing features like Live Photos and adjusting the shutter speed can further enhance the creative possibilities of long exposure photography on the iPhone 12.
Q: Can I edit long exposure photos on my iPhone 12?
A: Yes, the iPhone 12's built-in photo editing tools, as well as third-party editing apps like Adobe Lightroom and Snapseed, provide the flexibility to edit and enhance your long exposure images directly on your device, allowing you to refine the final look and feel of your photographs.