
Sure, here's the introduction in HTML format:
html
Are you eager to unlock the incredible long exposure capabilities of your iPhone 12 Pro? Capturing stunning long exposure shots on your iPhone 12 Pro is an exciting way to elevate your photography skills. With the advanced camera technology and features of the iPhone 12 Pro, you can create mesmerizing long exposure images that showcase motion, light trails, and breathtaking night scenes. In this comprehensive guide, you will discover the step-by-step process to master long exposure photography on your iPhone 12 Pro, enabling you to unleash your creativity and capture captivating moments with unparalleled clarity and artistry.
Inside This Article
- Equipment Needed
- Setting Up Your Shot
- Adjusting Exposure Time
- Using a Tripod
- Editing Long Exposure Photos
- Conclusion
- FAQs
Equipment Needed
To capture stunning long exposure photos on your iPhone 12 Pro, you’ll need a few essential pieces of equipment to ensure optimal results. Here’s what you’ll need to get started:
1. iPhone 12 Pro: As the name suggests, your iPhone 12 Pro is the primary tool for capturing long exposure shots. Its advanced camera capabilities and powerful processing make it an ideal device for this creative endeavor.
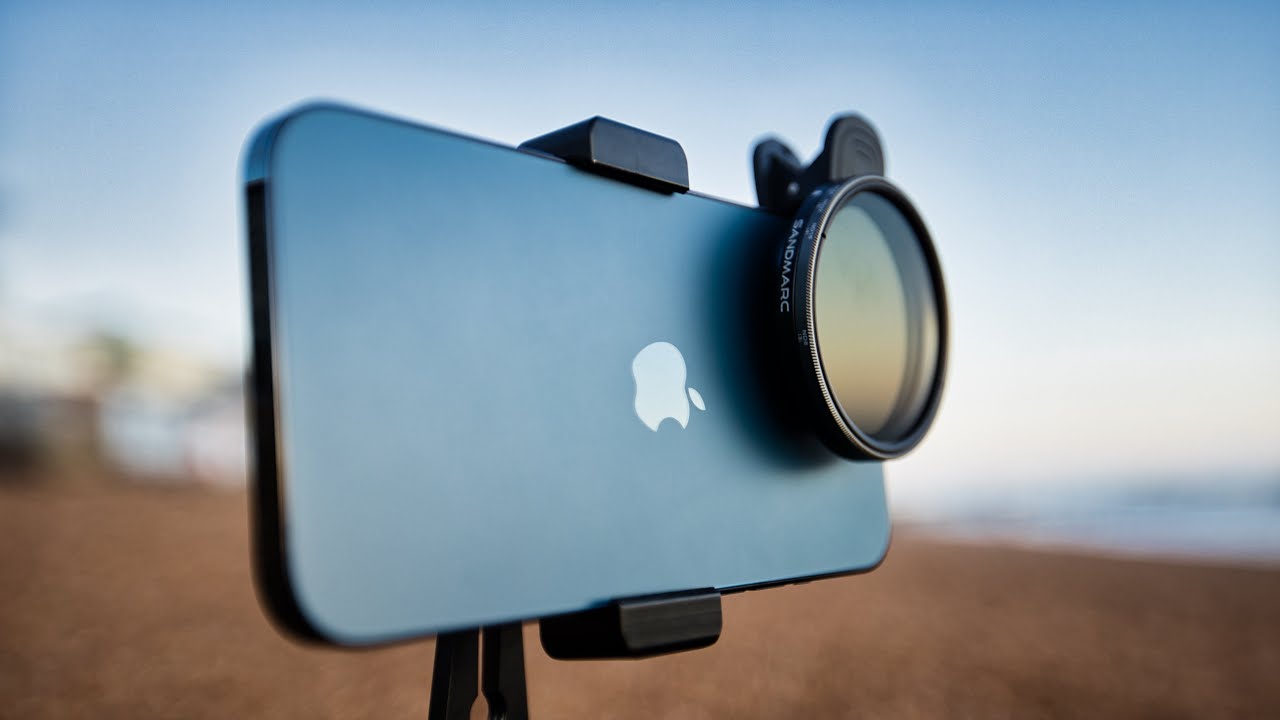
2. Tripod: Stability is crucial when shooting long exposure photos. A sturdy tripod will help keep your iPhone steady during the extended exposure time, resulting in sharp and clear images without any blurring.
3. Remote Shutter Release: While not mandatory, a remote shutter release can further minimize any potential camera shake, especially when capturing long exposure shots in low light conditions.
4. Neutral Density (ND) Filter: In certain lighting conditions, such as bright daylight, an ND filter can help reduce the amount of light entering the lens, allowing for longer exposure times without overexposing the image.
By ensuring you have these essential tools at your disposal, you’ll be well-equipped to embark on your long exposure photography journey with your iPhone 12 Pro.
Setting Up Your Shot
When setting up your shot for long exposure photography on your iPhone 12 Pro, it’s essential to find a stable surface to place your phone on. This can be a table, a rock, or any other surface that will keep your device steady during the exposure. Once you’ve found a stable surface, ensure that your iPhone is positioned in the direction of your subject, whether it’s a flowing river, bustling city street, or starry night sky. Take a moment to frame your shot and ensure that the composition is visually appealing.
Consider using the grid feature on your iPhone’s camera app to help align your shot. This feature can assist in achieving a balanced composition and ensuring that the horizon is level. Additionally, if you’re shooting in low light conditions, it’s advisable to tap on the brightest part of the scene on your phone’s screen to set the focus and exposure. This will help capture the details and colors effectively in your long exposure shot.
Adjusting Exposure Time
When capturing long exposure photos with your iPhone 12 Pro, you have the flexibility to adjust the exposure time to achieve the desired effect. The exposure time determines how long the camera’s shutter remains open, allowing more light to reach the sensor. This can result in stunning effects such as light trails, smooth water surfaces, and dynamic night scenes.
To adjust the exposure time on your iPhone 12 Pro, open the Camera app and select the “Long Exposure” mode. Once in this mode, tap on the yellow “exposure” icon at the top of the screen. You can then use the slider to increase or decrease the exposure time, depending on the effect you want to achieve. Longer exposure times are ideal for capturing light trails and smooth water, while shorter exposure times are suitable for creating subtle motion blur in moving subjects.
Experimenting with different exposure times will allow you to unleash your creativity and capture visually striking long exposure images with your iPhone 12 Pro. Whether you’re shooting a bustling cityscape at night or a serene waterfall during the day, adjusting the exposure time empowers you to craft captivating long exposure photographs that stand out.
Using a Tripod
When capturing long exposure photos with your iPhone 12 Pro, using a tripod is essential for achieving sharp, blur-free images. A stable base is crucial for preventing camera shake, especially when dealing with longer exposure times. A tripod allows you to keep your iPhone steady, ensuring that your long exposure shots are crisp and clear.
By using a tripod, you can also experiment with different compositions and angles, as it provides a reliable platform for positioning your iPhone. This is particularly beneficial when capturing long exposure shots in low light conditions, as it enables you to maintain stability while the camera’s shutter remains open for an extended duration.
Additionally, utilizing a tripod allows you to explore creative possibilities, such as capturing light trails or smooth water effects, with precision and control. Whether you’re photographing a scenic landscape or a bustling cityscape, a tripod empowers you to elevate your long exposure photography to new heights.
Editing Long Exposure Photos
Once you’ve captured stunning long exposure photos with your iPhone 12 Pro, it’s time to enhance and refine them using editing tools. The built-in Photos app offers various editing features that can help you perfect your long exposure shots.
Start by selecting the long exposure photo you want to edit in the Photos app. Then, tap “Edit” to access the editing tools. One of the most effective adjustments for long exposure photos is the “Long Exposure” effect. This feature can be found under the “Adjust” menu and allows you to control the intensity of the long exposure effect, giving your photos a professional touch.
Additionally, you can fine-tune the overall look of your long exposure photos by adjusting parameters such as brightness, contrast, and saturation. Experiment with these settings to achieve the desired mood and ambiance in your photos.
Furthermore, consider using third-party editing apps such as Adobe Lightroom or VSCO, which provide advanced editing capabilities for long exposure photography. These apps offer a wide range of tools, including selective adjustments, color grading, and noise reduction, allowing you to take your long exposure photos to the next level.
Conclusion
Long exposure photography on the iPhone 12 Pro opens up a world of creative possibilities, allowing you to capture stunning light trails, silky waterfalls, and mesmerizing night scenes. With the powerful camera capabilities and advanced features of the iPhone 12 Pro, long exposure photography has become more accessible than ever. By leveraging the Live Photos feature and utilizing third-party apps, you can unleash your creativity and experiment with different long exposure techniques to produce captivating and unique images.
FAQs
Q: Can the iPhone 12 Pro capture long exposure photos?
Yes, the iPhone 12 Pro has a Night mode feature that allows for long exposure photography in low-light conditions.
Q: How do I access the long exposure feature on the iPhone 12 Pro?
To access the long exposure feature on the iPhone 12 Pro, simply open the Camera app and select the Night mode. The camera will automatically use long exposure to capture stunning low-light photos.
Q: Can I adjust the exposure time on the iPhone 12 Pro for long exposure shots?
While the iPhone 12 Pro's Night mode automatically adjusts the exposure time for optimal results, users can manually adjust the exposure time by tapping on the Night mode icon and using the slider to increase or decrease the exposure time.
Q: Are there any third-party apps that can enhance long exposure photography on the iPhone 12 Pro?
Yes, there are several third-party apps available on the App Store that offer advanced long exposure features, allowing users to have more control over their long exposure shots.
Q: How can I achieve the best results with long exposure photography on the iPhone 12 Pro?
To achieve the best results with long exposure photography on the iPhone 12 Pro, it's essential to stabilize the device using a tripod or a stable surface to prevent camera shake. Additionally, experimenting with different exposure times and compositions can lead to stunning long exposure photos.