
Are you having trouble removing the camera protector on your brand new iPhone 13? You’re not alone! Many iPhone users often find themselves struggling to remove the camera protector without damaging the device. In this article, we will guide you through the step-by-step process of safely removing the camera protector on your iPhone 13, ensuring that you can capture stunning photos without any obstructions. With our expert tips and tricks, you’ll be able to remove the camera protector in no time, giving you a clear view and preserving the quality of your photos. So, let’s dive in and learn how to remove the camera protector on your iPhone 13 without any hassle.
Inside This Article
- Removing the Camera Protector on iPhone 13
- Method 1: Peeling off the Camera Protector
- Method 2: Using a Hairdryer to Remove the Camera Protector
- Method 3: Using a Cleaning Solution to Remove the Camera Protector
- Conclusion
- FAQs
Removing the Camera Protector on iPhone 13
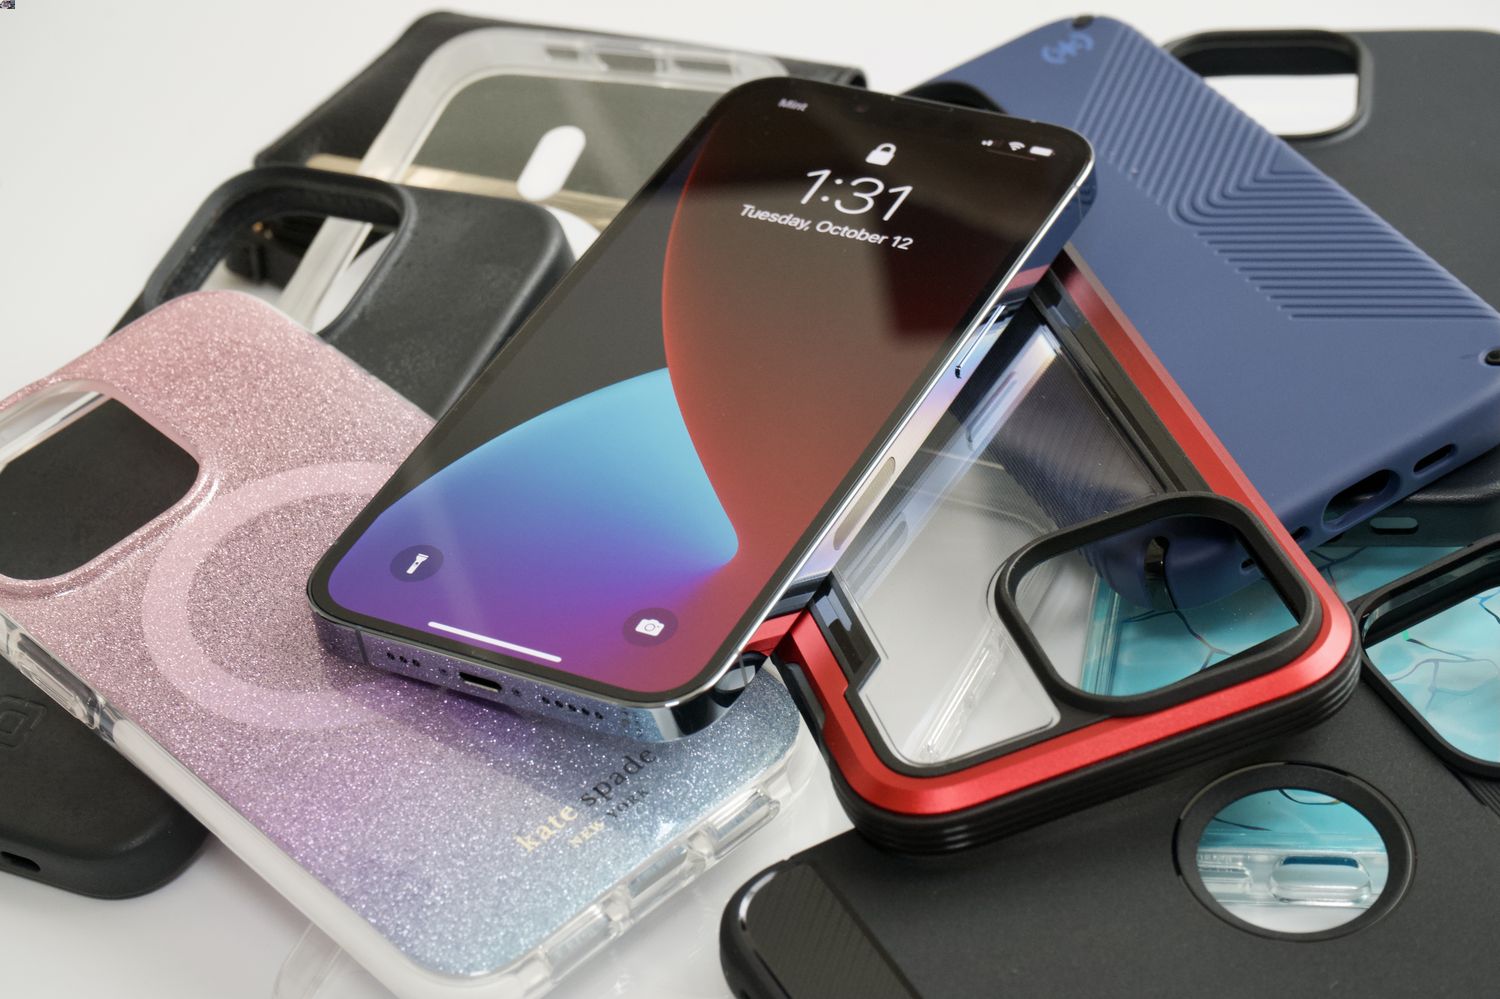
The iPhone 13 boasts a powerful camera system that enables users to capture stunning photos and videos. To protect this valuable feature, Apple includes a camera protector on the device. However, there may come a time when you want to remove the camera protector to enhance the clarity of your shots. In this article, we will explore three methods to safely remove the camera protector on your iPhone 13.
Method 1: Peeling off the Camera Protector
One of the simplest ways to remove the camera protector is by peeling it off manually. Start by locating the camera protector, which is a small oval-shaped plastic or glass cover. Gently use your fingernail or a thin, non-metallic tool to lift the edge of the protector. Be careful not to apply too much pressure or scratch the camera lens. Once you have lifted the edge, slowly peel off the protector, ensuring it comes off smoothly without leaving any residue. Toss the removed protector in the trash and inspect the camera lens for any dust or debris.
Method 2: Using a Hairdryer to Remove the Camera Protector
If the camera protector is stubborn and difficult to peel off manually, you can use a hairdryer to loosen the adhesive. Set the hairdryer to a low heat setting and hold it a few inches away from the camera protector. Gently heat the protector for about 20-30 seconds, ensuring you move the hairdryer in a circular motion to distribute the heat evenly. Once the adhesive is warm, use your fingernail or a non-metallic tool to lift the edge and peel off the protector as described in Method 1. Remember to handle the hairdryer with caution and avoid overheating the device.
Method 3: Using a Cleaning Solution to Remove the Camera Protector
If you notice any residue or stubborn adhesive after removing the camera protector, you can use a cleaning solution to remove it. Start by mixing a small amount of isopropyl alcohol or lens cleaner with water in a spray bottle. Lightly spray the solution onto a microfiber cloth and gently wipe the camera lens, focusing on the areas with residue. Avoid spraying the solution directly onto the lens to prevent any liquid damage. Continue wiping until the lens is clean and free from any residue. Give it a final wipe with a dry microfiber cloth to ensure no moisture remains.
By following these methods, you can safely remove the camera protector on your iPhone 13 and ensure a clear and unobstructed camera lens. Remember to handle your device with care, as it is a delicate piece of technology. If you have any concerns or difficulties when removing the camera protector, it is recommended to seek assistance from an authorized service provider or Apple support.
Now that you know how to remove the camera protector, go ahead and capture breathtaking moments with your iPhone 13 without any obstructions! Enjoy your photography experience with a clear and uncompromising camera lens!
Method 1: Peeling off the Camera Protector
One of the easiest ways to remove the camera protector on your iPhone 13 is by simply peeling it off. This method requires a gentle touch and a steady hand to avoid damaging the camera lenses.
To begin, make sure your iPhone is turned off to prevent any accidental button presses or screen interactions. Then, locate the camera protector on the back of your device. It is usually a small, clear plastic cover that is placed over the camera lenses to protect them from scratches and smudges.
Using your fingernails or a small plastic tool, carefully lift one corner of the camera protector. Slowly and gently peel it back, applying even pressure to release it from the adhesive. Take your time and be patient to avoid any sudden movements that may cause the protector to tear or leave residue on the lenses.
If you encounter resistance while peeling off the protector, stop immediately. Applying excessive force can potentially damage the camera lenses. Instead, try using a hairdryer or cleaning solution, as explained in the next sections, to loosen the adhesive and facilitate its removal.
Once you have successfully peeled off the camera protector, inspect the lenses for any dust or debris. It is a good idea to use a microfiber cloth or lens cleaning solution to gently remove any particles and ensure clear and crisp photos.
Remember to handle the camera protector with care as it may be reusable. If it remains in good condition, you can store it in a safe place in case you want to use it again in the future.
Overall, peeling off the camera protector on the iPhone 13 is a simple and straightforward process. Just remember to be gentle and take your time to avoid any damage to the camera lenses. By following these steps, you can enjoy a clean and unobstructed camera experience on your iPhone 13.
Method 2: Using a Hairdryer to Remove the Camera Protector
If you’re finding it difficult to peel off the camera protector on your iPhone 13, you can try using a hairdryer to soften the adhesive and make the removal process easier. Here’s a step-by-step guide on how to do it:
- Step 1: Plug in the hairdryer and set it to the lowest heat setting. You want to use gentle heat to avoid damaging your iPhone’s camera or any other internal components.
- Step 2: Hold the hairdryer a few inches away from the camera protector. Make sure to avoid direct contact with the hairdryer nozzle as it can get hot.
- Step 3: Move the hairdryer in a circular motion, evenly heating the camera protector. Be sure to heat it for about 30-60 seconds or until you feel the adhesive starting to loosen.
- Step 4: Once the adhesive has softened, use a clean microfiber cloth or a soft, lint-free cloth to gently lift the edges of the camera protector.
- Step 5: Continue to lift the edges and gradually peel off the camera protector. Take your time and be patient to avoid any accidental damage to the camera lens.
- Step 6: If you encounter any resistance while peeling off the protector, stop and apply a little more heat from the hairdryer. This will help loosen the adhesive further and make the removal process smoother.
- Step 7: Once the camera protector is fully removed, gently clean the camera lens with a microfiber cloth to remove any residue or fingerprints.
Using a hairdryer to remove the camera protector requires caution and patience. Make sure to follow these steps carefully to avoid any damage to your iPhone 13’s camera. If you’re unsure or uncomfortable performing this method, it’s always best to seek professional assistance or contact Apple support for guidance.
Method 3: Using a Cleaning Solution to Remove the Camera Protector
If the camera protector on your iPhone 13 is proving to be stubborn and difficult to remove, you can try using a cleaning solution to help loosen it. Here’s how:
1. Gather your supplies: You will need a microfiber cloth, isopropyl alcohol or lens cleaner, and a small spray bottle.
2. Start by powering off your iPhone 13: It’s important to turn off your device before attempting to remove the camera protector.
3. Mix the cleaning solution: In the small spray bottle, combine equal parts of isopropyl alcohol or lens cleaner with water.
4. Spray the cleaning solution onto the microfiber cloth: Be careful not to saturate the cloth, as excess liquid could seep into your iPhone’s components.
5. Gently wipe the camera protector: Using the dampened microfiber cloth, begin wiping the camera protector in circular motions. The cleaning solution will help dissolve any adhesive residue and make it easier to remove.
6. Continue wiping until the camera protector loosens: Be patient and keep wiping until you feel the camera protector starting to give way.
7. Peel off the camera protector: Once the camera protector has loosened, you can now carefully peel it off using your fingers or a pair of tweezers if necessary. Ensure that you peel it off slowly to avoid any damage to the camera lens or the iPhone’s surface.
8. Clean any remaining adhesive residue: After removing the camera protector, use the microfiber cloth to clean off any leftover adhesive residue. You can dampen the cloth with the cleaning solution if needed.
9. Allow your iPhone 13 to dry: Give your iPhone a few minutes to air dry before turning it back on.
That’s it! Using a cleaning solution can effectively remove the camera protector without causing any damage to your iPhone 13. Remember to exercise caution and be gentle throughout the process to avoid any mishaps.
Conclusion
Removing the camera protector on your iPhone 13 is a simple process that requires careful attention and gentle handling. By following the steps outlined in this guide, you can safely remove the camera protector without causing any damage to your device. Remember to use the recommended tools, such as a microfiber cloth and a plastic pick, to ensure your iPhone’s camera remains in pristine condition.
Protecting your iPhone’s camera is essential to maintain optimal image quality and prevent scratches or dirt buildup. If you decide to use a camera protector again in the future, make sure to invest in a high-quality, compatible option that won’t interfere with the camera’s functionality.
With the camera protector removed, you can now enjoy capturing stunning photos and videos on your iPhone 13 without any hindrances. Keep exploring the amazing features of your device and make the most out of your photography experiences. Happy shooting!
FAQs
Q: How do I remove the camera protector on iPhone 13?
To remove the camera protector on your iPhone 13, follow these steps:
- Start by turning off your iPhone 13 and placing it on a flat surface.
- Locate the camera protector on the back of your iPhone 13.
- Using your fingernail or a small flat tool, gently lift the edge of the camera protector.
- Slowly peel off the protector, making sure not to apply excessive force to the camera lens.
- Once the protector is completely removed, inspect the camera lens for any residue or smudges.
- Clean the lens using a microfiber cloth or a lens cleaning solution specifically designed for smartphones.
- Once the camera lens is clean, you can use your iPhone 13 as usual.
Q: Can I reuse the camera protector after removing it from my iPhone 13?
It is not recommended to reuse the camera protector after removing it from your iPhone 13. Camera protectors are designed for single-use and may not adhere properly after being peeled off. It is best to replace the camera protector with a new one if needed.
Q: What if the camera protector is difficult to remove from my iPhone 13?
If you are having trouble removing the camera protector from your iPhone 13, try the following:
- Gently warm the camera protector using a hairdryer to soften the adhesive.
- Use a plastic card or a similar tool to slide under the edge of the protector and lift it off.
- Alternatively, you can visit an authorized Apple service center or a professional technician for assistance.
Q: Are there any risks involved in removing the camera protector?
When removing the camera protector from your iPhone 13, it is essential to be cautious and gentle to avoid damaging the camera lens or the back panel of your device. Applying excessive force or using sharp objects can result in scratches or cracks. If you are unsure or uncomfortable removing the protector yourself, it is advisable to seek professional help.
Q: Are camera protectors necessary for the iPhone 13?
The iPhone 13 is equipped with a durable camera lens that is designed to withstand minor scratches and everyday wear. However, if you want to provide extra protection for the camera lens and prevent smudges or fingerprints, using a camera protector can be beneficial. It is a personal choice, and many users opt for camera protectors to ensure the longevity of their device’s camera.