
Sure, here's the introduction for the article:
html
So, you’ve got your hands on the latest iPhone 13, and you’ve been enjoying its sleek design and impressive features. However, you may have encountered a common dilemma – how to remove the Otterbox from your iPhone 13 without causing any damage. Whether you’re looking to switch to a different case, clean your phone, or simply want to give your iPhone a fresh look, knowing the proper way to remove the Otterbox is essential. In this comprehensive guide, we’ll walk you through the step-by-step process of safely removing the Otterbox from your iPhone 13, ensuring that your device remains unscathed throughout the process. Let’s dive in and discover the best practices for removing the Otterbox from your iPhone 13!
Inside This Article
- Preparing to Remove Otterbox from iPhone 13
- Removing the Outer Shell
- Taking Off the Inner Casing
- Conclusion
- FAQs
Preparing to Remove Otterbox from iPhone 13
Before you begin the process of removing the Otterbox from your iPhone 13, it’s essential to gather the necessary tools. You’ll need a microfiber cloth to wipe down your phone and the case, ensuring that there’s no dirt or debris that could scratch the device during removal. Additionally, find a well-lit and clean workspace to carry out the removal process. Having ample space and good lighting will make it easier to see the intricate details of the case and phone, ensuring a smooth removal process.
Next, it’s crucial to power off your iPhone 13. This step is often overlooked but is vital to prevent any accidental activation of buttons or functions during the removal process. Once your device is powered off, you can proceed with confidence, knowing that there won’t be any unexpected interruptions. After powering down your iPhone, take a moment to ensure that all cables and accessories are unplugged to prevent any potential damage during the case removal.
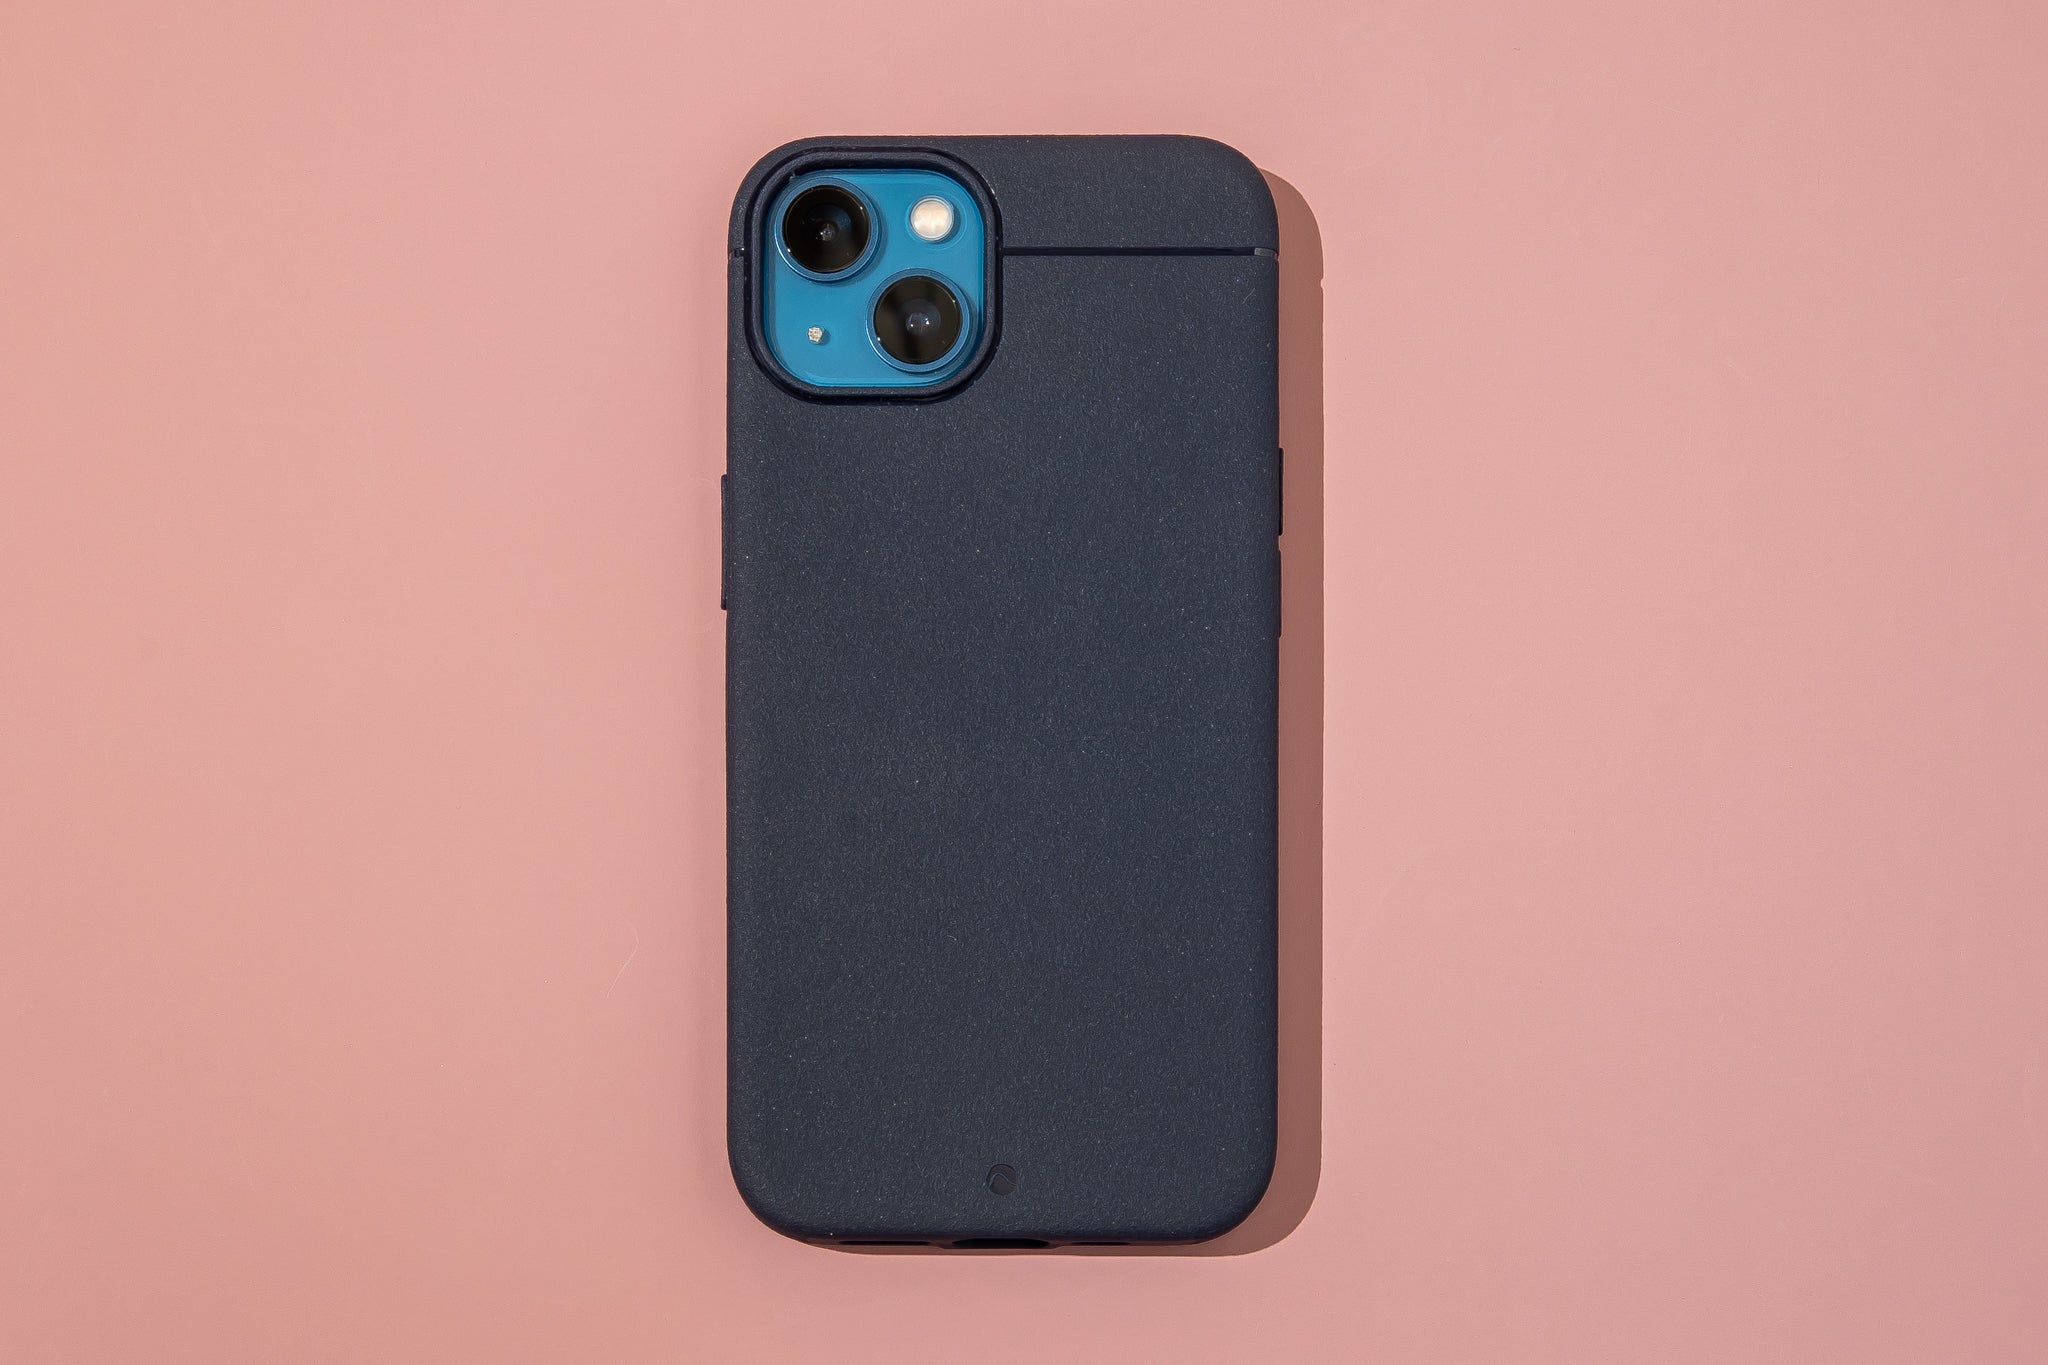
Removing the Outer Shell
Once you’ve prepared your workspace and gathered the necessary tools, it’s time to remove the outer shell of your Otterbox from your iPhone 13. The outer shell is the first line of defense for your device, so it’s crucial to handle it with care.
Start by locating the small tabs or ridges along the edges of the Otterbox. These are designed to provide a secure grip for the outer shell. Gently press on these tabs while simultaneously applying slight pressure to the back of the case to begin loosening the outer shell from the inner casing.
As you work your way around the edges, you’ll notice the outer shell gradually detaching from the inner casing. Take your time and ensure that each tab or ridge is disengaged before moving on to the next one. This will help prevent any unnecessary strain on the case or your device.
Once all the tabs have been disengaged, carefully lift the outer shell away from the inner casing. Be mindful of any resistance, as there may be areas where the two components fit snugly together. If you encounter resistance, gently wiggle the outer shell while lifting to release it from the inner casing.
With the outer shell removed, take a moment to inspect both the case and your iPhone 13 for any signs of damage or debris. This is also an excellent opportunity to clean the outer shell and inner casing to maintain their longevity and effectiveness in protecting your device.
Sure, here's the content for "Taking Off the Inner Casing" section:
html
Taking Off the Inner Casing
Once you have removed the outer shell, it’s time to take off the inner casing. This part requires a bit more precision and care to avoid damaging your iPhone 13. Start by locating the small tabs or release buttons that secure the inner casing in place. These are usually located along the edges or corners of the case.
Gently press or slide the tabs or buttons to release the inner casing from the iPhone. Be cautious not to use excessive force, as this could lead to unintended damage. Slow and steady movements are key to safely removing the inner casing without causing any harm to your device.
As you carefully release the tabs or buttons, you’ll feel the inner casing start to loosen. Once all the securing mechanisms are disengaged, gently lift the inner casing away from the iPhone 13. Take your time to ensure that no cables or components are still attached before fully removing the inner casing.
Conclusion
Removing an Otterbox from your iPhone 13 is a straightforward process that ensures your device stays protected. By following the simple steps outlined in this guide, you can easily detach the case and access your phone whenever necessary. Remember to handle your iPhone with care during the removal process to avoid any accidental damage. With the right technique and a gentle touch, you can quickly remove the Otterbox from your iPhone 13, allowing for maintenance, cleaning, or customization as needed. By understanding the proper procedure, you can maintain the integrity of your iPhone while enjoying the flexibility of using it without the protective case when desired.
FAQs
Q: How do I remove an Otterbox from my iPhone 13?
A: To remove the Otterbox from your iPhone 13, start by locating the small opening on the case, near the charging port. Then, gently pry the case open using your fingers or a small, flat tool.
Q: Can I use a hairdryer to remove an Otterbox from my iPhone 13?
A: It's not recommended to use a hairdryer to remove an Otterbox from your iPhone 13, as excessive heat may damage the case or the phone. It's best to rely on gentle manual methods to avoid any potential harm.
Q: Will removing the Otterbox case from my iPhone 13 void the warranty?
A: No, removing the Otterbox case from your iPhone 13 will not void the phone's warranty. The warranty covers the device itself, and using a protective case does not impact its terms.
Q: Is it necessary to remove the Otterbox case from my iPhone 13 for cleaning?
A: While it's not necessary to remove the Otterbox case from your iPhone 13 for routine cleaning, doing so allows for a more thorough cleaning of both the case and the phone.
Q: Can I re-use the Otterbox case after removing it from my iPhone 13?
A: Yes, you can re-use the Otterbox case after removing it from your iPhone 13. Simply clean the case and ensure it's free from any debris before putting it back on your phone.