
Are you ready to capture the breathtaking beauty of the Northern Lights with your iPhone 12? Whether you're an avid photographer or simply want to immortalize this natural wonder, your iPhone 12's advanced camera capabilities make it possible to capture stunning images of the aurora borealis. In this article, we'll delve into the tips and techniques that will help you master the art of photographing the Northern Lights using your iPhone 12. From understanding the ideal settings to leveraging third-party apps, you'll discover everything you need to know to elevate your Northern Lights photography game. So, grab your iPhone 12, and let's embark on a journey to unlock the secrets of capturing the mesmerizing aurora borealis on camera. Let's dive in and illuminate the night sky with your iPhone 12's lens.
Inside This Article
- Preparing for the Shoot
- Choosing the Right Location
- Setting Up Your iPhone 12
- Capturing the Northern Lights
- Conclusion
- FAQs
Preparing for the Shoot
Before heading out to capture the mesmerizing beauty of the Northern Lights with your iPhone 12, it’s crucial to make sure you have all the necessary equipment. Start by fully charging your iPhone 12 to ensure it’s ready to capture the stunning display of colors in the night sky. Additionally, consider bringing a portable charger or power bank to keep your device powered throughout the shoot. It’s also advisable to dress warmly and be prepared for varying weather conditions, as capturing the Northern Lights often involves spending time outdoors in the cold.
Furthermore, familiarize yourself with your iPhone 12’s camera settings and features. Understanding how to adjust the exposure, focus, and other relevant settings will enable you to optimize your device for capturing the Northern Lights. Additionally, consider using a tripod to stabilize your iPhone 12 during the shoot, as this will help prevent blurriness in your photos and allow for longer exposure times, which can enhance the quality of your Northern Lights images. Lastly, consider installing a stargazing or Northern Lights forecasting app on your iPhone 12 to help you identify the best time and location for your shoot.
Choosing the Right Location
When it comes to capturing the mesmerizing beauty of the Northern Lights with your iPhone 12, the location plays a pivotal role in determining the success of your photography endeavor. Opting for a location with minimal light pollution is crucial, as it allows the natural brilliance of the auroras to shine through in your photographs. Additionally, consider choosing a location with a clear view of the northern horizon, as this will maximize your chances of witnessing and capturing the celestial spectacle in all its glory.
Moreover, seeking out a location with a captivating foreground can add depth and visual interest to your Northern Lights photographs. Whether it’s a tranquil lake, snow-capped mountains, or a dense forest, incorporating such elements into your compositions can elevate the overall impact of your images. Remember, the right location can transform a good photograph into an extraordinary one, so take the time to scout for the perfect spot that complements the ethereal dance of the auroras.
Setting Up Your iPhone 12
Before heading out to capture the mesmerizing Northern Lights, it’s crucial to ensure that your iPhone 12 is set up optimally for this unique photography challenge. The iPhone 12 boasts impressive camera capabilities, but to truly capture the magic of the aurora borealis, a few adjustments are necessary.
First, access your iPhone 12’s camera settings by launching the Camera app. Next, navigate to the “Exposure” setting, denoted by a small sun icon. Adjust the exposure to a longer duration, typically around 10-15 seconds, to allow the camera sensor to capture the subtle, dancing lights of the aurora borealis.
Additionally, enable the “Grid” feature in the camera settings. The grid helps maintain the composition and balance of your shots, ensuring that the captivating Northern Lights are framed harmoniously within the photograph.
Furthermore, consider activating the “HDR” (High Dynamic Range) feature, which enhances the details and colors of the Northern Lights, resulting in more vibrant and lifelike images. To enable HDR, simply tap the “HDR” option and select “On” from the menu.
Lastly, ensure that your iPhone 12 is securely mounted on a tripod or another stable surface. The long exposure required to capture the Northern Lights demands a steady camera to prevent blurriness and ensure the clarity of your photographs.
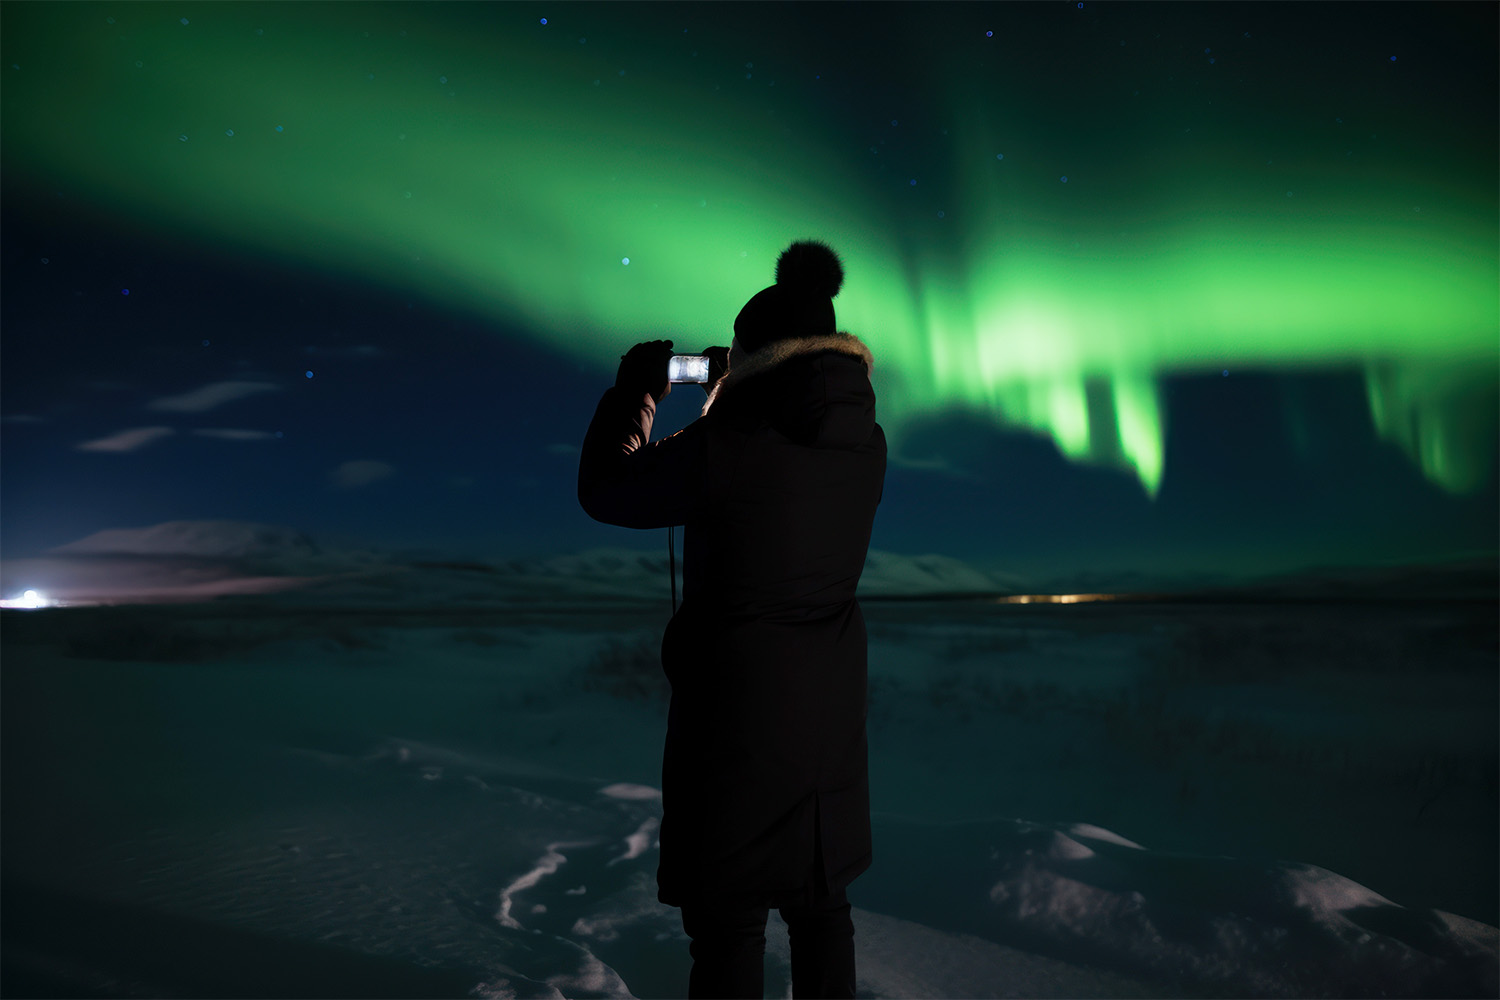
Capturing the Northern Lights
Once you’ve found the perfect location and set up your iPhone 12, it’s time to capture the breathtaking beauty of the Northern Lights. Remember, patience is key when photographing this natural wonder. The auroras can be elusive, so be prepared to wait for the right moment.
When the auroras begin to dance across the sky, use the iPhone 12’s Night mode to capture stunning images. The Night mode automatically activates in low-light conditions, allowing you to take vivid and detailed photos of the Northern Lights without the need for additional equipment.
Experiment with different exposure times to find the perfect balance between capturing the vibrant colors of the auroras and maintaining the natural look of the night sky. Adjusting the exposure can help you achieve the desired level of brightness and clarity in your photos.
Consider using a tripod to keep your iPhone 12 steady during long exposure shots. This will minimize camera shake and ensure sharp, clear images of the Northern Lights. Additionally, using a remote shutter or the timer function can help prevent any accidental movement while capturing the auroras.
Don’t be afraid to get creative with your compositions. Incorporate interesting foreground elements, such as trees or landscapes, to add depth and context to your Northern Lights photos. Experimenting with different angles and perspectives can result in truly captivating and unique images.
Lastly, remember to enjoy the experience. Witnessing the Northern Lights is a magical and awe-inspiring moment, and capturing it with your iPhone 12 allows you to preserve the memory for years to come.
Conclusion
Photographing the Northern Lights with your iPhone 12 can be a truly magical experience. With the right techniques and a bit of patience, you can capture stunning images of this natural wonder. By utilizing long exposure apps, finding the perfect location, and adjusting your camera settings, you can create breathtaking photos that will be cherished for years to come. Remember, the key is to experiment and have fun while immersing yourself in the beauty of the aurora borealis. So, grab your iPhone 12, head to a dark, open space, and let the Northern Lights inspire your inner photographer!
FAQs
**Q: Can I take photos of the Northern Lights with an iPhone 12?**
Yes, the iPhone 12’s advanced camera capabilities make it possible to capture stunning images of the Northern Lights.
Q: What settings should I use on my iPhone 12 for Northern Lights photography?
Utilize the Night mode feature on your iPhone 12, adjust the exposure, and consider using a tripod for stability.
Q: Will the iPhone 12 capture the vibrant colors of the Northern Lights?
The iPhone 12's camera is adept at capturing vivid colors, including the mesmerizing hues of the Northern Lights.
Q: How can I enhance Northern Lights photos taken with an iPhone 12?
Consider using photo editing apps to fine-tune the colors and contrast, bringing out the best in your Northern Lights images.
Q: Are there any additional accessories that can improve Northern Lights photography with the iPhone 12?
Investing in a wide-angle lens attachment can expand the iPhone 12's photography capabilities, allowing for more encompassing shots of the Northern Lights.