
Activating your Google phone on Sprint is an exciting step towards harnessing the power of cutting-edge technology and seamless connectivity. Whether you're unboxing a brand-new device or transitioning from another carrier, the activation process is a pivotal moment that sets the stage for your phone's performance. By following the necessary steps and leveraging Sprint's network, you can unlock a world of possibilities, from lightning-fast browsing to crystal-clear calls. In this comprehensive guide, we'll delve into the essential steps to activate your Google phone on Sprint, ensuring that you can make the most of its features and stay connected wherever you go. So, let's dive in and embark on this journey to unleash the full potential of your device.
Inside This Article
- Checking Compatibility
- Activating Google Phone on Sprint
- Setting Up Google Phone on Sprint
- Troubleshooting Issues
- Conclusion
- FAQs
Checking Compatibility
Before activating your Google phone on Sprint, it’s crucial to ensure that your device is compatible with the network. Sprint operates on various network technologies, including CDMA and LTE, so it’s essential to verify that your phone supports these standards.
First, check the manufacturer’s specifications to confirm if your Google phone is compatible with Sprint’s network. You can typically find this information on the manufacturer’s website or in the device’s user manual. Look for compatibility with CDMA and LTE bands used by Sprint for voice and data services.
Another way to check compatibility is by visiting Sprint’s official website or contacting their customer support. Sprint provides tools and resources to verify if your device is compatible with their network. You may need to provide the phone’s IMEI number, which can usually be found in the device settings or by dialing *#06# on the phone.
It’s important to note that some features, such as Wi-Fi calling and VoLTE, may require specific software or firmware versions to work on Sprint’s network. Ensure that your Google phone meets these requirements to enjoy all the features offered by Sprint.
**
Activating Google Phone on Sprint
**
Activating your Google phone on Sprint is a straightforward process that ensures you can make calls, send texts, and access mobile data on the Sprint network. Whether you’re setting up a new device or switching from another carrier, activating your Google phone on Sprint is essential for seamless connectivity. Below, we’ll guide you through the simple steps to activate your Google phone on the Sprint network.
First, ensure that your Google phone is compatible with the Sprint network. Not all phones are compatible with all carriers, so it’s crucial to verify that your device can be activated on Sprint. You can easily check compatibility by visiting Sprint’s official website or contacting their customer support for assistance. Once you’ve confirmed compatibility, you can proceed with the activation process.
If you’ve purchased a new Google phone from Sprint, the activation process may already be initiated. In this case, you may simply need to follow the on-screen prompts to complete the activation. However, if you’re bringing your own Google phone to Sprint, you’ll need to ensure that it is unlocked and ready to be activated on the Sprint network.
Next, you’ll need to obtain a Sprint SIM card, which is essential for connecting your Google phone to the Sprint network. If you’re activating a new device purchased from Sprint, the SIM card may already be inserted. If you’re bringing your own device, you can acquire a compatible Sprint SIM card from a Sprint store or request one through their customer support channels.
Once you have the SIM card, insert it into your Google phone following the manufacturer’s instructions. After inserting the SIM card, power on your device and follow the on-screen prompts to complete the activation process. You may need to enter your account information, such as your phone number and account PIN, to finalize the activation.
After completing these steps, your Google phone should be successfully activated on the Sprint network, allowing you to enjoy the full range of services and features offered by Sprint. If you encounter any issues during the activation process, don’t hesitate to reach out to Sprint’s customer support for assistance. With your Google phone activated on the Sprint network, you can stay connected and make the most of your mobile experience.
Setting Up Google Phone on Sprint
Once you have successfully activated your Google phone on the Sprint network, the next step is to set it up to ensure that you can make calls, send texts, and access the internet seamlessly. Setting up your Google phone on Sprint involves configuring various settings and features to optimize your user experience. Below are the essential steps to set up your Google phone on the Sprint network.
1. Inserting the SIM Card: The first step in setting up your Google phone on Sprint is to insert the Sprint SIM card into your device. Locate the SIM card slot on your phone and carefully insert the Sprint SIM card provided by the carrier. Ensure that the SIM card is securely placed to enable your phone to connect to the Sprint network.
2. Network Configuration: After inserting the SIM card, your Google phone will automatically detect the Sprint network. Follow the on-screen prompts to configure the network settings. You may need to enter the APN (Access Point Name) settings provided by Sprint to enable data connectivity on your device.
3. Activating VoLTE: If your Google phone supports Voice over LTE (VoLTE), you can enable this feature to make high-quality voice calls over the Sprint network. Navigate to the phone settings and enable VoLTE to experience enhanced voice call quality and faster call setup times.
4. Configuring Wi-Fi Calling: To maximize your coverage and call quality, consider setting up Wi-Fi calling on your Google phone. This feature allows you to make and receive calls over a Wi-Fi network when the Sprint cellular network signal is weak or unavailable. Enable Wi-Fi calling in the phone settings and follow the setup instructions provided.
5. Setting Up Visual Voicemail: Sprint offers Visual Voicemail, a convenient feature that allows you to manage your voicemail messages visually. Set up Visual Voicemail on your Google phone by downloading the Sprint Visual Voicemail app from the Google Play Store. Follow the app’s setup process to access and manage your voicemail messages effortlessly.
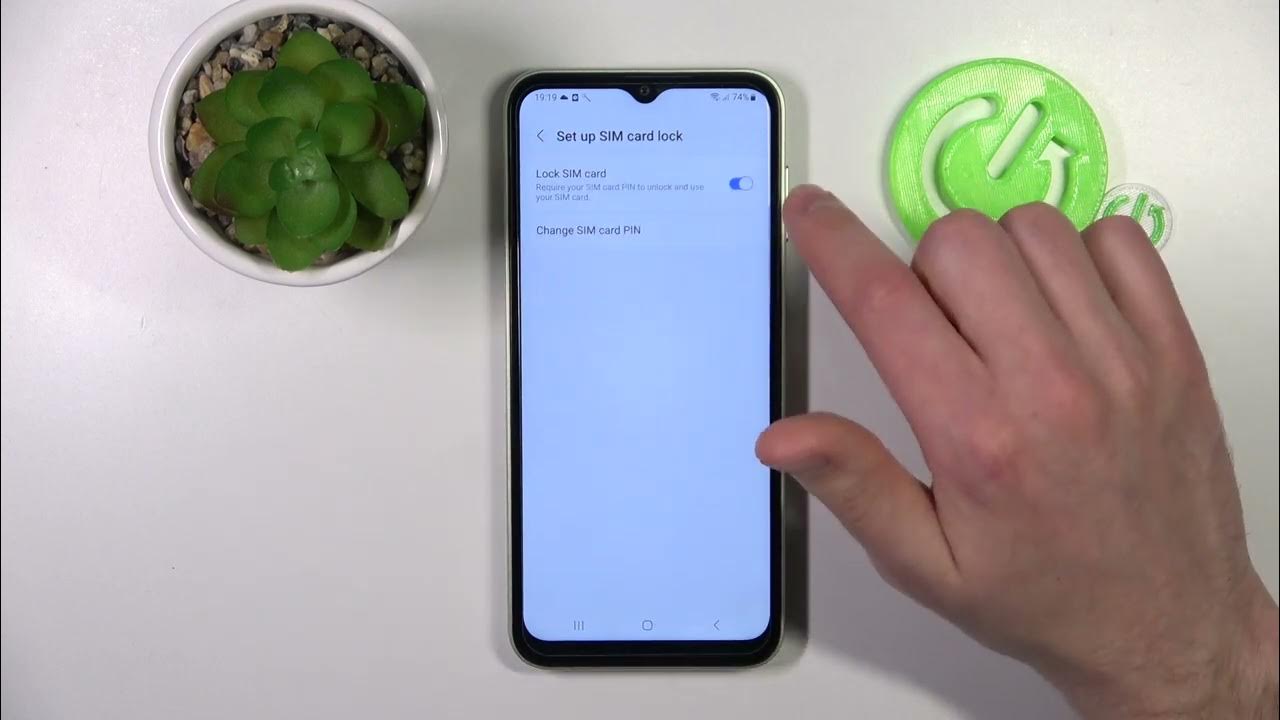
6. Personalizing Device Settings: Customize your Google phone’s settings according to your preferences. This includes adjusting display settings, configuring notification preferences, setting up security features such as fingerprint or face recognition, and personalizing the home screen layout.
By following these steps, you can effectively set up your Google phone on the Sprint network, ensuring that you can fully utilize the features and services offered by Sprint while enjoying the capabilities of your Google phone.
Troubleshooting Issues
If you encounter any issues while activating or setting up your Google Phone on Sprint, there are a few troubleshooting steps you can take to resolve them.
1. Check Network Connection: Ensure that your Google Phone has a stable network connection. If you’re experiencing network issues, try restarting your phone or toggling the airplane mode on and off to reset the connection.
2. Update Software: Make sure your Google Phone’s software is up to date. Go to Settings > System > Advanced > System update to check for any available updates. Keeping your phone’s software current can resolve many technical glitches.
3. Contact Sprint Support: If you’re still encountering issues, reach out to Sprint’s customer support for assistance. They can provide specific troubleshooting steps tailored to your Google Phone model and the Sprint network.
4. Reset Network Settings: If you’re having trouble with connectivity, you can reset your phone’s network settings. Go to Settings > System > Advanced > Reset options > Reset Wi-Fi, mobile & Bluetooth. This will reset all network settings to their defaults.
5. Check Account Status: Ensure that your Sprint account is active and in good standing. If there are any issues with your account, it could affect the activation and usage of your Google Phone on the Sprint network.
6. Factory Reset: As a last resort, you can perform a factory reset on your Google Phone. This will erase all data on the device, so make sure to back up important information before proceeding. Go to Settings > System > Advanced > Reset options > Erase all data (factory reset).
By following these troubleshooting steps, you can address common issues that may arise during the activation and setup of your Google Phone on the Sprint network.
Activating a Google phone on Sprint is a straightforward process that ensures you can enjoy the full range of features and benefits on your device. By following the simple steps outlined in this guide, you can seamlessly activate your Google phone on the Sprint network and begin using it to its full potential. Whether you’re a new Sprint customer or an existing one looking to switch to a Google phone, the activation process is designed to be user-friendly and efficient. With your Google phone activated on Sprint, you can take advantage of high-speed data, reliable connectivity, and a host of other services offered by Sprint. This activation paves the way for a seamless and enjoyable mobile experience, allowing you to stay connected, productive, and entertained on the go.
FAQs
- How do I activate my Google phone on Sprint?
- What information do I need to activate my Google phone on Sprint?
- Can I activate a used Google phone on Sprint?
- How long does it take to activate a Google phone on Sprint?
- What should I do if I encounter issues during the activation process?
To activate your Google phone on Sprint, you can visit a Sprint store, call Sprint customer service, or activate it online through the Sprint website or My Sprint mobile app.
You will need your Google phone's MEID/IMEI number, your Sprint account information, and the SIM card that came with your phone or a new Sprint SIM card.
Yes, you can activate a used Google phone on Sprint as long as it is compatible with Sprint's network and has been unlocked from any previous carrier.
The activation process for a Google phone on Sprint typically takes a few minutes if done online or through the My Sprint app. If done in-store or through customer service, it may take a bit longer due to additional verification steps.
If you encounter any issues during the activation process, you can reach out to Sprint customer service for assistance. They can provide troubleshooting steps and guide you through the activation to ensure everything is set up correctly.