
The Moto G Stylus 5G is a remarkable smartphone, offering impressive features and capabilities. If you've recently acquired this device, you may be eager to install your SIM card and begin using it to its full potential. In this article, we will guide you through the process of installing a SIM card in the Moto G Stylus 5G, ensuring that you can seamlessly activate your device and stay connected. Whether you're new to smartphones or simply want a refresher on the SIM card installation process, we've got you covered. Let's dive into the steps to install a SIM card in the Moto G Stylus 5G and get you ready to enjoy all the amazing features this device has to offer.
Inside This Article
- Preparing to Install SIM Card
- Locating the SIM Card Tray
- Inserting the SIM Card
- Reassembling the Moto G Stylus 5G
- Conclusion
- FAQs
Preparing to Install SIM Card
Before installing a SIM card in your Moto G Stylus 5G, it’s essential to ensure that you have the necessary tools and information at hand. Begin by locating a SIM ejector tool, which is often provided with the phone’s packaging. If you don’t have this tool, a paperclip can serve as a suitable alternative. Additionally, familiarize yourself with the location of the SIM card tray on the device. This can typically be found on the side of the phone, either on the right or left, depending on the specific model.
Next, power off your Moto G Stylus 5G to prevent any potential damage during the SIM card installation process. This step is crucial to avoid any electrical mishaps and to ensure a smooth and safe insertion. Once the device is powered down, you can proceed with locating the SIM card tray, which will be essential for the subsequent steps in the installation process. With these preparations in place, you’re ready to move on to the next phase of installing the SIM card.
Sure, here's the content for "Locating the SIM Card Tray" section:
Locating the SIM Card Tray
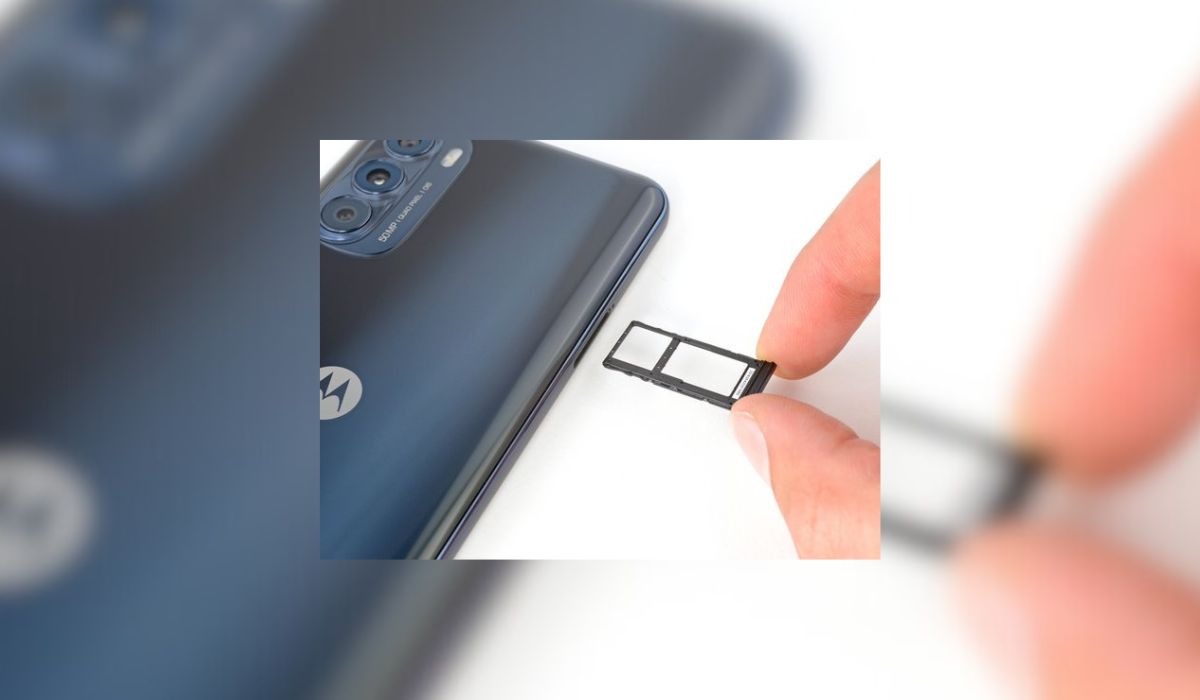
Before you can insert the SIM card into your Moto G Stylus 5G, you’ll need to locate the SIM card tray. The SIM card tray is typically found on the side of the phone. In the case of the Moto G Stylus 5G, the SIM card tray is located on the left side of the device. It’s a small slot that can be accessed using the SIM ejector tool provided with the phone.
When you locate the SIM card tray, you’ll notice a tiny hole next to it. This is where you’ll insert the SIM ejector tool to pop open the tray. It’s important to handle the SIM card tray and the ejector tool with care to avoid any damage to the phone or the SIM card itself. Once you’ve located the SIM card tray, you’re ready to move on to the next step of inserting the SIM card.
Inserting the SIM Card
Once you have located the SIM card tray and removed it from your Moto G Stylus 5G, it’s time to insert the SIM card. Before doing so, ensure that the gold contacts on the SIM card are facing down and aligned with the corresponding contacts in the SIM card slot.
Carefully place the SIM card into the designated slot, ensuring that it fits securely without any resistance. Gently push the SIM card into the slot until it is fully seated. Be cautious not to apply excessive force, as this could damage the SIM card or the device.
After inserting the SIM card, reinsert the SIM card tray back into the Moto G Stylus 5G. Ensure that it is securely in place and that there are no gaps or misalignments. Once the tray is back in position, power on your device and verify that the SIM card is recognized and functioning properly.
Reassembling the Moto G Stylus 5G
Once you have successfully inserted the SIM card, it’s time to reassemble your Moto G Stylus 5G. Start by placing the SIM card tray back into the slot, ensuring that it fits snugly and aligns properly with the device.
Next, gently press the SIM card tray until it clicks into place. This ensures that the tray is securely fastened within the device, preventing any accidental dislodging during everyday use.
After securing the SIM card tray, take a moment to ensure that it sits flush with the rest of the phone’s body. This step is crucial to maintain the phone’s sleek and seamless design while also safeguarding the SIM card and tray from damage.
Finally, power on your Moto G Stylus 5G and verify that the SIM card is detected. If the device recognizes the SIM card and connects to the network successfully, you have completed the reassembly process and can now enjoy using your Moto G Stylus 5G with the newly installed SIM card.
Conclusion
Installing a SIM card in your Moto G Stylus 5G is a straightforward process that allows you to enjoy seamless connectivity and communication on your device. By following the simple steps outlined in this guide, you can easily insert or replace your SIM card without any hassle. The ability to switch between different SIM cards gives you the flexibility to choose the best mobile plan for your needs, whether for work or personal use. With the SIM card properly installed, you can make calls, send messages, and access mobile data, enhancing your overall smartphone experience. Remember to handle the SIM card with care and ensure that it is compatible with your device to avoid any issues. Now that you’re equipped with the knowledge of installing a SIM card, you can confidently set up your Moto G Stylus 5G and stay connected wherever you go.
FAQs
Q: How do I install a SIM card in Moto G Stylus 5G?
A: To install a SIM card in your Moto G Stylus 5G, you need to locate the SIM tray, which is usually situated on the side of the phone. Use the SIM ejector tool to gently push into the small hole on the SIM tray, then carefully remove the tray. Place the SIM card into the tray, ensuring it aligns with the notches, and gently reinsert the tray back into the phone.
Q: What type of SIM card does Moto G Stylus 5G use?
A: The Moto G Stylus 5G uses a Nano SIM card. It's important to note that using a different size SIM card may not fit into the SIM tray.
Q: Can I use a dual SIM card in Moto G Stylus 5G?
A: Yes, the Moto G Stylus 5G supports dual SIM functionality, allowing you to use two SIM cards simultaneously. This feature is beneficial for individuals who want to separate work and personal contacts or use different mobile plans for calls and data.
Q: Do I need to power off my Moto G Stylus 5G before installing a SIM card?
A: It's advisable to power off your Moto G Stylus 5G before installing or removing a SIM card. This helps prevent any potential damage to the phone or the SIM card itself.
Q: Can I use a SIM card from any carrier in Moto G Stylus 5G?
A: The Moto G Stylus 5G is typically sold as an unlocked device, meaning it can be used with SIM cards from various carriers. However, it's essential to ensure that your preferred carrier's network is compatible with the phone's supported bands and technologies for optimal connectivity.