
If you just purchased a Moto G 5 Plus, congratulations on your new smartphone! One of the first steps you’ll need to take is inserting a SIM card into your device. The SIM card is essential as it allows your phone to connect to a mobile network and enjoy various features, including making calls and accessing the internet.
Putting a SIM card in the Moto G 5 Plus is a straightforward process that can be easily done by following a few simple steps. Whether you’re a tech-savvy individual or a novice smartphone user, we’ve got you covered with a comprehensive guide to help you smoothly insert your SIM card and get your Moto G 5 Plus up and running in no time.
Inside This Article
- Overview
- Step 1: Locate the SIM Card Slot
- Step 2: Open the SIM Card Tray
- Step 3: Insert the SIM Card
- Step 4: Close the SIM Card Tray
- Troubleshooting Tips
- Conclusion
- FAQs
Overview
The Moto G 5 Plus is one of the popular smartphones in the market, known for its affordable price and impressive features. If you have recently purchased a Moto G 5 Plus and want to start using it, one of the first things you need to do is insert a SIM card. The SIM card is essential for making calls, sending messages, and accessing mobile data. In this article, we will guide you through the process of putting a SIM card in your Moto G 5 Plus.
Before we jump into the step-by-step instructions, it’s important to note that the Moto G 5 Plus uses a nano SIM card. If your existing SIM card is not a nano SIM, you will need to contact your mobile service provider to get a new SIM card or request them to trim the existing one to nano size.
Now, let’s get started with the SIM card insertion process for your Moto G 5 Plus.
Step 1: Locate the SIM Card Slot
Before you can insert a SIM card into your Moto G 5 Plus, you need to first locate the SIM card slot. The SIM card slot is usually located on the side of the phone or near the top edge.
To find the SIM card slot on your Moto G 5 Plus, look for a small hole with a pin icon next to it. This hole is the SIM card tray ejector. You will need a SIM card ejector tool or a straightened paperclip to open the SIM card tray.
If you don’t have a SIM card ejector tool, you can use a paperclip or the end of an earring, just make sure it is small and will fit into the hole without causing any damage.
Once you have located the SIM card slot and have a SIM card ejector tool or a paperclip ready, you can move on to the next step of inserting the SIM card into your Moto G 5 Plus.
Step 2: Open the SIM Card Tray
Once you have located the SIM card slot on your Moto G 5 Plus, the next step is to open the SIM card tray. Opening the SIM card tray allows you to access the slot where you will insert your SIM card. Follow the below steps to successfully open the SIM card tray:
- First, make sure your Moto G 5 Plus is powered off. This is an important safety precaution to avoid any potential damage to the phone or your SIM card.
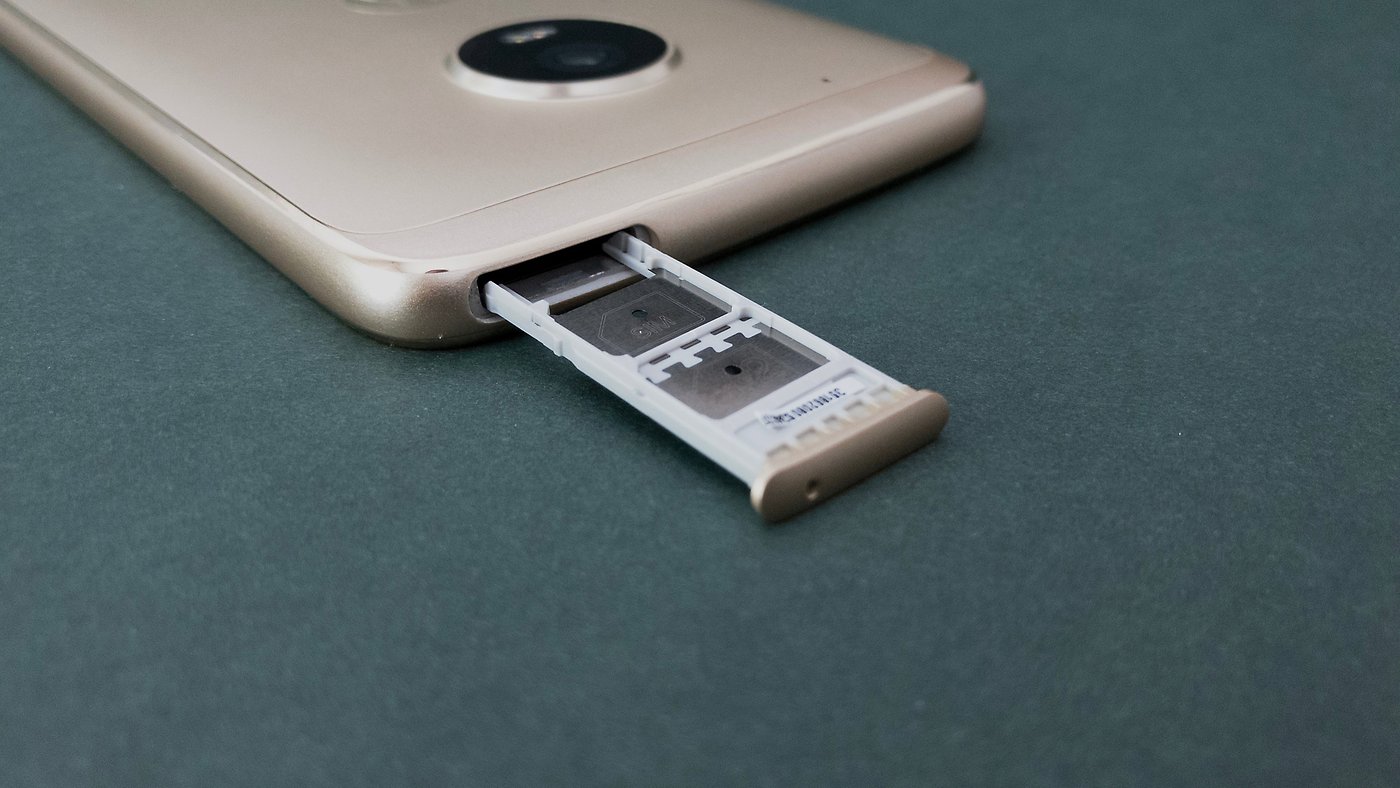
- Locate the SIM card tray on your device. It is usually positioned on the side of the phone, either on the top or bottom edge, depending on the specific model.
- Identify the small hole next to the SIM card tray. This tiny hole is the eject button for the tray.
- Take the SIM card removal tool or a small paperclip, and insert it into the hole. Apply gentle pressure until you feel a slight resistance.
- With the tool or paperclip inserted, gently push it inward until the SIM card tray pops out slightly. Be careful not to apply excessive force, as it may cause damage to the phone.
- Once the tray pops out, remove the tool or paperclip from the hole.
Voila! You have successfully opened the SIM card tray of your Moto G 5 Plus. Now you’re ready to move on to the next step, which is inserting the SIM card.
Step 3: Insert the SIM Card
Now that you have opened the SIM card tray, it’s time to insert the SIM card into your Moto G 5 Plus. Follow these steps:
1. Take your SIM card and carefully slide it into the designated slot on the SIM card tray. Make sure the metal contacts on the SIM card are facing downwards and align with the contacts in the slot.
2. Gently push the SIM card tray back into the phone until it is securely in place. You may feel a slight click or resistance when it locks into position.
3. Once you have inserted the SIM card, you can also insert a microSD card (if desired) into the second slot on the SIM card tray. This will expand the storage capacity of your Moto G 5 Plus and allow you to store more photos, videos, and apps.
4. Carefully push the SIM card tray back into the phone until it is fully closed. Make sure it is flush with the phone’s frame to prevent any dust or debris from entering the device.
5. Once the SIM card tray is securely closed, you can turn on your Moto G 5 Plus and start using your new SIM card. Your phone will automatically detect and activate the SIM card, and you’ll be able to make calls, send text messages, and access mobile data.
Remember to power off your phone before inserting or removing the SIM card to avoid any potential damage to the device or the card itself.
Now that you have successfully inserted the SIM card into your Moto G 5 Plus, you’re ready to enjoy all the features and capabilities that come with your smartphone.
Step 4: Close the SIM Card Tray
After successfully inserting the SIM card into your Moto G5 Plus, it is important to securely close the SIM card tray to ensure proper functioning of your smartphone. Follow these simple steps to close the SIM card tray:
1. Gently push the SIM card tray back into its original position. Make sure that the tray slides in smoothly without any obstruction.
2. Once the tray is fully inserted, press it gently but firmly to ensure that it is securely closed. You should hear a small click or feel a slight resistance, indicating that the tray is in place.
3. Take a moment to inspect the tray and surrounding area to ensure that there are no visible gaps or loose parts. A properly closed SIM card tray should sit flush with the rest of the device.
4. If you encounter any resistance while trying to close the tray, do not force it. Instead, remove the tray and check for any debris or misalignment that may be causing the issue. Clean or reposition as needed before attempting to close the tray again.
5. Finally, power on your Moto G5 Plus and check for a signal from your service provider. If the SIM card is inserted correctly and the tray is securely closed, you should be able to connect to your cellular network without any issues.
By following these steps, you can confidently close the SIM card tray of your Moto G5 Plus, ensuring that your device functions optimally with a stable cellular connection.
Troubleshooting Tips
While putting a SIM card in your Moto G 5 Plus is a relatively straightforward process, there may be instances where you encounter difficulties. Here are some troubleshooting tips to help you overcome common issues:
1. Ensure proper alignment: When inserting the SIM card, make sure it is properly aligned with the SIM card slot. Improper alignment can prevent the card from being detected by the device.
2. Check for obstructions: Sometimes, debris or dust can accumulate in the SIM card slot or on the SIM card itself, causing connection issues. Carefully inspect the slot and the card, and clean them if necessary.
3. Use a compatible SIM card: Moto G 5 Plus supports nano SIM cards. If you are using a different size of SIM card, it will not fit into the slot. Make sure you have a nano SIM card that is compatible with your device.
4. Restart your device: Occasionally, a simple restart can resolve any software or connectivity issues that are preventing the SIM card from being recognized. Turn off your Moto G 5 Plus, remove the SIM card, wait for a few seconds, reinsert the card, and then power on your device.
5. Check for carrier compatibility: Make sure that your Moto G 5 Plus is compatible with your mobile carrier’s network frequencies. Certain SIM cards may not work if they are not supported by the carrier or if the device is locked to another network.
6. Contact your carrier: If you have followed all the steps above and are still unable to insert the SIM card in your Moto G 5 Plus, reach out to your mobile carrier’s customer support. They should be able to provide further assistance or troubleshoot any underlying network issues.
By following these troubleshooting tips, you should be able to successfully insert a SIM card into your Moto G 5 Plus and overcome any potential issues that may arise along the way.
Conclusion
In conclusion, learning how to put a SIM card in Moto G5 Plus is a straightforward process that allows you to unlock the full potential of your smartphone. By following the steps outlined in this guide, you can easily insert the SIM card and enjoy seamless connectivity on your device.
Whether you’re upgrading to a new phone or simply need to replace a SIM card, it’s important to handle the delicate components with care and follow the manufacturer’s instructions. Remember to power off the device before inserting or removing the SIM card to avoid any damage.
Now that you know how to insert a SIM card in Moto G5 Plus, you can stay connected, make calls, send messages, and enjoy all the features your smartphone has to offer. So go ahead, grab your Moto G5 Plus, and start experiencing the world of endless possibilities in the palm of your hand!
FAQs
Q: How do I put a SIM card in Moto G 5 Plus?
A: To insert a SIM card in Moto G 5 Plus, follow these steps:
- Locate the SIM card tray on the top edge of the phone.
- Use the SIM removal tool (or a small paperclip) to eject the SIM card tray.
- Place your SIM card on the tray, aligning the notched corner with the designated area.
- Gently push the SIM tray back into the phone until it clicks into place.
Q: What type of SIM card does Moto G 5 Plus use?
A: Moto G 5 Plus uses a nano-SIM card. Ensure that your SIM card is of the correct size before inserting it into the phone.
Q: Can I use two SIM cards in Moto G 5 Plus?
A: Yes, Moto G 5 Plus supports dual SIM functionality. You can use two SIM cards simultaneously, allowing you to separate personal and business contacts or utilize different network plans.
Q: How do I remove a SIM card from Moto G 5 Plus?
A: To remove a SIM card from Moto G 5 Plus, follow these steps:
- Make sure the phone is powered off.
- Locate the SIM card tray on the top edge of the phone.
- Use the SIM removal tool (or a small paperclip) to eject the SIM card tray.
- Gently remove the SIM card from the tray.
Q: What can I do if my SIM card is not recognized by Moto G 5 Plus?
A: If your SIM card is not being recognized by Moto G 5 Plus, try the following solutions:
- Ensure that the SIM card is properly inserted into the phone.
- Restart your device to refresh the system and re-establish SIM card connectivity.
- If the problem persists, try inserting the SIM card into another phone to determine if the issue lies with the card itself.
- If none of the above steps resolve the problem, contact your network provider for further assistance.