
Are you looking to access the SIM card on your Moto G smartphone? Whether you need to replace the SIM card or simply want to check its status, knowing how to access it is essential. The SIM card is a small, removable card that stores important information, such as your phone number and network provider details.
In this article, we will guide you through the steps to access the SIM card on a Moto G. We will walk you through both the physical and software methods, ensuring that you have all the necessary information to successfully access your SIM card. So, if you’re ready to get started, let’s dive in and unlock the power of your Moto G!
Inside This Article
- Overview of Moto G SIM Card slot
- Steps to Access the SIM Card on Moto G
- Troubleshooting SIM Card Issues on Moto G
- Conclusion
- FAQs
Overview of Moto G SIM Card slot
The Moto G is a popular smartphone known for its affordable price and impressive features. One of the essential components of any smartphone is the SIM card slot. The Moto G comes with a dedicated slot for inserting a SIM card, allowing users to connect to cellular networks and make calls, send messages, and access mobile data. Understanding the SIM card slot on your Moto G is crucial for setting up your device and enjoying its full capabilities.
The Moto G SIM card slot is located on the side of the device. It is typically on the left-hand side, although the exact placement may vary depending on the model and version of the Moto G. The slot is designed to accommodate a nano-SIM card, which is a smaller type of SIM card used in modern smartphones. Nano-SIM cards are much smaller than their predecessors, making them compatible with slimmer devices like the Moto G.
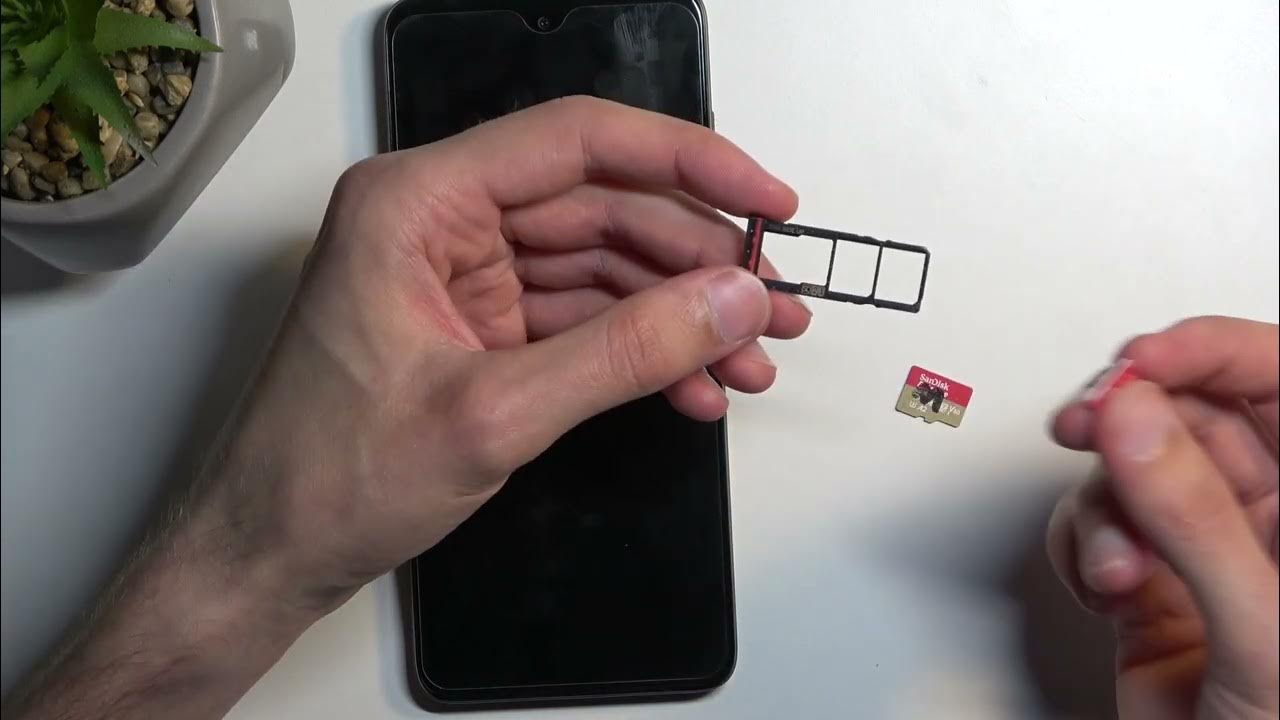
Inserting a SIM card into the Moto G is a straightforward process. You will need a SIM card removal tool or a small paper clip to eject the SIM card tray from the slot. Once you have the removal tool, insert it into the small hole adjacent to the SIM card slot and apply a bit of pressure. The tray will pop out, allowing you to remove and insert the SIM card.
It’s important to note that the Moto G typically supports dual SIM functionality, meaning it can hold two SIM cards simultaneously. This is especially useful for individuals who want to use their Moto G for both personal and work purposes or for those who frequently travel and need to use different SIM cards for different regions or carriers.
Overall, the SIM card slot on the Moto G is a crucial component that enables users to stay connected and enjoy the full functionality of their device. Whether you need to make calls, send messages, or access mobile data, understanding how to access and utilize the SIM card slot on your Moto G is essential.
Steps to Access the SIM Card on Moto G
If you’re a proud owner of a Moto G smartphone and need to access the SIM card, don’t worry—it’s a relatively simple process. Just follow these easy steps to access the SIM card slot on your Moto G:
- Make sure your Moto G is powered off. This is an important step to prevent any damage to the device or the SIM card.
- Locate the SIM card tray on your Moto G. Typically, it is located on the side of the device. It may be on the left or right side, depending on the model.
- Use the provided SIM card removal tool or a small paperclip. Insert the tool into the tiny hole next to the SIM card tray. Apply gentle pressure to eject the tray.
- Carefully remove the SIM card tray from the Moto G. This tray will have slots for one or two SIM cards, depending on the model.
- If there is already a SIM card in the tray, you can simply replace it with a new one. Ensure that the gold contacts on the SIM card are facing down, and align the notched corner of the SIM card with the corresponding notch in the tray.
- If you need to insert a new SIM card, align it with the notched corner of the tray and gently slide it in until it is securely in place.
- Once the SIM card is in the tray, carefully insert the tray back into the Moto G, aligning it with the slot.
- Gently push the tray back into the device until it clicks into place.
That’s it! You have successfully accessed the SIM card on your Moto G. Now you can power on your phone and enjoy uninterrupted connectivity.
It’s important to note that the exact location and procedure for accessing the SIM card slot may vary slightly depending on the specific model of your Moto G. If you encounter any difficulties or have any questions, it’s always a good idea to refer to the user manual or contact Moto G support for assistance.
Troubleshooting SIM Card Issues on Moto G
If you are experiencing SIM card issues on your Moto G, it can be frustrating and inconvenient. However, there are several troubleshooting steps you can take to resolve the problem quickly and effectively. In this section, we will discuss common SIM card issues and provide solutions to help you get your Moto G up and running again.
1. No SIM Card Detected: If your Moto G is not detecting the SIM card, the first thing you should do is carefully remove the SIM card and reinsert it. Make sure it is properly aligned in the SIM card slot. Restart your phone and check if the issue has been resolved.
2. Invalid SIM Card: If you are getting an “Invalid SIM Card” error message, the SIM card may not be compatible with your Moto G. Verify that your SIM card is the correct size (nano SIM) and compatible with the specific network carrier. If necessary, contact your service provider for assistance in obtaining a compatible SIM card.
3. Weak or No Signal: If your Moto G is experiencing low or no signal strength, there are a few troubleshooting steps you can try. Firstly, check if your SIM card is damaged or dirty. If so, clean it gently with a soft cloth or replace it if necessary. You can also try switching to a different network mode (2G, 3G, or 4G) to see if that improves signal reception. Additionally, ensure that your network coverage is good in your area by checking with your service provider.
4. Roaming Issues: If you are experiencing difficulties with roaming on your Moto G, make sure that roaming is enabled in your phone settings. Some network carriers require you to activate roaming services before you can use them while traveling. If roaming is enabled and you are still having trouble, try manually selecting a different network operator in the phone settings. This can sometimes help establish a stronger connection while roaming.
5. No Service: If your Moto G displays “No Service” or “Emergency Calls Only” message, there may be an issue with your network connection. Firstly, ensure that your SIM card is activated and not blocked or suspended by your service provider. If your SIM card is fine, try restarting your phone, as this can often resolve temporary network connectivity issues. In some cases, you may need to contact your service provider for further assistance.
Remember, if you have tried the above troubleshooting steps and are still experiencing SIM card issues on your Moto G, it is recommended to contact Motorola support or your service provider for further assistance. They will be able to provide more specific troubleshooting steps based on your device and network configuration.
Conclusion
Accessing the SIM card on a Moto G is a straightforward process that can be done to troubleshoot connectivity issues, change service providers, or simply upgrade to a newer SIM card. By following the steps outlined in this article, you can easily locate the SIM card tray on your Moto G device and insert or remove the SIM card as needed. Remember to power off the device before accessing the card and handle it with care to avoid any damage.
With the ability to access and manage your SIM card, you can enjoy uninterrupted communication and data services on your Moto G smartphone. Whether you need to switch carriers, upgrade your plan, or troubleshoot network connectivity, understanding how to access the SIM card is crucial. By familiarizing yourself with the process and following the steps we’ve provided, you can confidently navigate the world of mobile connectivity on your Moto G device.
FAQs
1. How do I access the SIM card on a Moto G?
To access the SIM card on a Moto G, follow these steps:
1. Locate the SIM card slot. On the Moto G, it is usually located on the side of the device. Look for a small hole or a tray with a SIM card icon.
2. Insert a SIM card removal tool or a paperclip into the hole or slot, and gently push until the tray pops out.
3. Remove the tray and place your SIM card into the designated slot, ensuring it is properly aligned.
4. Carefully insert the tray back into the device until it clicks into place.
That’s it! Your Moto G is now ready to use with the new SIM card.
2. Can I use a SIM card from another carrier on my Moto G?
Yes, the Moto G is generally compatible with SIM cards from different carriers. However, it is important to make sure that your Moto G is unlocked or compatible with the carrier you intend to use. Additionally, some carriers may require you to configure APN settings to access mobile data and other network services. Contact your carrier for further guidance.
3. How do I remove the SIM card from a Moto G?
To remove the SIM card from a Moto G, follow these steps:
1. Power off your Moto G.
2. Locate the SIM card slot, usually found on the side of the device.
3. Insert a SIM card removal tool or a paperclip into the hole or slot, and gently push until the tray pops out.
4. Remove the tray and carefully lift out the SIM card from its slot.
5. Place the SIM card in a safe place or insert a different SIM card if desired.
6. Insert the tray back into the device until it clicks into place.
7. Power on your Moto G.
The SIM card has now been successfully removed from your Moto G.
4. Can I use a microSD card and a SIM card at the same time on my Moto G?
Yes, the Moto G models typically feature a dedicated slot for the SIM card and a separate slot for a microSD card. This means that you can use both a SIM card and a microSD card simultaneously, expanding both your storage capacity and network connectivity options. However, it’s essential to check your specific Moto G model to confirm its capabilities and supported card types.
5. What should I do if my Moto G doesn’t recognize the SIM card?
If your Moto G doesn’t recognize the SIM card, try the following troubleshooting steps:
1. Power off your Moto G and remove the SIM card.
2. Inspect the SIM card for any signs of damage or dirt. Clean it gently if needed.
3. Reinsert the SIM card properly into the device, ensuring it is aligned with the slot.
4. Power on your Moto G and check if the SIM card is now recognized.
5. If the issue persists, try using the SIM card on another device to verify if it is functioning correctly.
6. Contact your carrier for further assistance if the problem continues.
Keeping your device software up to date and performing a factory reset as a last resort may also help resolve SIM card recognition issues.