
Are you looking to free up space on your Samsung Galaxy A smartphone? Transferring apps to an SD card can be a game-changer, allowing you to create more room for photos, videos, and other essential data. In this comprehensive guide, we'll walk you through the step-by-step process of transferring apps to an SD card on your Galaxy A device. Whether you're a tech-savvy enthusiast or a novice smartphone user, this article will provide you with the insights and techniques you need to optimize your device's storage. By the end, you'll be equipped with the knowledge to seamlessly manage your apps and storage space, enhancing your overall smartphone experience. So, let's dive in and unlock the potential of your Galaxy A smartphone!
Inside This Article
- Checking Compatibility
- Inserting the SD Card
- Transferring Apps to the SD Card
- Managing Apps on the SD Card
- Conclusion
- FAQs
Checking Compatibility
Before transferring apps to an SD card on your Galaxy A, it’s essential to ensure that your device supports this feature. Some Android smartphones allow users to move apps to an SD card, while others do not provide this functionality. To check if your Galaxy A model supports app transfer to an SD card, follow these steps:
1. Open the “Settings” app on your Galaxy A.
2. Scroll down and tap on “Apps” or “Applications.”
3. Select an app from the list, and if the option to “Change” or “Move” the app to the SD card is available, your device supports this feature.
It’s important to note that not all apps can be moved to an SD card, as some system apps and certain essential apps are designed to remain on the device’s internal storage for optimal performance. However, for apps that do support the feature, transferring them to the SD card can help free up space on your device and optimize its performance.
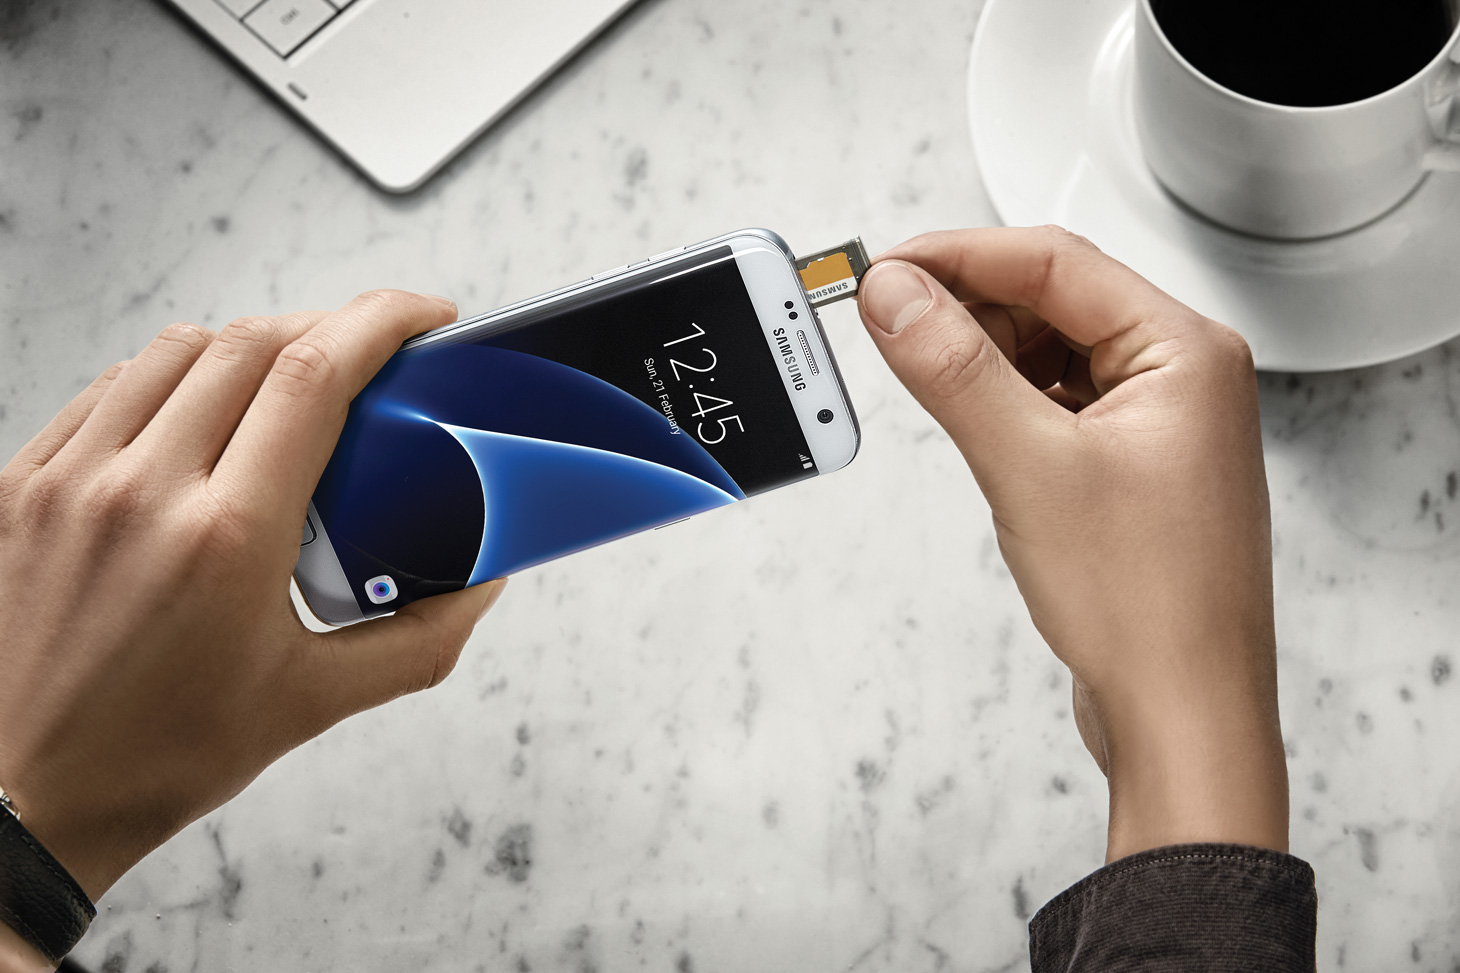
Inserting the SD Card
Inserting an SD card into your Samsung Galaxy A is a straightforward process that can significantly expand your device’s storage capacity. Follow these steps to insert the SD card:
1. Power off your Galaxy A to prevent any potential data corruption when inserting or removing the SD card.
2. Locate the SIM/SD card tray on the top edge of your device. You may need to use the SIM ejector tool that came with your phone to gently eject the tray.
3. Carefully place the SD card into the smaller slot on the SIM/SD card tray. Ensure that the card is properly aligned with the tray’s guides to avoid any damage to the card or the device.
4. Once the SD card is securely in place, reinsert the tray into your Galaxy A, making sure it fits snugly and securely.
5. Power on your device and wait for it to recognize the newly inserted SD card. You can then begin using the expanded storage for your apps, photos, videos, and other data.
Sure, I can help you with that. Here's the content for "Transferring Apps to the SD Card" section:
Transferring Apps to the SD Card
Transferring apps to the SD card on your Galaxy A can help free up valuable internal storage space and improve the overall performance of your device. Here’s how you can do it:
1. Open Settings: Start by opening the “Settings” app on your Galaxy A smartphone. You can typically find this app in the app drawer or by swiping down from the top of the screen and tapping the gear icon.
2. Navigate to Apps: Once in the Settings menu, scroll down and select “Apps” or “Applications.” This will display a list of all the apps installed on your device.
3. Select an App: Tap on the app that you want to transfer to the SD card. This will open the app’s information and settings page.
4. Choose “Storage”: Within the app’s settings, look for the “Storage” option and tap on it. This will show you the current storage details for the app.
5. Transfer to SD Card: If the option is available, you will see a “Change” button that allows you to transfer the app to the SD card. Tap on “Change” and then select “SD card” as the new storage location for the app.
6. Confirm the Transfer: After selecting the SD card as the new storage location, confirm the transfer. The app will then be moved to the SD card, freeing up space on your device’s internal storage.
By following these steps, you can efficiently transfer apps to the SD card on your Galaxy A, optimizing storage and enhancing the performance of your smartphone.
Managing Apps on the SD Card
Once you’ve successfully transferred your apps to the SD card, it’s essential to know how to manage them effectively. Managing apps on the SD card can help optimize your device’s performance and storage space, ensuring a seamless user experience.
One crucial aspect of managing apps on the SD card is keeping them updated. Regularly check for updates for the apps stored on your SD card to ensure they are running the latest versions. This can be done through the Google Play Store by navigating to the “My apps & games” section and selecting the “Updates” tab.
It’s also important to monitor the storage space on your SD card. Over time, as you continue to download and update apps, the available space on your SD card may diminish. Keep an eye on the storage usage and consider removing apps that you no longer use or need. This will free up space for new apps and ensure efficient storage management.
Furthermore, periodically review the apps stored on your SD card and identify any that may be consuming an excessive amount of storage or causing performance issues. If you notice any such apps, consider moving them back to the internal storage or uninstalling them if they are no longer necessary.
Lastly, it’s advisable to back up the apps on your SD card regularly. This can be done using various backup solutions available on the Google Play Store. By creating backups of your apps, you can safeguard against data loss and easily restore them in case of unforeseen circumstances.
Conclusion
Transferring apps to an SD card on your Galaxy A can significantly enhance your device’s storage capacity and performance. By following the simple steps outlined in this guide, you can efficiently manage your apps and optimize your smartphone’s functionality. With the ability to move apps to an SD card, you can enjoy more space for new downloads, media, and other essential files without compromising your device’s speed and responsiveness. This process empowers you to personalize your device and streamline your user experience, ensuring that your Galaxy A operates at its best. Embrace the freedom to expand your device’s storage and elevate your smartphone usage with the convenience of app transfer to an SD card.
FAQs
Q: Can all apps be transferred to an SD card on a Galaxy A?
Q: Do I need a specific type of SD card to transfer apps on a Galaxy A?
Q: Will transferring apps to an SD card affect their performance?
Q: Can I transfer pre-installed apps to an SD card on a Galaxy A?
Q: Will transferring apps to an SD card affect the phone's speed and performance?