
So, you’ve just purchased a new SD card for your Samsung Galaxy A, and you’re eager to utilize its expanded storage capabilities to the fullest. Understanding how to seamlessly integrate the SD card with your device is crucial for optimizing its performance and maximizing its utility. In this comprehensive guide, we’ll delve into the step-by-step process of inserting and setting up a new SD card on your Samsung Galaxy A. Whether you’re looking to store more photos, videos, or apps, harnessing the power of an SD card can significantly enhance your smartphone experience. Let’s embark on this journey to unlock the full potential of your Samsung Galaxy A with a new SD card.
Inside This Article
- Inserting the SD Card
- Formatting the SD Card
- Transferring Data to the SD Card
- Ejecting the SD Card
- Conclusion
- FAQs
**
Inserting the SD Card
**
Inserting an SD card into your Samsung Galaxy A is a simple process that allows you to expand your device’s storage capacity and store more photos, videos, and apps. Here’s a step-by-step guide to help you seamlessly insert the SD card into your device.
1. Power Off Your Device: Before inserting the SD card, ensure that your Samsung Galaxy A is powered off. This precautionary step helps prevent any potential data corruption or damage to the SD card during the insertion process.
2. Locate the SIM/SD Card Tray: The SIM/SD card tray is typically located on the side of the device. Use the SIM ejection tool provided with your device to gently press the eject button and release the tray.
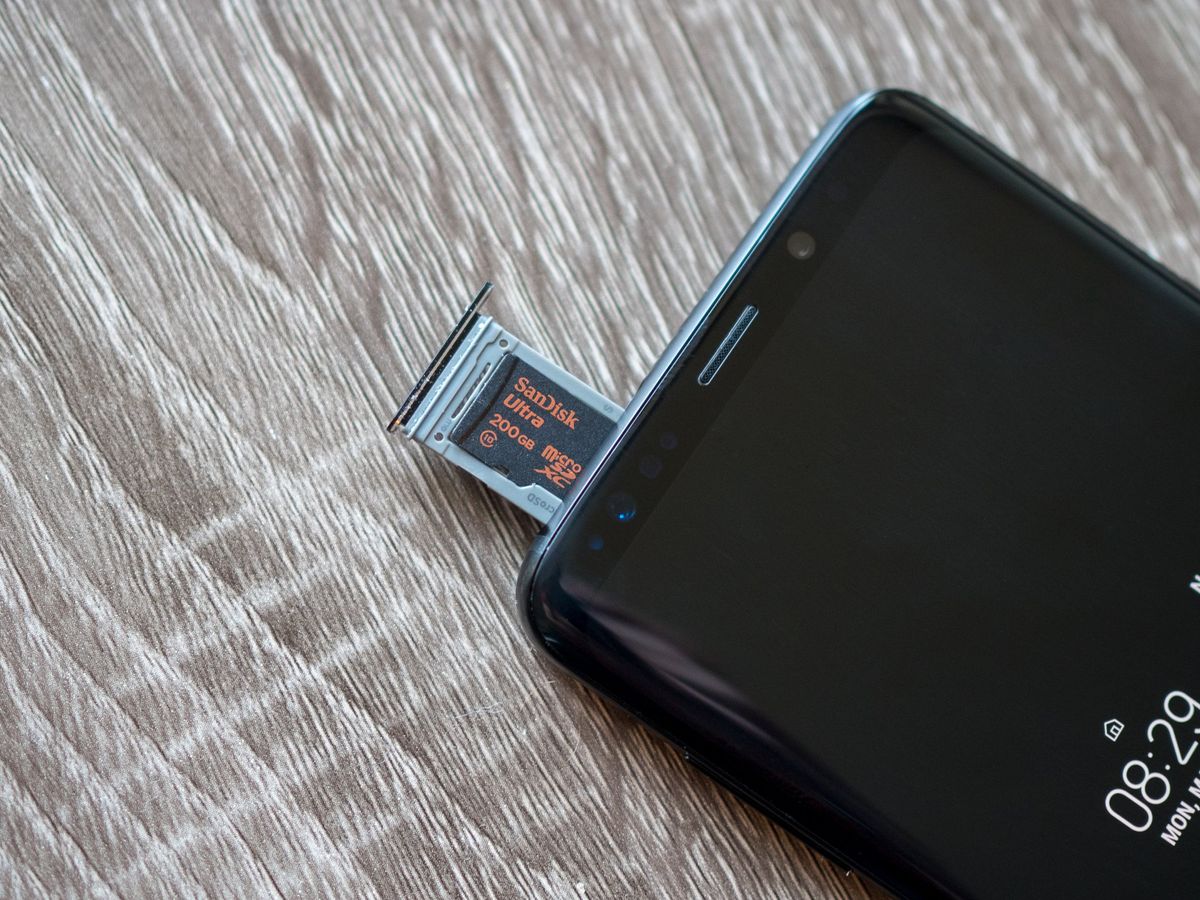
3. Insert the SD Card: Place the SD card onto the tray, ensuring that the gold contacts on the card are facing downwards. Carefully slide the tray back into the slot until it clicks into place.
4. Power On Your Device: After successfully inserting the SD card, power on your Samsung Galaxy A. Once the device is powered on, it will automatically recognize the newly inserted SD card, and you can begin using it to store your data.
Formatting the SD Card
When you insert a new SD card into your Samsung Galaxy A, it’s essential to format it to ensure compatibility and optimal performance. Formatting the SD card prepares it for use with your device, erasing any existing data and setting it up for seamless integration with your phone’s storage system.
Before formatting the SD card, it’s crucial to back up any important data stored on it. Once you’ve safeguarded your data, you can proceed to format the SD card using your Samsung Galaxy A’s built-in formatting tool. This process will erase all existing data on the card, so it’s important to ensure you have a backup of any essential files.
Formatting the SD card on your Samsung Galaxy A is a straightforward process. You can access the formatting tool through the device’s settings menu, where you’ll find the option to format the SD card. Once you initiate the formatting process, your device will prepare the SD card for use, optimizing it for seamless integration with your phone.
After formatting the SD card, you can begin using it to expand your device’s storage capacity, store media files, and more. Properly formatted SD cards ensure smooth functioning and efficient data management on your Samsung Galaxy A, enhancing your overall user experience.
Transferring Data to the SD Card
Once you have inserted and formatted your SD card, it’s time to start transferring data to it. This process allows you to free up space on your Samsung Galaxy A device and ensure that your important files are safely stored on the SD card. Here’s how to transfer data to your SD card with ease.
The first step is to identify the types of data you want to transfer. This may include photos, videos, music, documents, and other files that are taking up space on your device’s internal storage. Once you have a clear idea of what you want to transfer, you can proceed to the next step.
Next, navigate to the specific files or media that you want to transfer. This can typically be done through your device’s file manager or gallery app. Once you have located the files, select the option to move or copy them to the SD card. This process may vary slightly depending on your device’s specific interface, but the general concept remains the same.
After selecting the files you wish to transfer, choose the destination as the SD card. This will initiate the transfer process, and depending on the size and quantity of the files, it may take a few moments to complete. Once the transfer is finished, you can verify that the files are now stored on the SD card.
It’s important to periodically check the contents of your SD card to ensure that the transfer was successful and that the files are accessible. This can be done through the file manager or gallery app on your Samsung Galaxy A device. With the data successfully transferred to the SD card, you can enjoy increased storage space on your device and the peace of mind that comes with having your important files securely stored.
Ejecting the SD Card
Once you are done using the SD card on your Samsung Galaxy A, it’s important to eject it properly to avoid any data loss or damage to the card. Ejecting the SD card ensures that all the data is safely stored and that the card can be safely removed from the device.
To eject the SD card, start by navigating to the “Settings” on your Samsung Galaxy A. From there, tap on “Storage” and then select “SD card.” You will then see the option to “Unmount” or “Eject” the SD card. Tap on “Eject” and wait for the device to confirm that it is safe to remove the SD card.
Once the device confirms that it is safe to do so, carefully remove the SD card from the slot. It’s important to handle the card gently to avoid any physical damage. After ejecting the SD card, store it in a safe place to prevent loss or damage.
Remember that improperly ejecting the SD card can lead to data corruption or loss. Always ensure that you follow the correct procedure to eject the SD card from your Samsung Galaxy A to keep your data safe and the card in good condition for future use.
Conclusion
Utilizing a new SD card on your Samsung Galaxy A is a straightforward process that can significantly expand your device’s storage capacity and functionality. By following the steps outlined in this guide, you can seamlessly integrate the SD card into your smartphone, allowing for ample space to store photos, videos, apps, and more. Whether you’re a photography enthusiast, a gaming aficionado, or simply someone who requires extra storage, the addition of an SD card can enhance your mobile experience. With the ability to easily transfer, access, and manage your data, you can make the most of your Samsung Galaxy A’s capabilities. Embrace the versatility and convenience that an SD card brings to your device, and enjoy the freedom to store and access your content without limitations.
FAQs
1. How do I insert an SD card into my Samsung Galaxy A?
To insert an SD card into your Samsung Galaxy A, follow these steps:
- Power off your device.
- Locate the SIM card tray on the side of your phone.
- Use the SIM ejection tool to gently push into the small hole next to the SIM card tray to release it.
- Insert the SD card into the designated slot on the SIM card tray.
- Carefully reinsert the tray into your phone.
2. What type of SD card is compatible with the Samsung Galaxy A?
The Samsung Galaxy A supports microSD cards. Ensure that you use a microSD card that is compatible with your device to avoid any compatibility issues.
3. How do I format my new SD card on the Samsung Galaxy A?
To format a new SD card on your Samsung Galaxy A, follow these steps:
- Navigate to "Settings" on your device.
- Scroll down and tap on "Device care."
- Select "Storage" and tap on "Advanced."
- Tap on "SD card" and then select "Format."
- Follow the on-screen instructions to format your SD card.
4. Can I use my SD card as internal storage on the Samsung Galaxy A?
Yes, you can use your SD card as internal storage on the Samsung Galaxy A. This feature allows you to expand your device's storage capacity to accommodate more apps, photos, and files.
5. How do I transfer apps to the SD card on the Samsung Galaxy A?
To transfer apps to the SD card on your Samsung Galaxy A, follow these steps:
- Navigate to "Settings" on your device.
- Tap on "Apps."
- Select the app you want to move to the SD card.
- Tap on "Storage" and then select "Change."
- Choose "SD card" as the storage location for the app.