
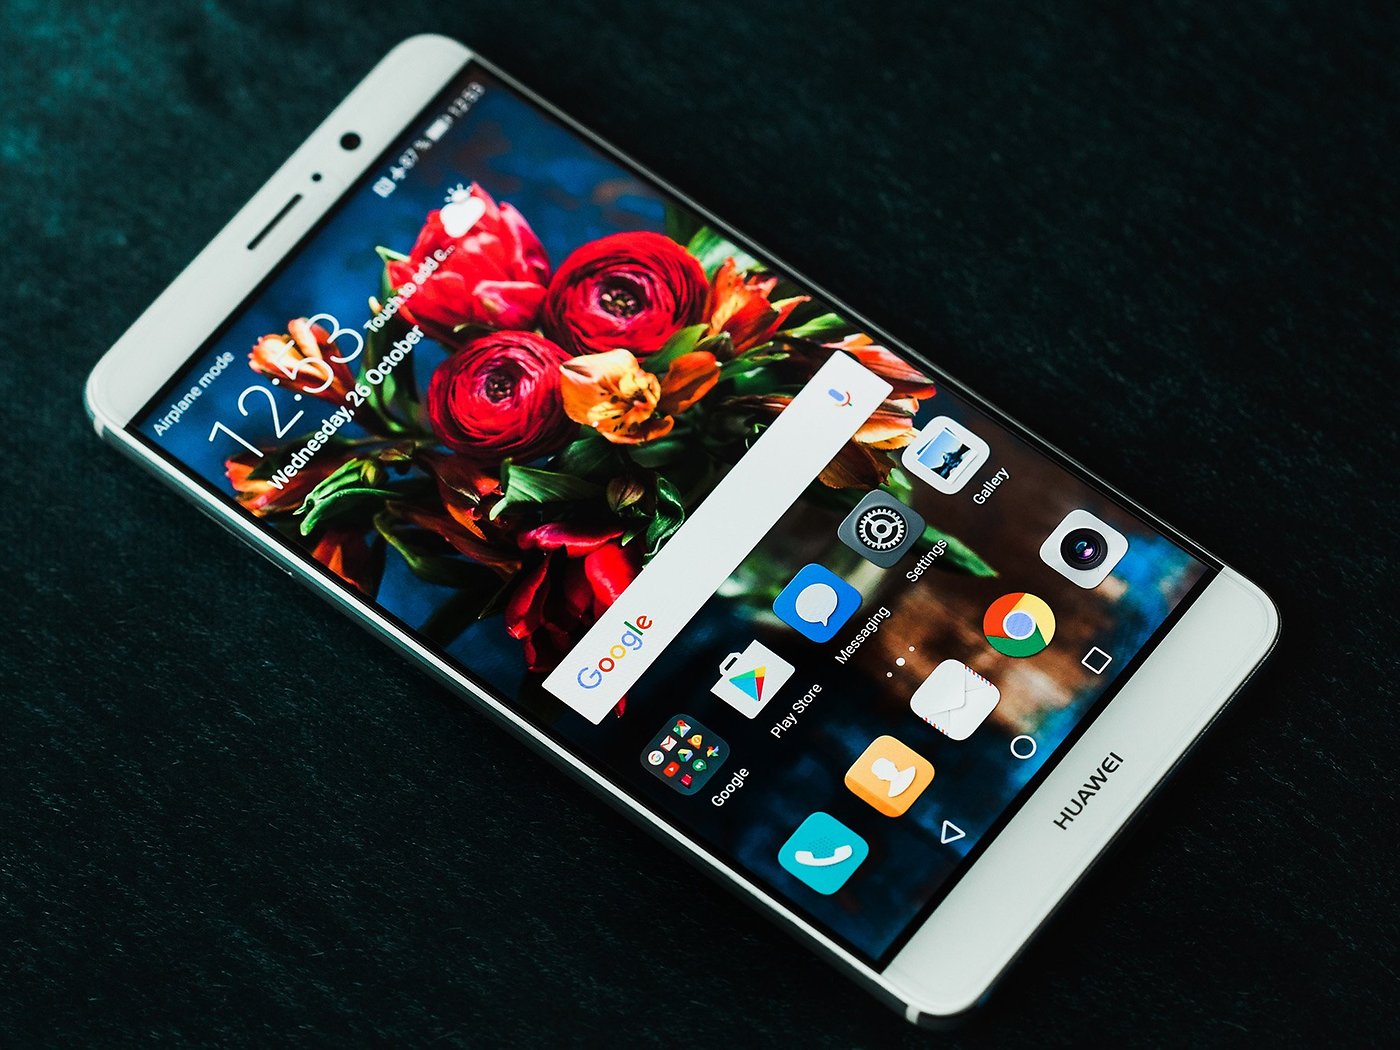
The Huawei Mate 9 is a remarkable smartphone, offering a plethora of features to enhance your mobile experience. One of its notable capabilities is the ability to expand storage using a micro SD card. By incorporating a micro SD card into your Huawei Mate 9, you can significantly increase the device's storage capacity, allowing for more apps, photos, videos, and other data. In this article, we will explore the step-by-step process of inserting and utilizing a micro SD card in the Huawei Mate 9, ensuring that you can make the most of this convenient and practical feature. Whether you're a photography enthusiast, a gaming aficionado, or simply someone who requires ample storage space for various files, understanding how to use a micro SD card in your Huawei Mate 9 can greatly enhance your smartphone experience. So, let's delve into the world of micro SD cards and discover how to seamlessly integrate them into your Huawei Mate 9.
Inside This Article
- Inserting the Micro SD Card
- Formatting the Micro SD Card
- Transferring Data to the Micro SD Card
- Conclusion
- FAQs
Inserting the Micro SD Card
Inserting a micro SD card into your Huawei Mate 9 is a simple process that can greatly expand your device’s storage capacity. To begin, locate the SIM card tray on the left side of your phone. Using the SIM ejector tool that came with your device, gently press into the small hole next to the tray to release it.
Once the tray is removed, you’ll notice two slots – one for the SIM card and the other for the micro SD card. Take your micro SD card and carefully place it into the designated slot, ensuring that the gold contacts are facing down. Then, gently push the tray back into the phone until it clicks into place.
After successfully inserting the micro SD card, restart your Huawei Mate 9 to ensure that the device recognizes the new storage. With the micro SD card properly inserted, you can now enjoy expanded storage for your photos, videos, and apps without compromising the performance of your device.
Formatting the Micro SD Card
Before using a micro SD card with your Huawei Mate 9, it’s essential to format it to ensure compatibility and optimal performance. Formatting the micro SD card prepares it for use with your smartphone, allowing you to store and access data seamlessly.
Insert the micro SD card into your Huawei Mate 9 and power on the device. Once the phone is powered up, navigate to the “Settings” menu. Scroll down and select “Storage” to access the storage settings on your device. Here, you can view the internal storage as well as any available external storage, which is the micro SD card.
Tap on the micro SD card option to view its details and available options. Within the micro SD card settings, you will find the “Format” option. Selecting this option will prompt a warning message, informing you that formatting the micro SD card will erase all data stored on it. Ensure that you have backed up any important data before proceeding.
After confirming that you want to format the micro SD card, the Huawei Mate 9 will begin the formatting process. This may take a few moments, depending on the size and speed of the micro SD card. Once the formatting is complete, the micro SD card will be ready for use with your smartphone.
Formatting the micro SD card ensures that it is compatible with your Huawei Mate 9 and ready to store your photos, videos, music, and other data. It also helps to optimize the card’s performance, allowing for smoother access to the stored content and improved overall functionality.
Sure, here's the content for "Transferring Data to the Micro SD Card" section:
html
Transferring Data to the Micro SD Card
Transferring data to your micro SD card is a simple process that can help free up space on your Huawei Mate 9 and ensure that your important files are safely stored. Here’s how you can do it:
1. Insert the micro SD card into your Huawei Mate 9. If you haven’t already done so, insert the micro SD card into the designated slot on your device. Ensure that it is properly inserted to avoid any connectivity issues.
2. Access the file manager. Open the file manager on your Huawei Mate 9. This can usually be found in the app drawer or on the home screen. Once opened, you should see the internal storage and the newly inserted micro SD card listed as separate storage options.
3. Select the files you want to transfer. Navigate to the location of the files you wish to transfer. This could be your photos, videos, music, or documents. Once you’ve located the files, tap and hold on each file to select them. You can also tap the options menu and select multiple files at once.
4. Transfer the files to the micro SD card. After selecting the files, tap the “Move” or “Copy” option, depending on whether you want to move the files or create a duplicate on the micro SD card. Navigate to the micro SD card storage and choose the destination folder where you want the files to be transferred. Tap “Move here” or “Paste” to initiate the transfer process.
5. Verify the transfer. Once the transfer is complete, navigate to the micro SD card storage and ensure that the transferred files are present and accessible. You can also go back to the original location of the files to confirm that they have been successfully removed from the internal storage.
By following these steps, you can efficiently transfer data to your micro SD card, allowing you to manage your device’s storage effectively and keep your files organized and secure.
In conclusion, utilizing a micro SD card in your Huawei Mate 9 can significantly enhance your smartphone experience. The expanded storage capacity allows you to store more photos, videos, and apps without compromising performance. By following the simple steps outlined in this guide, you can seamlessly integrate the micro SD card into your device and enjoy the convenience of additional storage space. Whether it's capturing precious moments or downloading your favorite media, the versatility provided by the micro SD card empowers you to make the most of your Huawei Mate 9. Embrace the potential of expanded storage and unlock new possibilities with your smartphone.
**
**
FAQs
Q: How do I insert a micro SD card into my Huawei Mate 9?
A: To insert a micro SD card into your Huawei Mate 9, locate the SIM card tray on the left side of the phone, use the ejector tool to gently push into the small hole next to the tray, and then carefully insert the micro SD card into the designated slot.
Q: What is the maximum capacity micro SD card that I can use with Huawei Mate 9?
A: The Huawei Mate 9 supports micro SD cards with a maximum capacity of 256GB, allowing you to expand the device’s storage significantly.
Q: Can I use the micro SD card as internal storage on my Huawei Mate 9?
A: Yes, the Huawei Mate 9 offers the option to use the micro SD card as internal storage, enabling you to seamlessly expand the device’s internal storage capacity for apps, games, and media.
Q: How do I format the micro SD card on my Huawei Mate 9?
A: To format the micro SD card on your Huawei Mate 9, navigate to “Settings,” select “Storage & memory,” tap on “SD card,” and then choose “Format” to initiate the formatting process.
Q: Can I move apps to the micro SD card on my Huawei Mate 9?
A: Yes, you can move compatible apps to the micro SD card on your Huawei Mate 9 to free up internal storage space and optimize the device’s performance.